Implement Auto Scaling
Auto Scaling
Amazon EC2 Auto Scaling helps ensure you have the right number of EC2 instances to handle your application’s load. It automatically adds or removes instances based on actual demand.
Benefits of Auto Scaling in this workshop
Auto Scaling will help:
- Automatic expansion: Add EC2 instances when load increases
- Automatic reduction: Decrease number of instances when load decreases
- Cost savings: Only use resources when needed
- Ensure availability: Automatically replace failed instances
Creating Auto Scaling Group
Follow these steps:
A Launch Template or Launch Configuration is required before creating an Auto Scaling Group.
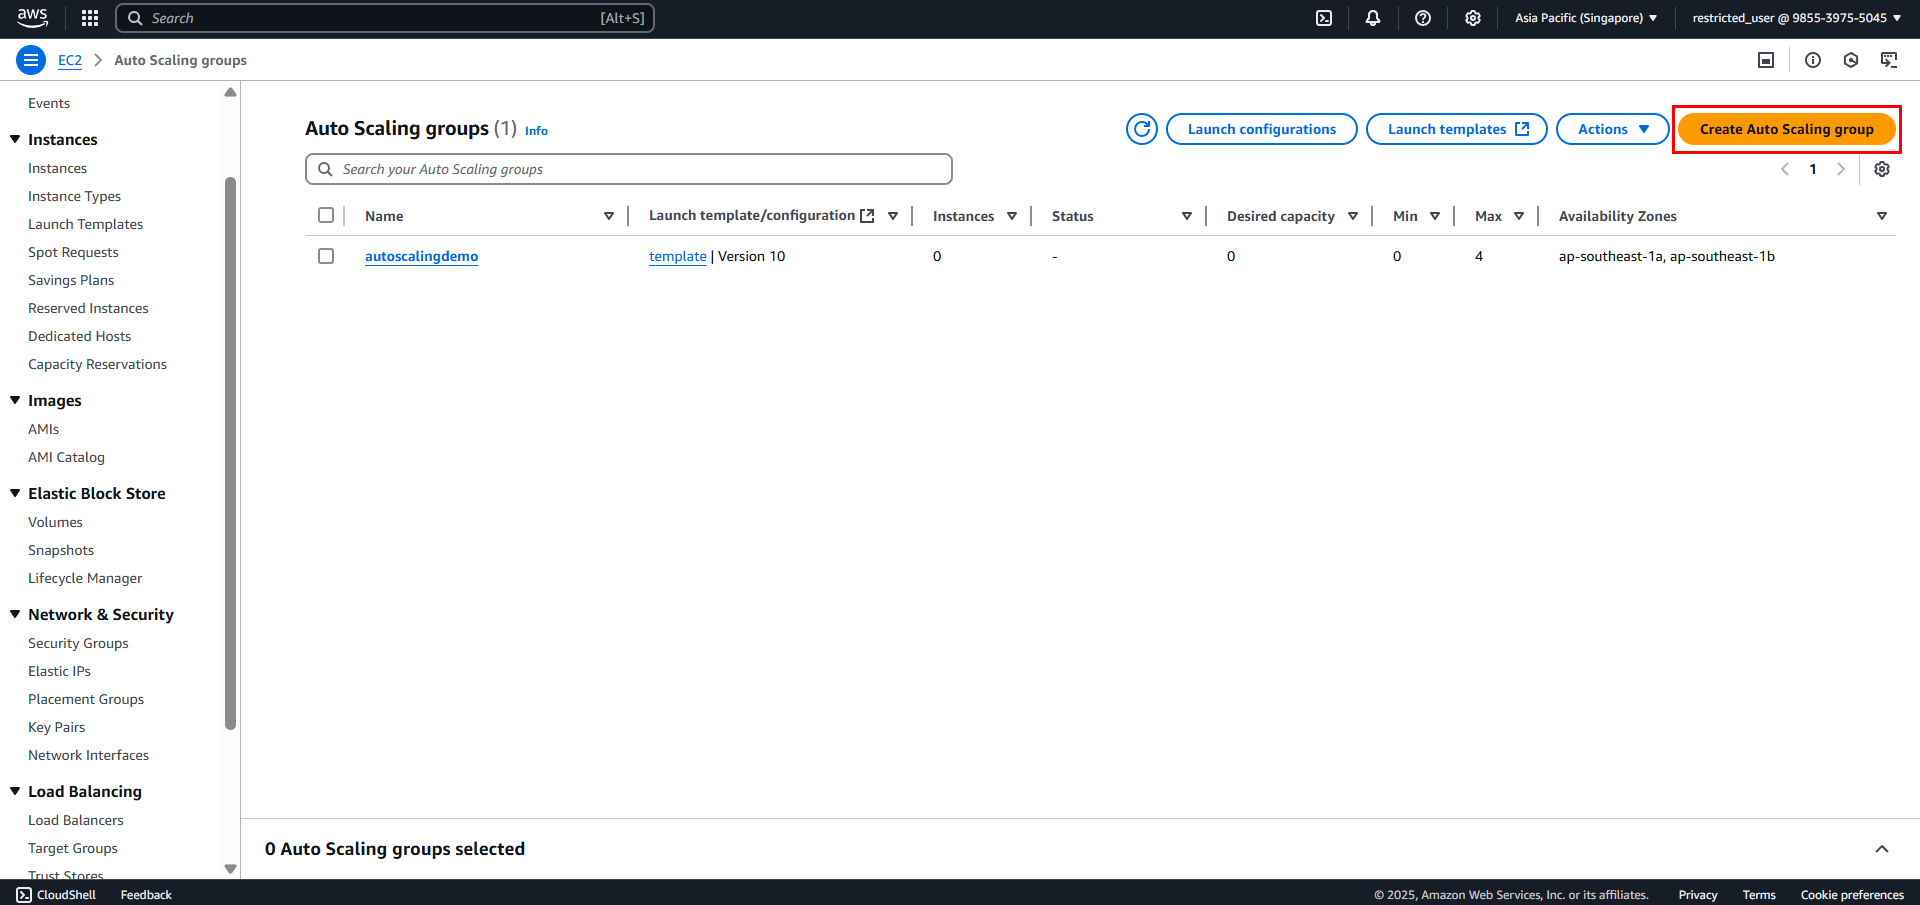
1. Create Auto Scaling Group
- Access the AWS Management Console
- Select Auto Scaling Groups
- Click Create Auto Scaling group
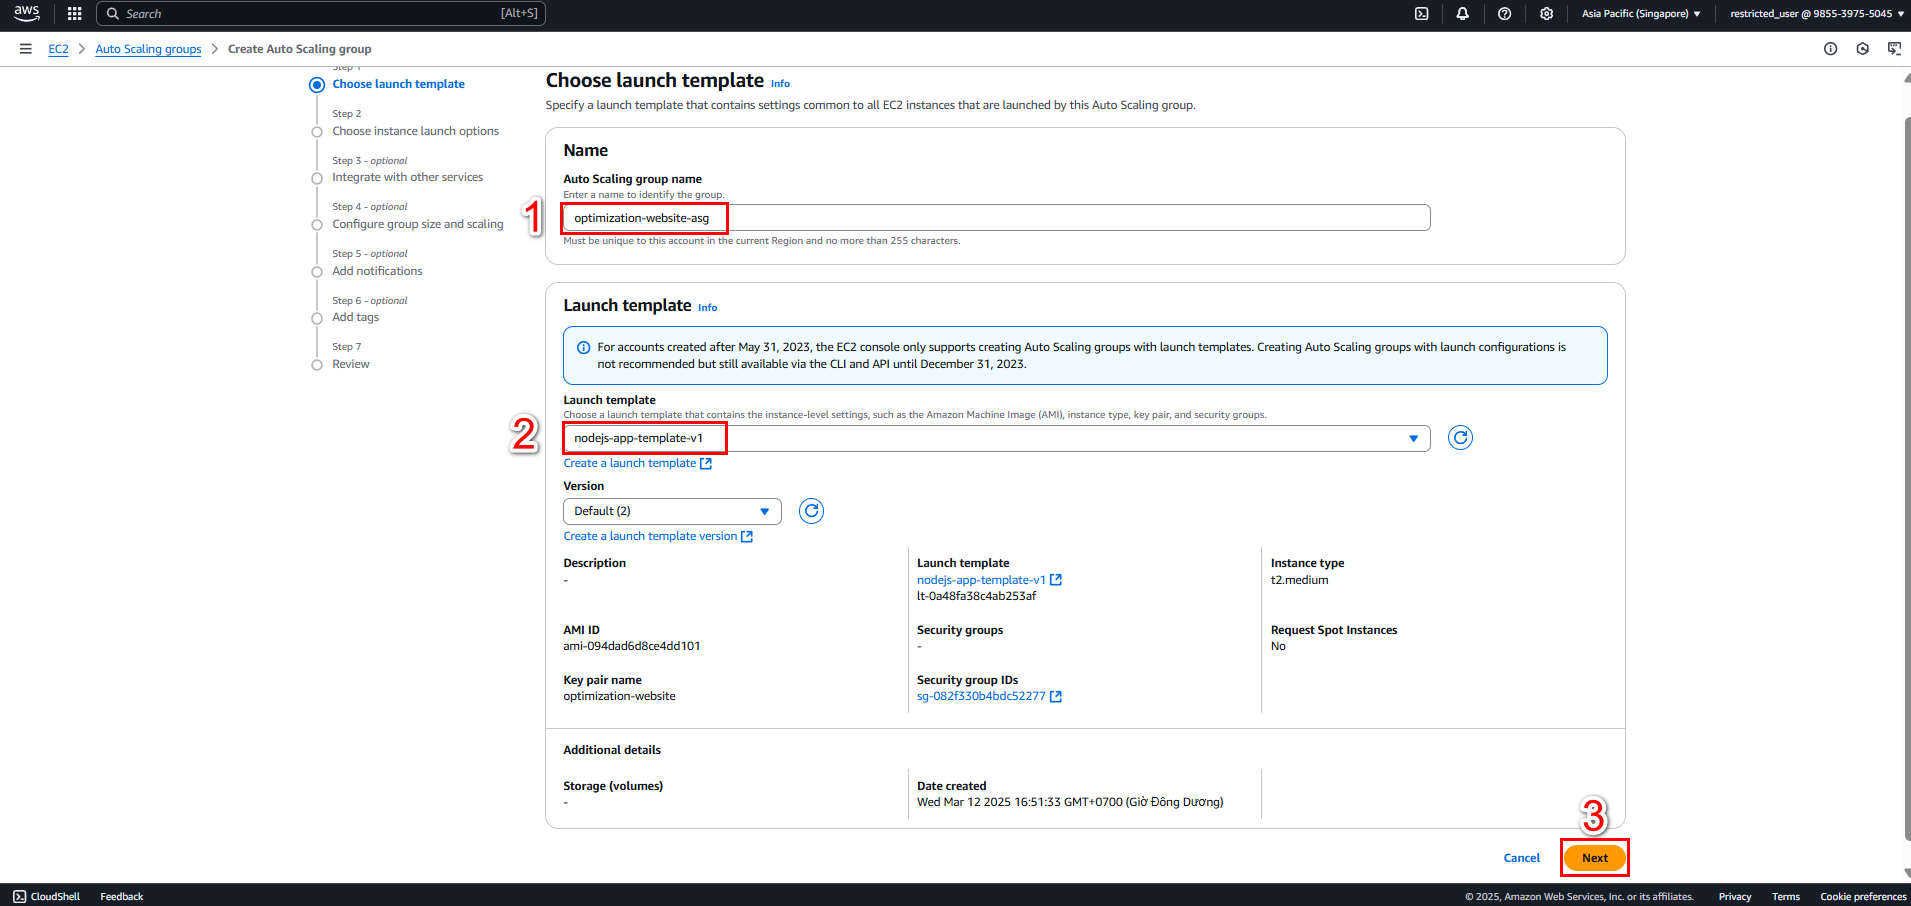
- Name the group
2. Configure Launch Template
- Select the created Launch Template
- Choose the Launch Template version (usually the latest)
3. Configure Network
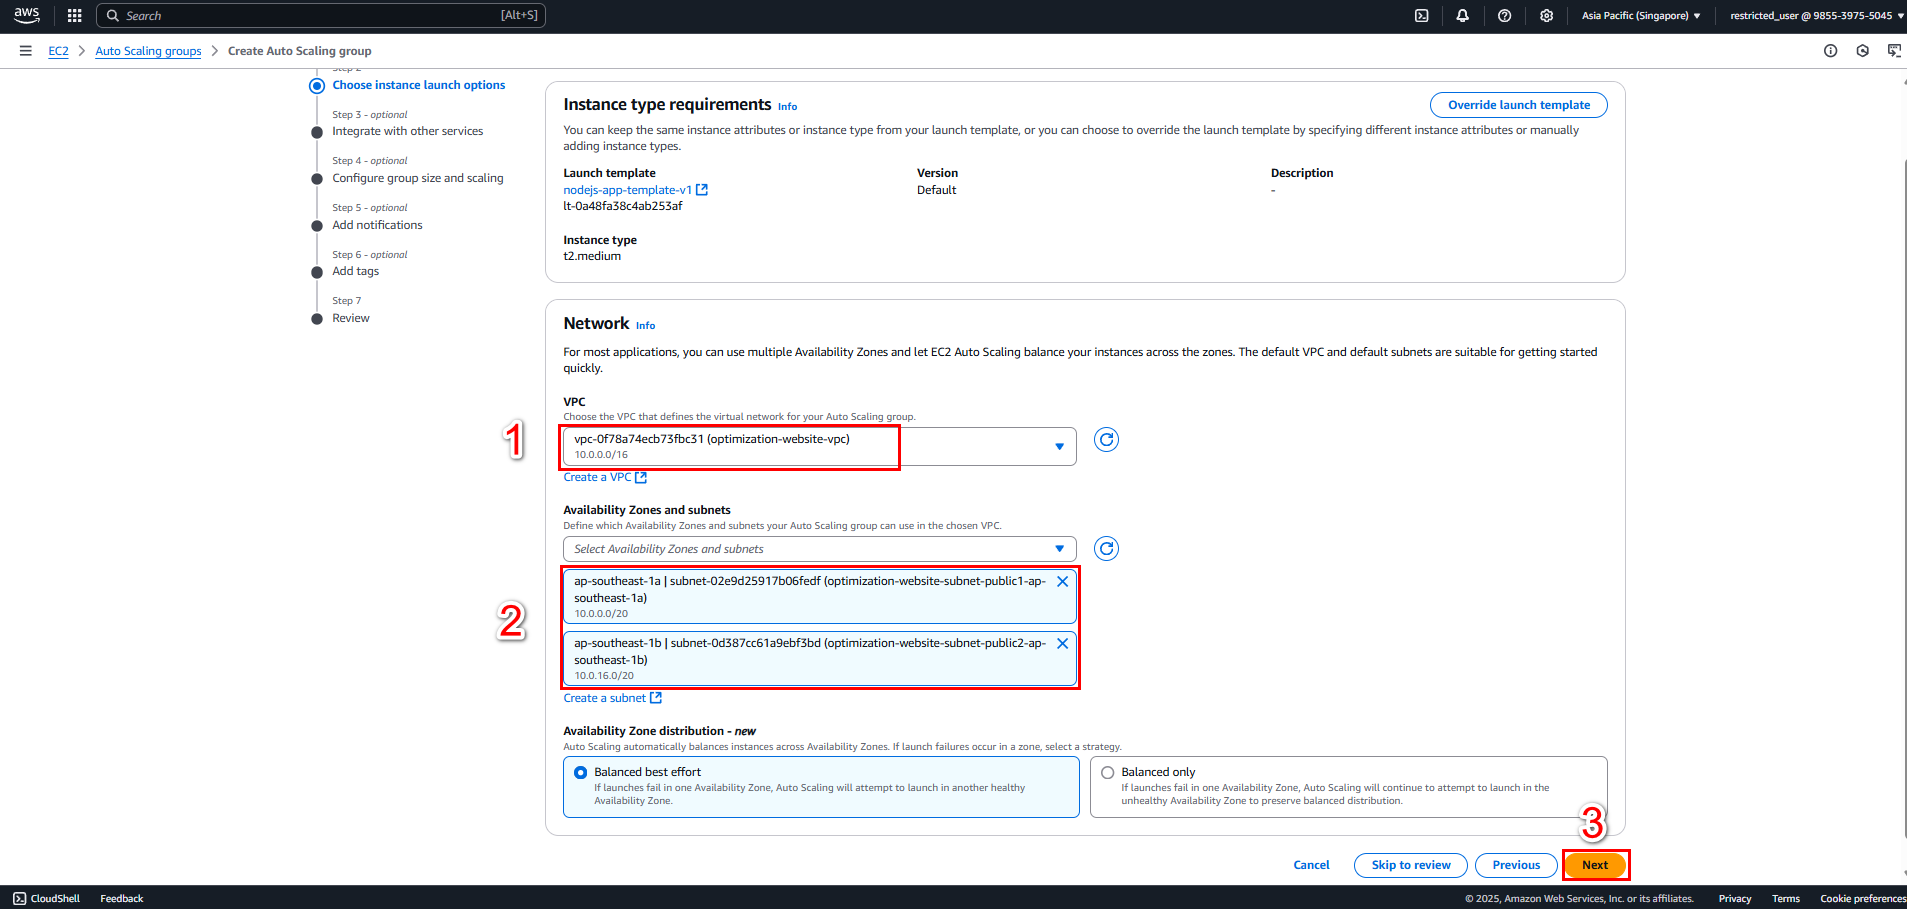
- Select VPC
- Choose Availability Zones and public subnets for high availability
- Note: Choose at least 2 Availability Zones to ensure application continues running if one AZ fails
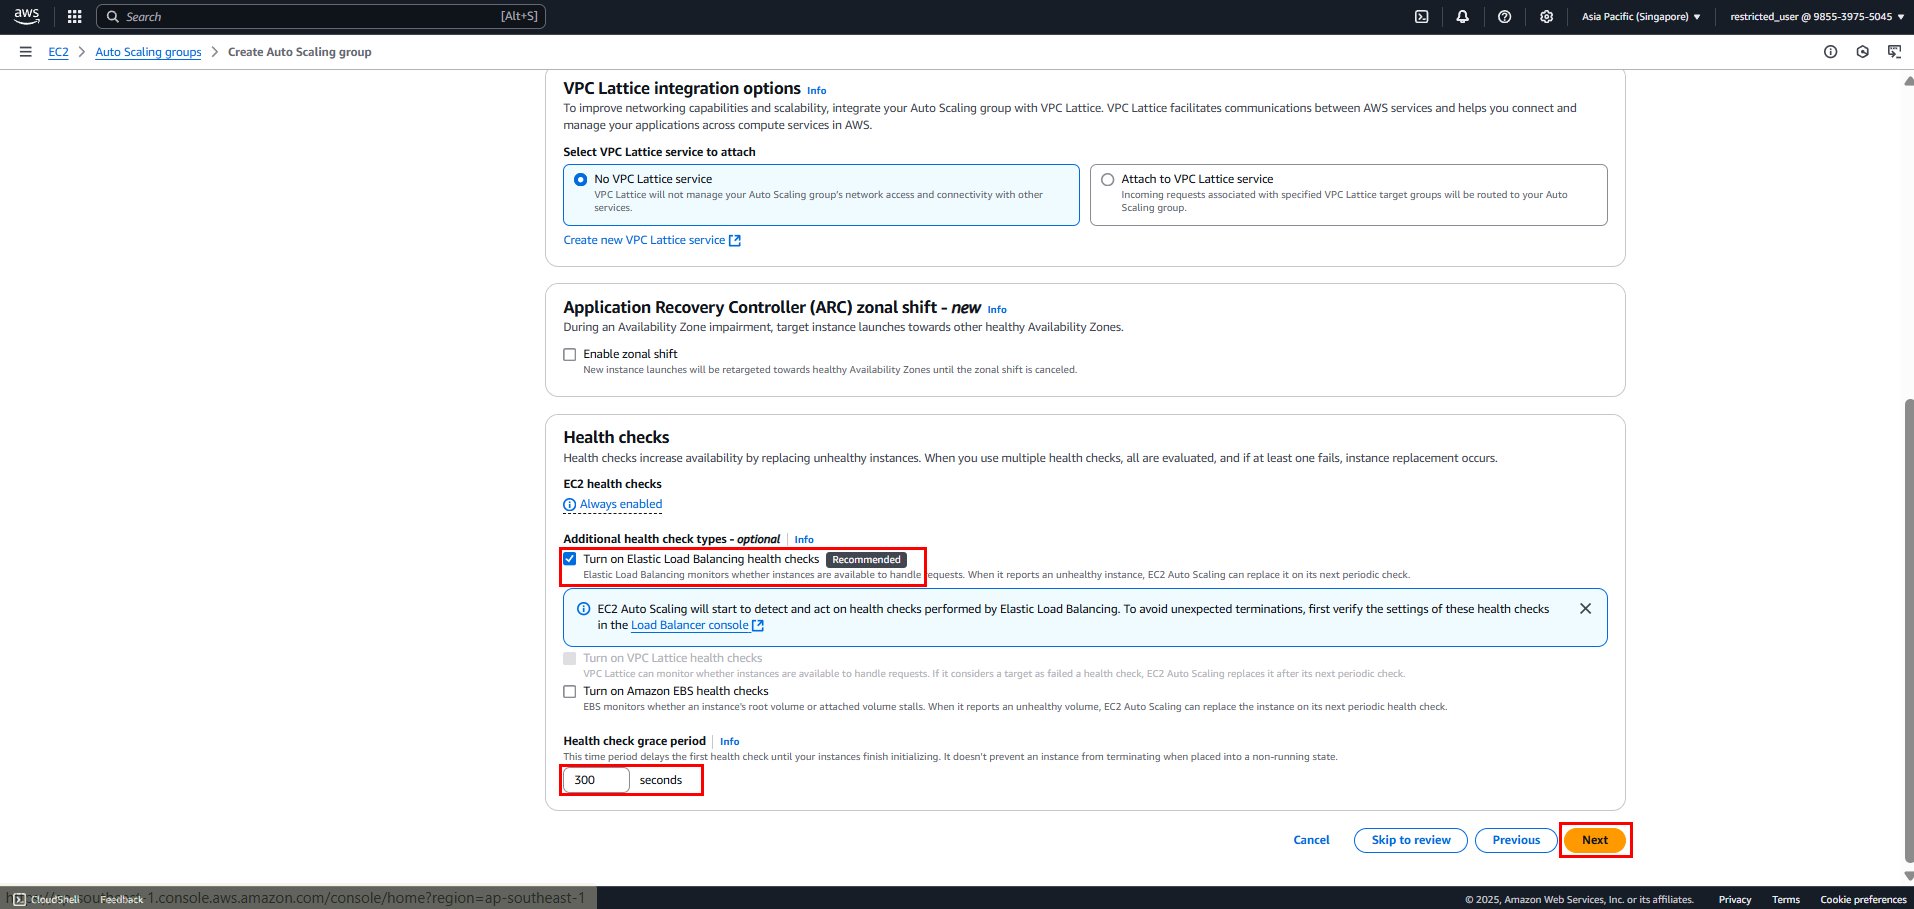
4. Configure Load Balancing
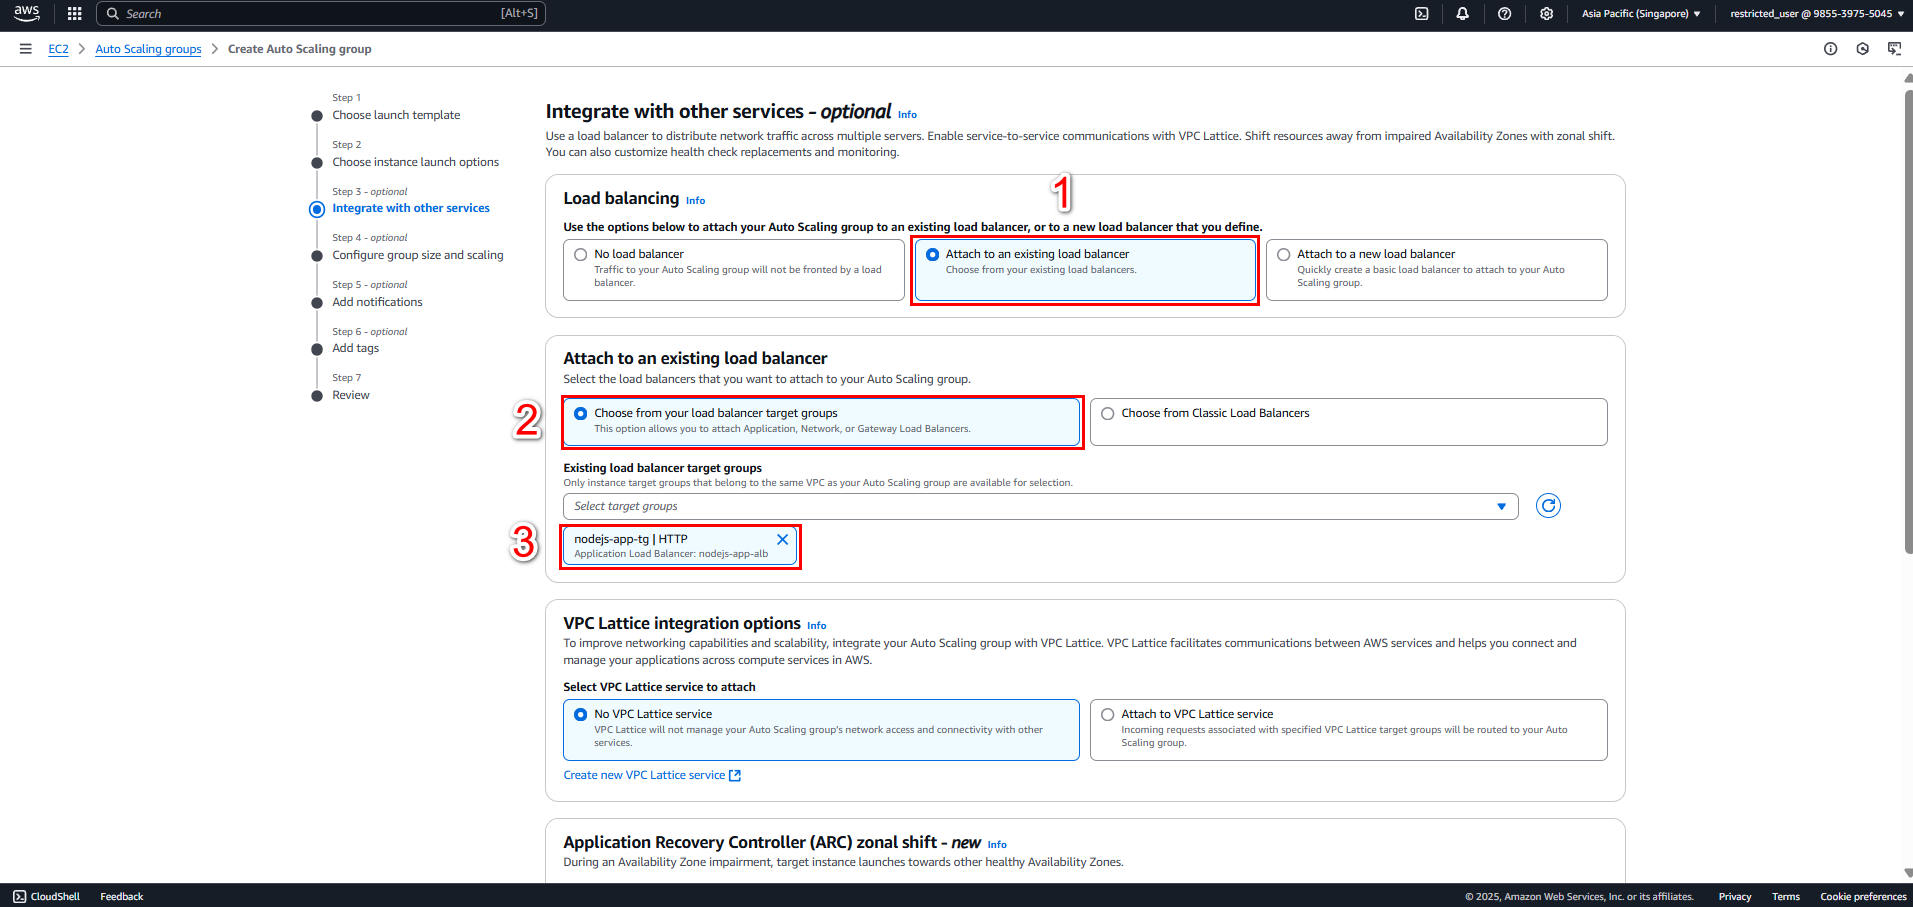
- Choose Attach to an existing load balancer
- Select previously created Target Group
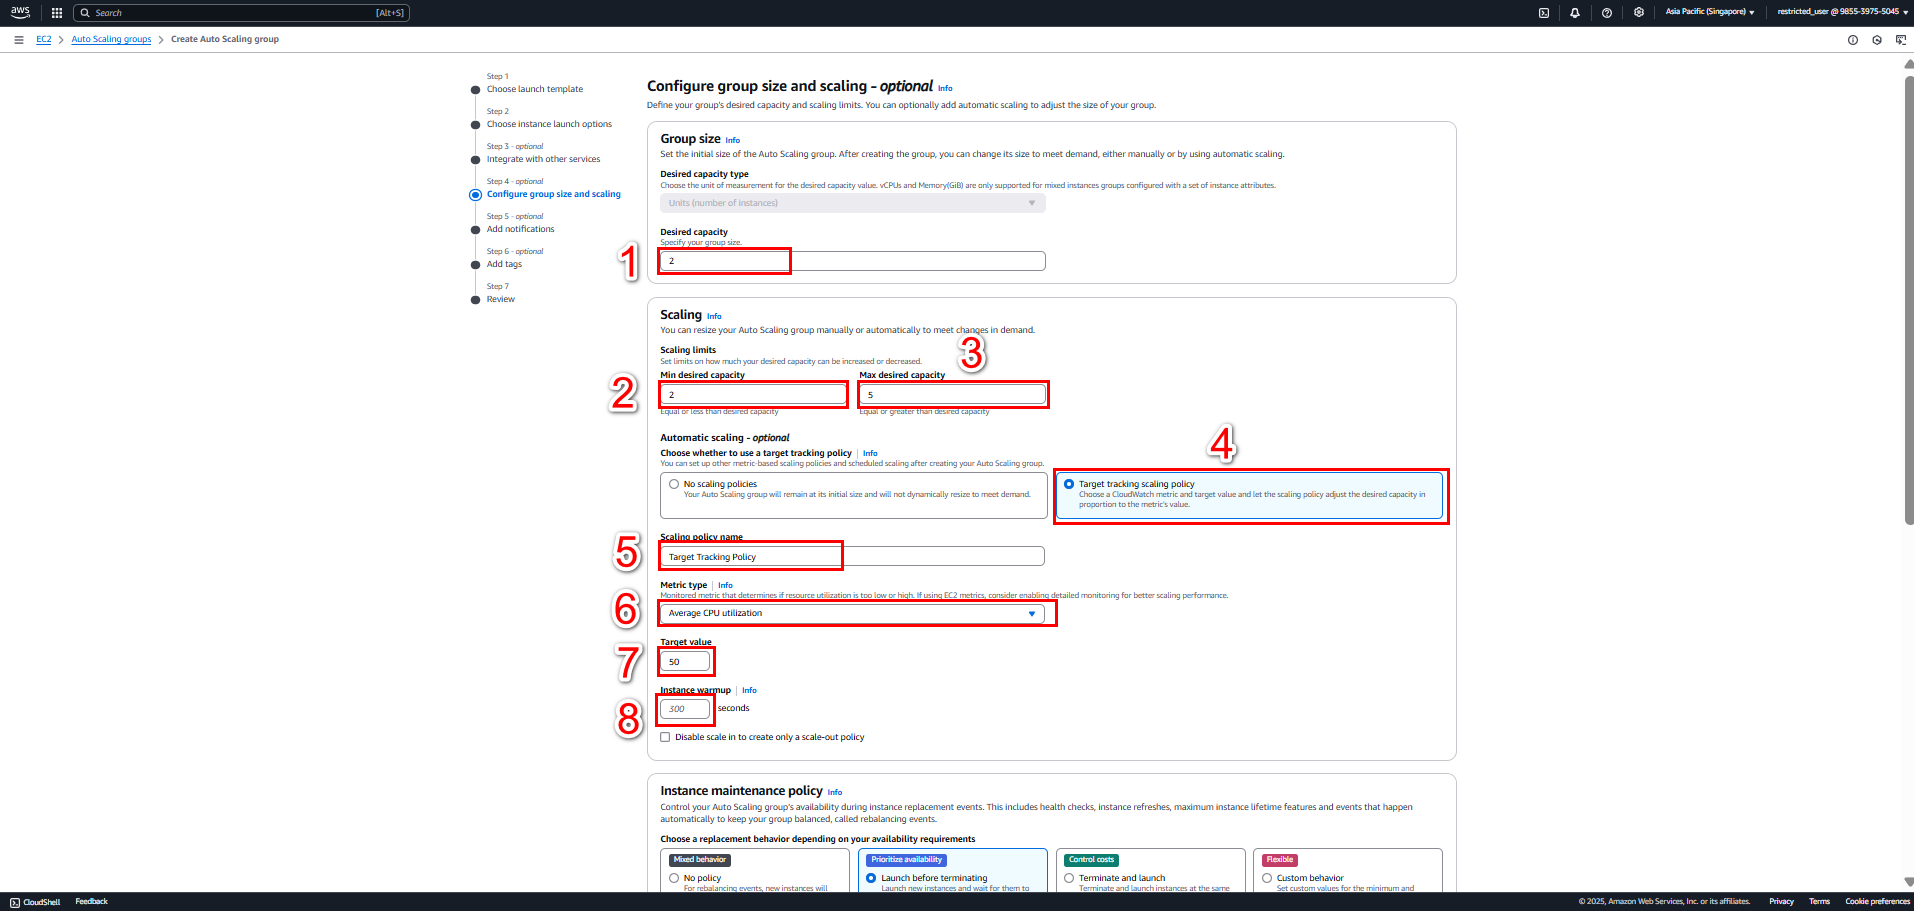
5. Configure Group Size
- Desired capacity
- Desired number of instances: 2
- This is the number of instances maintained under normal conditions
- Must be between Minimum and Maximum capacity
- Minimum capacity
- Minimum number of instances: 2
- ASG will always maintain at least this number, even under low load
- Set minimum 2 to ensure high availability
- Maximum capacity
- Maximum number of instances: 5
- Limits maximum instances during scale out
- Set to 2-3 times Minimum for scaling capacity
6. Configure Auto Scaling Policies
- Add Target Tracking Policy
# Basic settings
Policy name: Target-Tracking-Policy
Metric type: Average CPU utilization
Target value: 40%

# Advanced settings
Instance warmup: 300 seconds
Disable scale in: No
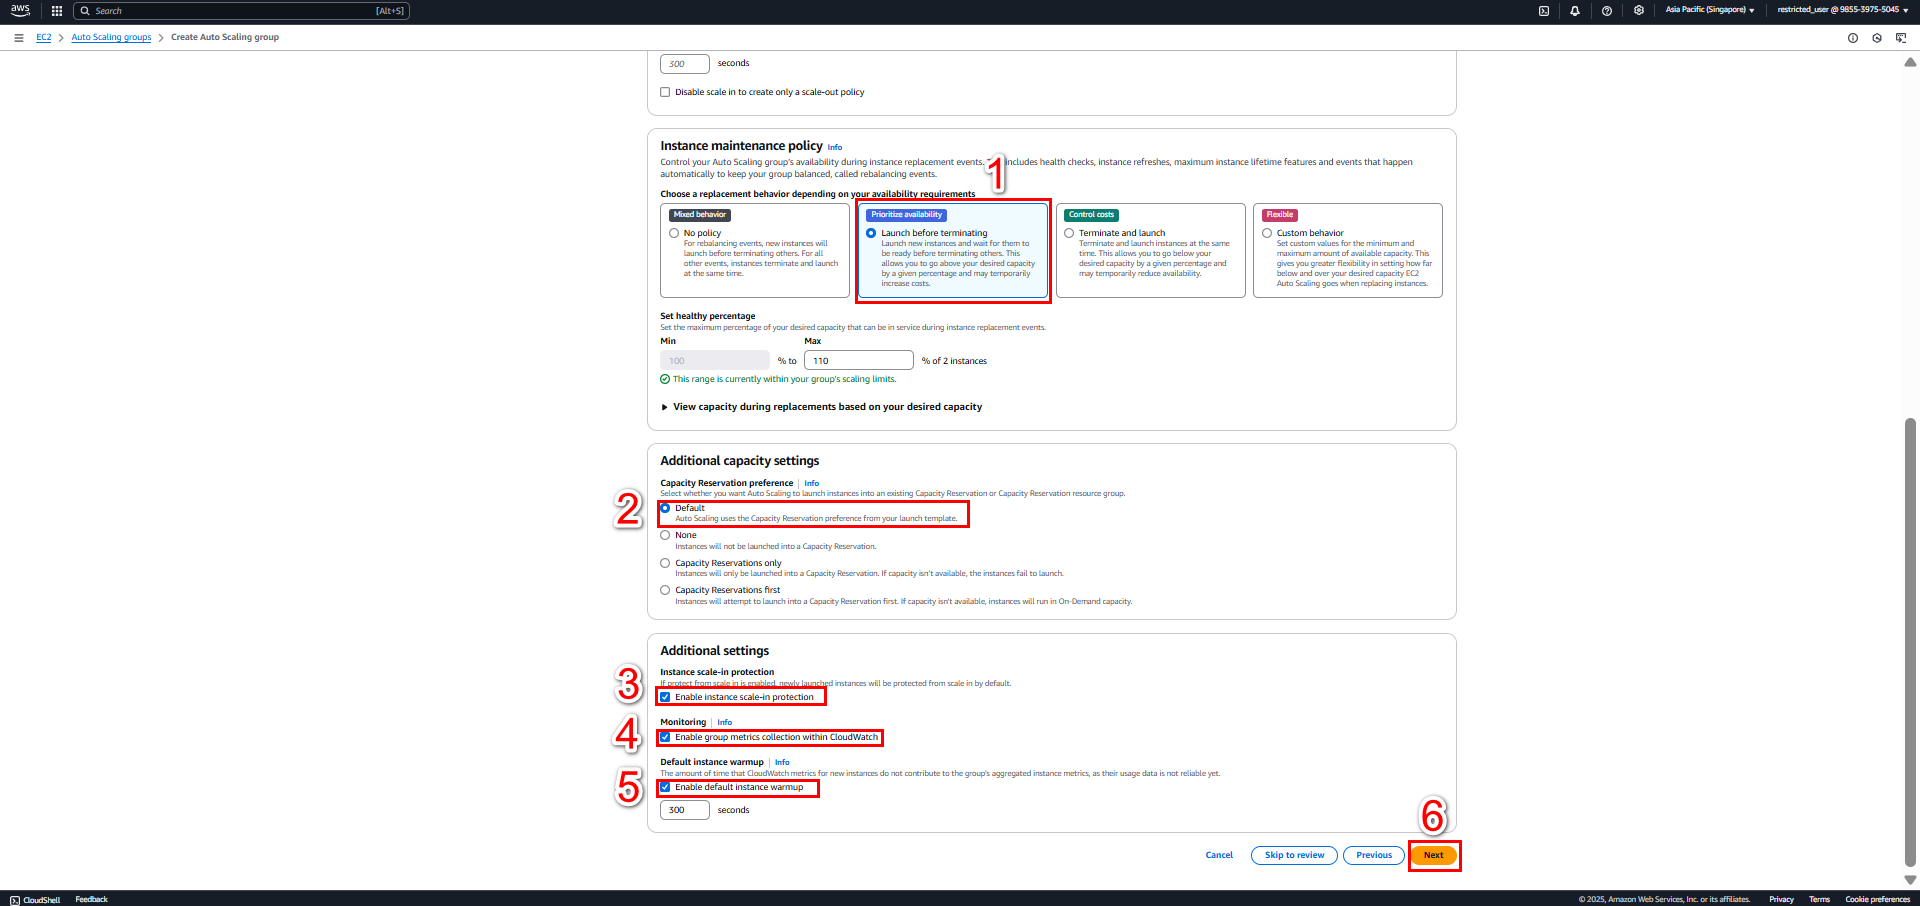
- Instance Maintenance Policy
# Best Practice: Prioritize Availability
Replacement behavior: Launch before terminating
- Zero downtime during replacement
- New instance ready before terminating old one
- Set healthy percentage: 100% to 110%

# Capacity Settings
Capacity Reservations: First
- Utilize reserved capacity
- Fallback to On-Demand when needed
- Optimize costs

# Protection Settings
Instance scale-in protection: Enable
- Protect new instances
- Ensure stability
- Avoid continuous scale in/out

# Monitoring
Group metrics collection: Enable
Default instance warmup: 300 seconds
- Collect comprehensive metrics
- Ensure accuracy
- Avoid false metrics
Best Practices for Maintenance Policy:
- Always choose “Launch before terminating” for production
- Enable full monitoring
- Set appropriate warmup period (300s)
- Protect new instances with scale-in protection
Important Notes:
- Consider trade-off between availability and cost
- Monitor metrics during replacement
- Have rollback plan if needed
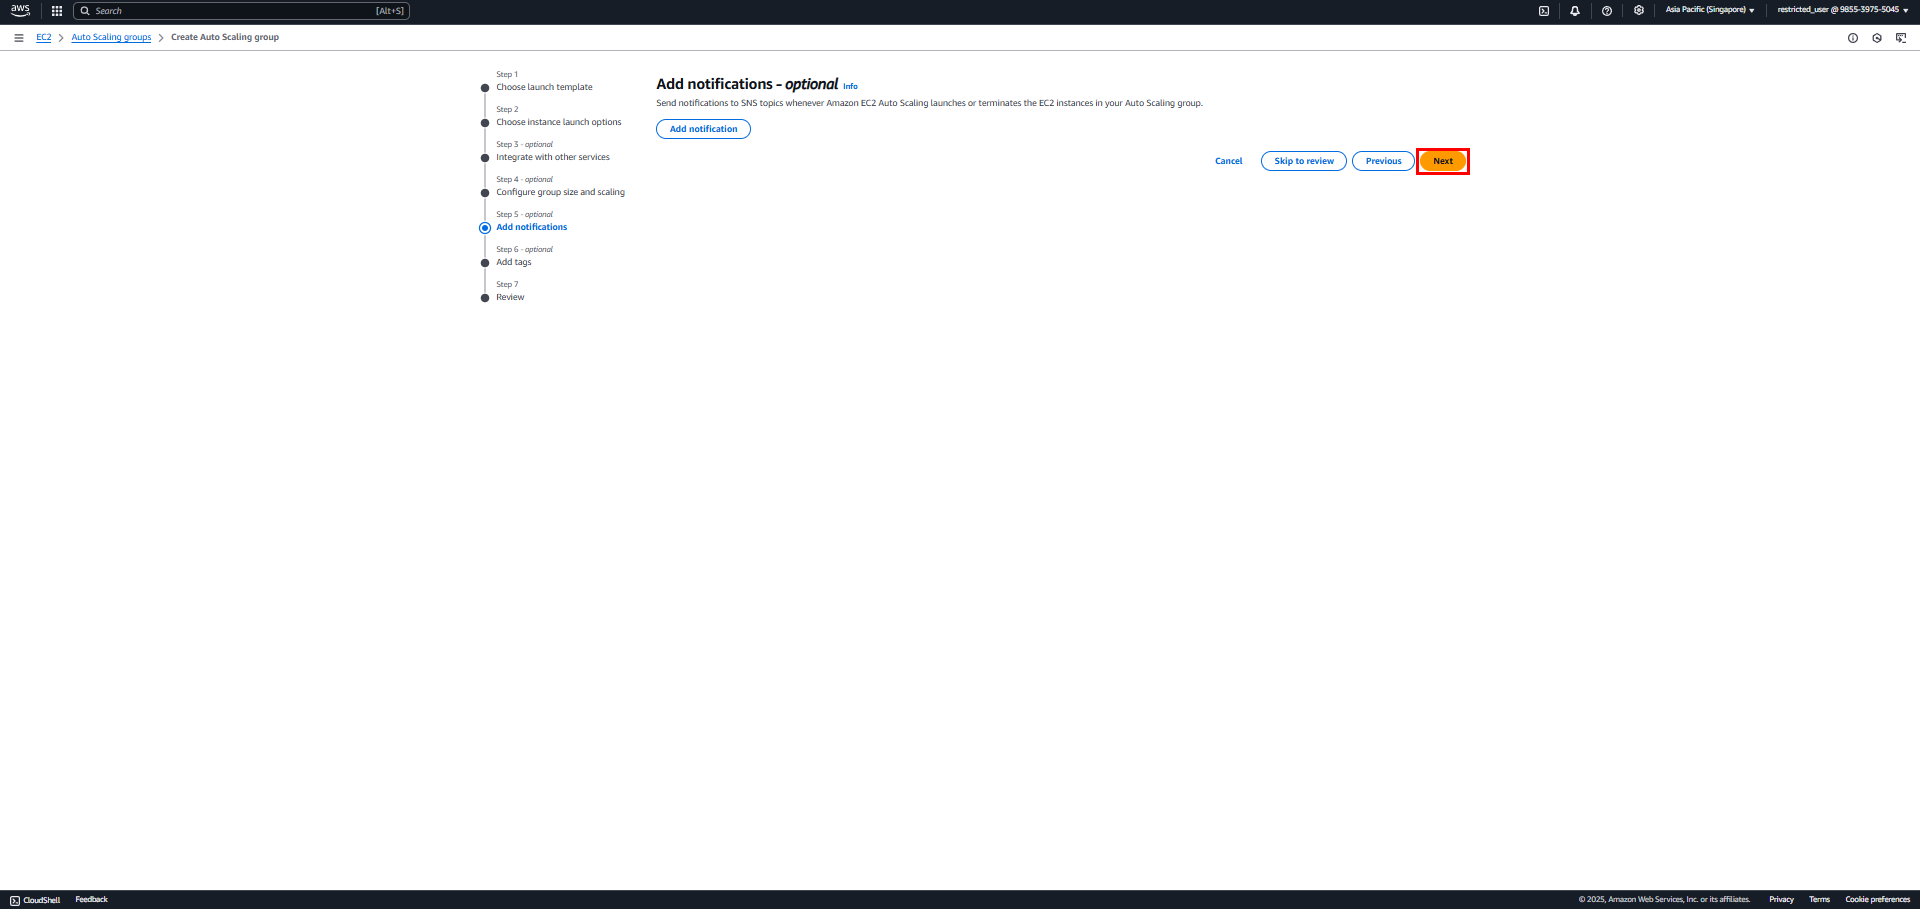
7. Notifications
- Skip this step as notifications aren’t needed yet
- Can be added later when system monitoring is required
8. Add Tags
- Can add additional tags later when needed
9. Review and Launch
- Review all configured settings
- Click Create Auto Scaling group
- Wait for ASG to be created and instances to launch
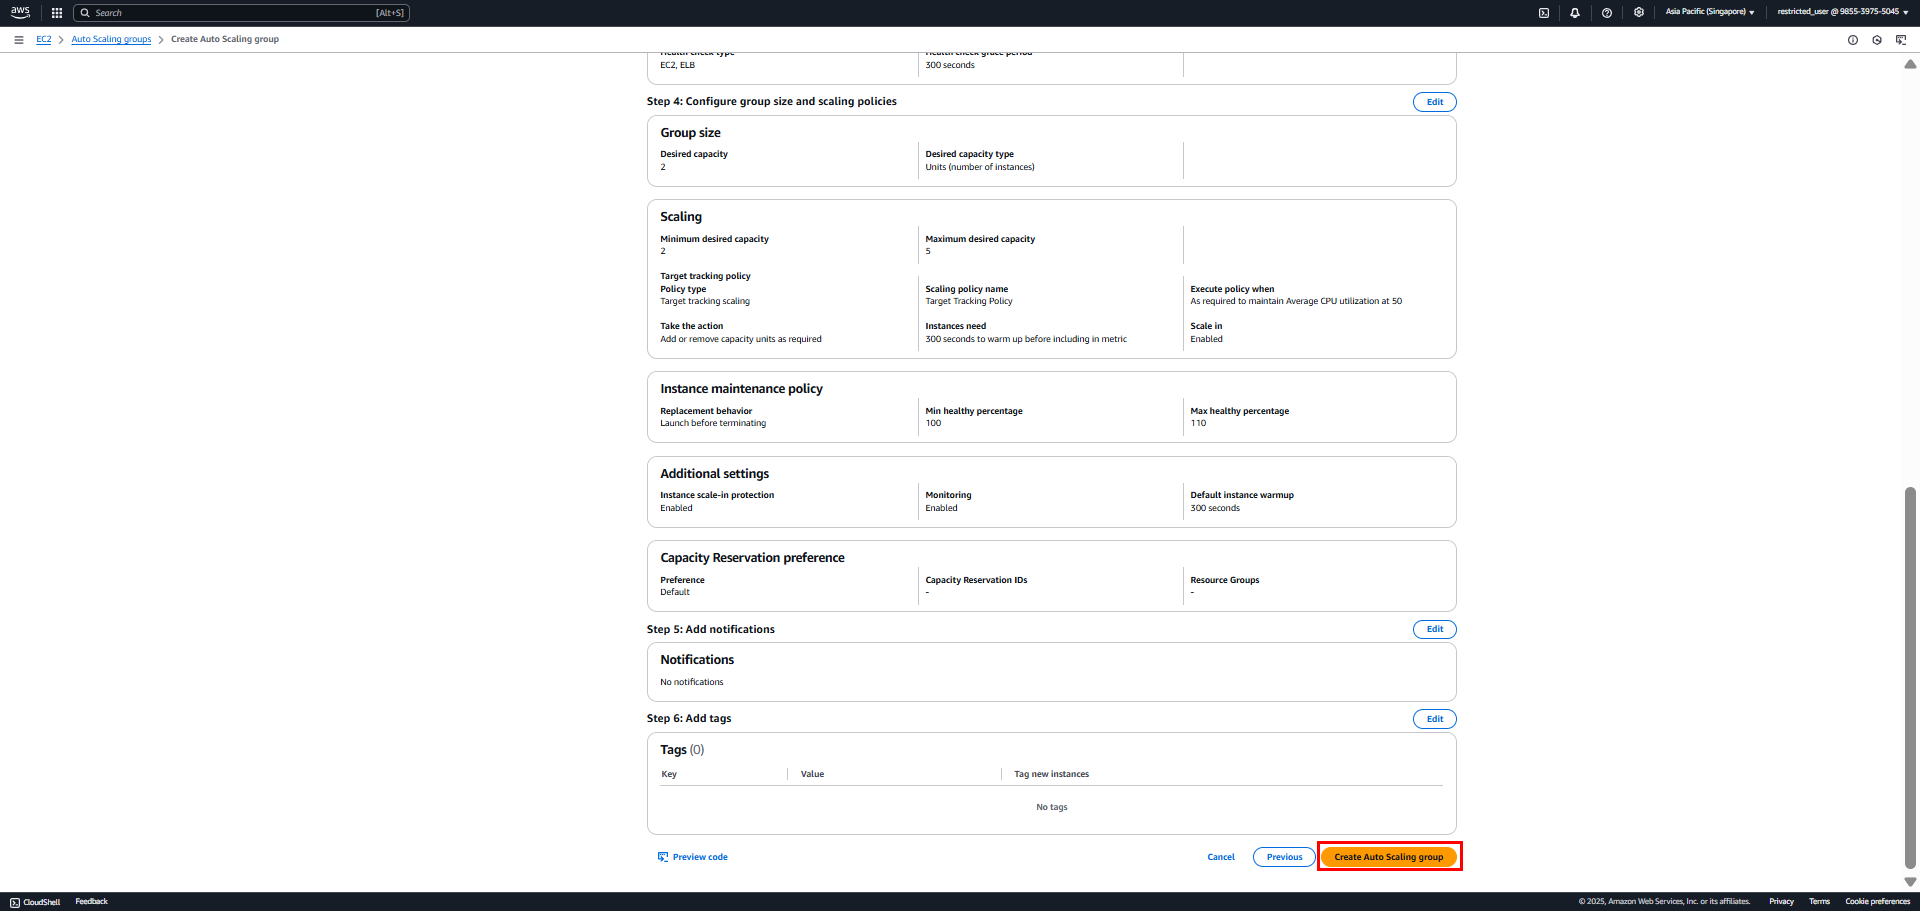
After launch, verify:
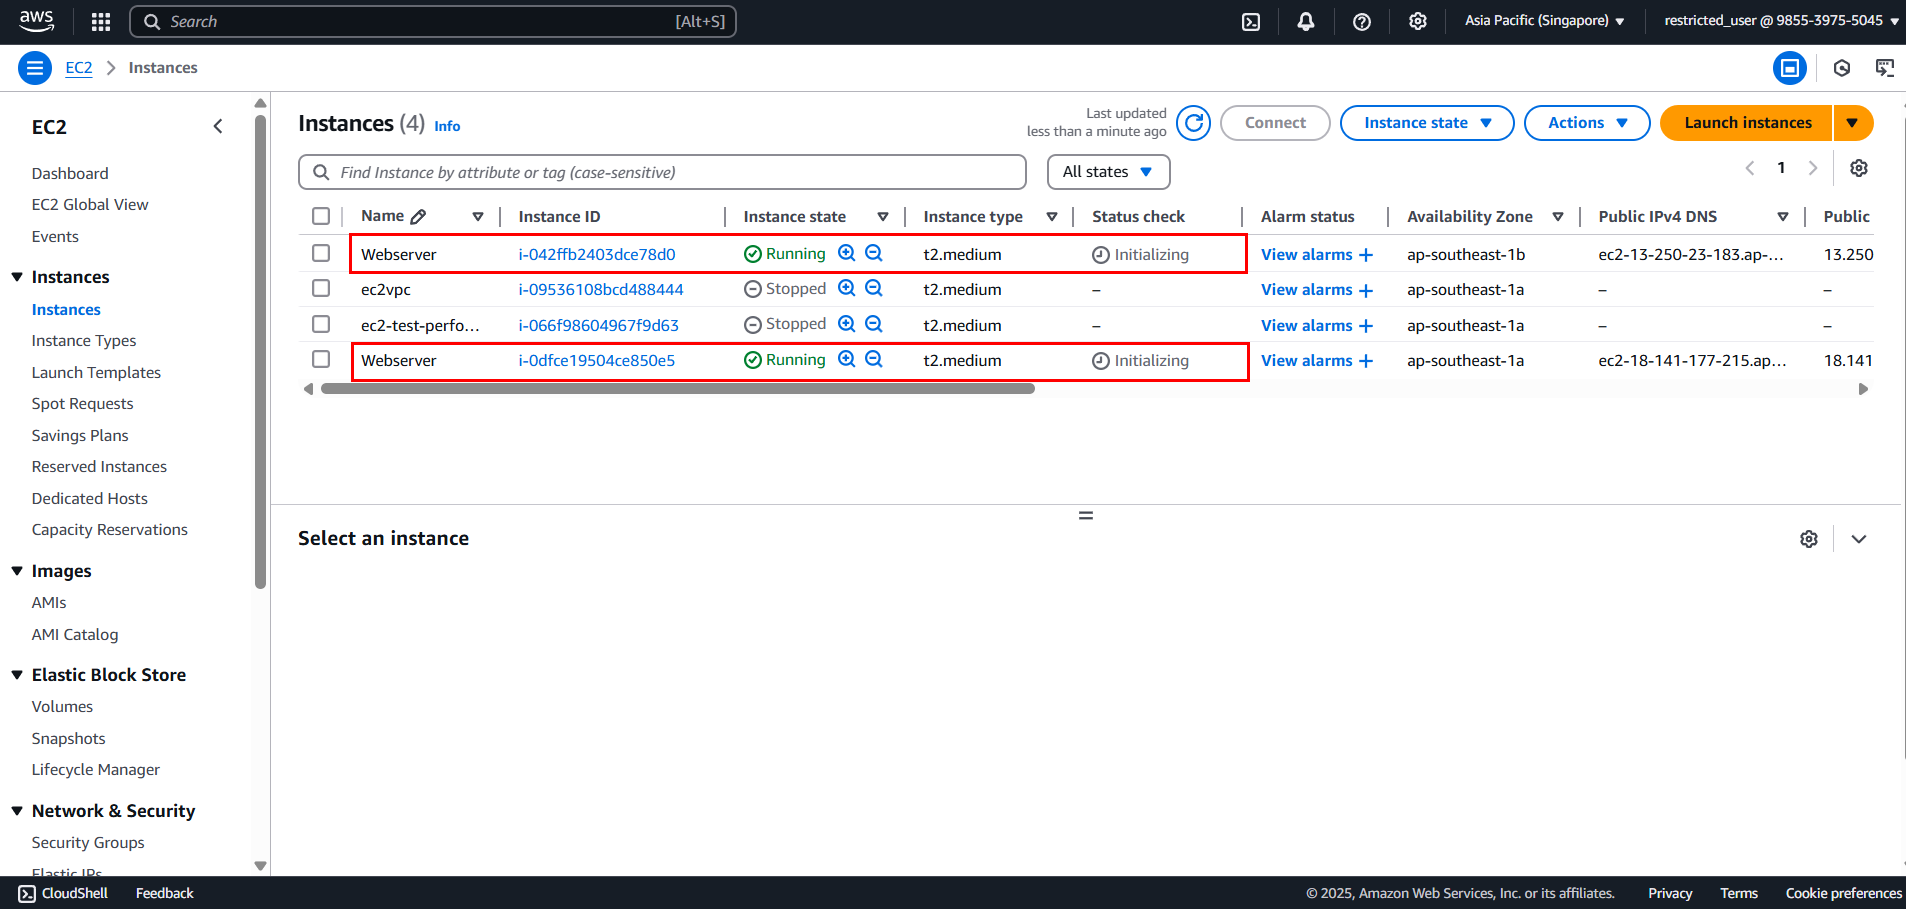
- Instances created according to desired capacity
- Instances registered with Target Group
- Health check status OK
Verify Auto Scaling
Check Instances Created from Desired Capacity
Access EC2 Instances to see 2 Instances being initialized with the name Webserver (Tag name set in Launch Template).
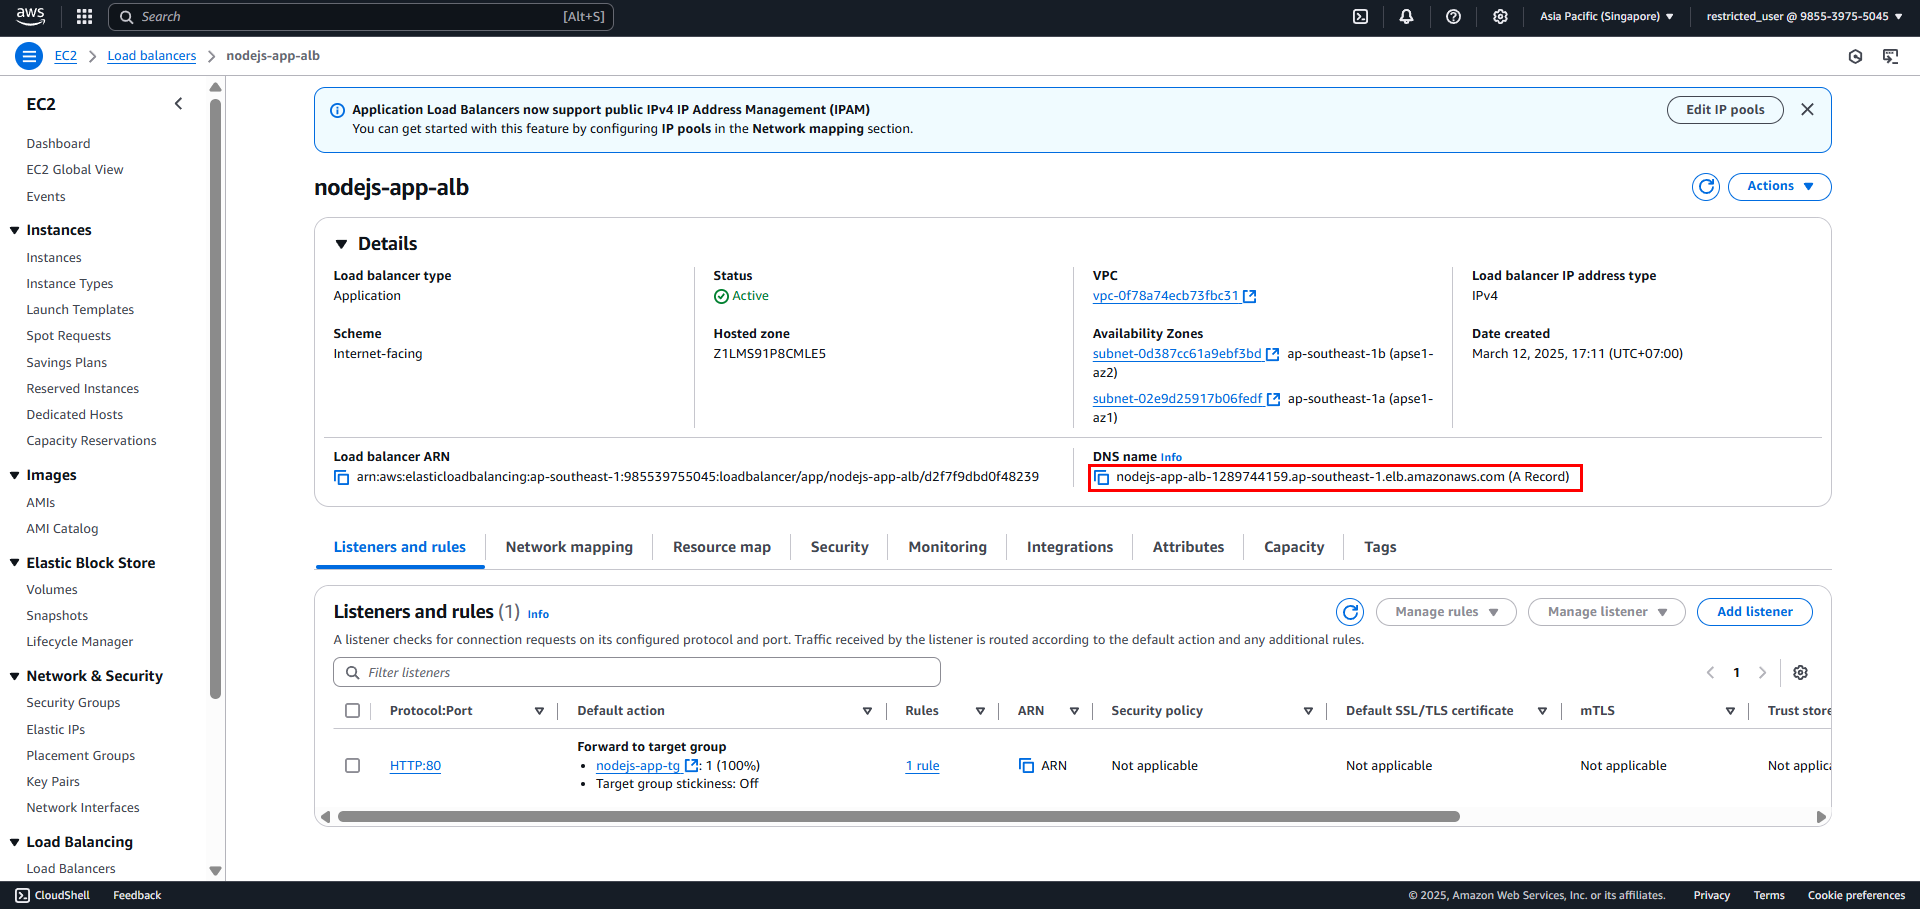
Access Website on ALB
- Copy ALB DNS name from EC2 Console > Load Balancers
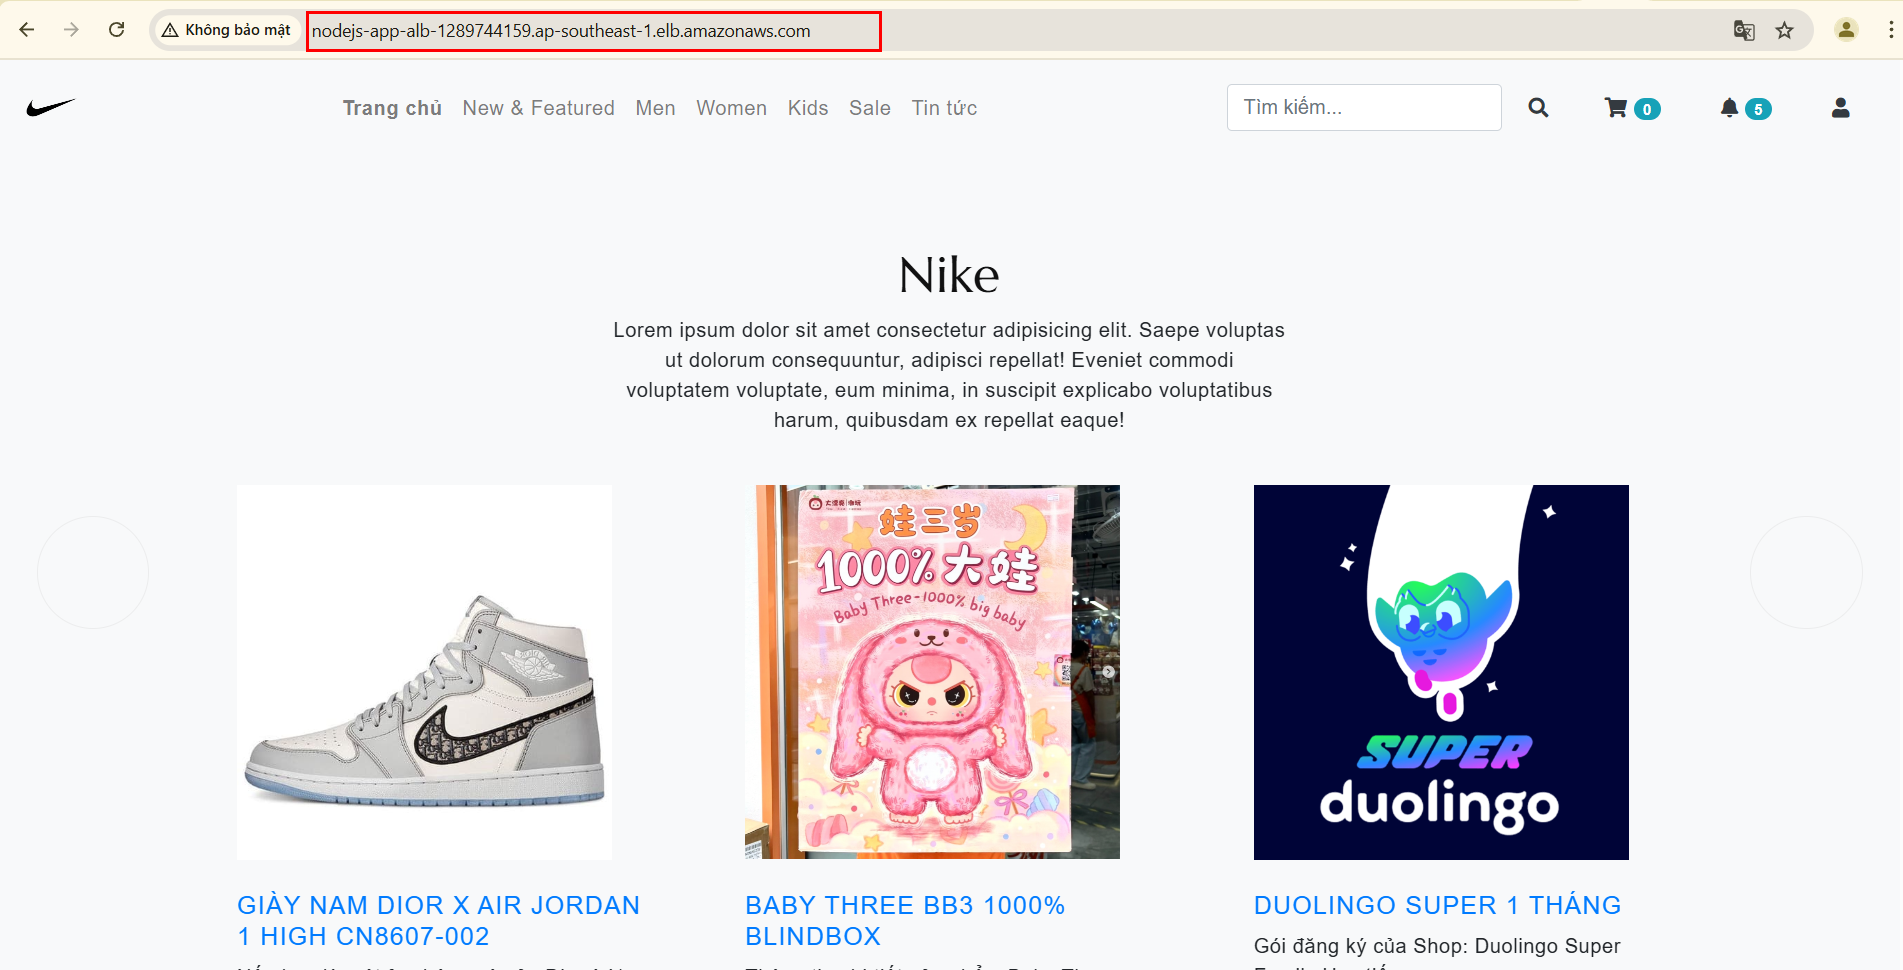
- Paste into browser to access website
- Verify website works normally
Health Check Status OK
Check Target Group Health Status
- Go to EC2 Console > Target Groups
- Select created Target Group
- Targets tab shows instance health status
- Verify status is “healthy” (green)
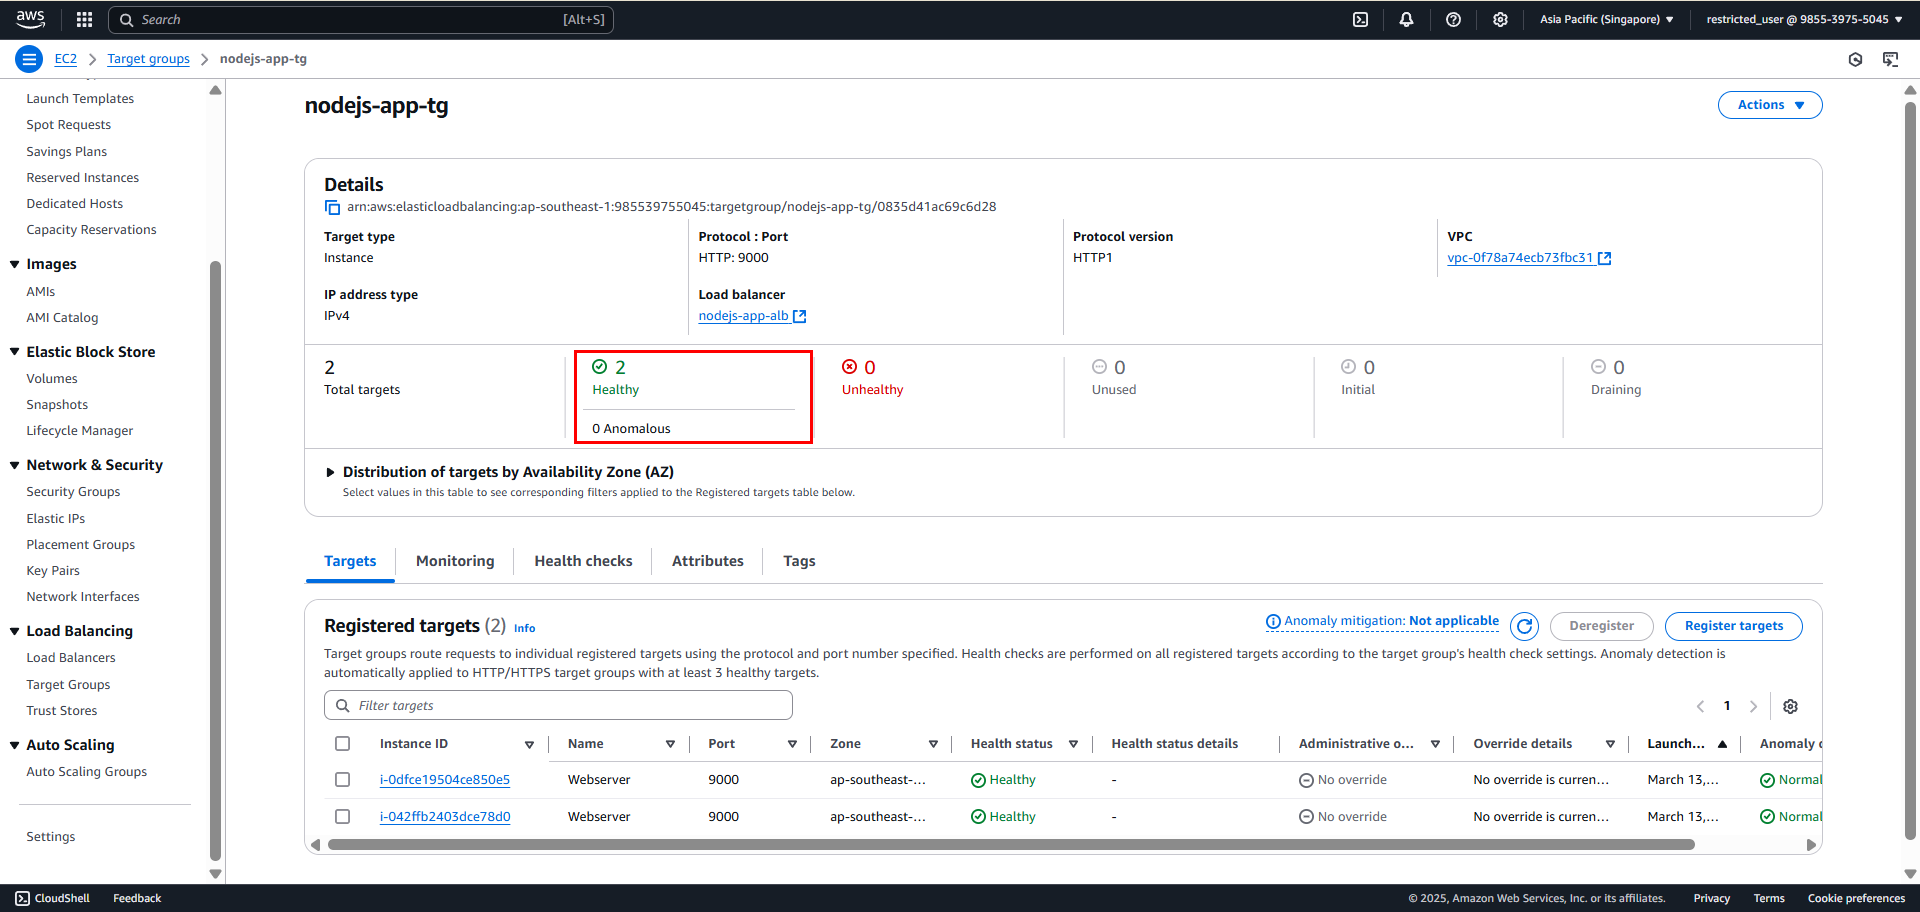
If instances show “unhealthy”, check:
- Security group rules
- Health check settings in Target Group
- Application logs on instances