Deploy Website to EC2
In this section, we will learn how to deploy a Node.js application to an EC2 instance. This process includes installing necessary dependencies, configuring the environment, and setting up services to ensure the application runs stably and continuously.
Key steps include:
- Installing Node.js and PM2 process manager
- Cloning and installing the application from repository
- Configuring environment variables
- Setting up systemd service
- Testing and verifying deployment
Deploy Node.js Application
1. Install Node.js
# Install Node.js 18.x
curl -fsSL https://deb.nodesource.com/setup_18.x | sudo -E bash -
sudo apt-get install -y nodejs

# Verify installation
node --version
npm --version
2. Clone and Install Application
# Create application directory
mkdir -p /home/ubuntu/nodejs-app
cd /home/ubuntu/nodejs-app

# Verify directory creation
ls -la

# Clone repository
git clone <YOUR_REPOSITORY_URL>

# Verify repository cloning
ls -la

# Move to project directory
cd <YOUR_PROJECT_FOLDER>

# Check project structure
ls -la

# Install dependencies
npm install

# Verify node_modules
ls -la node_modules
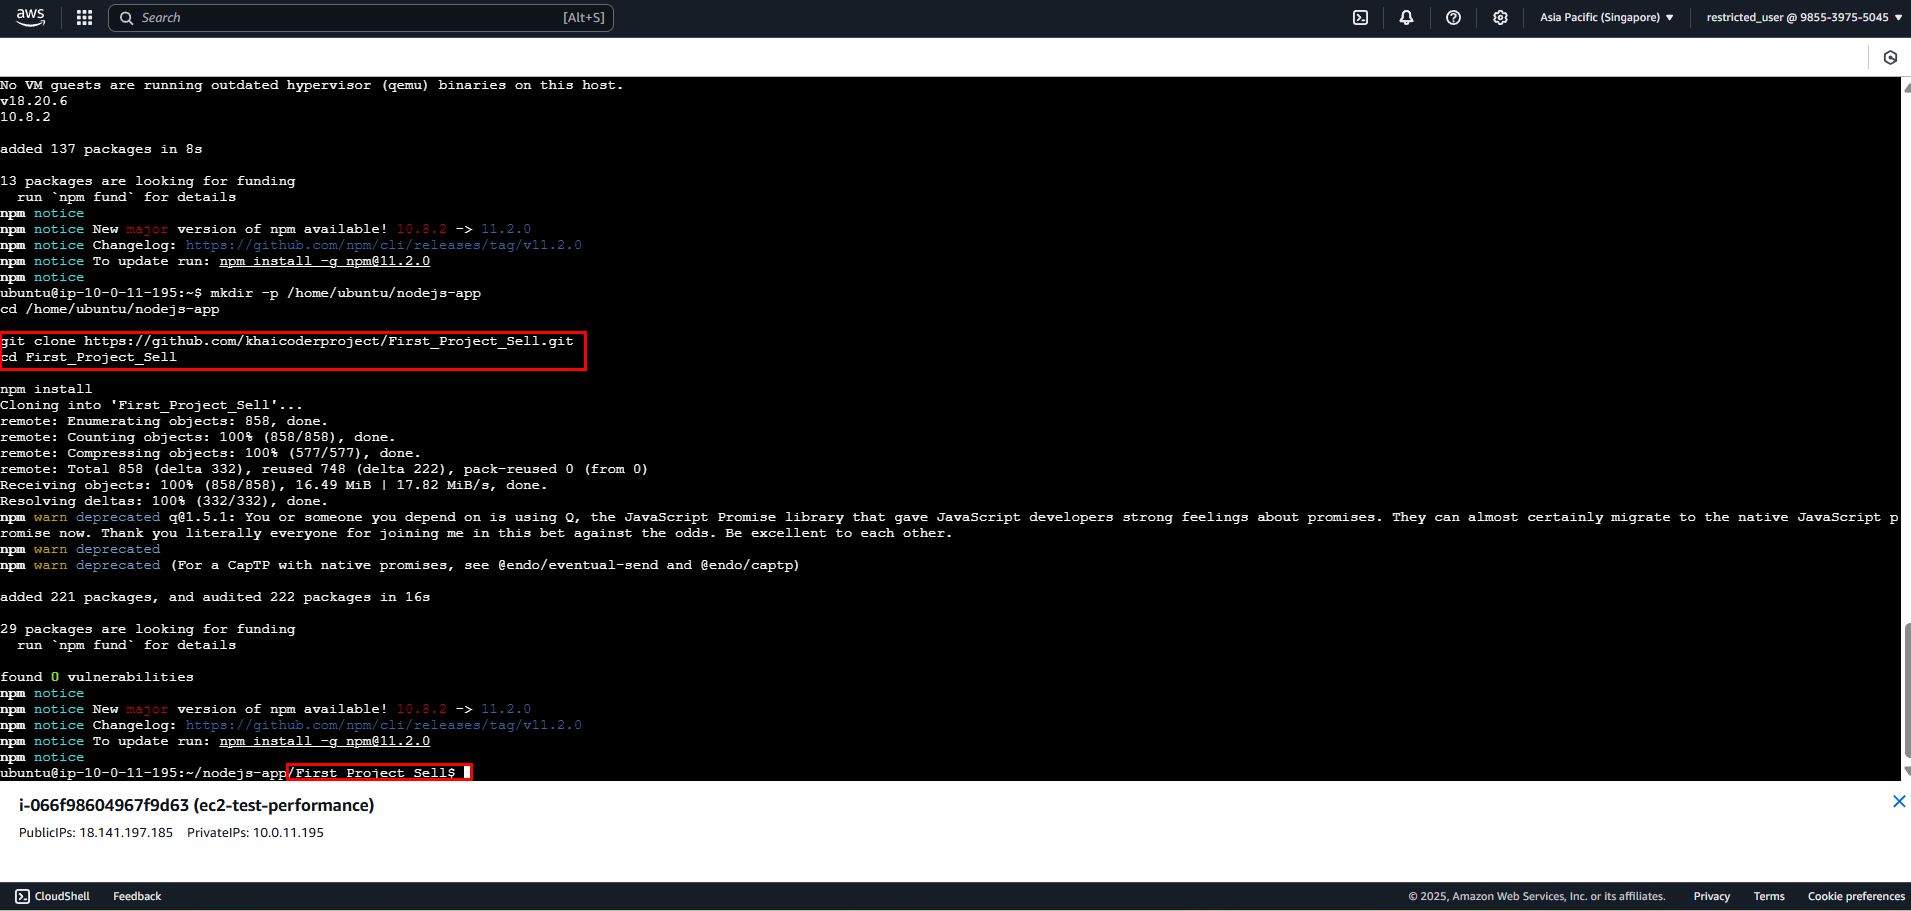
Replace values:
<YOUR_REPOSITORY_URL>: URL of Git repository<YOUR_PROJECT_FOLDER>: Directory name after cloning
3. Configure Environment Variables (If any)
# Move to project directory
cd /home/ubuntu/nodejs-app/<YOUR_PROJECT_FOLDER>

# Verify current path
pwd

# Create .env file
cat > .env << 'EOL'
PORT=<YOUR_PORT>
MONGO_URL=<YOUR_MONGODB_URL>
NODE_ENV=<YOUR_NODE_ENV>
CLOUD_NAME=<YOUR_CLOUDINARY_NAME>
API_KEY_CLOUDINARY=<YOUR_CLOUDINARY_API_KEY>
API_KEY_SECRET_CLOUDINARY=<YOUR_CLOUDINARY_API_SECRET>
EOL

# Verify .env file creation
ls -la .env
cat .env
4. Configure Systemd Service
# Create service file
sudo nano /etc/systemd/system/nodejs-app.service
After filling in, the interface will look like this
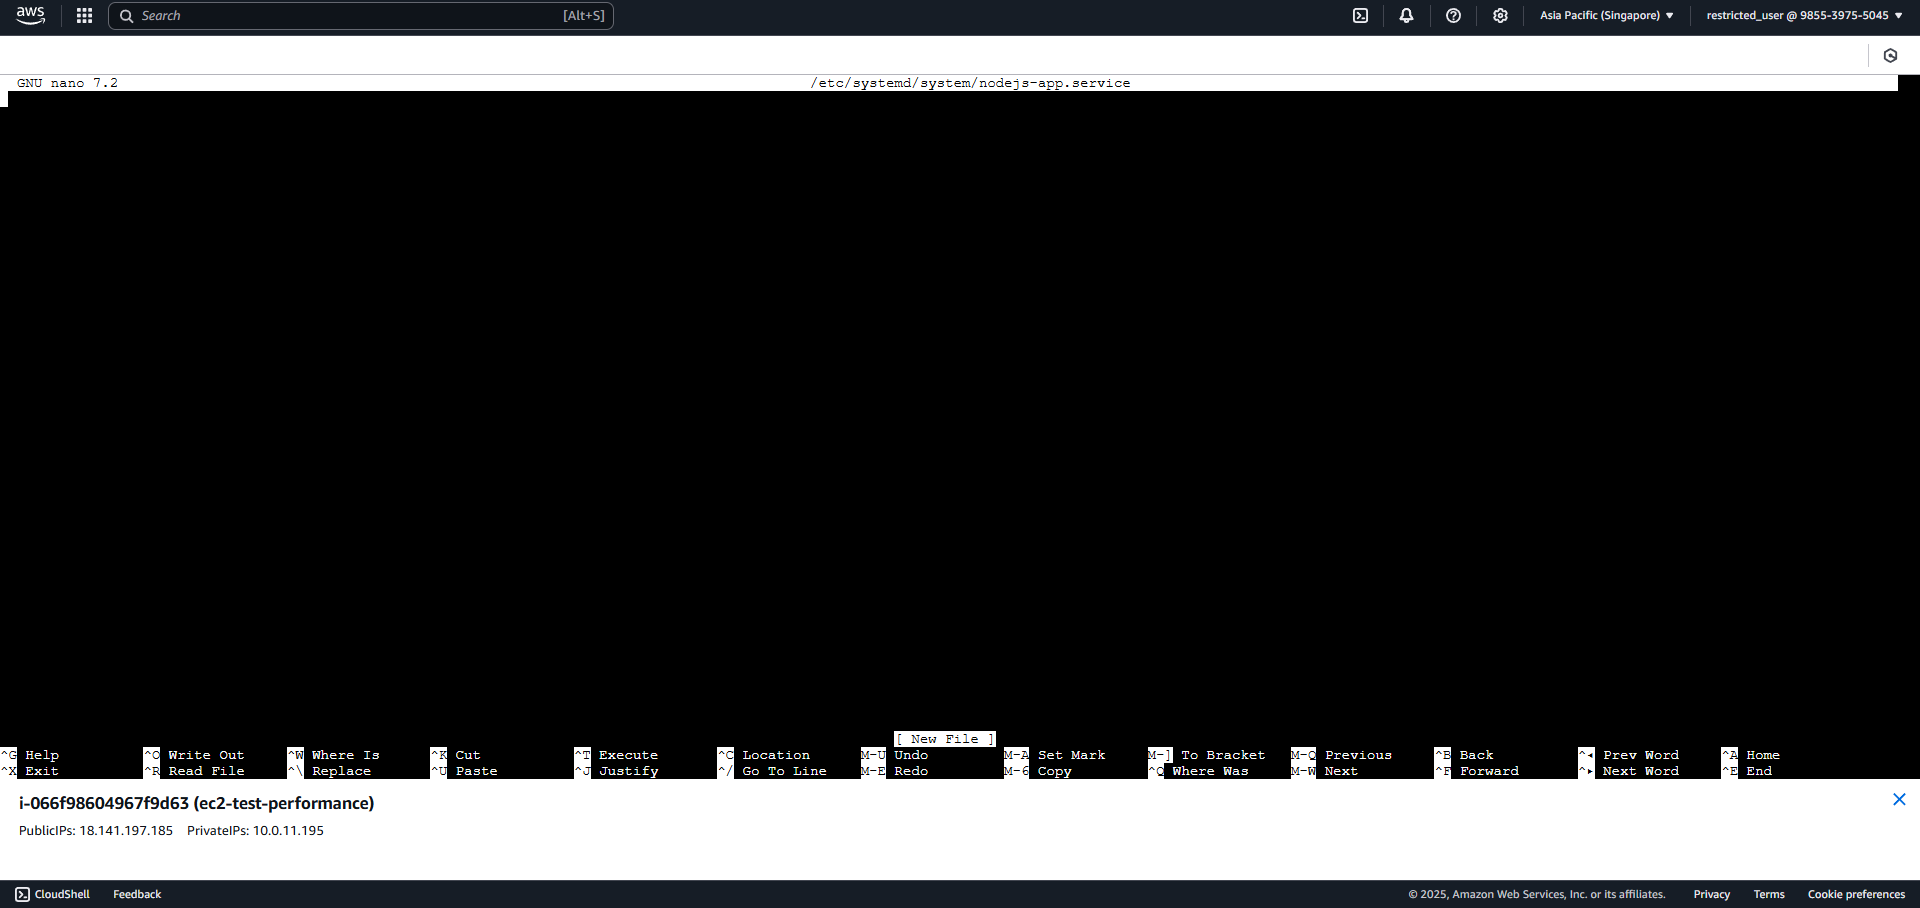
Then fill in the following content
Content of nodejs-app.service:
[Unit]
Description=Node.js App
After=network.target

[Service]
Type=simple
User=ubuntu
WorkingDirectory=/home/ubuntu/nodejs-app/<YOUR_PROJECT_FOLDER>
ExecStart=/usr/bin/npm start
Restart=always
Environment=NODE_ENV=<YOUR_NODE_ENV>
Environment=PORT=<YOUR_PORT>

[Install]
WantedBy=multi-user.target
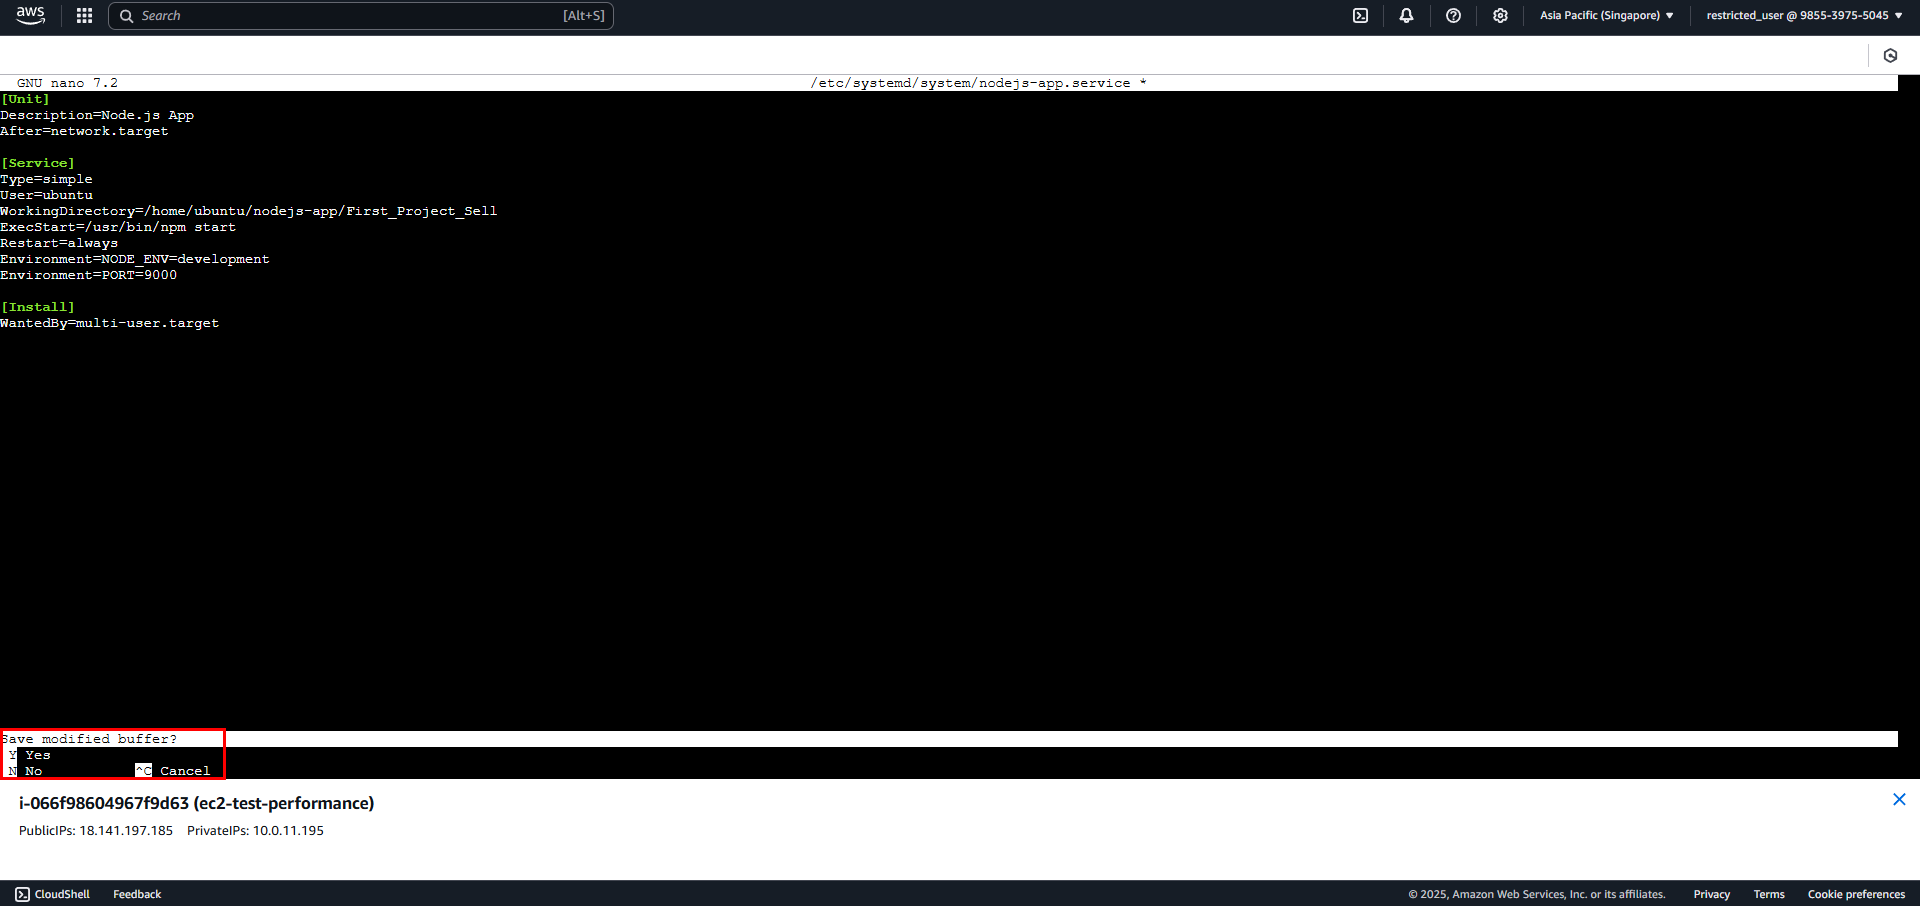
After pasting, use Ctrl+X, Y and Enter consecutively to exit.
[Rest of the translation continues in the same pattern, maintaining all technical terms, commands, and code blocks unchanged while translating the explanatory text to English]
5. Start Service to Run Website
# Verify service file
ls -la /etc/systemd/system/nodejs-app.service
cat /etc/systemd/system/nodejs-app.service

# Reload systemd
sudo systemctl daemon-reload

# Enable service
sudo systemctl enable nodejs-app

# Start service
sudo systemctl start nodejs-app

# Check status
sudo systemctl status nodejs-app

# Verify process
ps aux | grep node
ls -la /proc/$(pgrep -f "npm start")/cwd
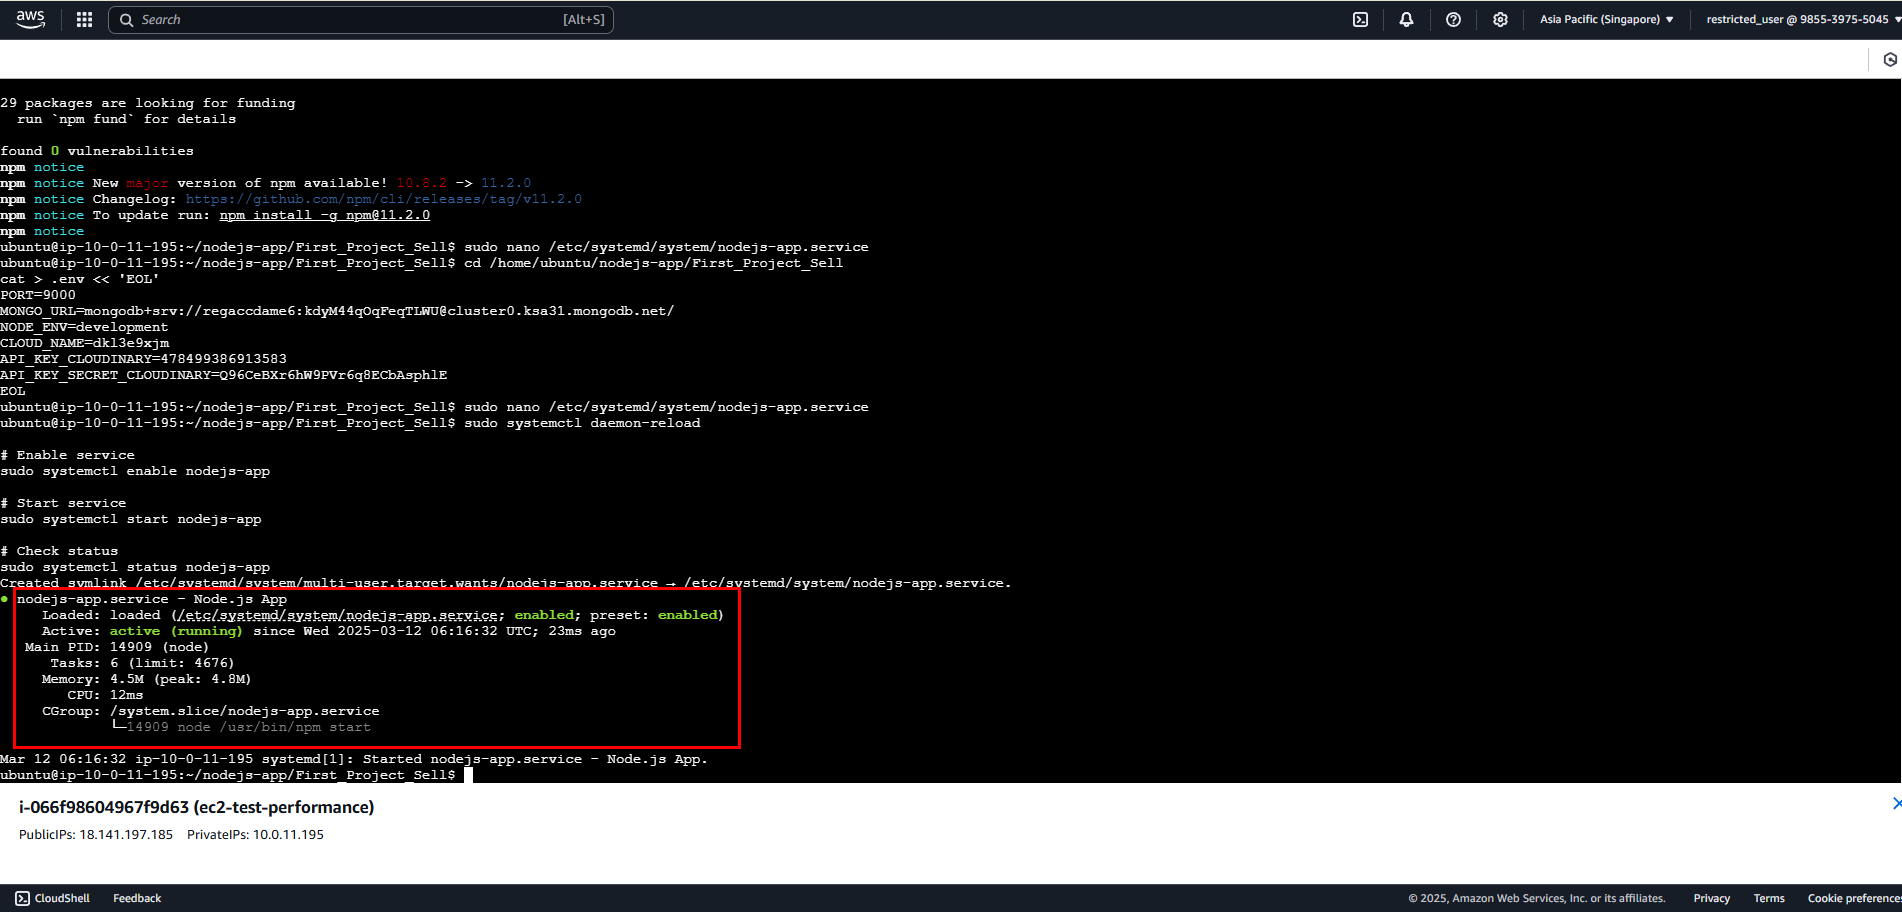
Test and Verify Deployment
1. Check Service Status
# Verify working directory
pwd
ls -la

# Check service logs
sudo journalctl -u nodejs-app -f

# Verify process
ps aux | grep node

# Check port listening
sudo netstat -tulpn | grep <YOUR_PORT>

# Check file permissions
ls -la /home/ubuntu/nodejs-app/<YOUR_PROJECT_FOLDER>
2. Test Endpoints
# Test local connection
curl http://localhost:<YOUR_PORT>/

# Test from public IP
curl http://<EC2_PUBLIC_IP>:<YOUR_PORT>/
or
http://<EC2_PUBLIC_IP>:<YOUR_PORT>/
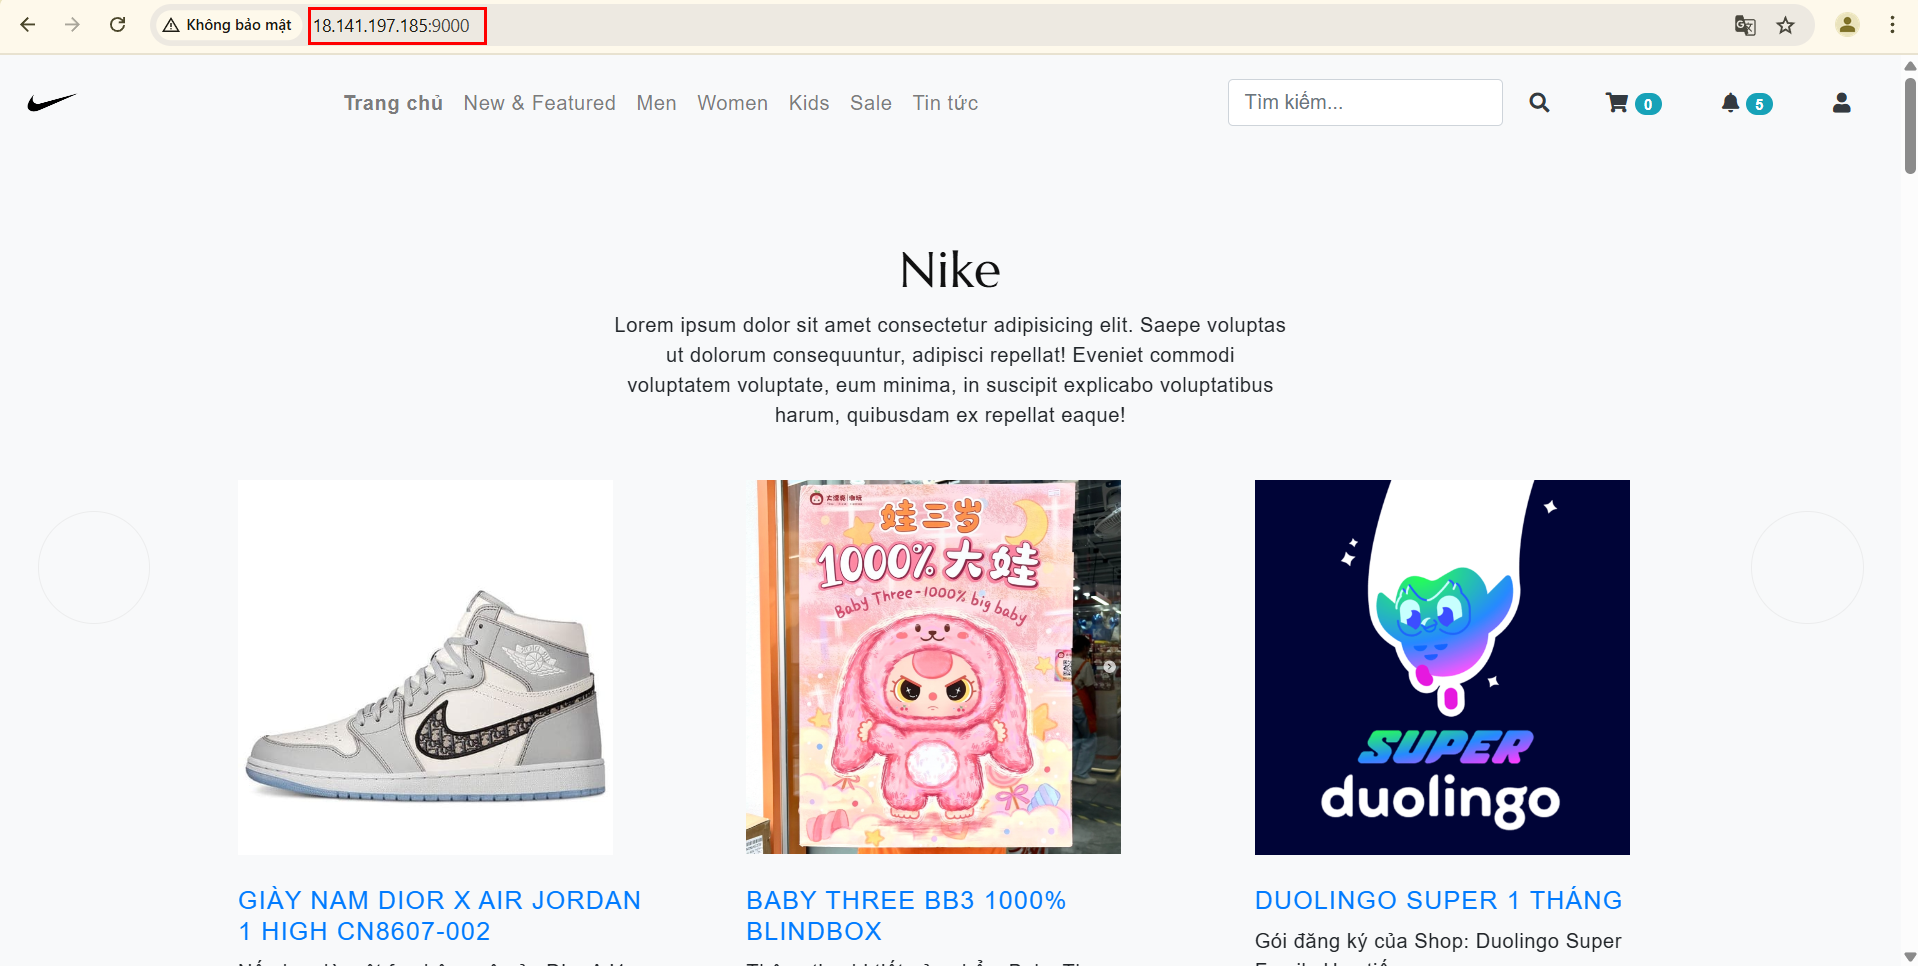
Replace placeholders:
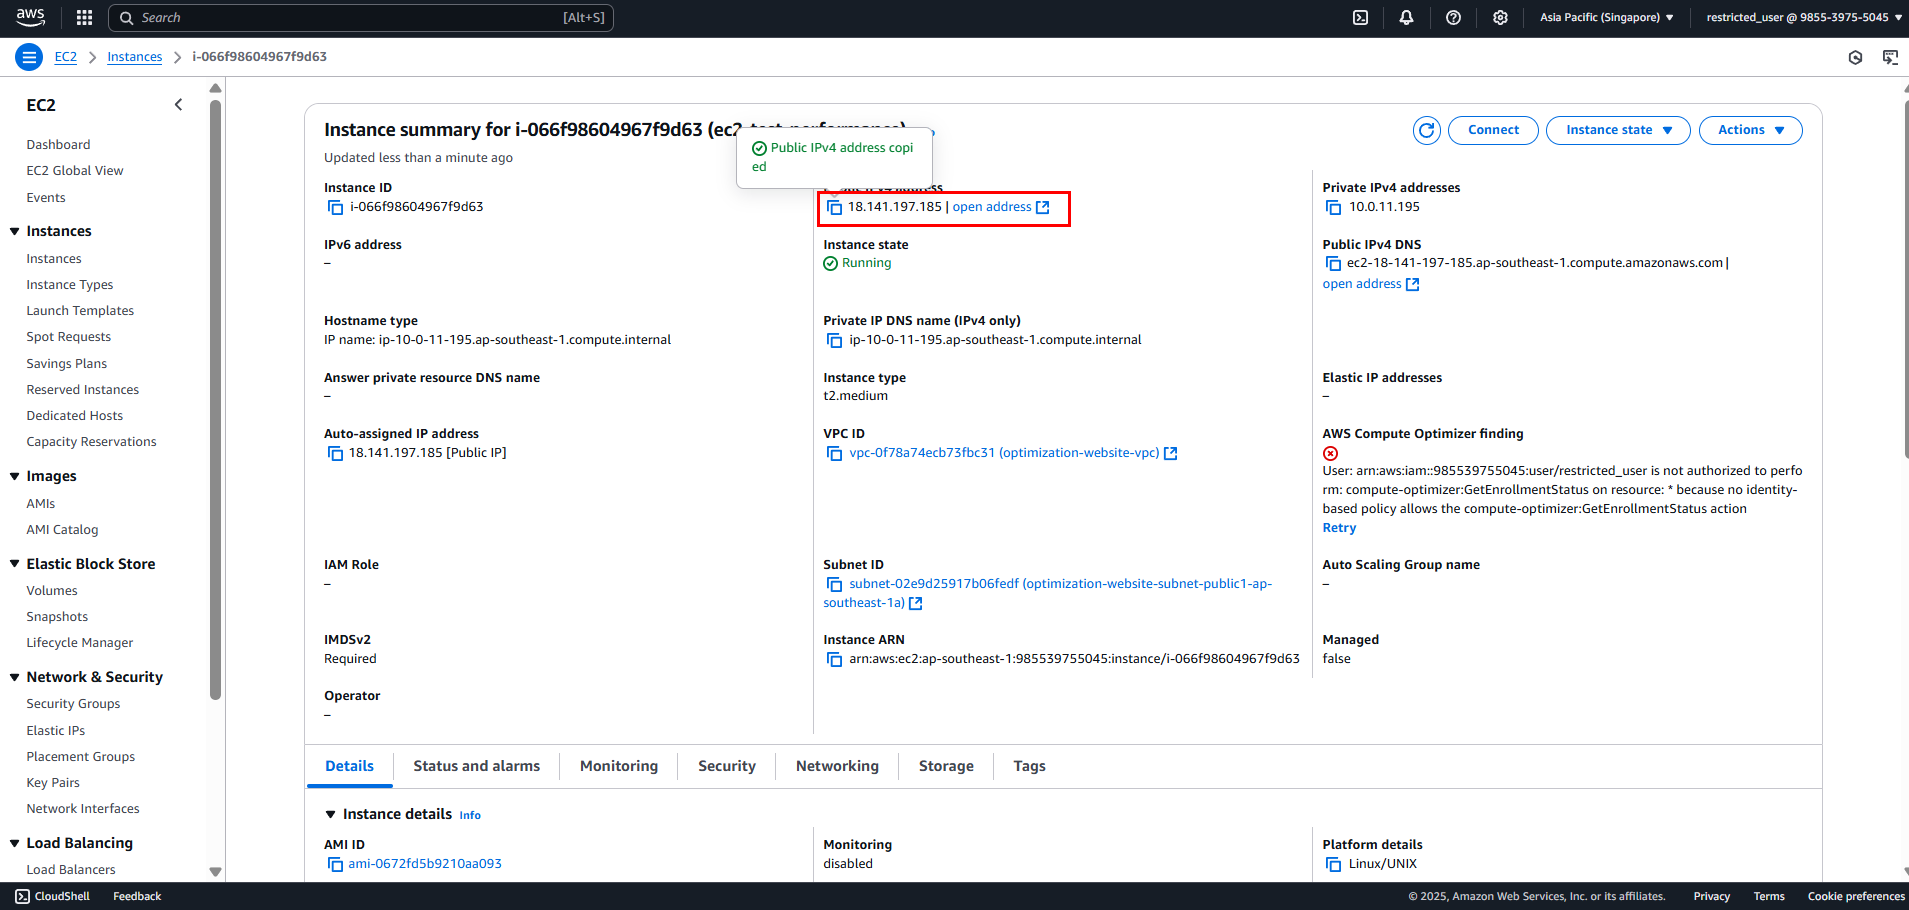
<EC2_PUBLIC_IP>: Public IPv4 of EC2 instance (click on EC2 to get IPv4)<YOUR_PORT>: Port configured in .env
Now that we can access the Website, let’s keep this EC2 instance so we can check the performance later!
In the next section, we will learn about:
- Application Load Balancer (ALB)
- Auto Scaling Group
- Monitoring