Get started with Gitlab
1. Creating a GitLab Account
Here is a guide on how to access and create an account on GitLab:
Step 1: Access GitLab
- Open your browser and navigate to the GitLab homepage.
Step 2: Register an Account
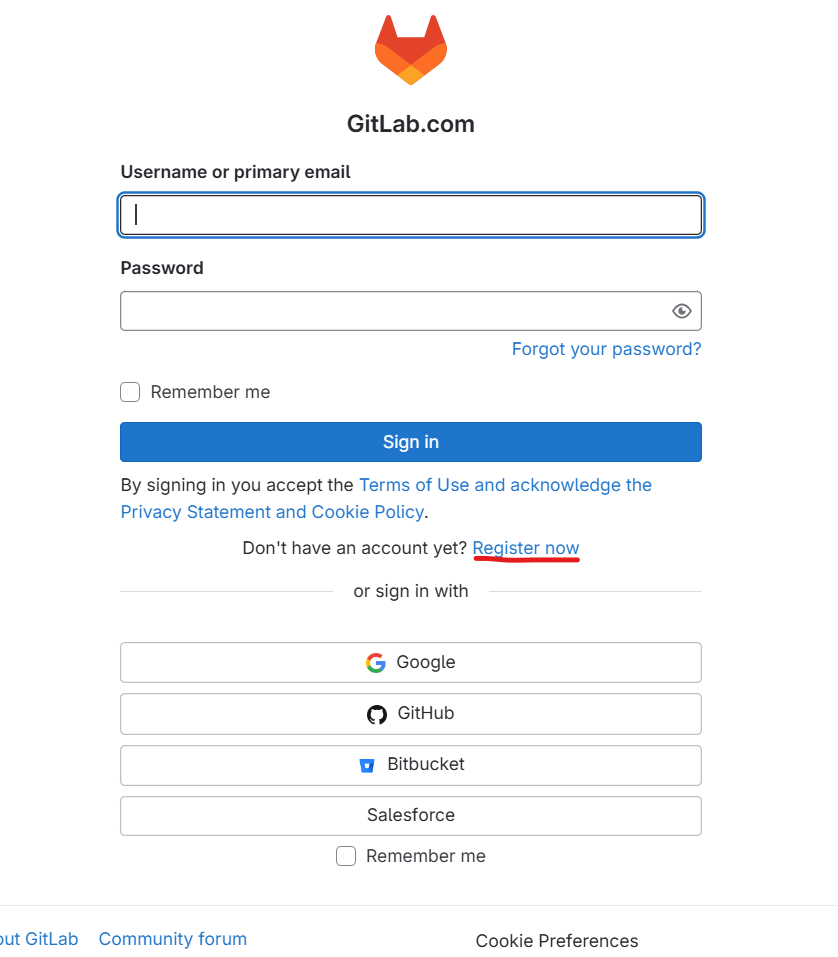
- Click on the “Sign in” button at the top right corner of the homepage.

- Select “Register now” to sign up for a new account, or you can log in using Google, GitHub, etc., if you already have an account.
Step 3: Fill Out Registration Information
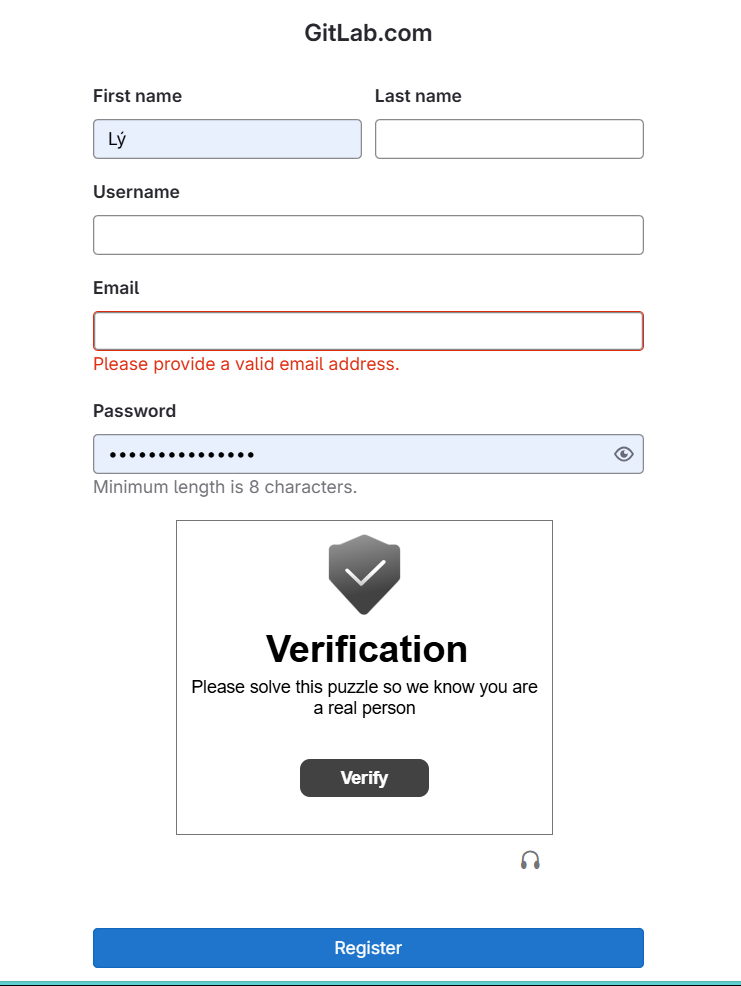
- Username: Choose a unique username for your account.
- Email: Enter your email address.
- Password: Create a secure password for your account.
- Confirm Password: Re-enter your password to confirm.
- Other Information: You may be asked for additional details such as “First Name” and “Last Name”.
Step 4: Confirm and Register
- Confirm by clicking on “Verify”.
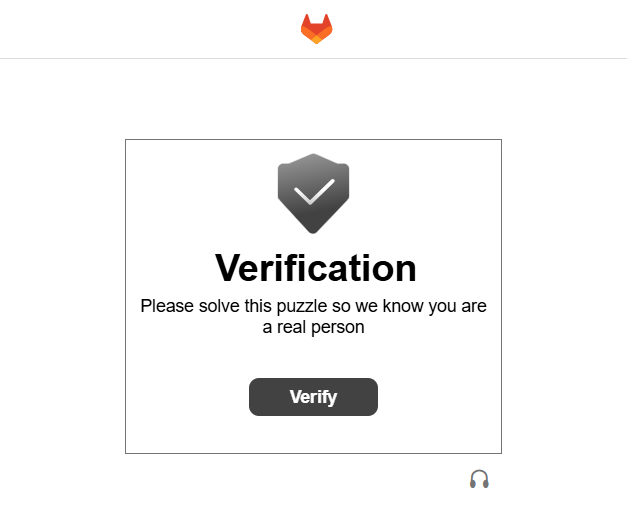
- Follow the instructions to verify your account, and if successful, you will see the confirmation screen.
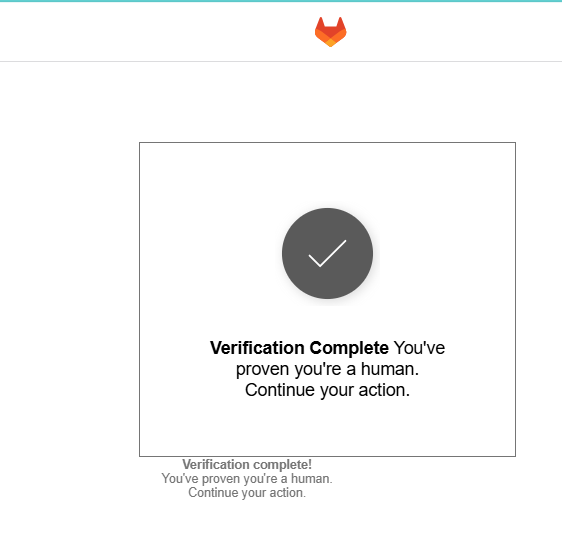
- After completing these steps, click on “Register” to create your account.
Step 5: Verify Your Email Address
- After registration, GitLab will send a confirmation email to the address you provided.

- Open the email and click on the verification link to confirm your email address.
Step 6: Log In to GitLab
- After verifying your email, return to the GitLab homepage and click on “Sign in”.
- Enter your username or email and password, then click “Sign in”.
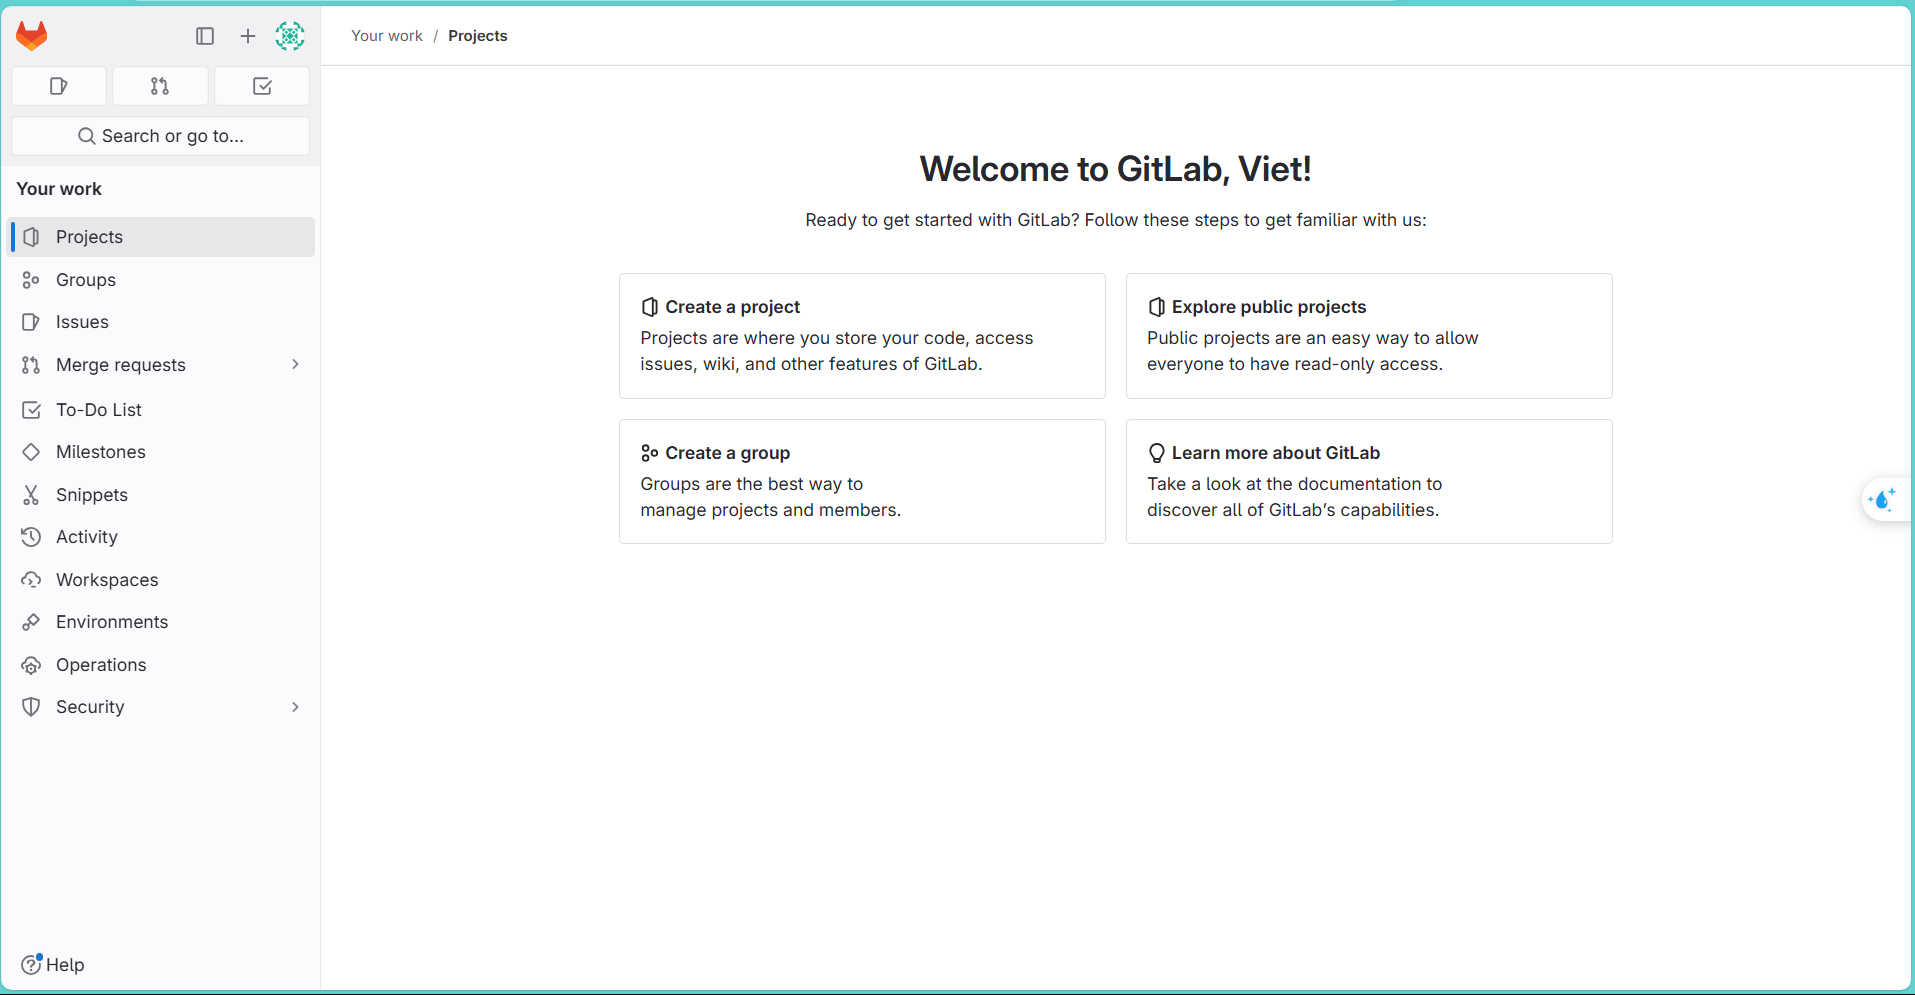
Step 7: Getting Started with GitLab
- Now you can start configuring your account. Detailed instructions will be provided in the following sections.
2. Familiarizing Yourself with the GitLab Interface
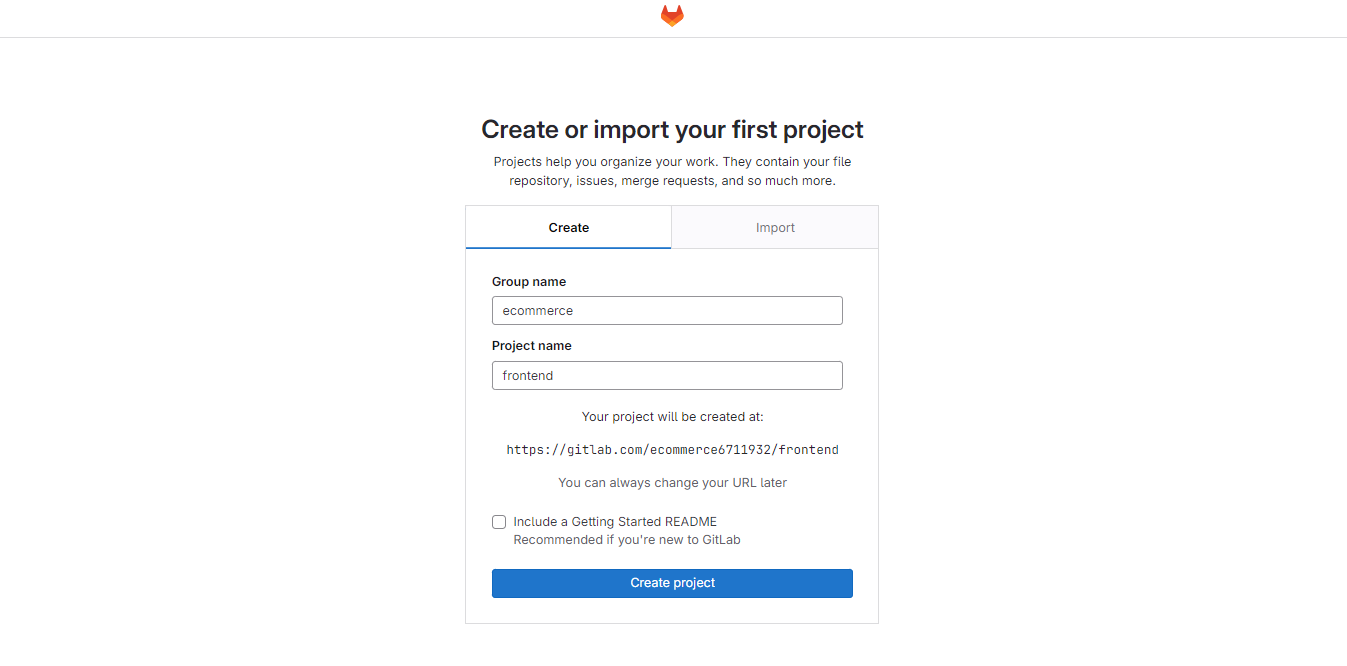
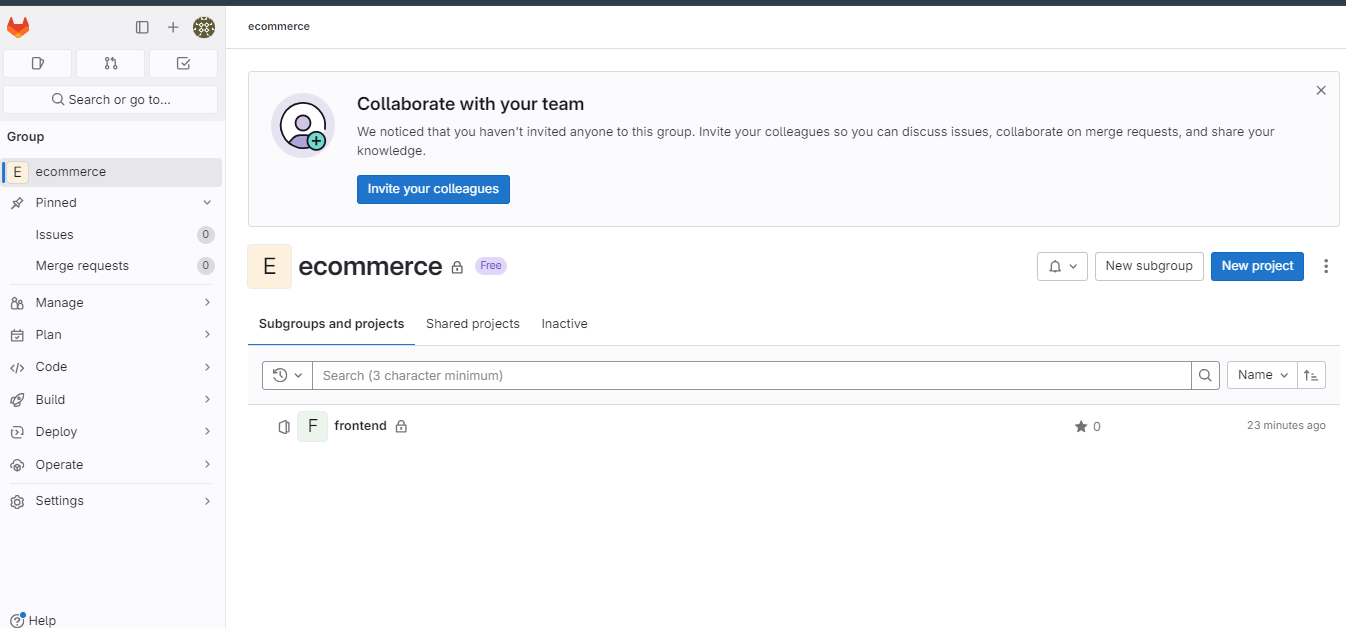
First, you need to get familiar with the GitLab interface. If this is your first time using GitLab, it will prompt you to create a new project upon login. Here, we create a group named ecommerce with a project called frontend. We do not select the option to create a README file. If you prefer, you can use the import option (which will be discussed later).
After creating the project, this is the GitLab Dashboard view.
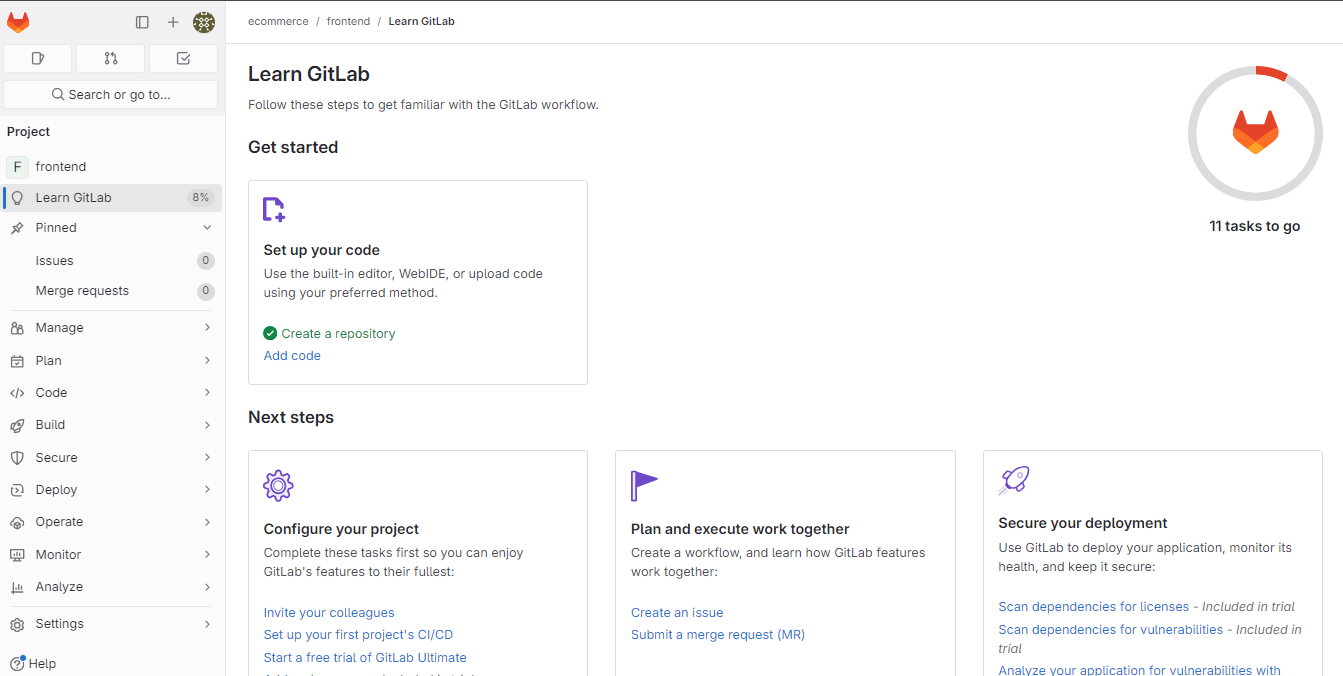
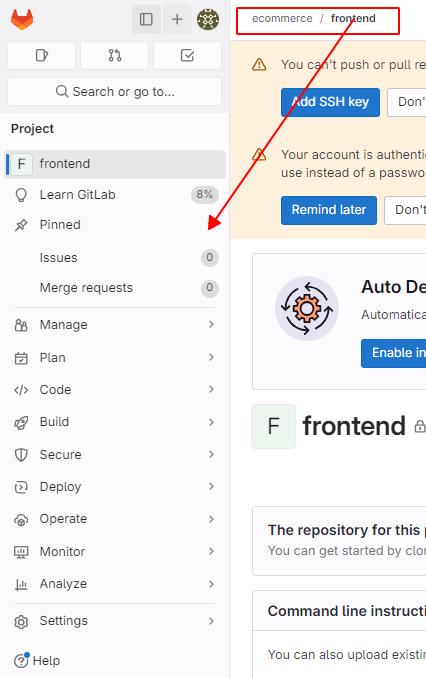
On the left side is the sidebar of the frontend project. It includes basic functions such as:
- frontend: This is the name of your project.
- Learn GitLab: Provides resources and tutorials to learn how to use GitLab.
- Pinned: Where you can pin important items for quick access.
- Issues: Displays a list of issues (tasks, bugs, feature requests) related to the project.
0indicates that there are no open issues. - Merge Requests: Shows a list of merge requests to merge code from other branches into the main branch.
- Manage: Tools and options for managing the project.
- Plan: Tools and options for planning the project, including tasks and milestones.
- Code: Where you can access and manage the project’s source code.
- Build: Tools for building and testing the project’s source code.
- Secure: Tools and options for securing the code and the project.
- Deploy: Tools for deploying the project’s source code to a production environment.
- Operate: Tools for monitoring and operating the project after deployment.
- Monitor: Tools for monitoring the project’s performance and activity.
- Analyze: Tools for analyzing data and project performance.
- Setting: Project settings.
The navigation options in the sidebar will change depending on the object you are viewing. This object could be a repository/project, group, or sub-group.
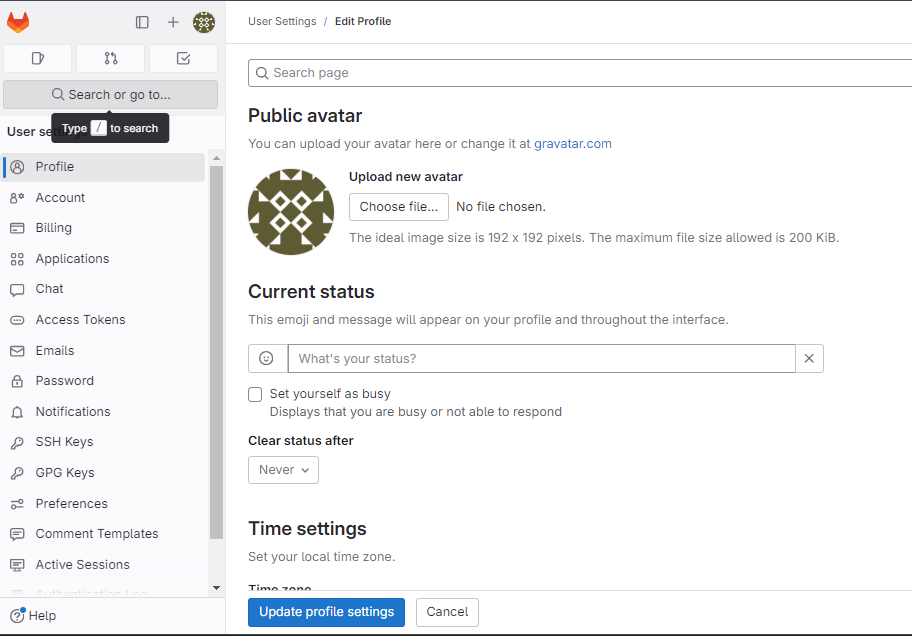
Additionally, you can set up your account by clicking on “Edit profile”.
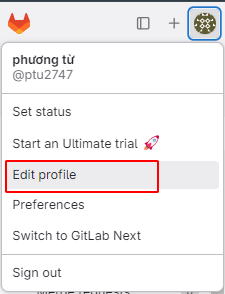
Account settings will be displayed.
