Load Data for SQL Server
In the previous section, we successfully deployed the Frontend and Backend. Now, we will proceed to set up SQL Server.
1. Set Up SQL Server
We will use the following command to connect to the SQL database interface in Docker:
docker exec -it sqlserver /opt/mssql-tools18/bin/sqlcmd -S localhost -U sa -P Str0ngPa5sVvorcl -C

We will run the following command:
create database ecommerce;
GO

2. Set Up Cloud Beaver
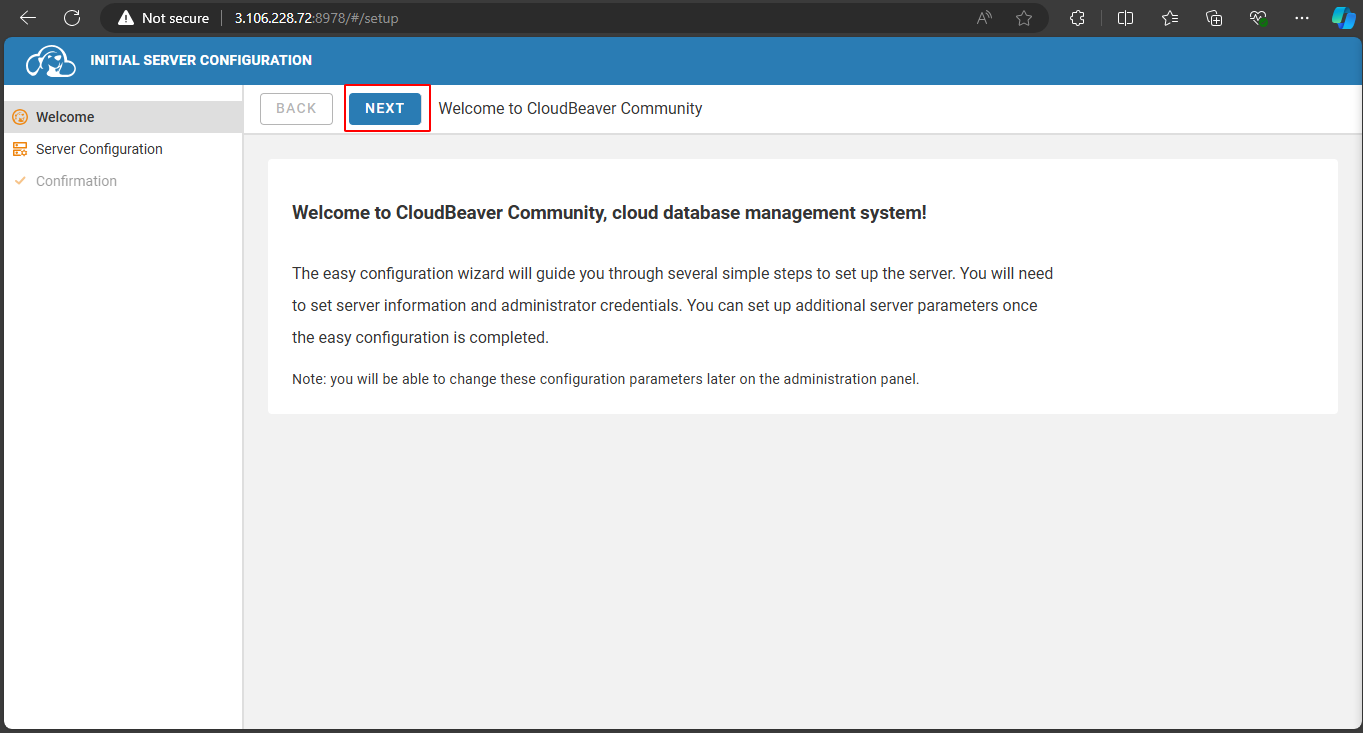
In the previous sections, the Cloud Beaver interface looked like this, and we clicked Next:
Click Next.
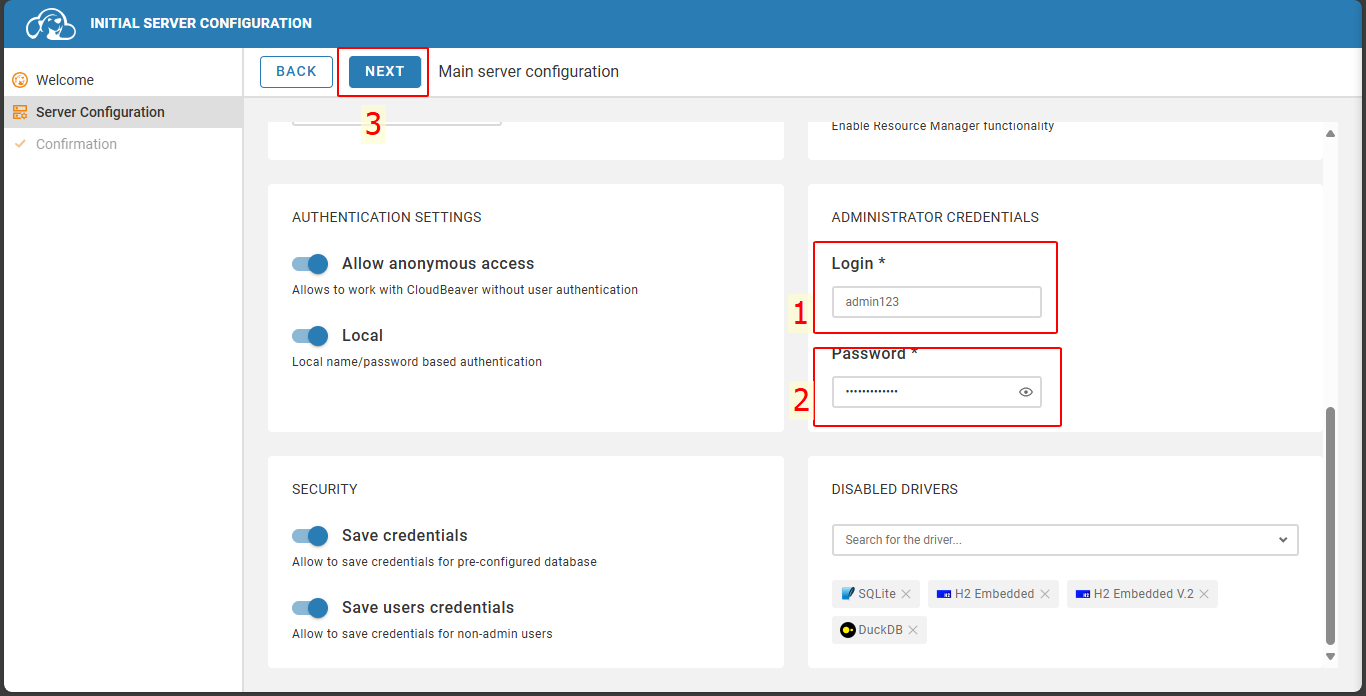
On the next screen, scroll down, enter the account and password to log in.
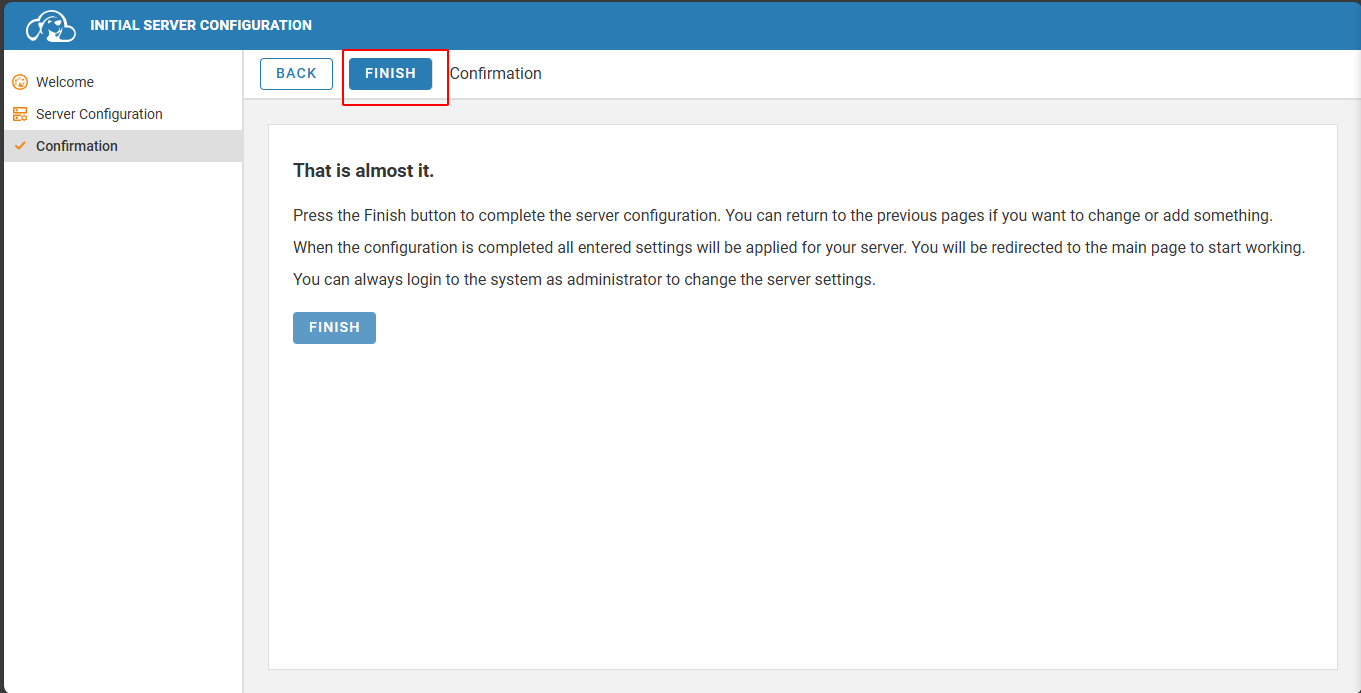
Click Finish.
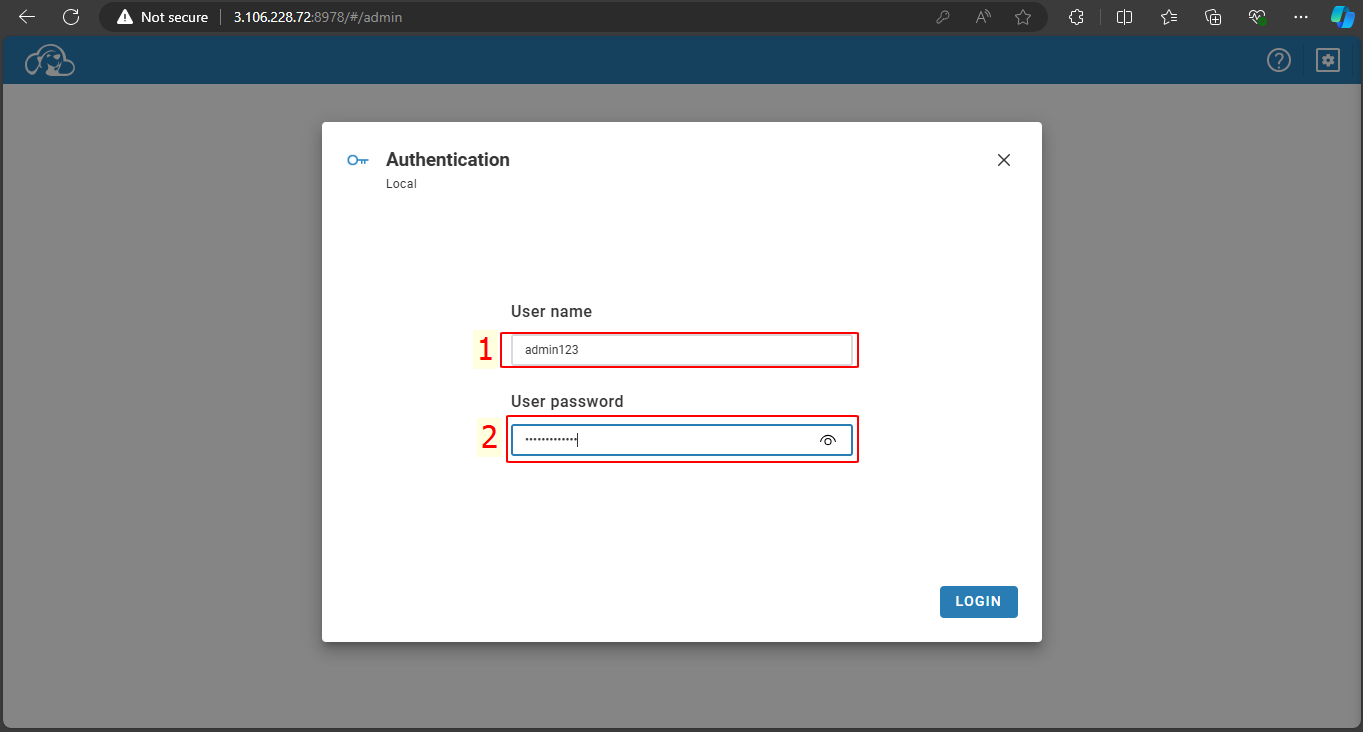
Proceed to log in again.
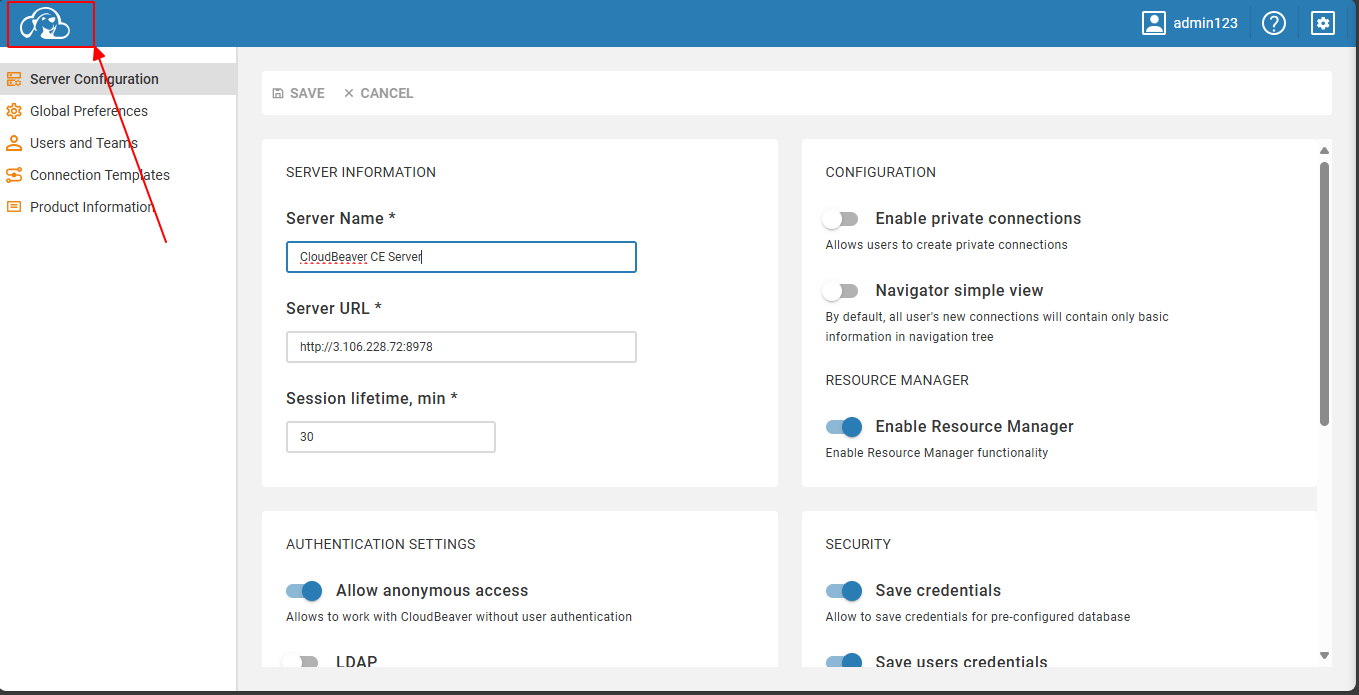
Click on the logo icon.
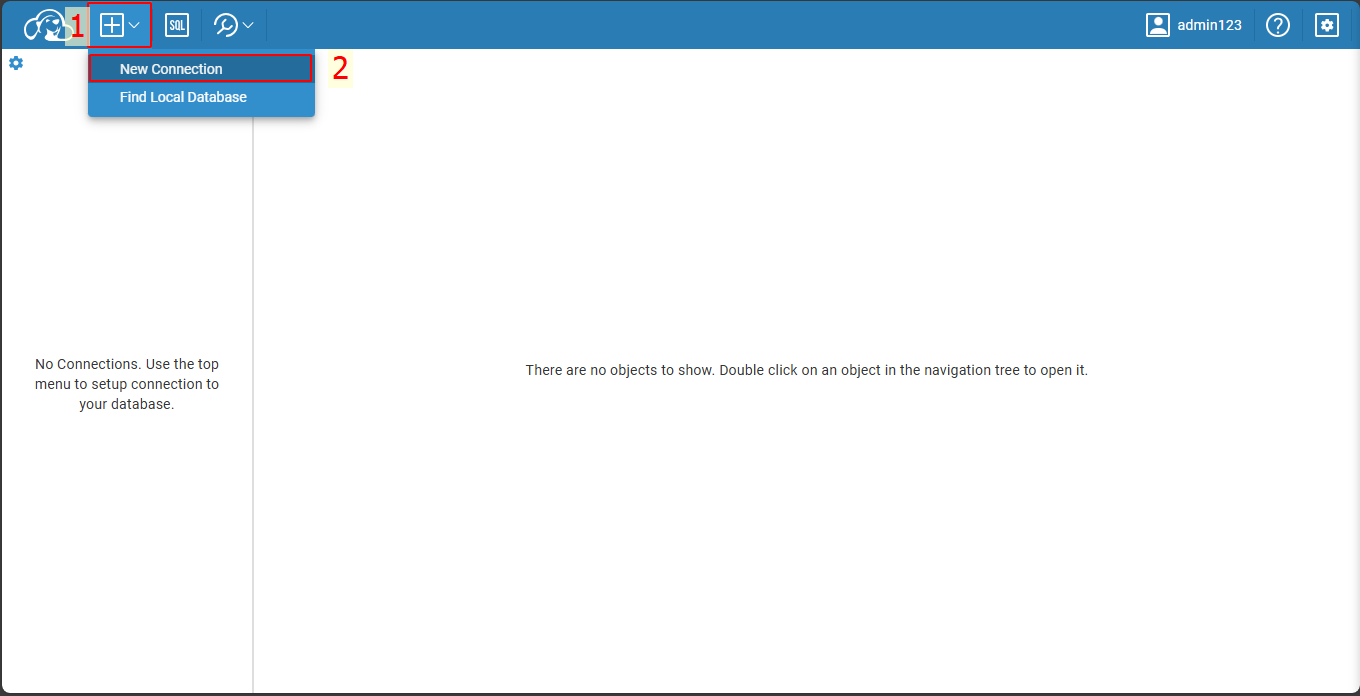
Click on the plus icon and select New Connection.
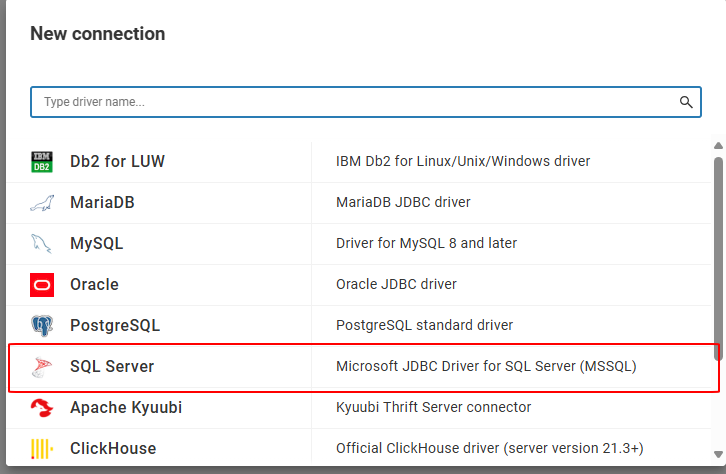
Since we are working with SQL Server, select the appropriate option.
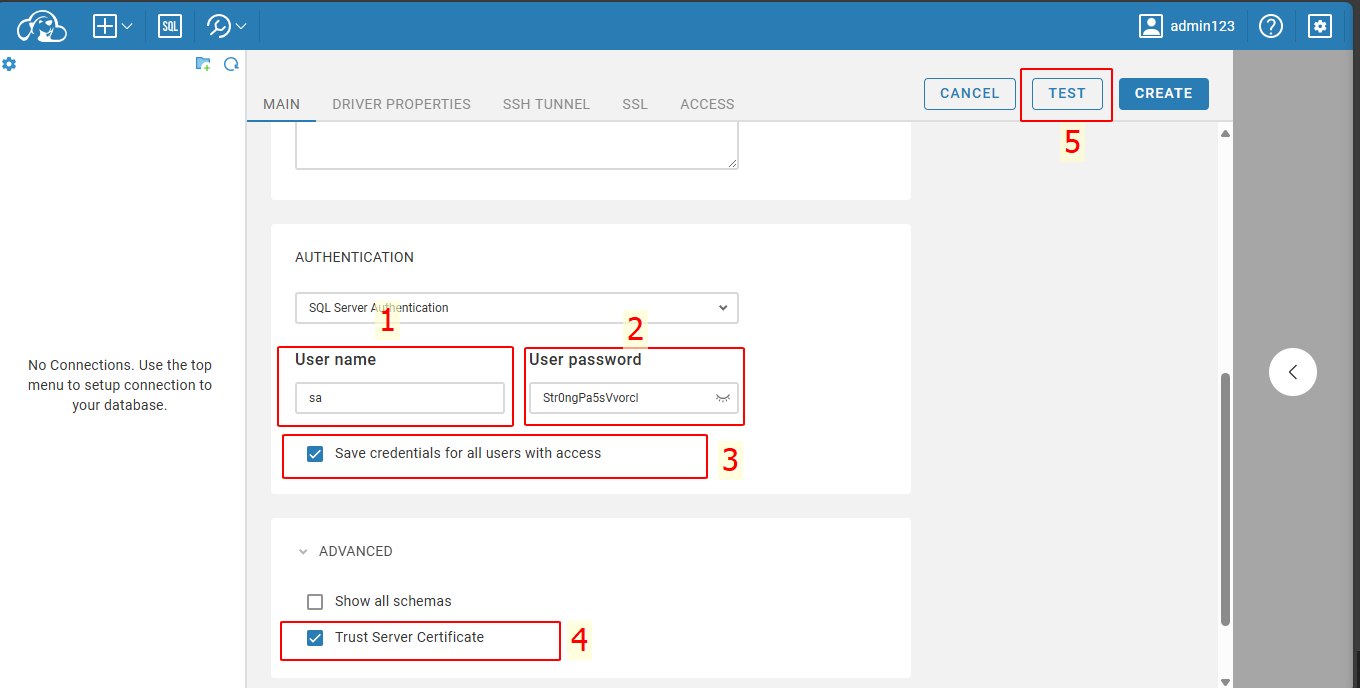
Fill in the information:
- Host: your IPv4 address
- Database: ecommerce
- User name: sa
- User password: Str0ngPa5sVvorcl
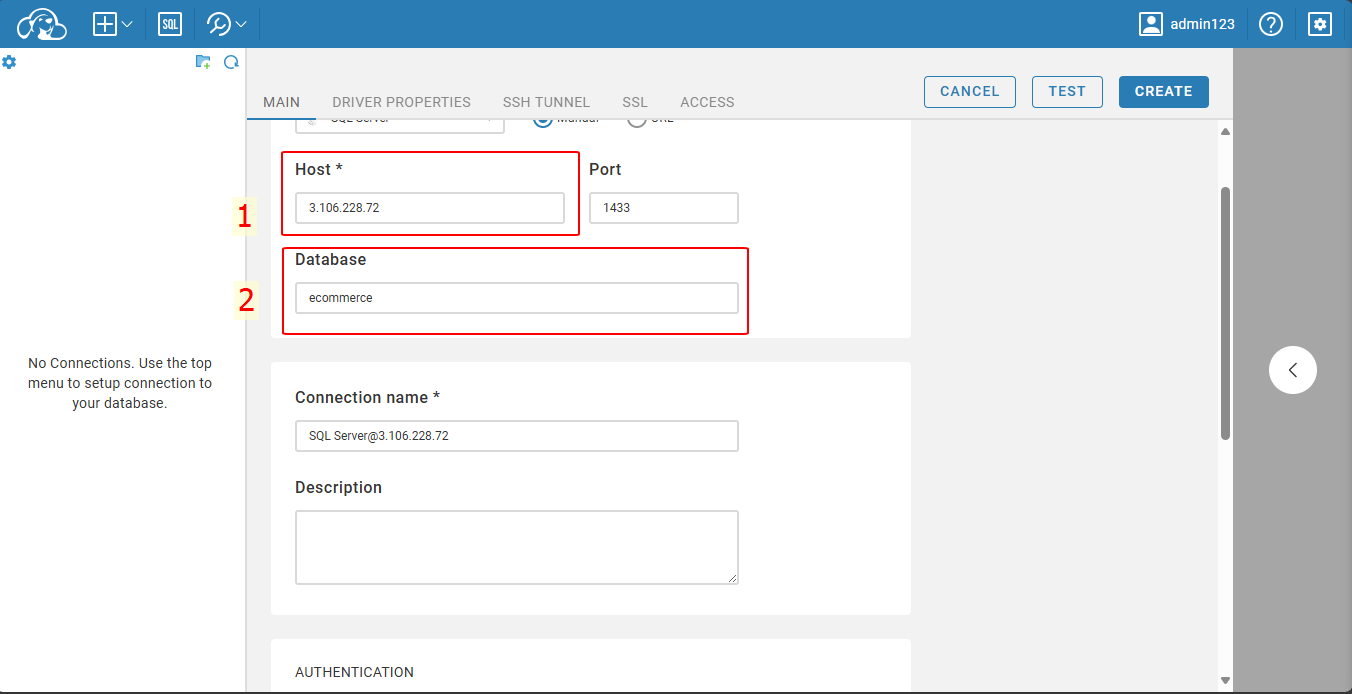
After filling in the details, click Test to verify the connection.
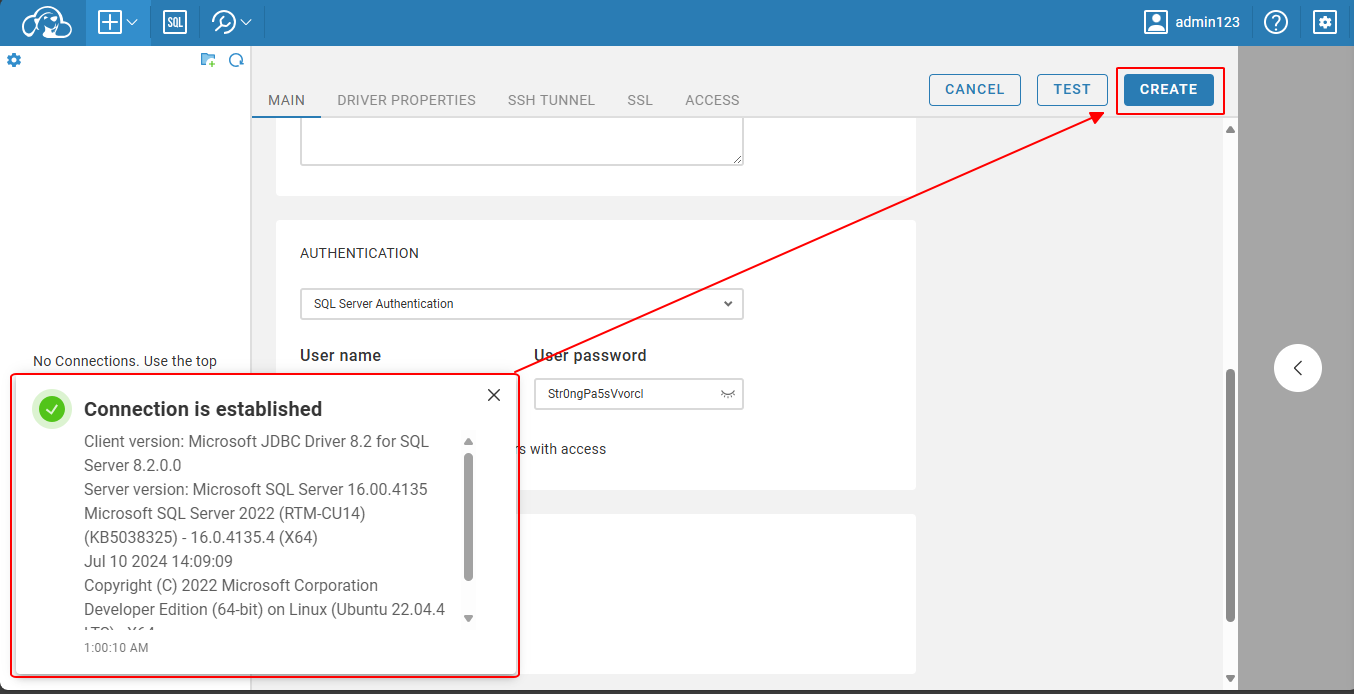
The result shows a successful connection! Click Create to establish the connection.
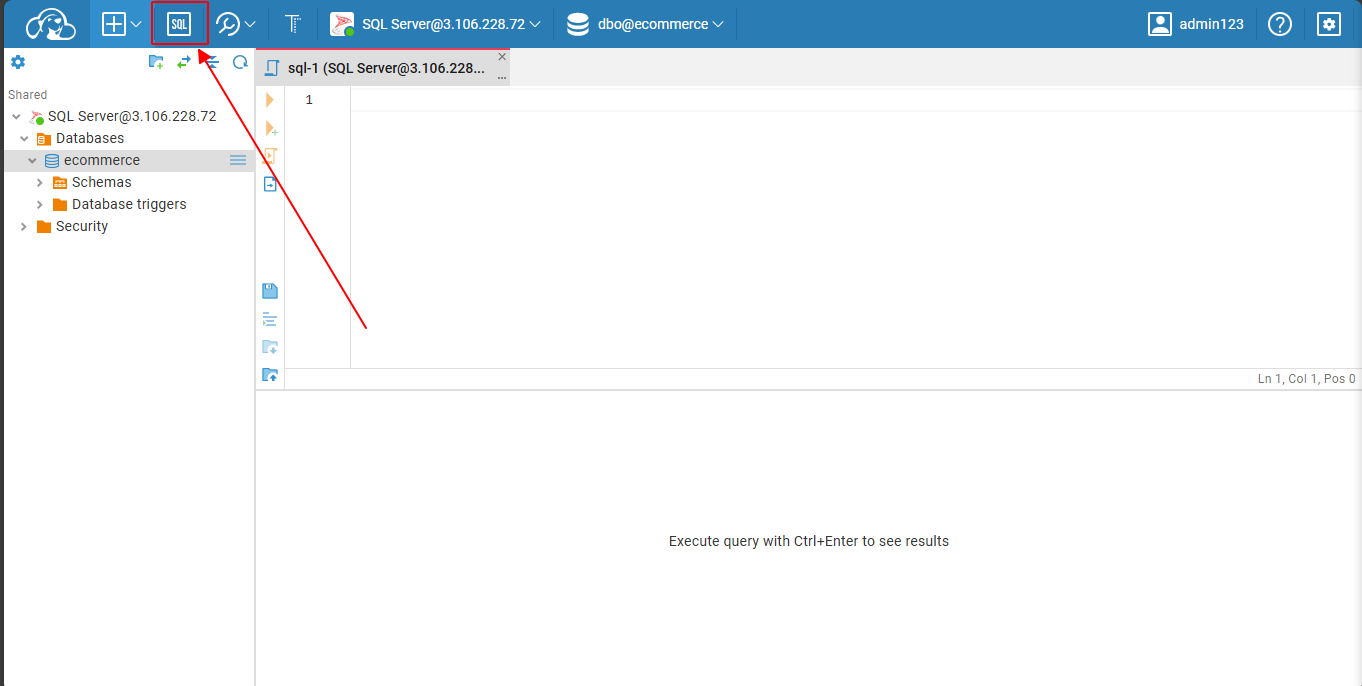
You will see an interface like this. Click on the SQL icon.
We will extract the SQL commands from the file table-init.sql.
cat /root/ecommerce-fullstack-netcore-react/table-init.sql
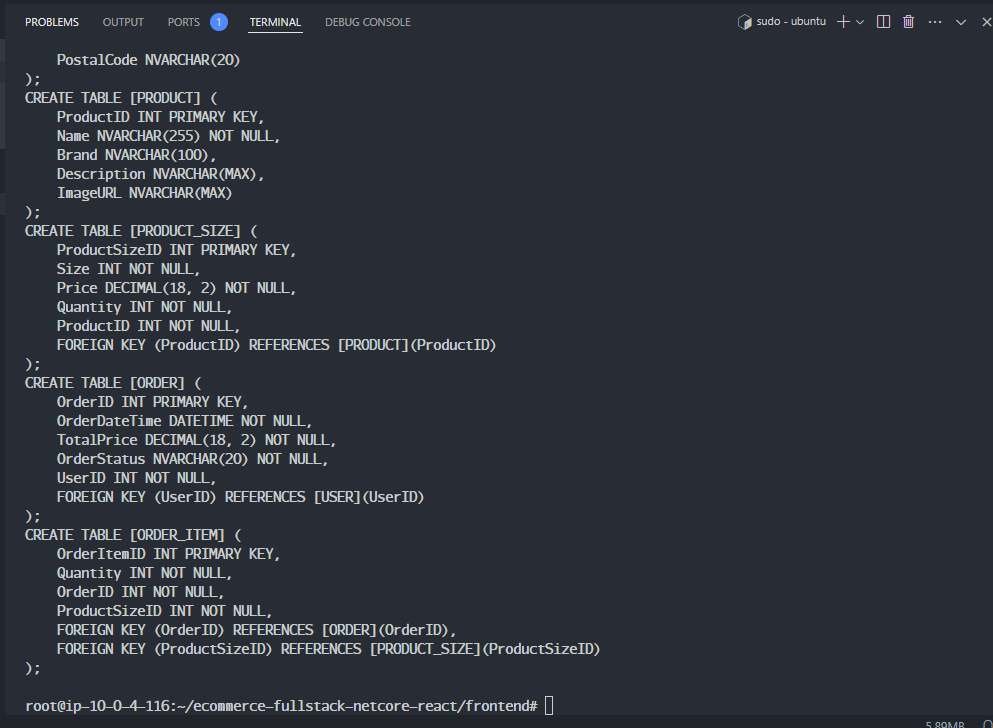
Copy and paste them into the SQL editor on Cloud Beaver and execute the entire SQL command.
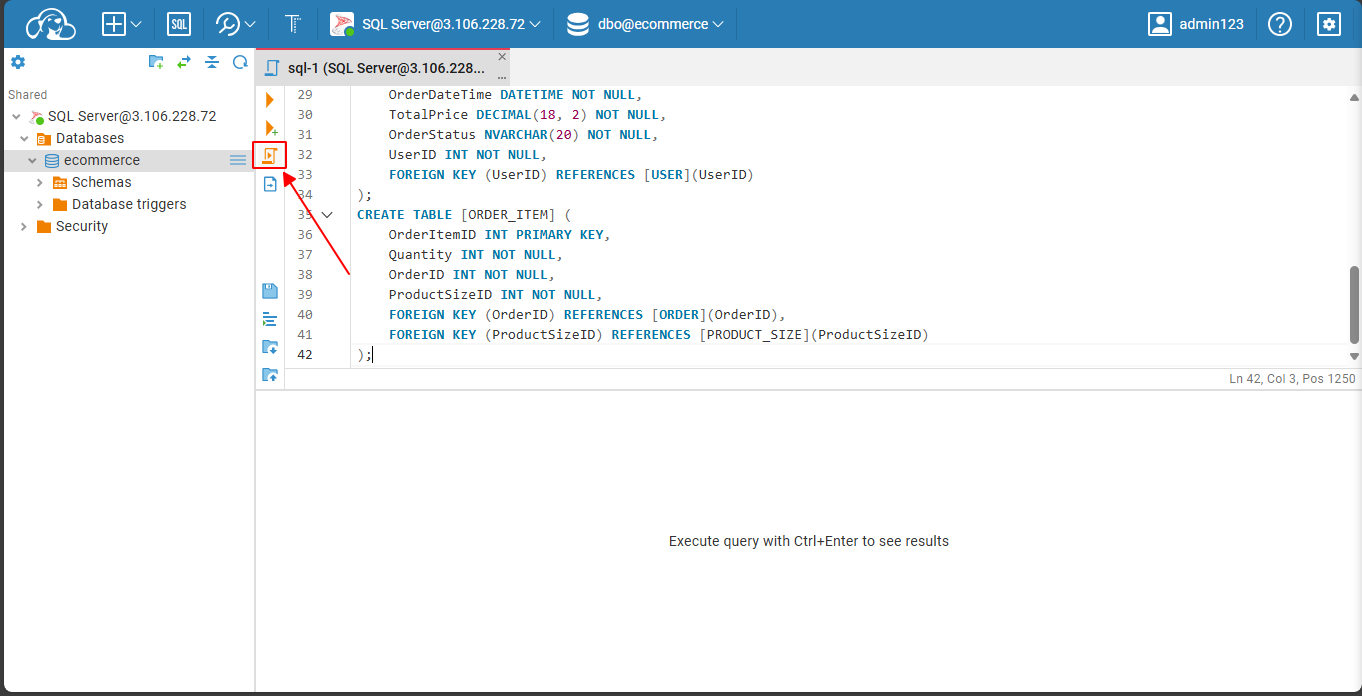
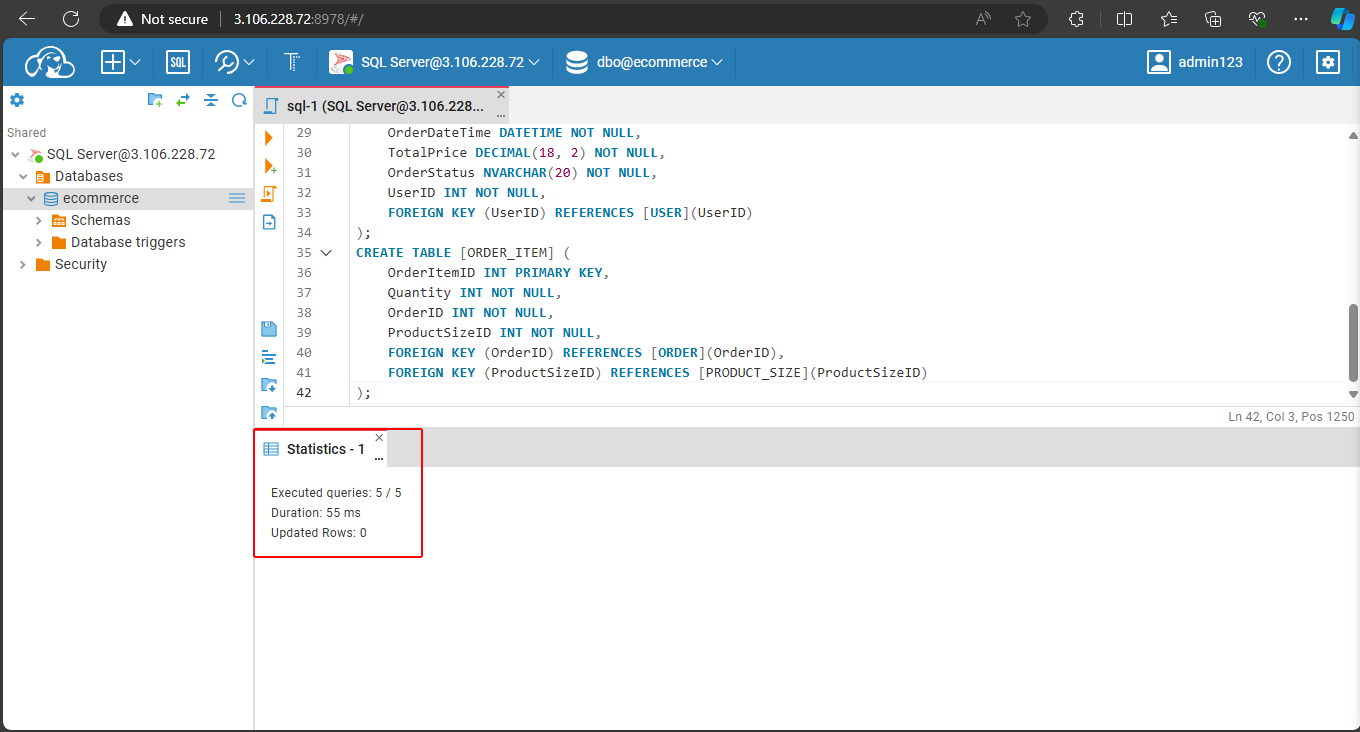
The result shows that the table creation was successful.
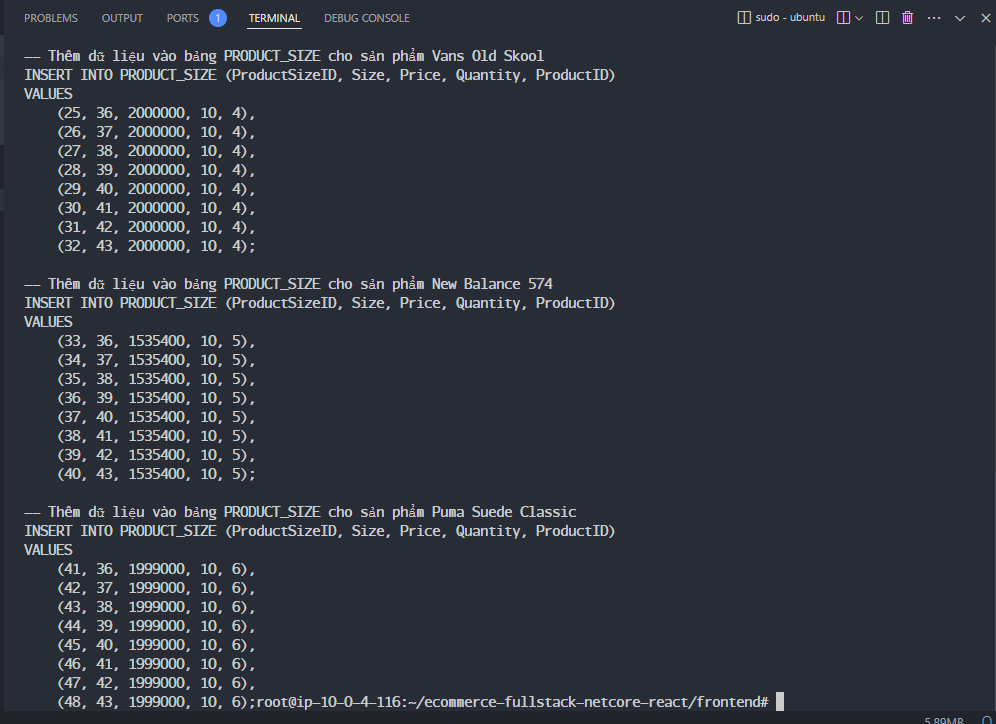
Next, extract the data from the file data-init.sql.
cat /root/ecommerce-fullstack-netcore-react/data-init.sql
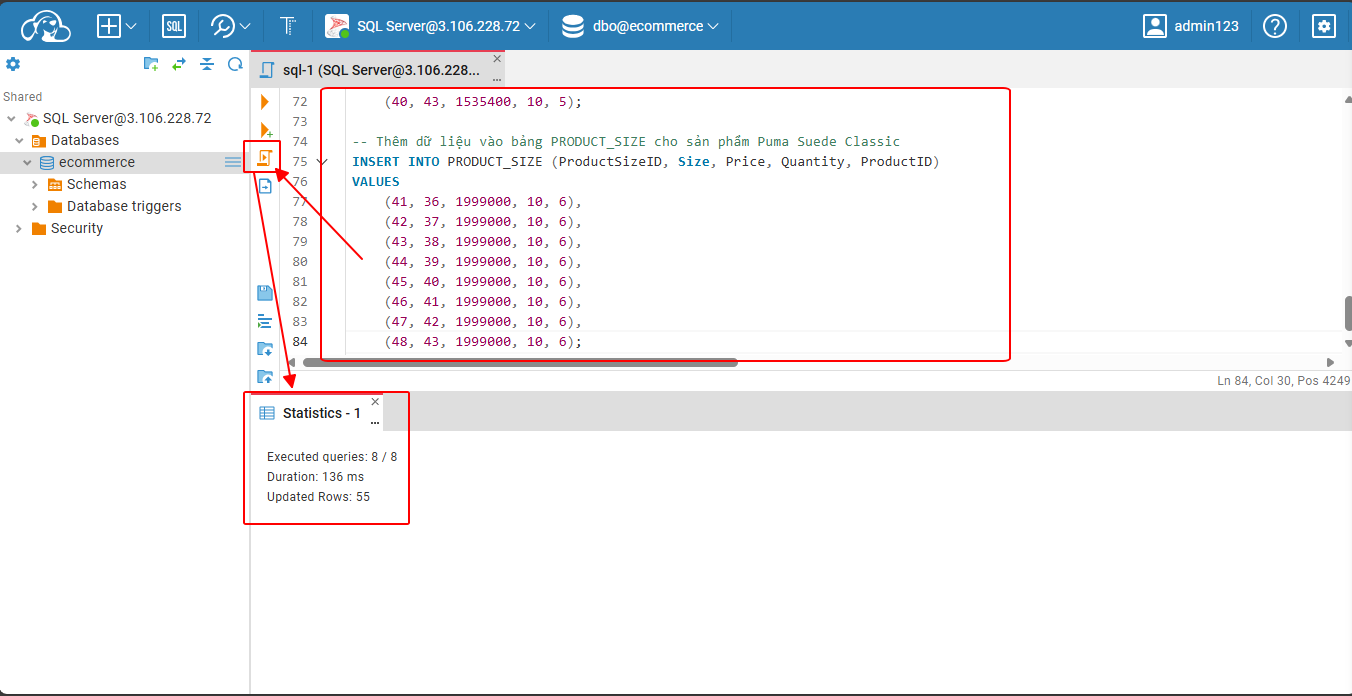
Copy and run the entire file, and the result is successful.
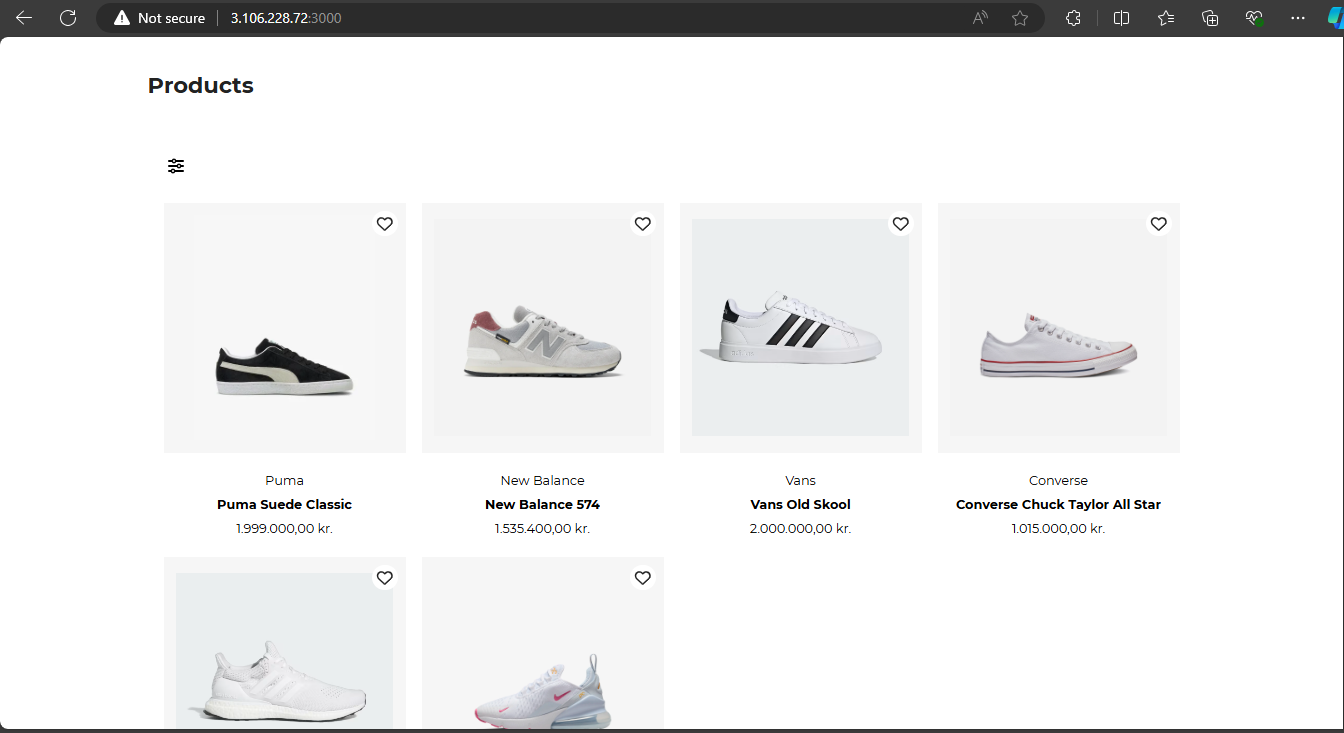
Now the data has been loaded into the database. Check the Frontend by reloading it. The products should now be visible.
And the Backend returns data for the products.
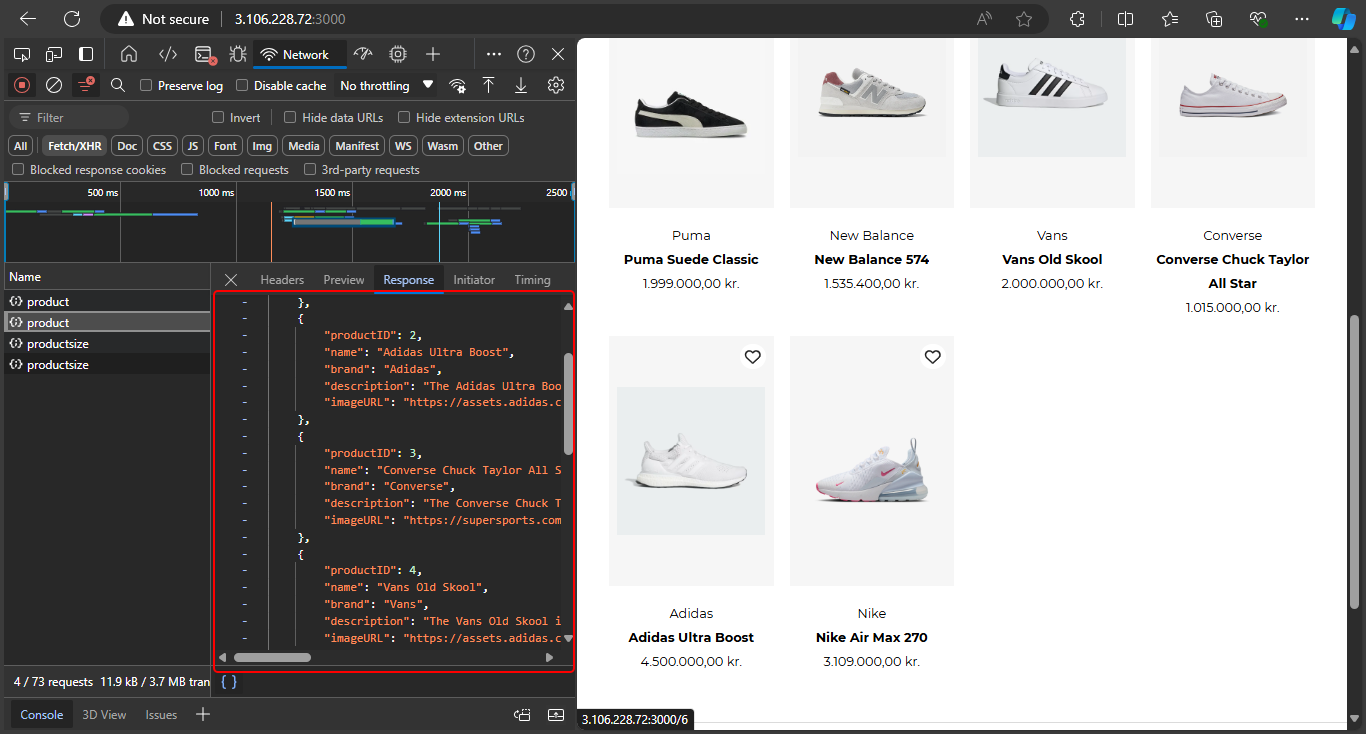
Thus, we have manually deployed the full-stack project!