Create S3 Instance
To store images for our application, we will use AWS S3 storage service.
Simple Storage Service (Amazon S3)
Amazon Simple Storage Service (Amazon S3) is an object storage service that offers industry-leading scalability, data availability, security, and performance.
Set up S3 Storage Service
Visit AWS S3
Select Create bucket:
- Choose AWS Region: Asia Pacific (Singapore) ap-southeast-1
- Enter a unique name for your S3 bucket.
- Since we want the images to be publicly accessible for the client, uncheck Block all public access, and check Confirm.

- Click Create bucket.
Access the S3 Bucket:
- Once the bucket is created, go to your S3 bucket and check its details.
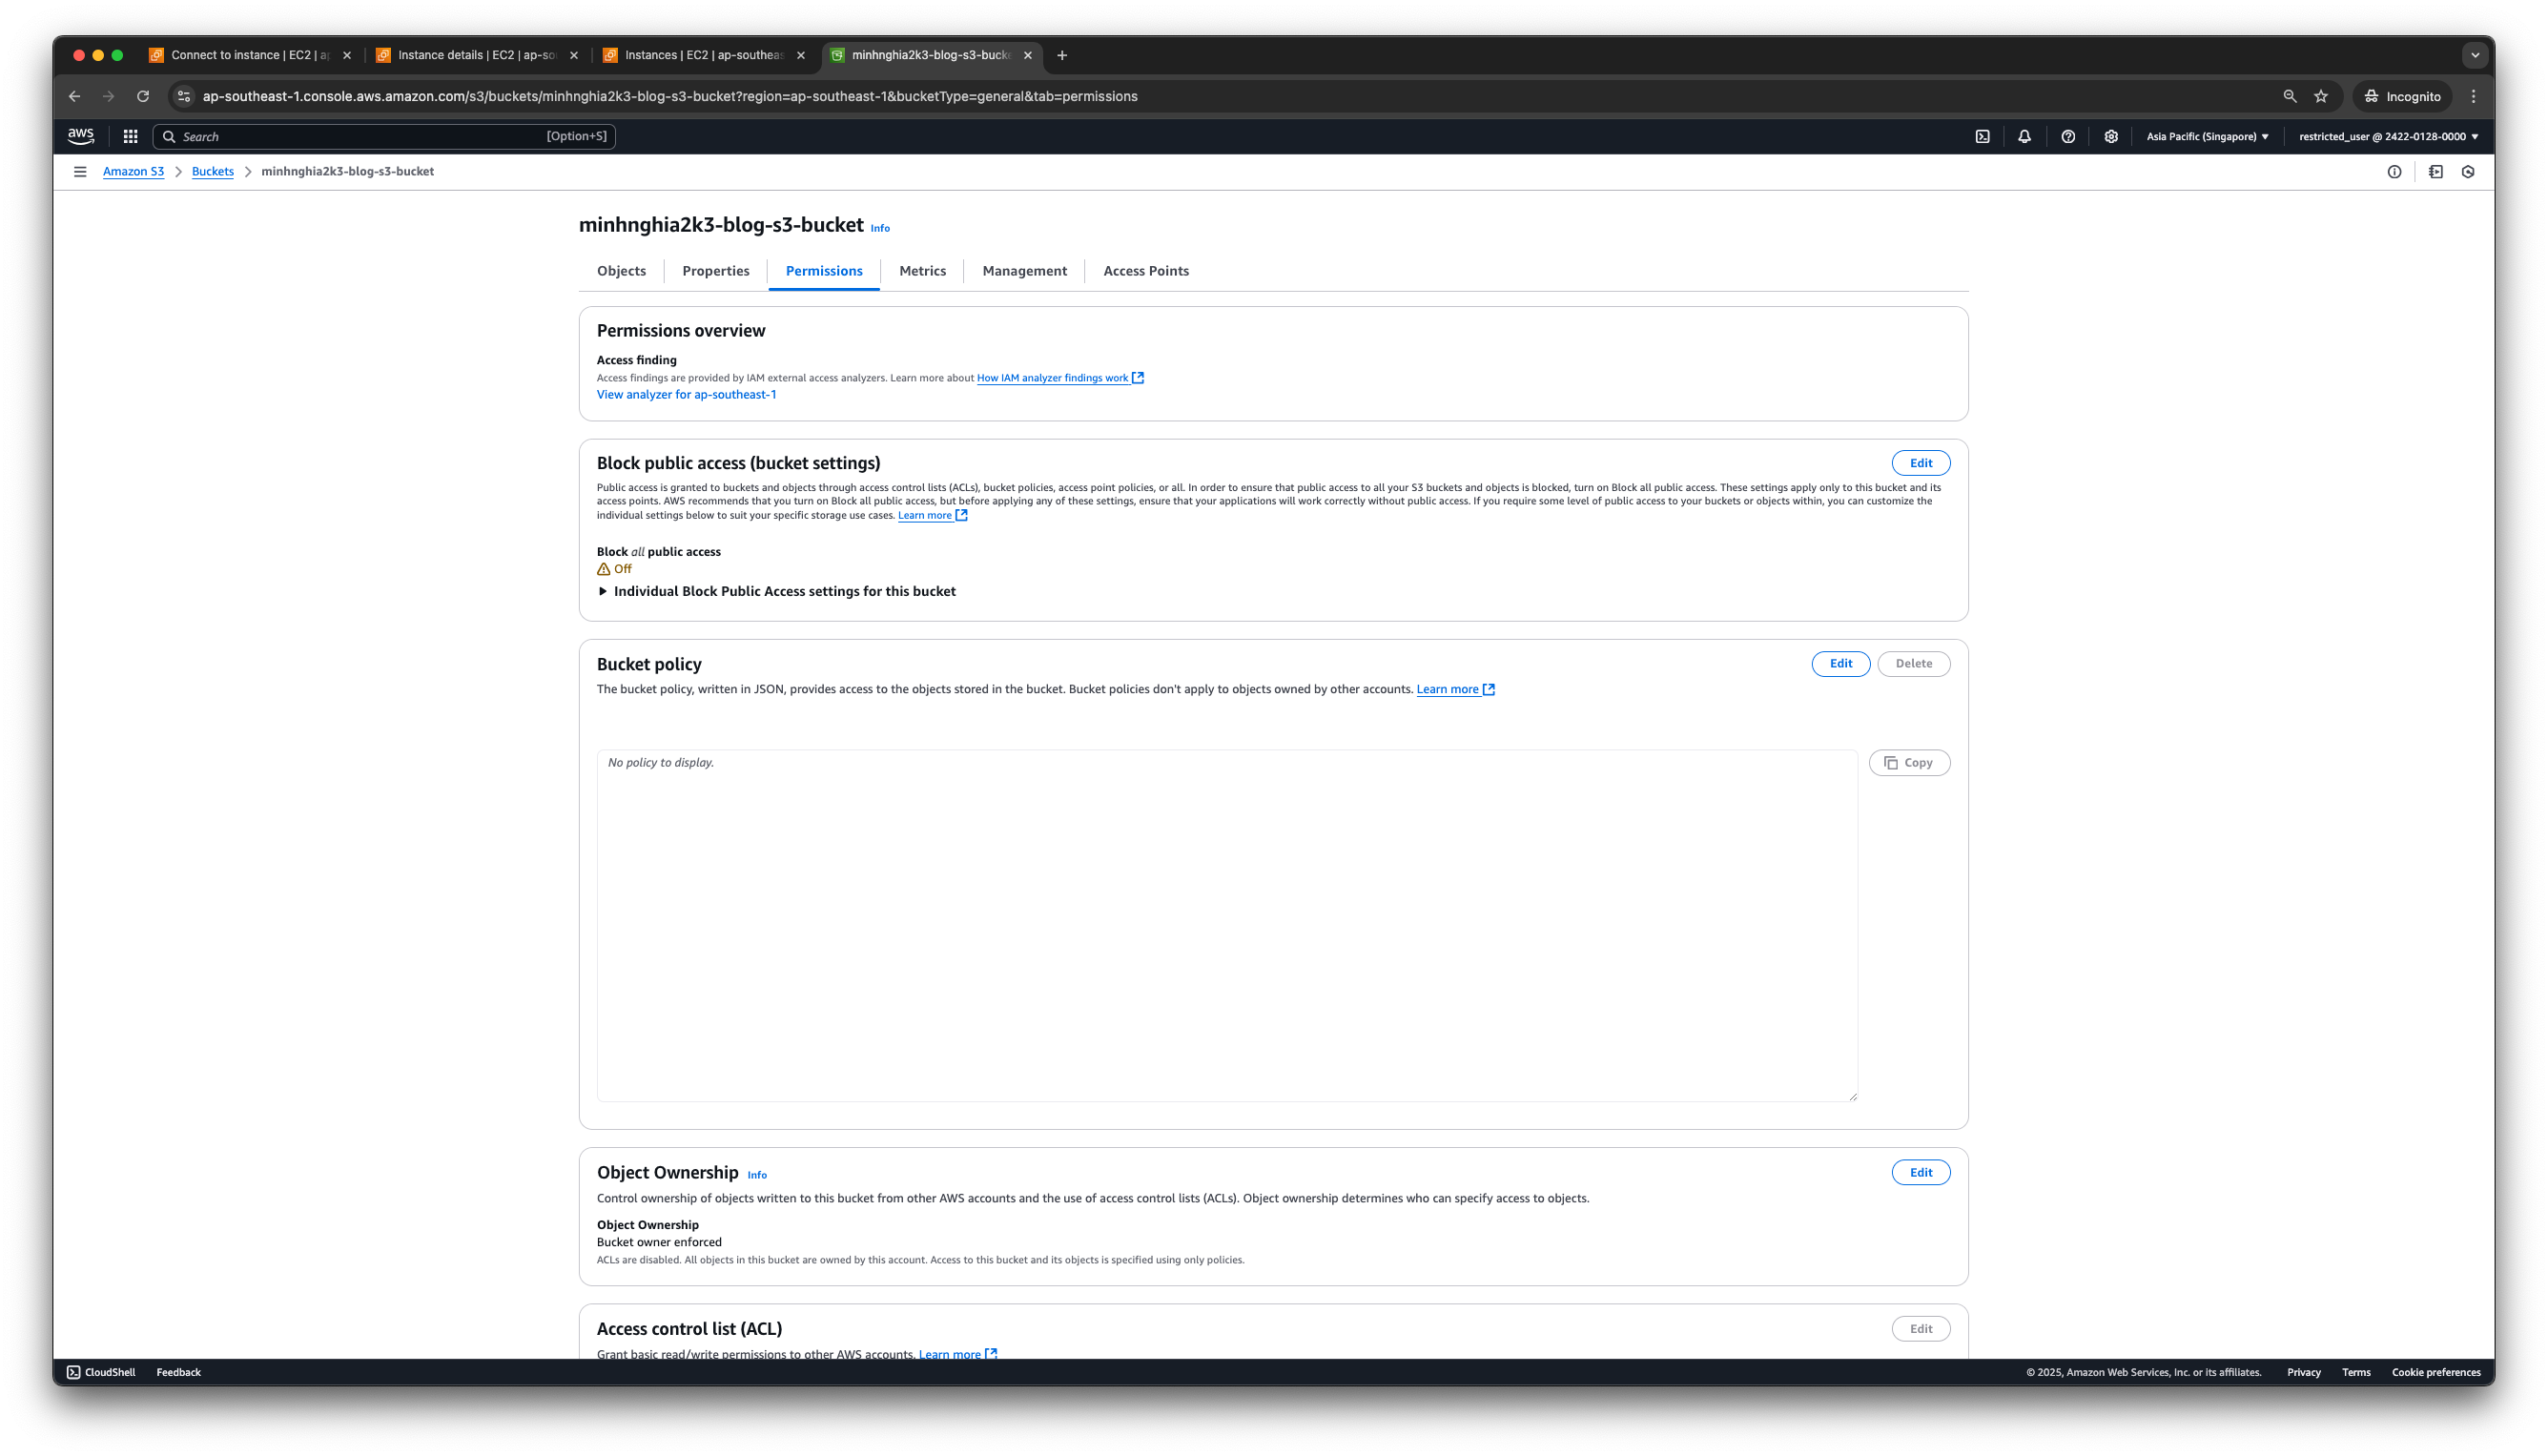
- Once the bucket is created, go to your S3 bucket and check its details.
Upload an object to the S3 Bucket:
- Go to your S3 bucket, select Upload.
- Drag and drop a file into the Upload box and click Upload.
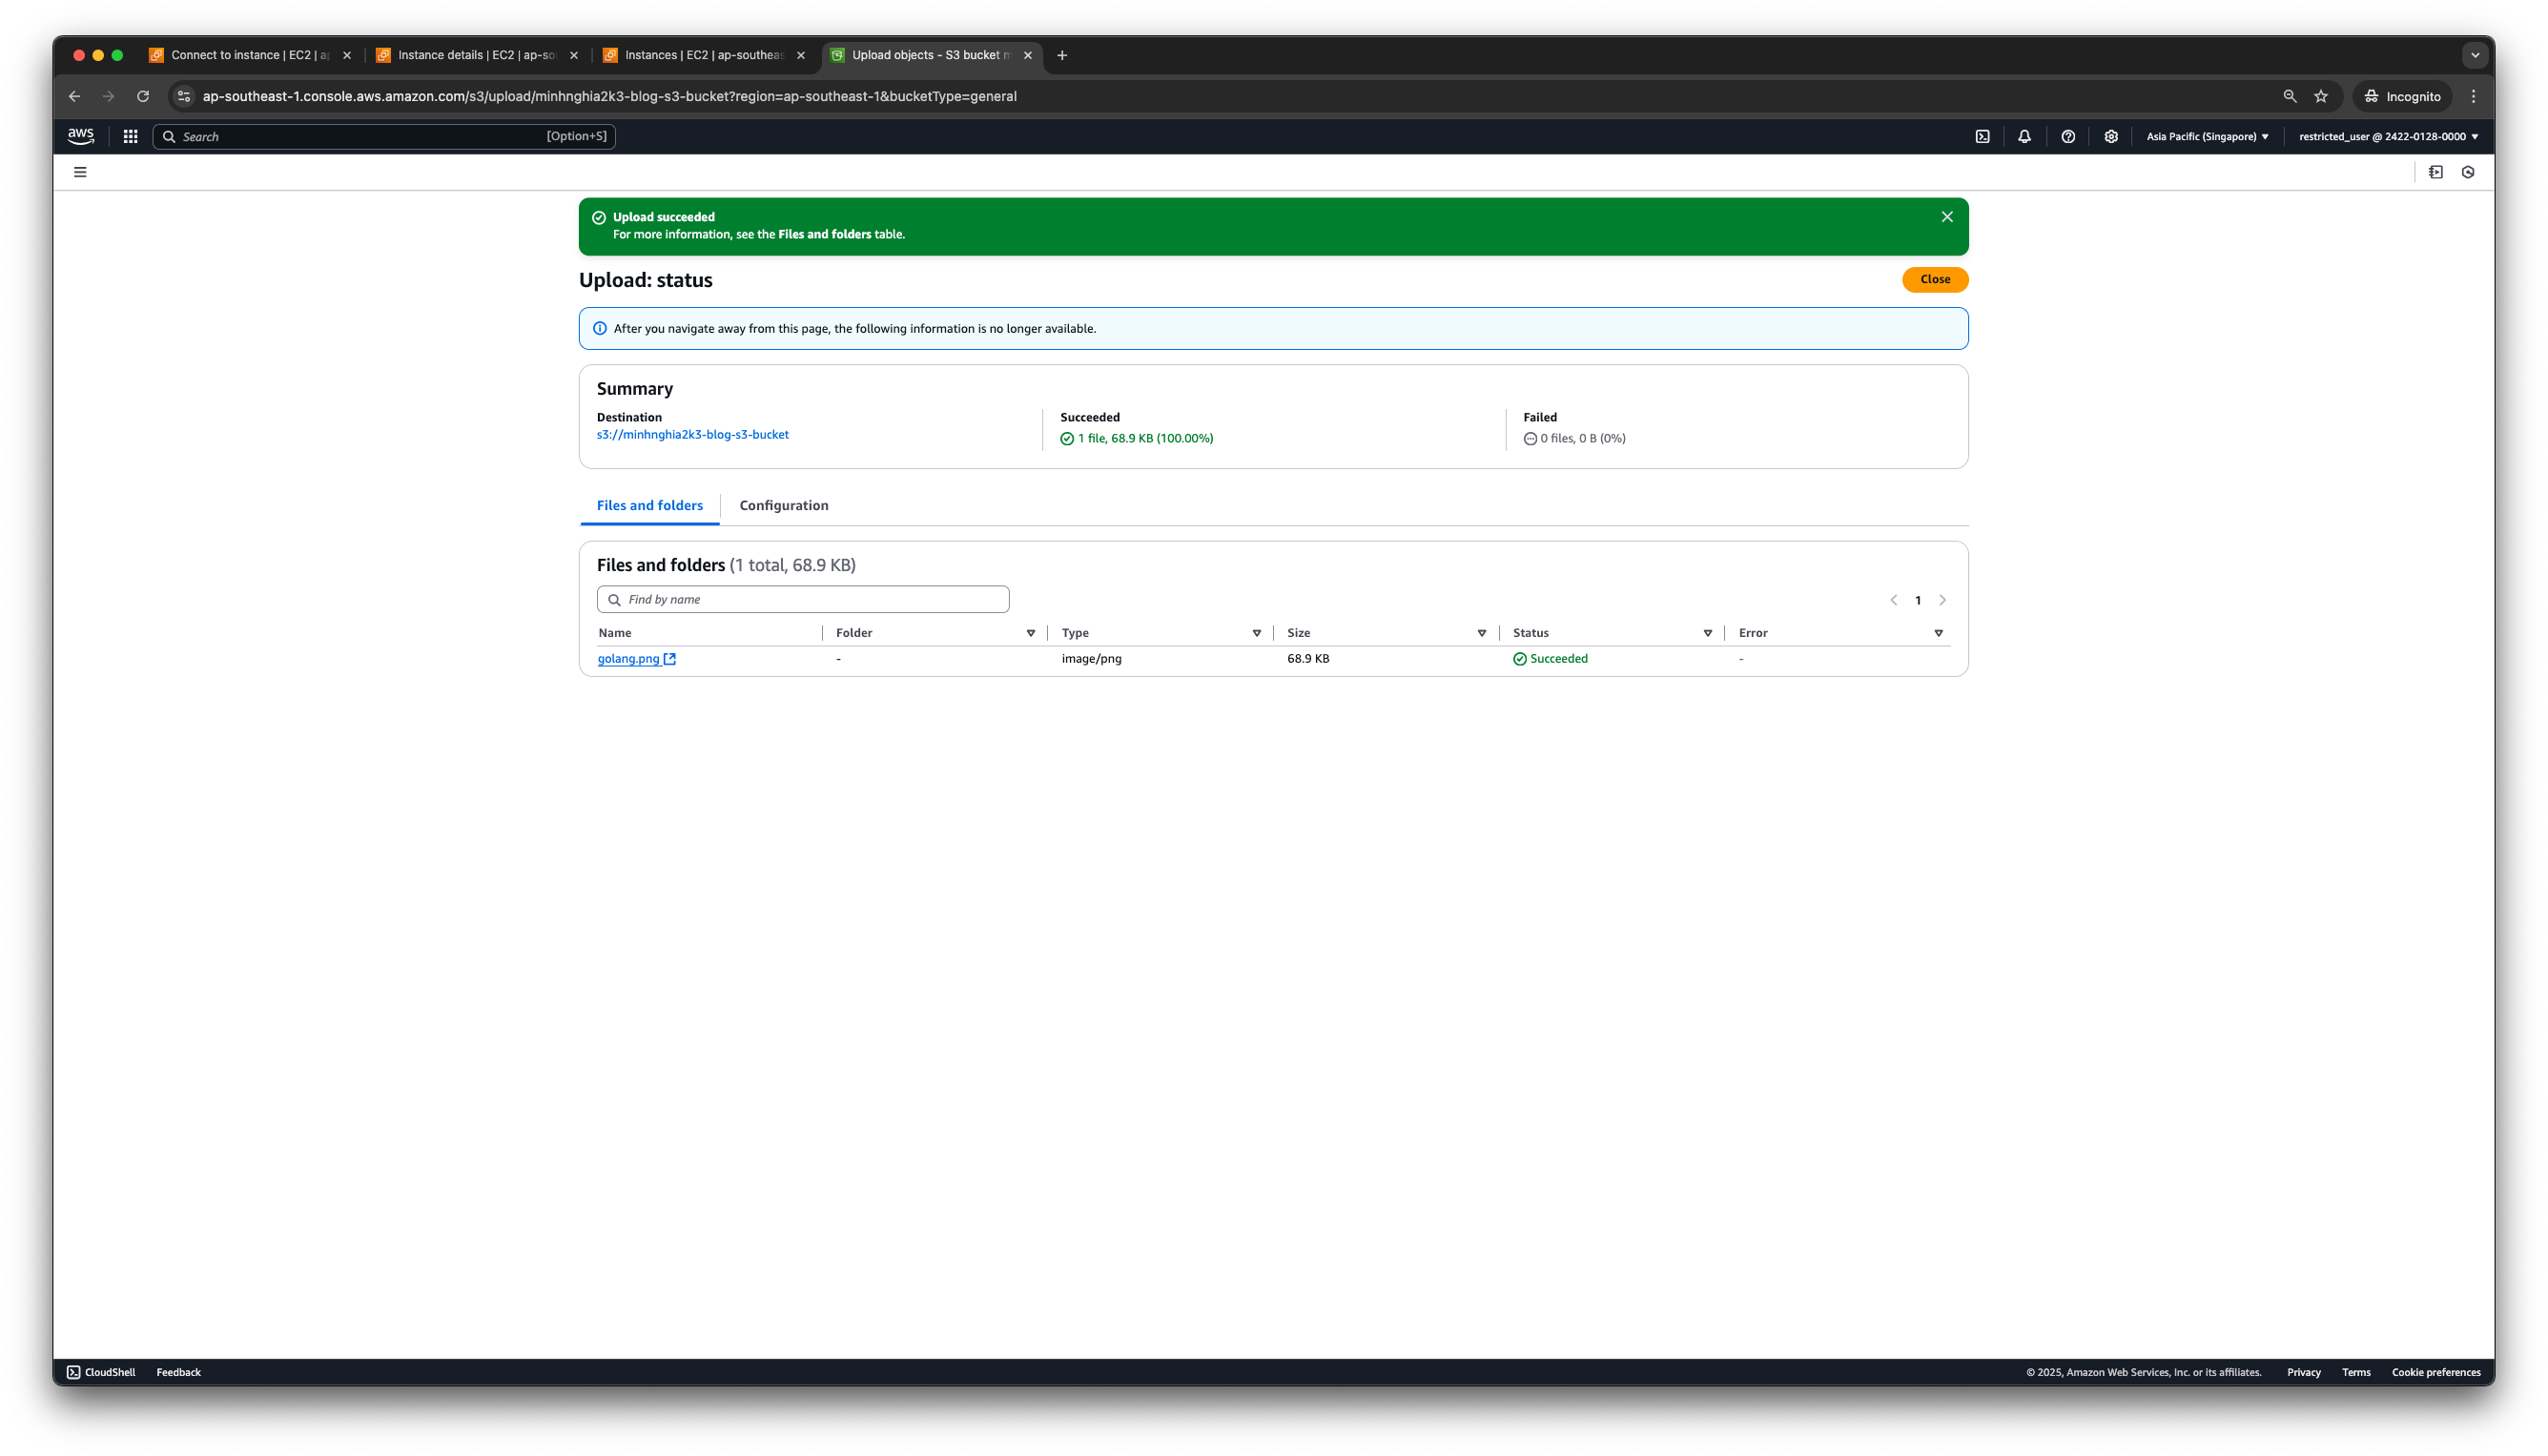
Create an IAM Role for EC2:
Best practices: Instead of connecting to S3 using Access Key, Secret Key, for enhanced security, use an IAM Role to authorize an EC2 Instance to connect to the S3 Bucket.
- First, create a role for the EC2 Service to access the S3 bucket:
- Go to Roles, click Create Role.
- In the Select trusted entity interface, choose AWS Service as the entity type.
- Select EC2 as the use case, and click Next.
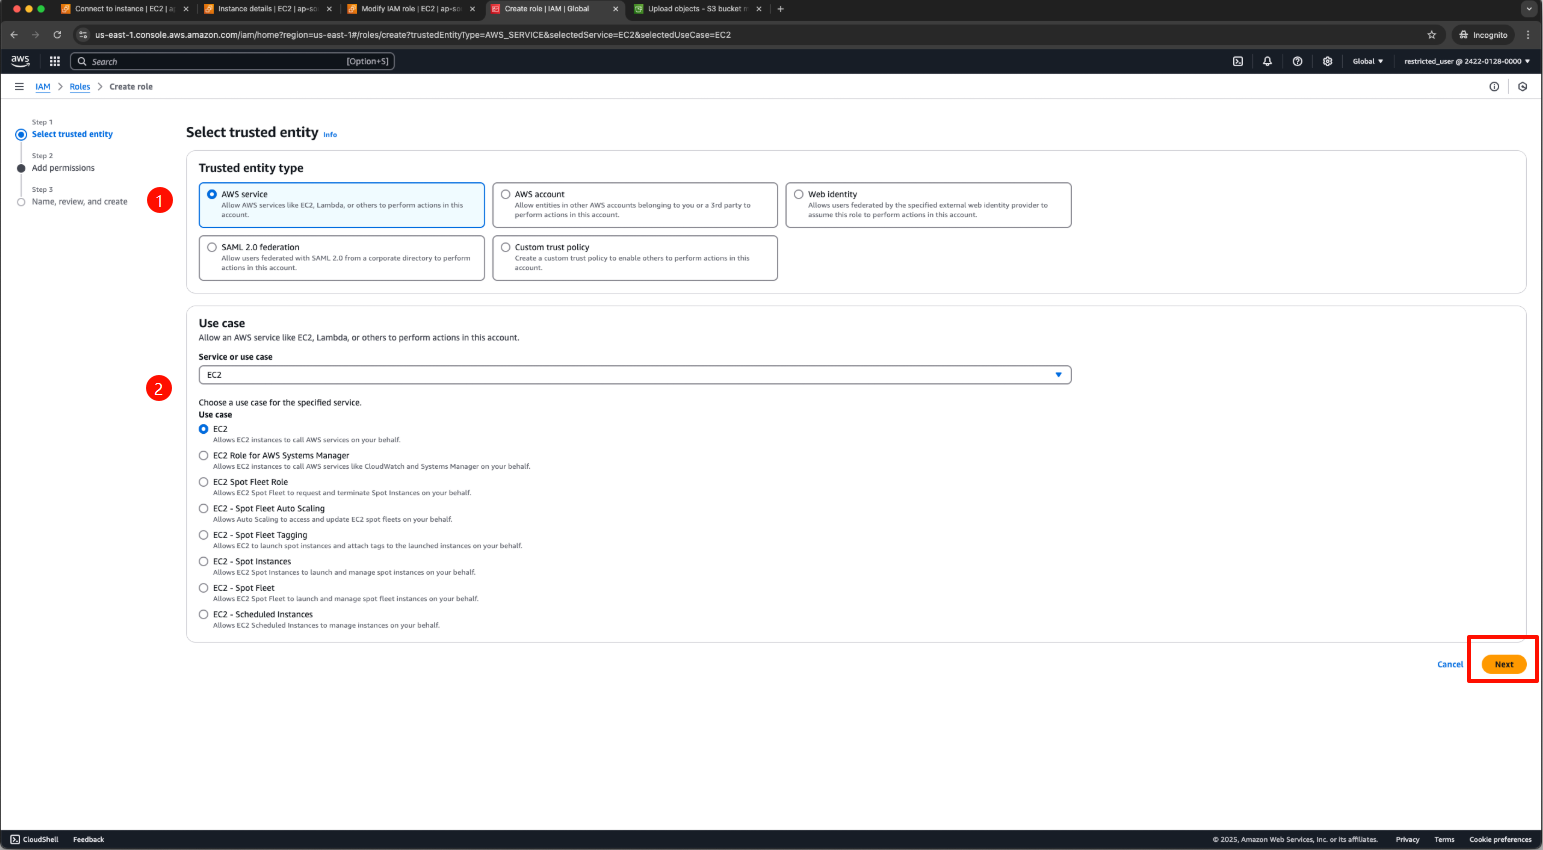
- Then, choose AmazonS3FullAccess, and click Next (For more security, you can create a Custom Policy).

- After that, set the Role name, Description, and review the Role Details.
- Attach the Role to EC2:
- Go to EC2 Instances.
- Select the EC2 Instance you created.
- Choose Actions > Security > Modify IAM Role.
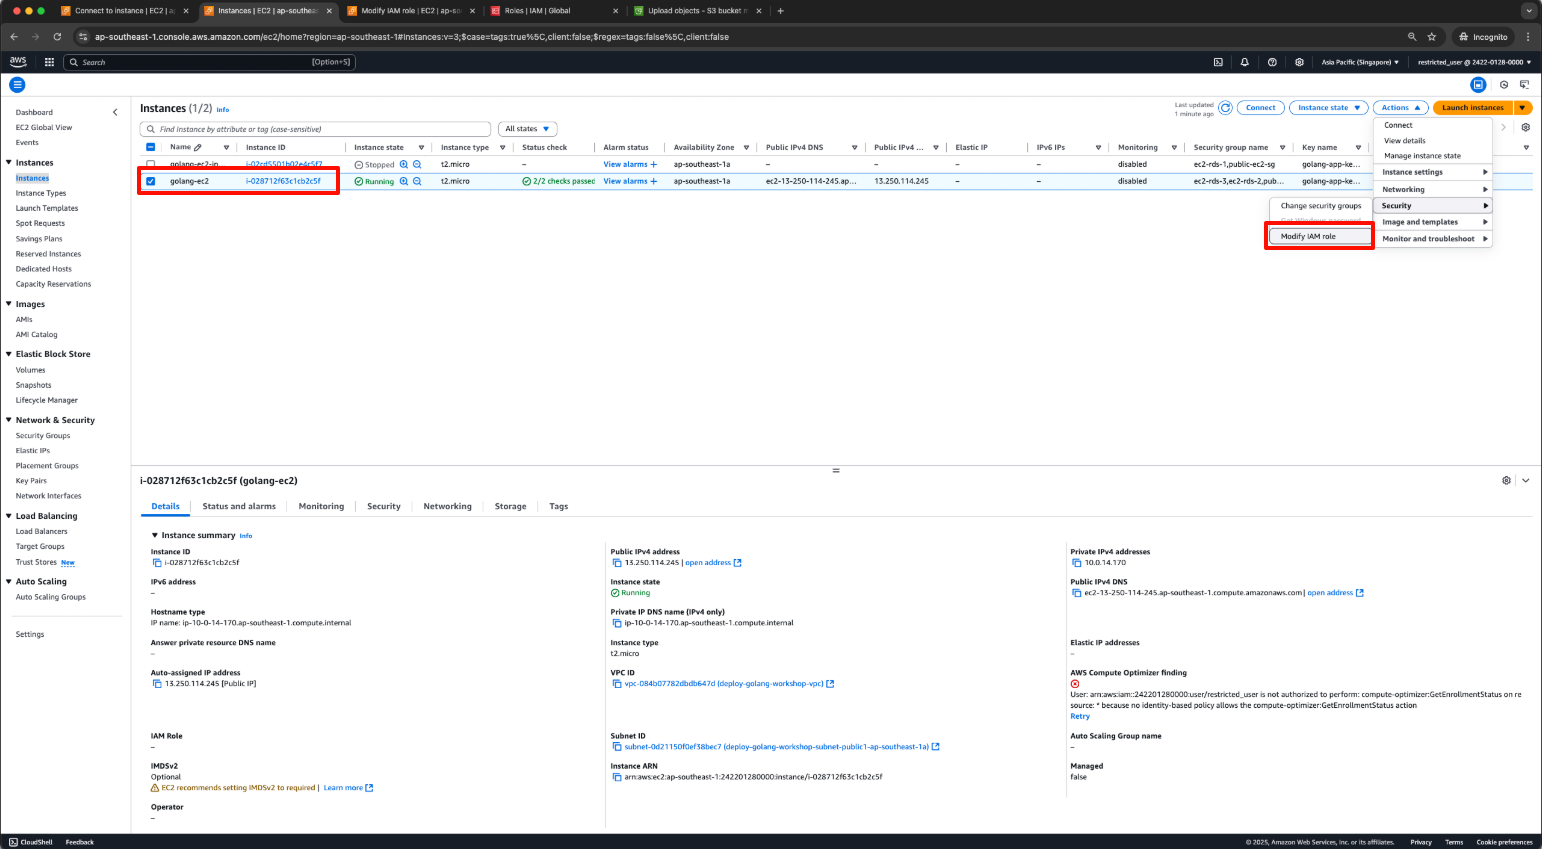
- Select the IAM Role you just created and click Update IAM Role.

- Test the connection between EC2 and S3:
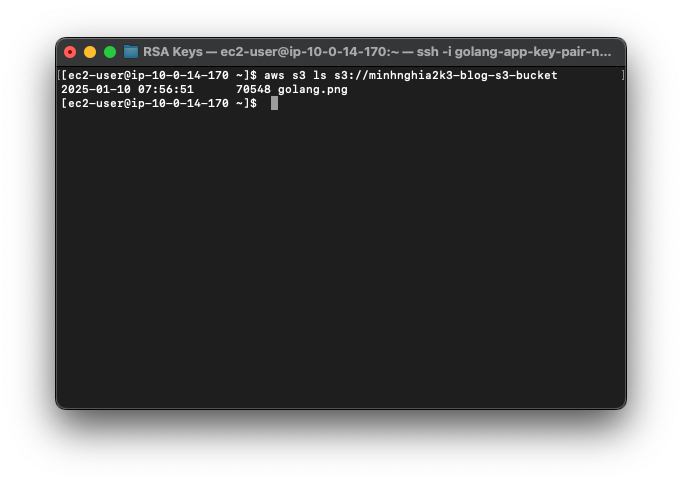
- Access the EC2 instance and run
$ aws s3 ls s3://my-bucket-name.
