6.1. Run application on local
Setup environment variables
This step is required for any application, so we’ll cover it first using a sample project. First, go to your project directory and copy the .env.example file:
touch .env && cat .env.example >> .env
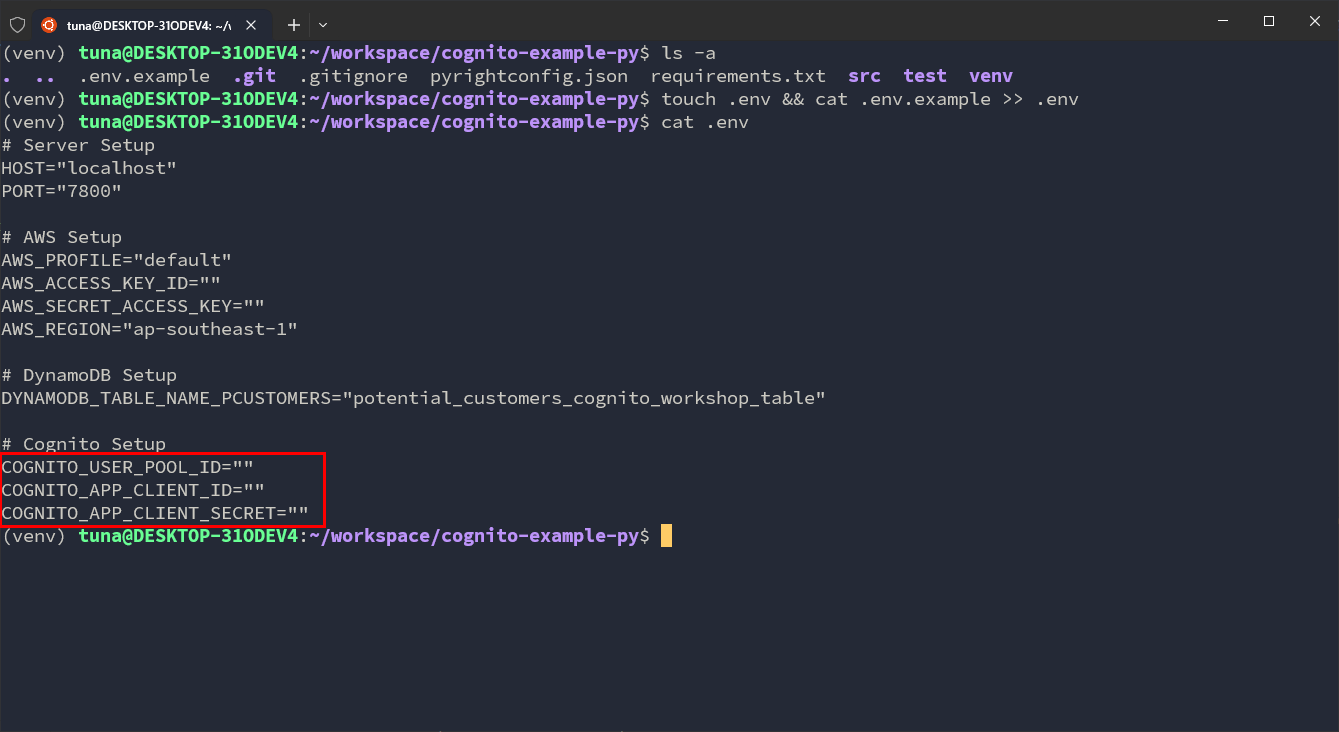
Next, open the console and navigate to the User Pool and App Client you created earlier to get the User Pool ID and App Client ID.
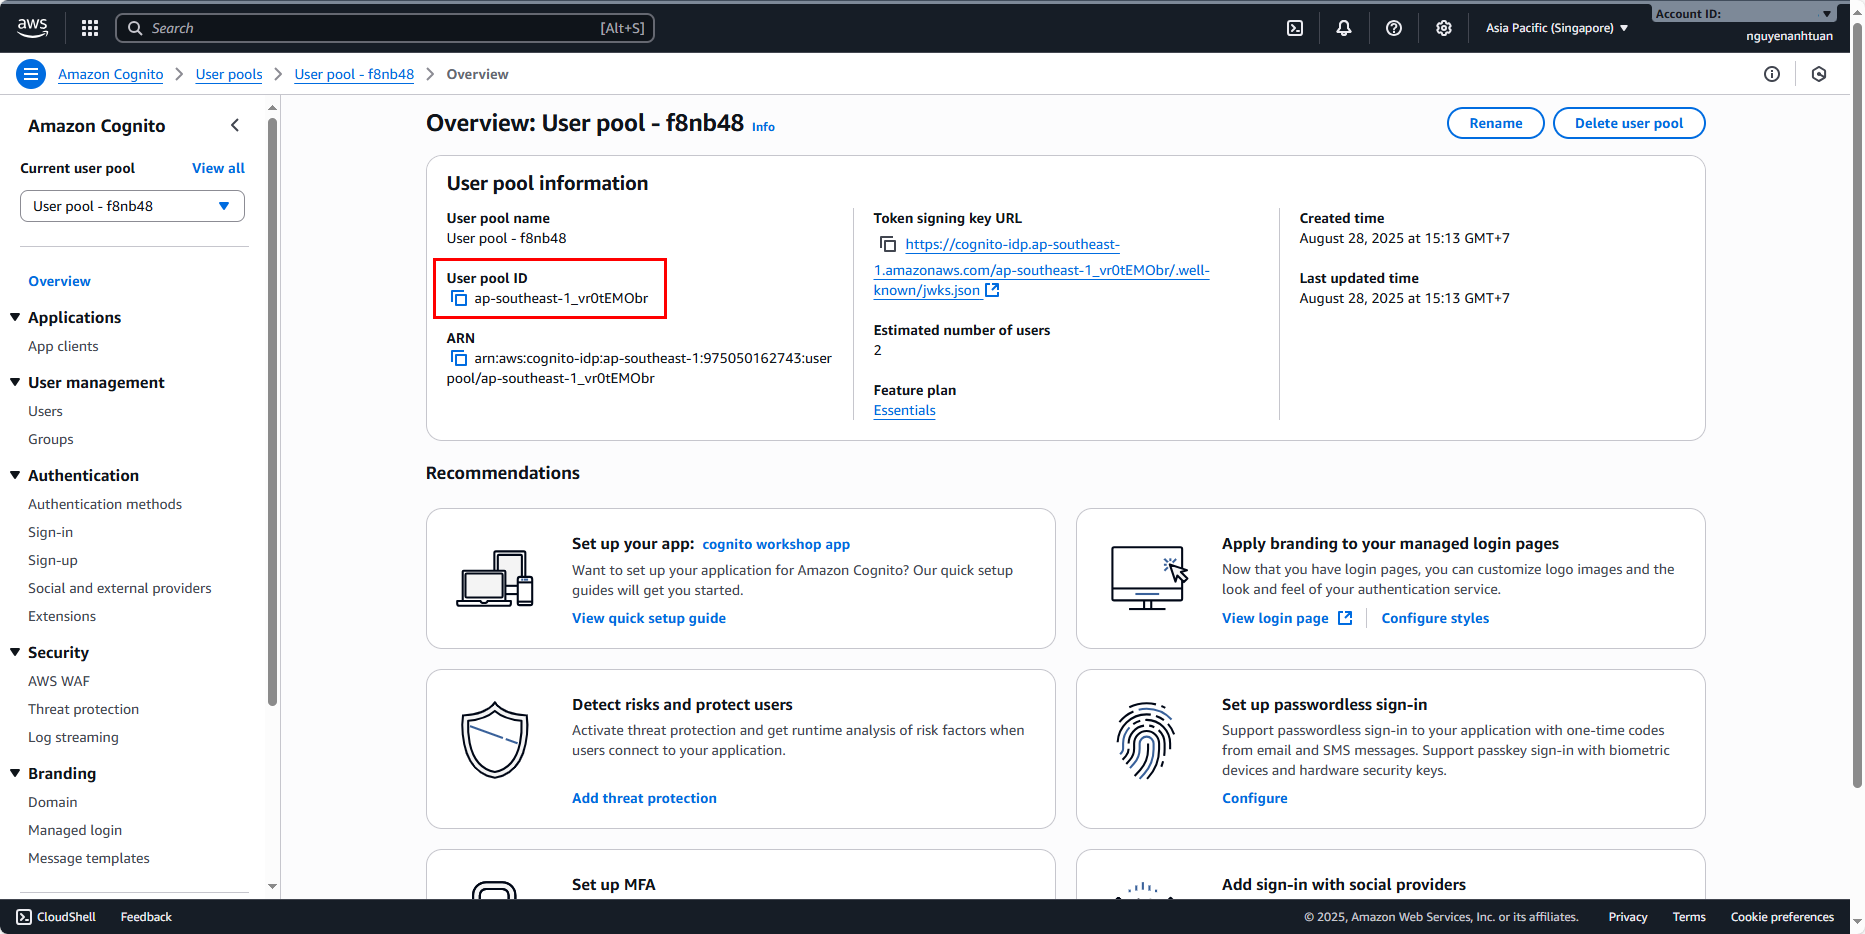
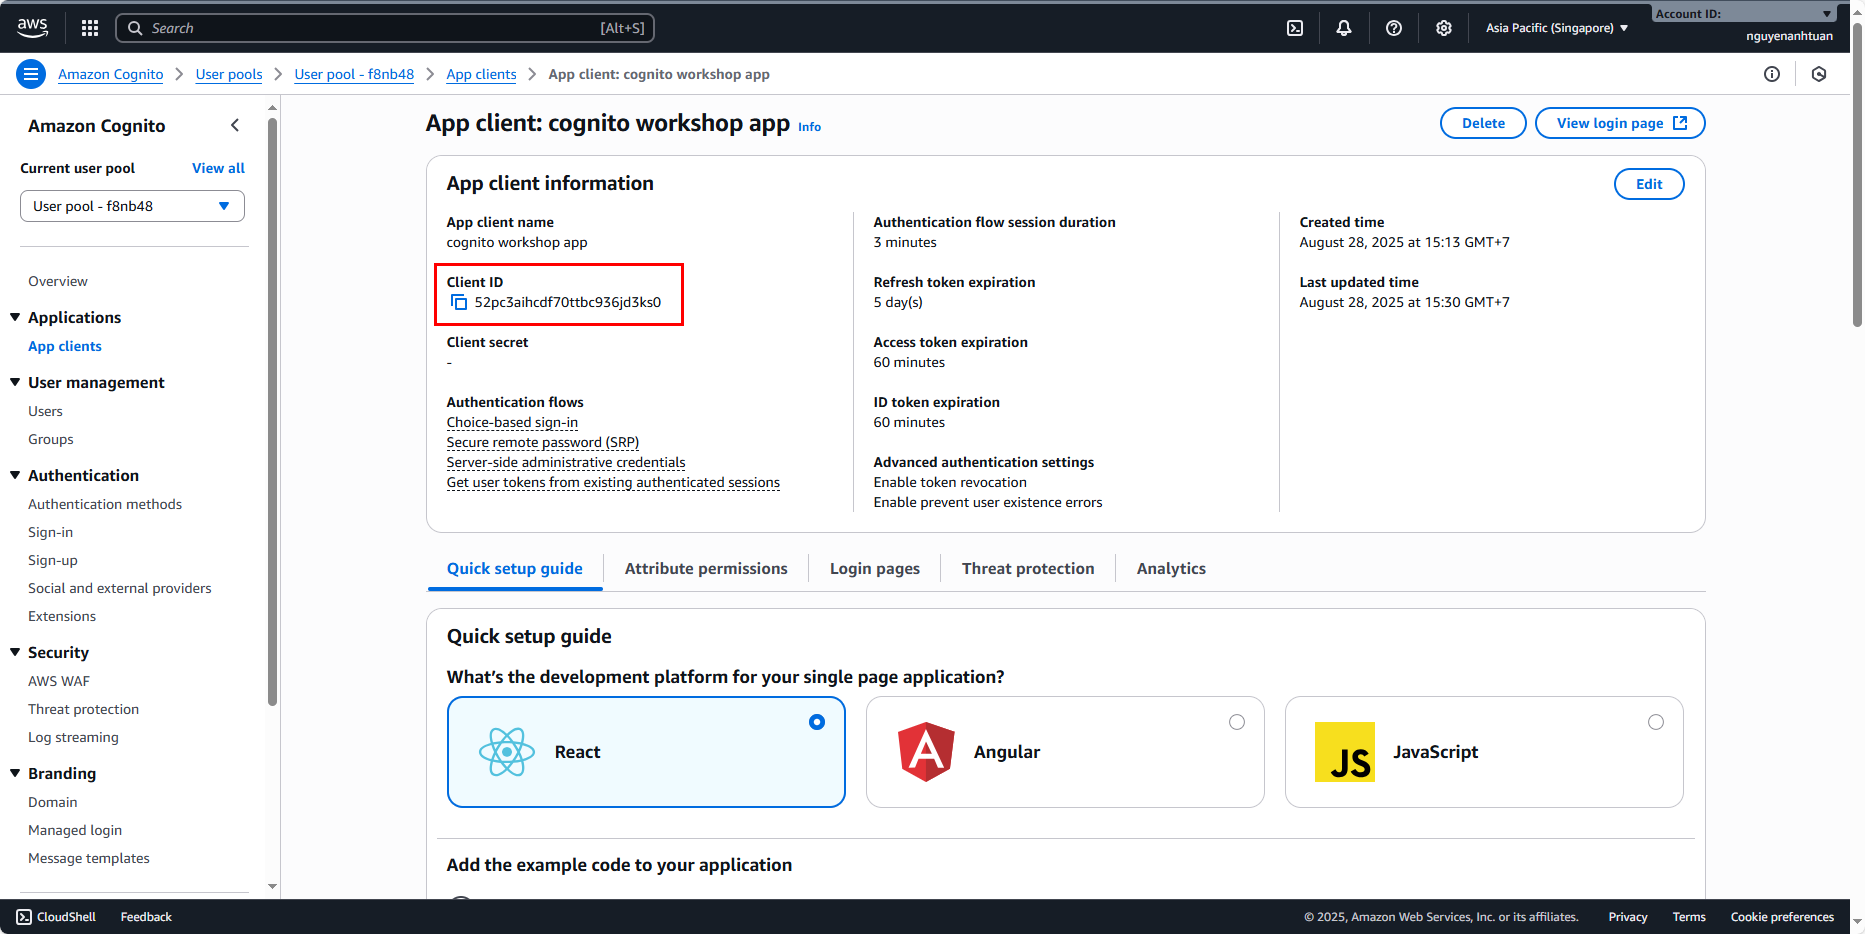
Add these values into the .env file.
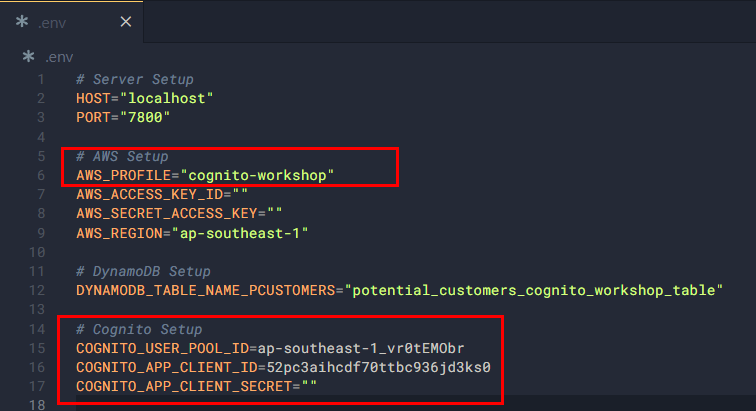
Alright, our environment variables file is now set up!
Setup AWS CLI profile
You can skip this step if you already know how to do it.
In the AWS console, search for the IAM service.
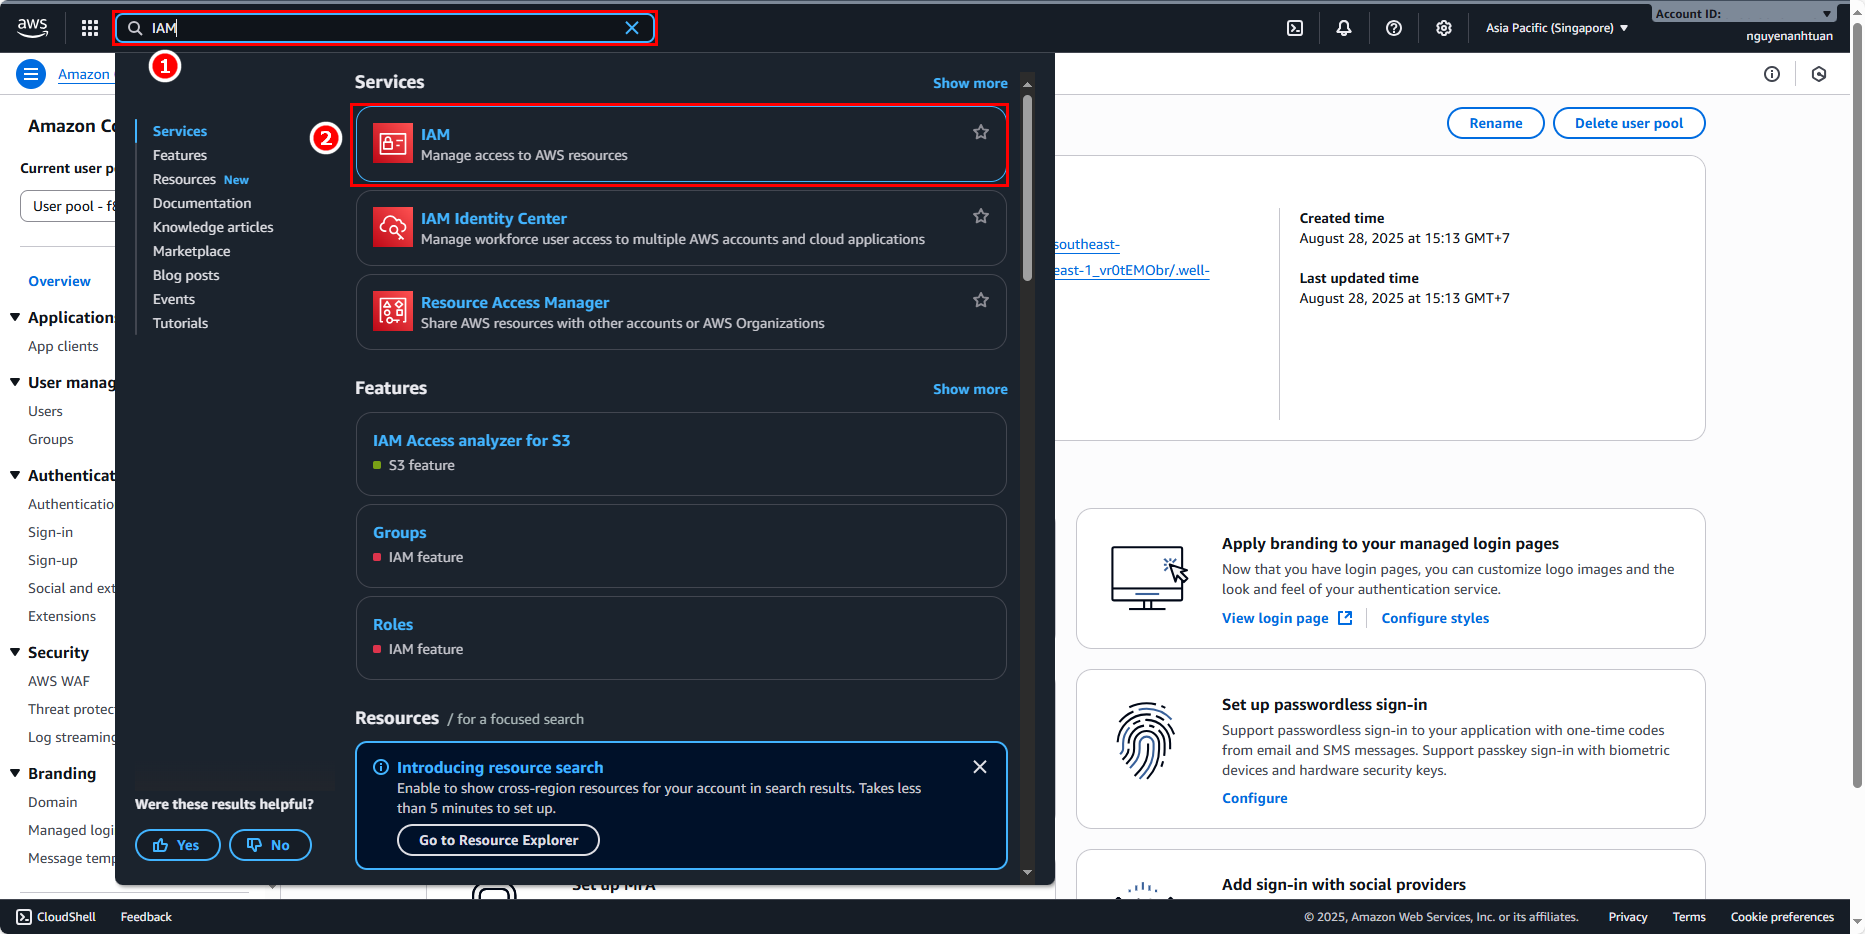
Go to Users and select the user profile you are logged in with.

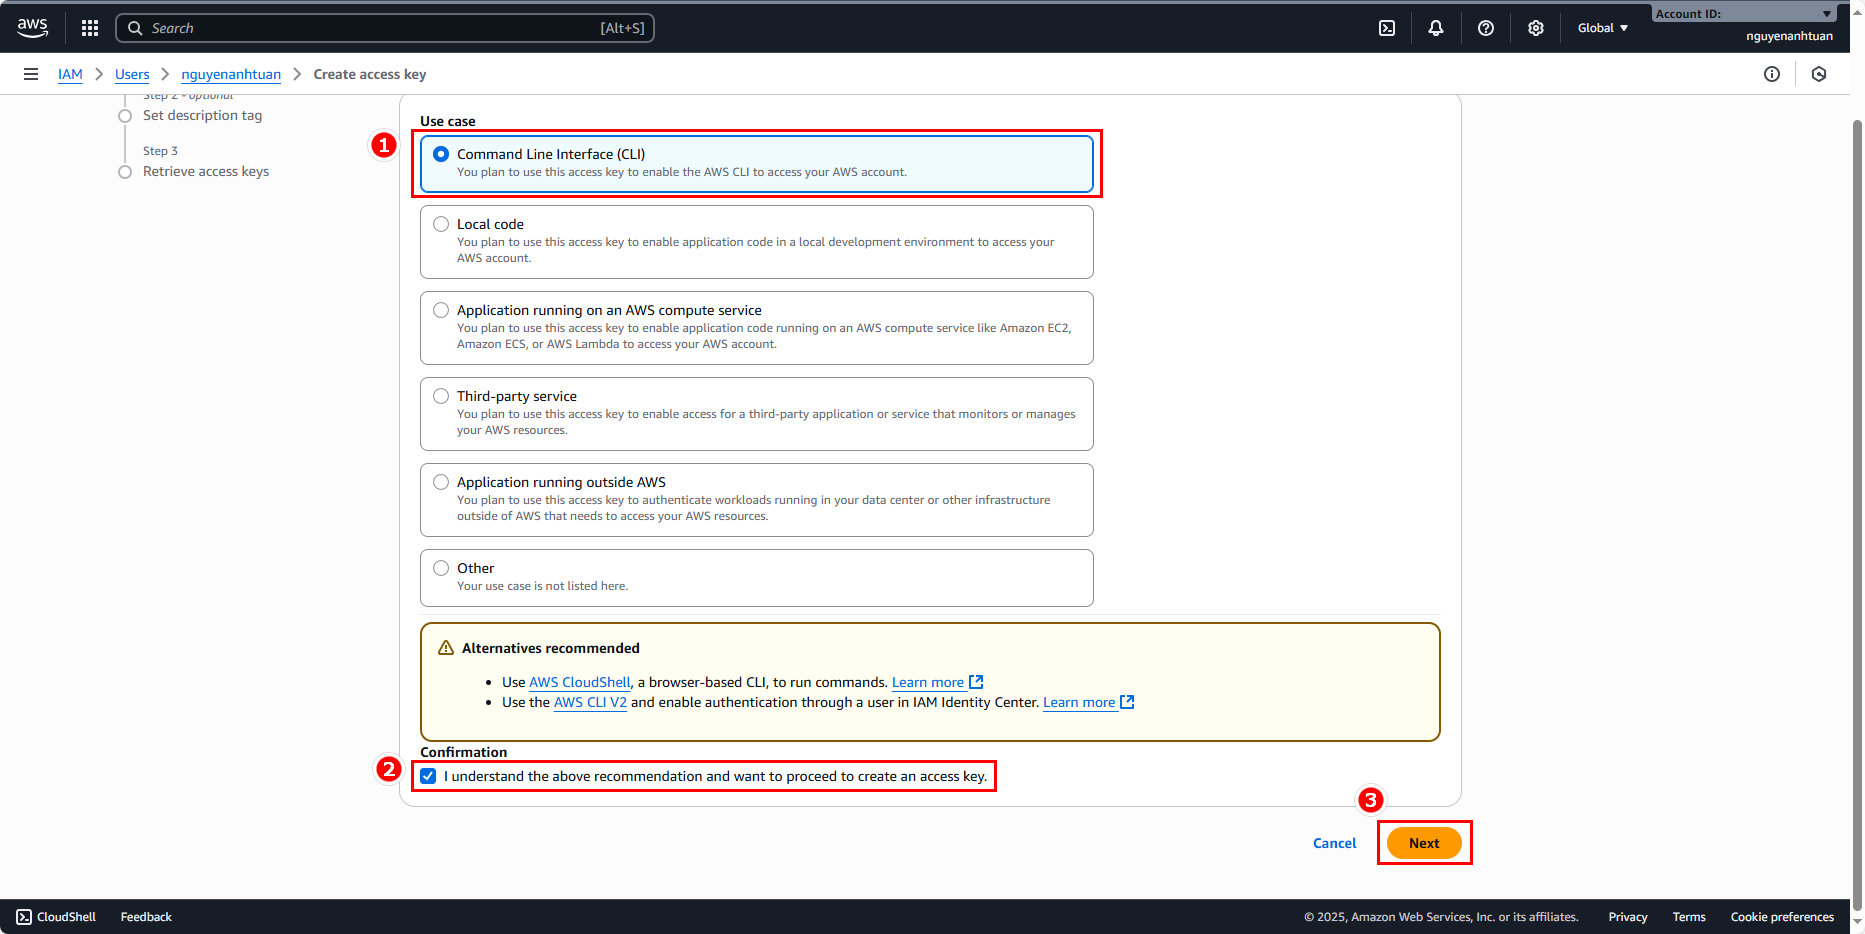
In the Summary section:
- Click Create access key.
- Choose Command Line Interface (CLI).
- Click Next.
You can add a description like Cognito workshop and click Create access key.
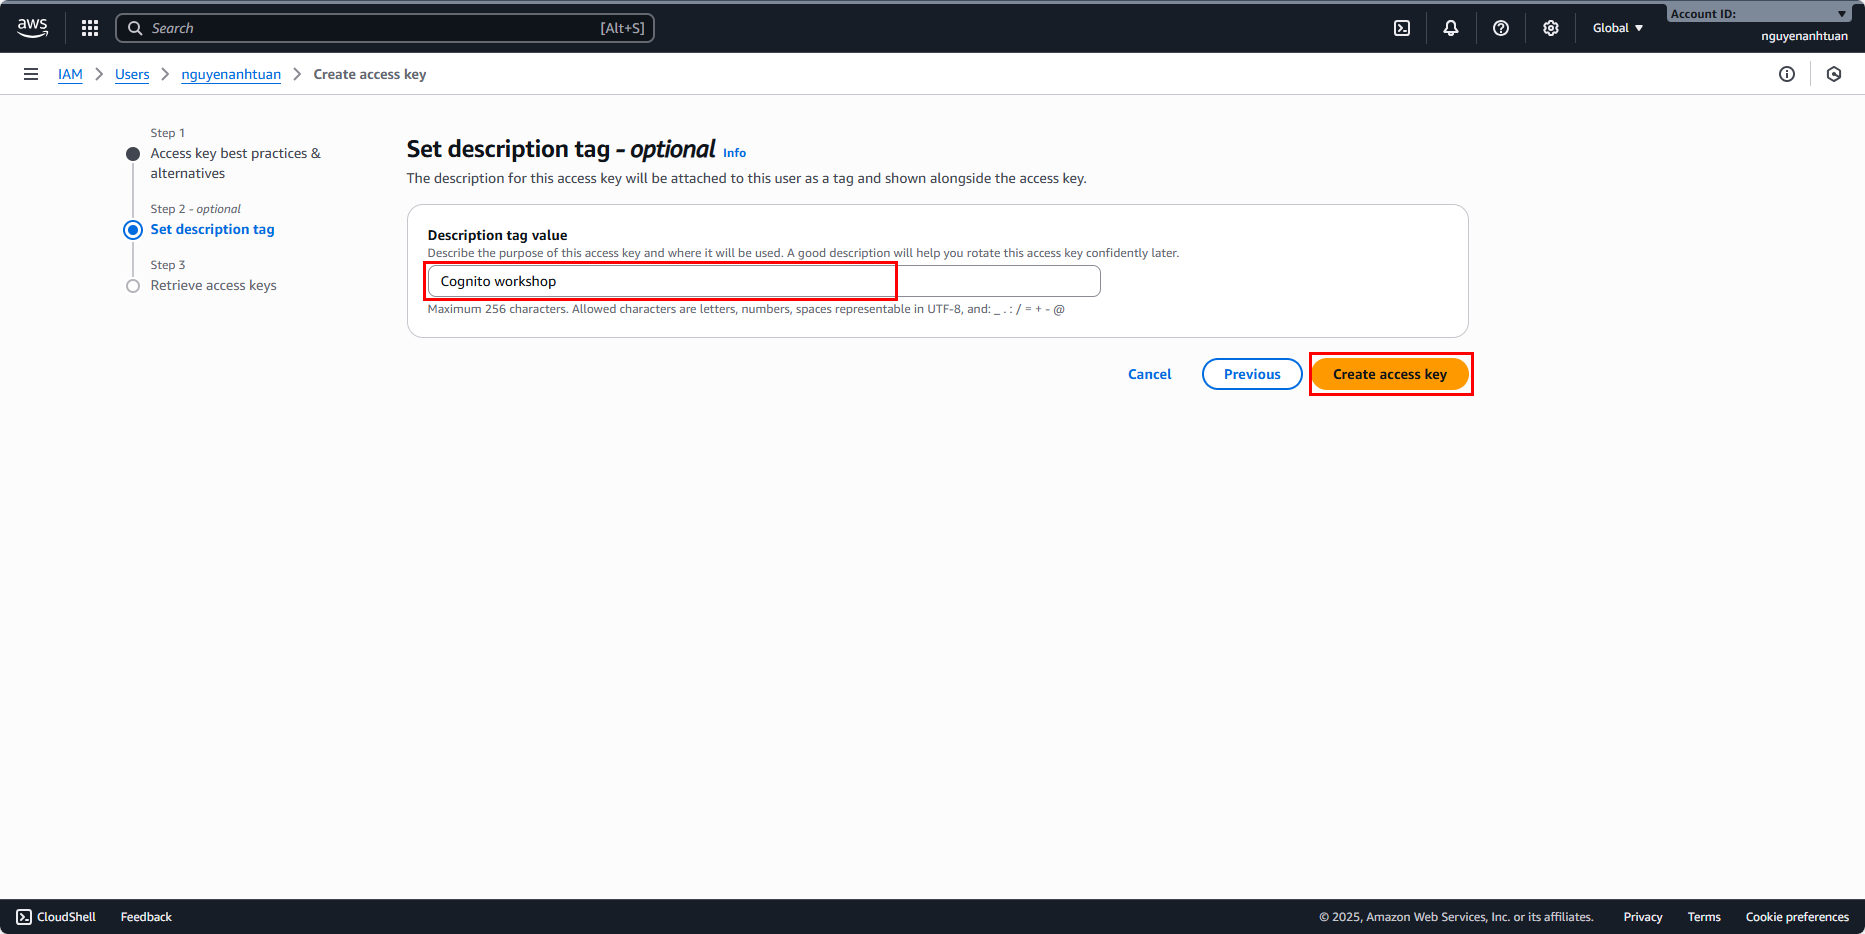
Once created, make sure to click Download .csv file to save the file.

Open the CSV file and configure your AWS CLI profile:
aws configure --profile cognito-workshop
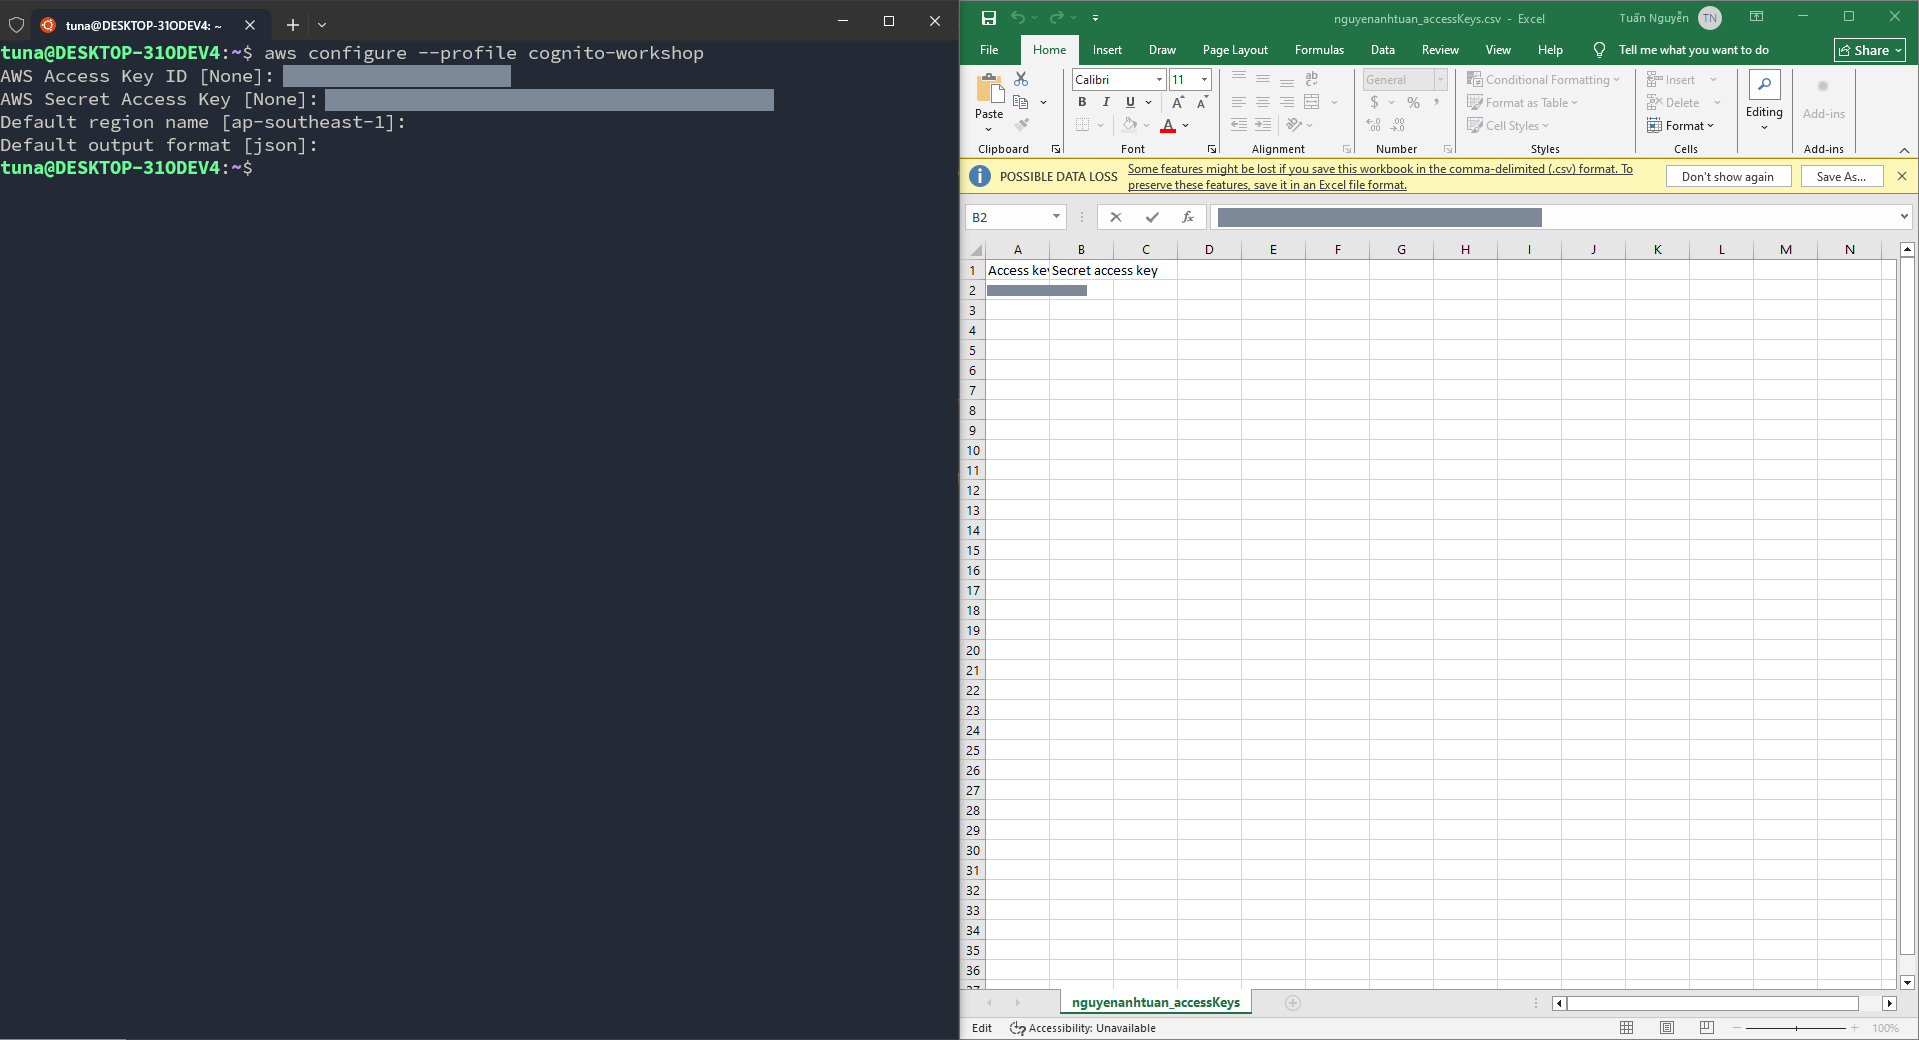
Done! Your AWS CLI profile is ready.
Run Express application
Before running, you need to build the source code into JavaScript:
npm run build:dev-express

# Or
pnpm run build:dev-express
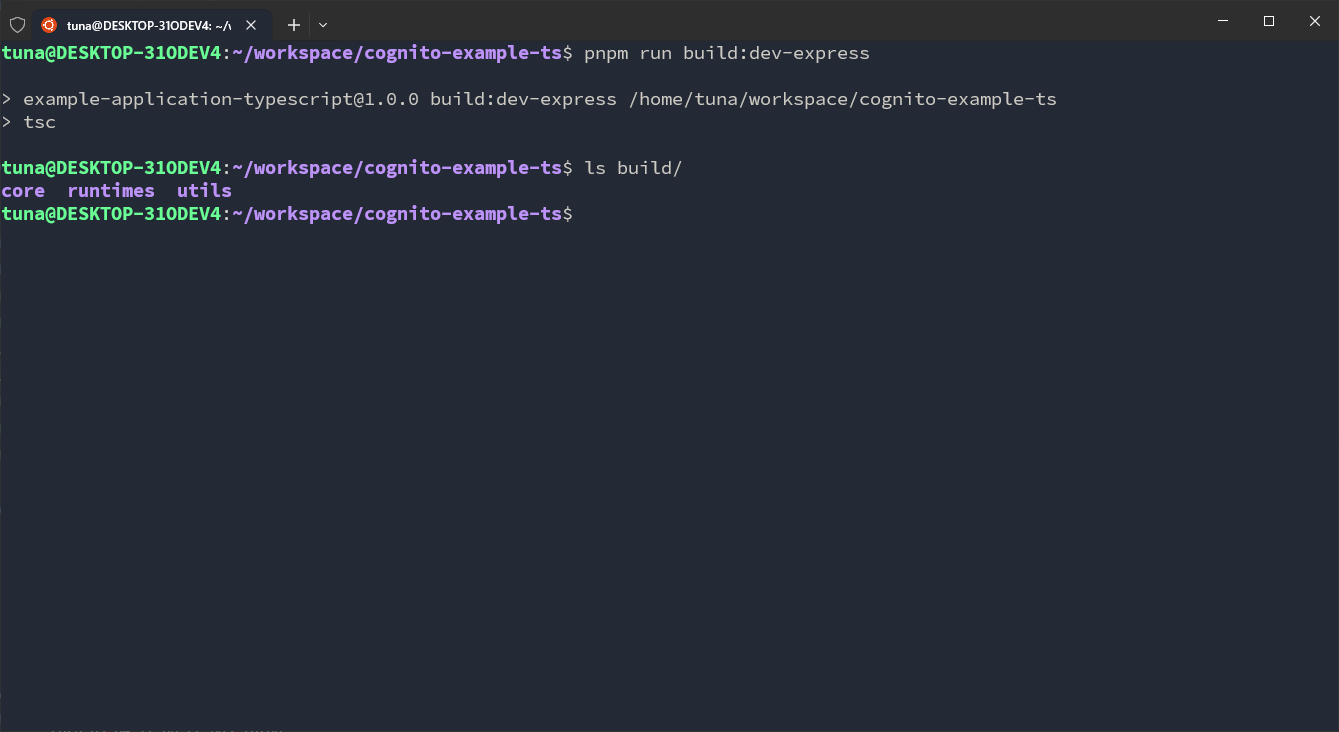
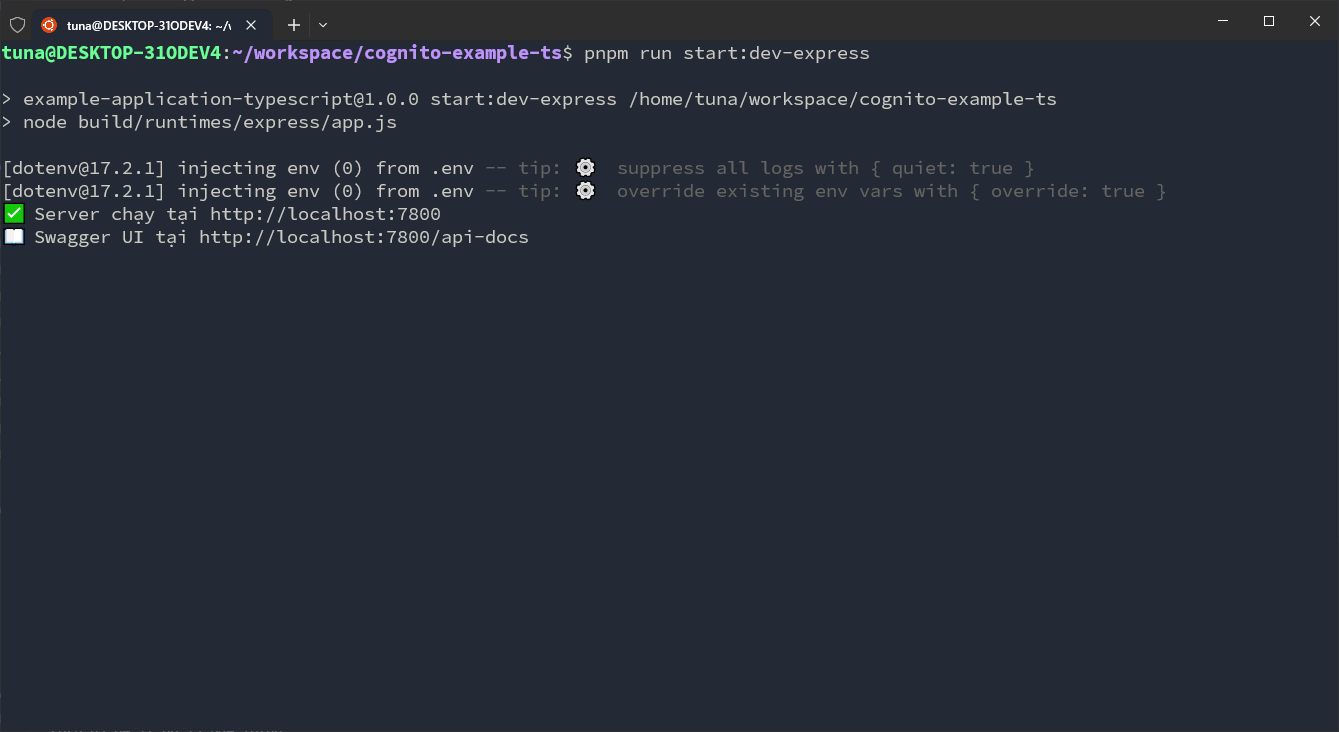
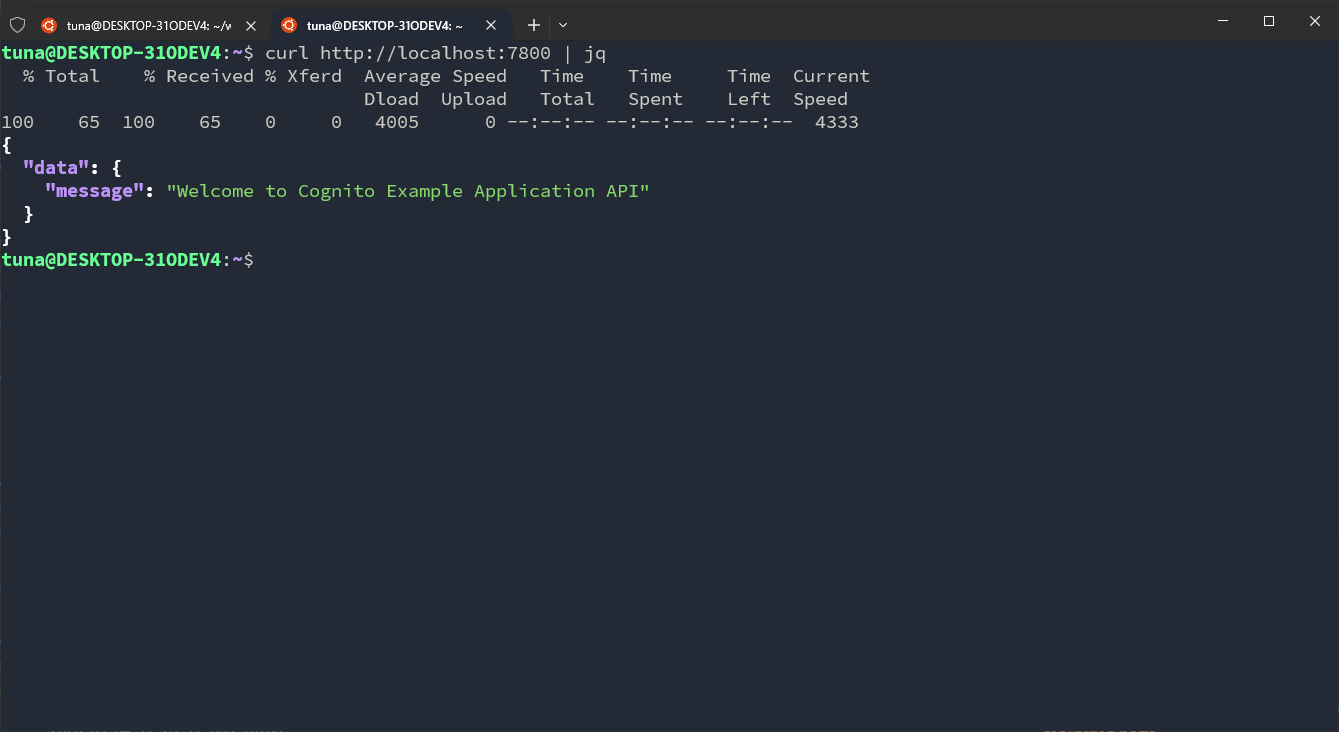
The build completes successfully with no errors. Now, try running the application:
npm run start:dev-express

# Or
pnpm run start:dev-express
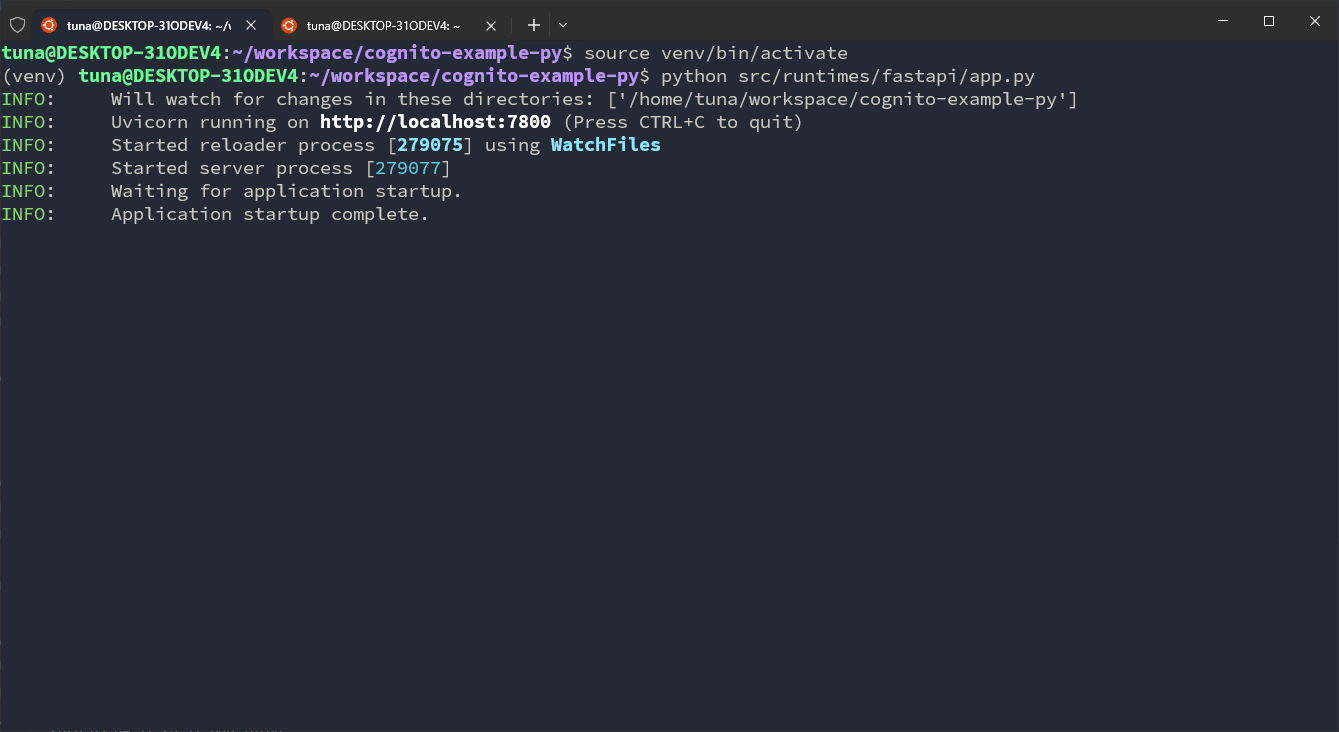
Run FastAPI application
For Python, you don’t need to build. Simply activate the virtual environment and run the app:
source venv/bin/activate
Once the virtual environment is activated, run the application:
python src/runtimes/fastapi/app.py
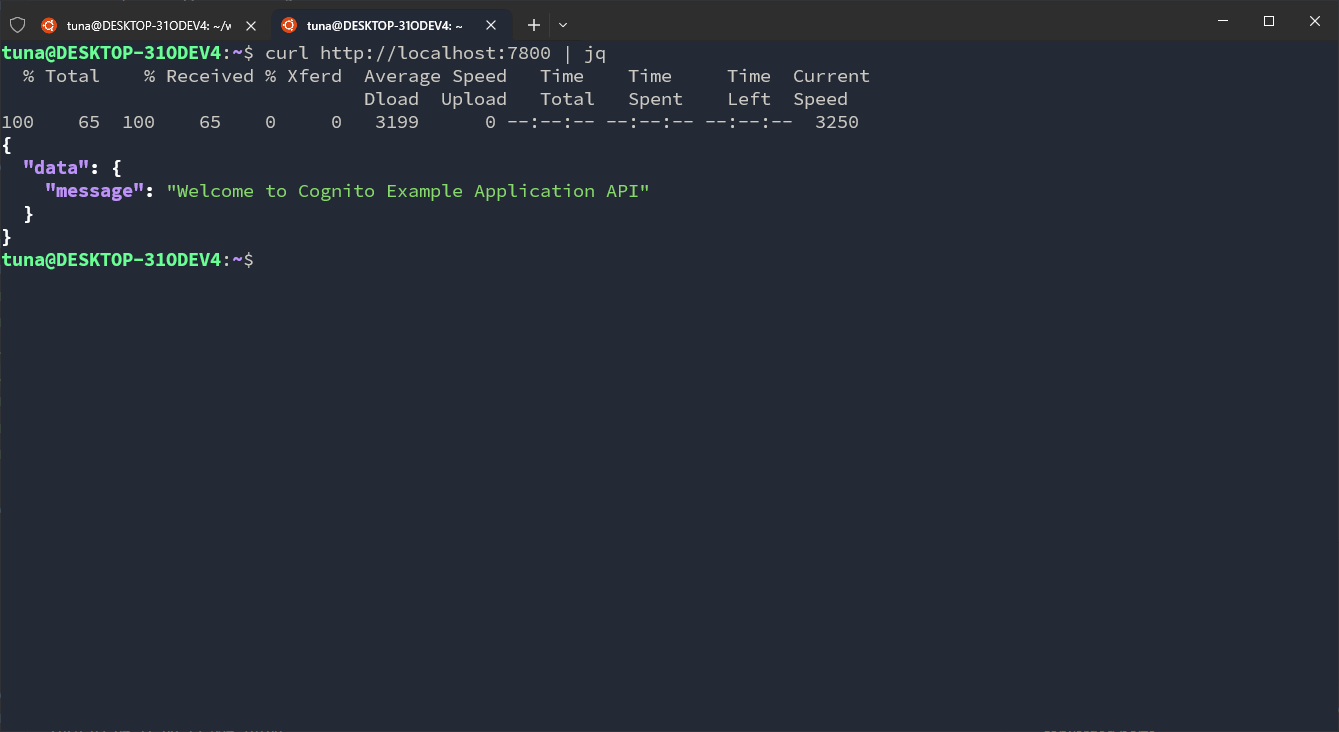
Now the application is running perfectly and is ready to be deployed on the cloud. In the next section, we will set up the necessary environment to run the application on an EC2 instance.