5.1. Build utils
First, we’ll add some code to the utils part. “Utils” means functions or modules used to support other parts of the code; they’re more abstract or general-purpose. For example, if we have a module dedicated to string processing (more abstract) and another module dedicated to processing product date strings (more specific) → clearly the string-processing module will be a util, while the module dedicated to processing product date strings will belong to the utils/helpers of a more specific module (inside core).
Pre-build
Before going into this part, we should set up a few things in the project.
Git ignore
To make Git ignore status checks for some files or folders, we can add a .gitignore file to the root of the project directory. First, create a new .gitignore file and add the following content:
.env
venv
__pycache__

We will ignore:
venv: the virtual environment for developing the Python application. Usually Python sits in the system-wide environment on our machine. If we install libraries directly into that environment, there’s a chance of conflicts. That’s why we need to set up a local environment for Python in each project. This is similar to JS’snode_modules, butvenvalso contains the Python binary.__pycache__: the directory containing cached data when we run the Python application.
Environment variables example
Next, we need to set up a sample file for environment variables. Environment variables are global variables of a runtime, used to store important information and should not appear in source code. Therefore, we create a sample environment variable file so that when someone else runs the app, they know what they need to add for it to work.
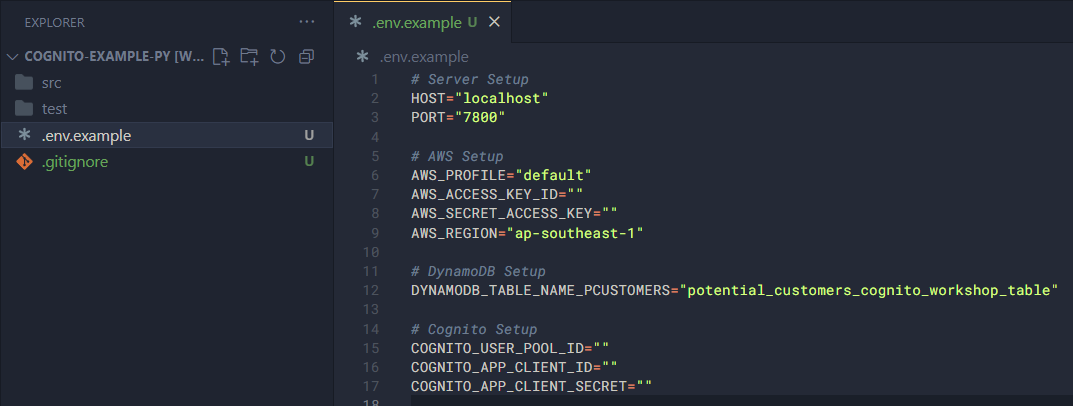
Create a .env.example file and add the following content:
# Server Setup
HOST="localhost"
PORT="7800"

# AWS Setup
AWS_PROFILE="default"
AWS_ACCESS_KEY_ID=""
AWS_SECRET_ACCESS_KEY=""
AWS_REGION="ap-southeast-1"

# DynamoDB Setup
DYNAMODB_TABLE_NAME_PCUSTOMERS="potential_customers_cognito_workshop_table"

# Cognito Setup
COGNITO_USER_POOL_ID=""
COGNITO_APP_CLIENT_ID=""
COGNITO_APP_CLIENT_SECRET=""
We’ll explain the meaning of these variables later on.
Codebase configuration
As I mentioned, I strongly recommend developing the app in VSCode, so at this step we’ll create a file to help VSCode understand the source code and support us better while coding.
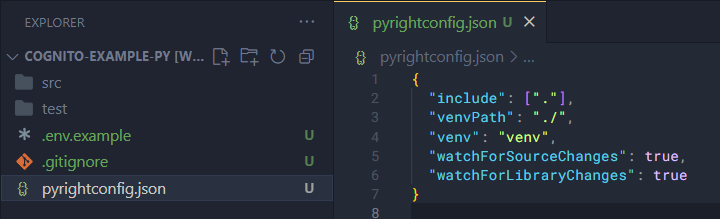
If you’re using Pyright, create a pyrightconfig.json file to contain the following config:
{
  "include": ["."],
  "venvPath": "./",
  "venv": "venv",
  "watchForSourceChanges": true,
  "watchForLibraryChanges": true
}
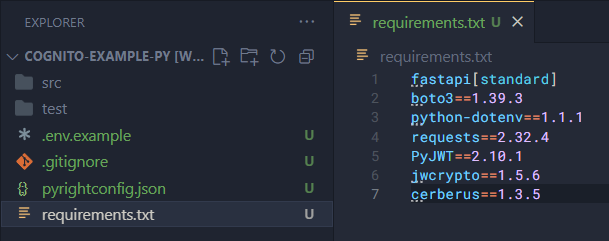
In Python we can manage the installed libraries of a project with requirements.txt. Now we’ll create this file and add the following content:
fastapi[standard]
boto3==1.39.3
python-dotenv==1.1.1
requests==2.32.4
PyJWT==2.10.1
jwcrypto==1.5.6
cerberus==1.3.5
Setup virtual environment and install packages
First we need to create a virtual environment for Python. To do that we install the venv package globally:
sudo apt update -y
sudo apt install python3-venv

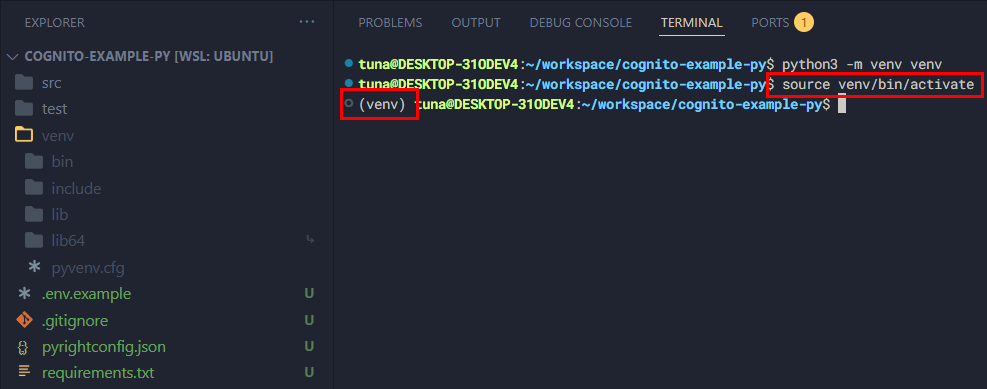
Next, create a virtual environment in Python with the following command. Note we must name the folder containing the virtual environment exactly venv:
python3 -m venv venv

After creating it, activate the virtual environment.
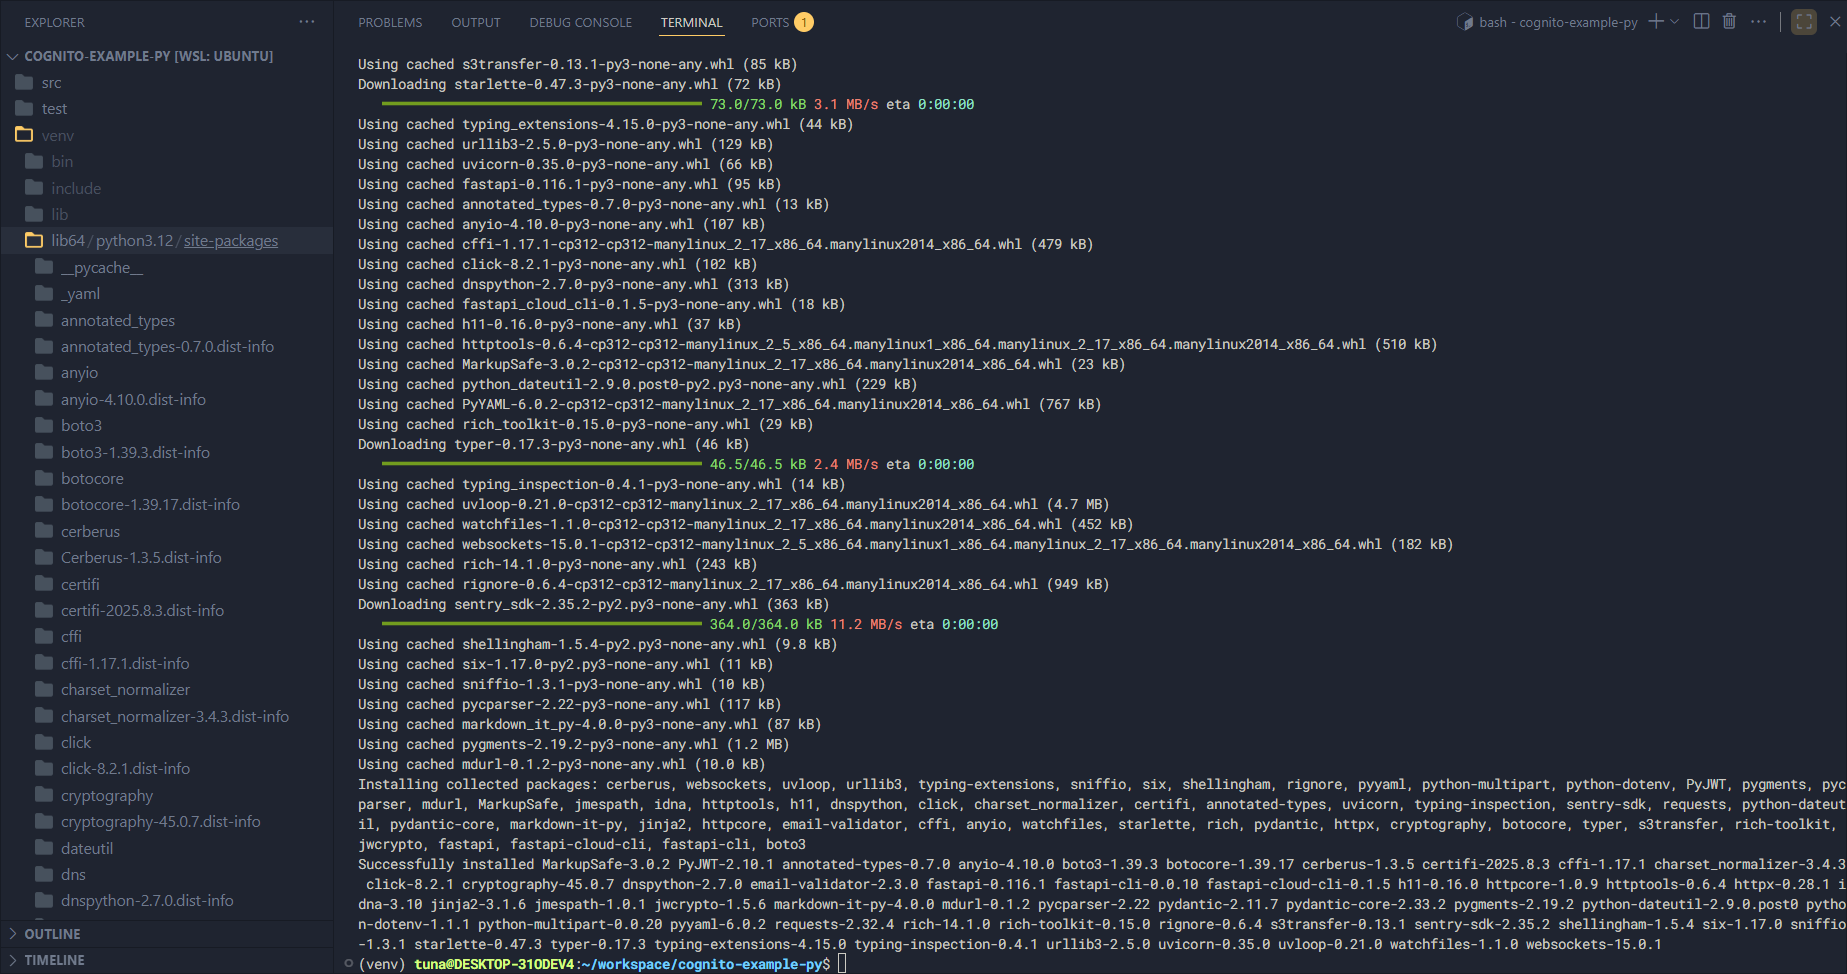
Now install the libraries listed in requirements.txt:
pip install -r requirements.txt

Content
In this part we’ll break it down into smaller sections: