4.1. Build utils
First, we will add some code to the utils section. Utils means functions or modules used to support other parts of the code, with a higher level of abstraction or generality. For example, we may have a module dedicated to string processing (more abstract) and a module dedicated to processing product date strings (more specific) ⇒ clearly the string-processing module would be in utils, while the module dedicated to processing product date strings would belong to the utils/helpers of a more specific module (inside core).
Pre-build
Before diving into this section, we should set up a few things in the project.
Git ignore
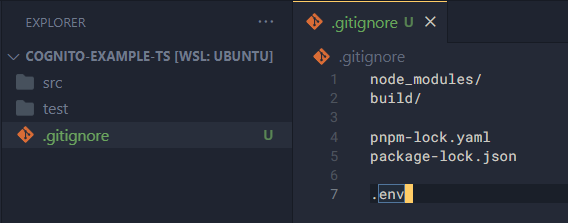
To have Git ignore status checks for certain files or folders, we can add a .gitignore file to the project root directory. First, create a new .gitignore file and add the following content:
node_modules/
build/

pnpm-lock.yaml
package-lock.json

.env
We will ignore:
node_modules/is the folder containing the source code of other libraries. This folder is very large and doesn’t need to be tracked by Git.build/is the folder containing the project source code in JavaScript form. NodeJS requires JavaScript code to run.pnpm-lock.yamlis a file containing library information insidenode_modules. This file is very large and often causes Git conflicts, so we will exclude it. It is created if we use pnpm to install libraries.package-lock.jsonis similar to pnpm-lock.yaml, but it is created if we use npm to install libraries.
Environment variables example
Next, we need to set up a sample file for environment variables. Environment variables are global variables for a given runtime, used to store important information that must not appear in the source code. Therefore, we need to create a sample environment variable file so that when someone else tries to run the application, they know what to add for the application to work.
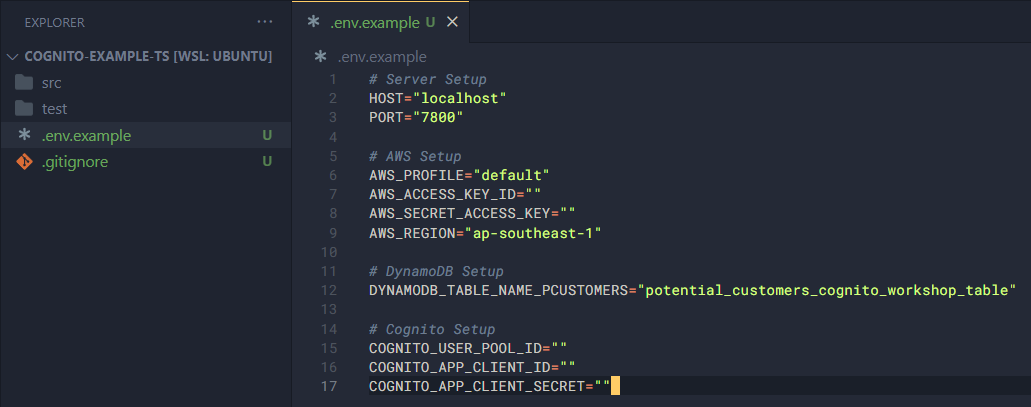
Create a .env.example file and add the following content.
# Server Setup
HOST="localhost"
PORT="7800"

# AWS Setup
AWS_PROFILE="default"
AWS_ACCESS_KEY_ID=""
AWS_SECRET_ACCESS_KEY=""
AWS_REGION="ap-southeast-1"

# DynamoDB Setup
DYNAMODB_TABLE_NAME_PCUSTOMERS="potential_customers_cognito_workshop_table"

# Cognito Setup
COGNITO_USER_POOL_ID=""
COGNITO_APP_CLIENT_ID=""
COGNITO_APP_CLIENT_SECRET=""
During the process, I will explain the meaning of these variables later.
Codebase configuration
As I mentioned, I highly recommend developing the application in VSCode, so in this step we will create files to help VSCode understand the source code and better assist us in writing code.
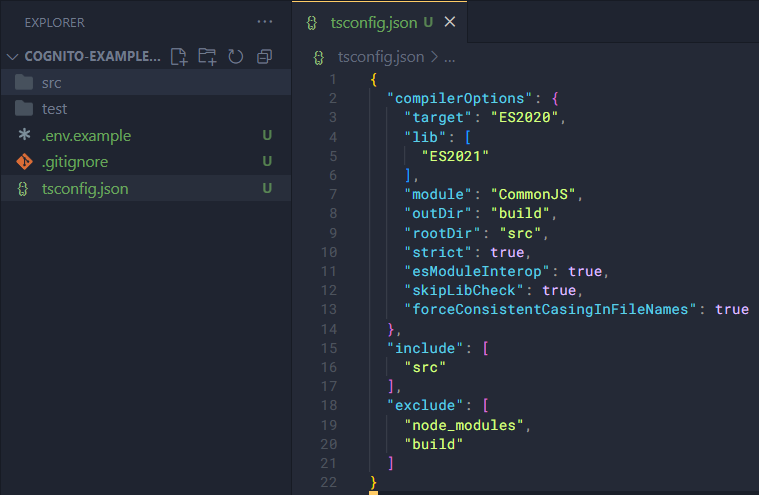
Create a tsconfig.json file. This file is important because it will be used to build our application from TypeScript to JavaScript.
{
  "compilerOptions": {
    "target": "ES2020",
    "lib": [
      "ES2021"
    ],
    "module": "CommonJS",
    "outDir": "build",
    "rootDir": "src",
    "strict": true,
    "esModuleInterop": true,
    "skipLibCheck": true,
    "forceConsistentCasingInFileNames": true
  },
  "include": [
    "src"
  ],
  "exclude": [
    "node_modules",
    "build"
  ]
}
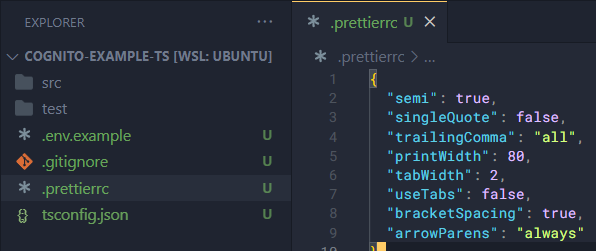
This part is optional: create a .prettierrc file to define some settings for code formatting.
{
  "semi": true,
  "singleQuote": false,
  "trailingComma": "all",
  "printWidth": 80,
  "tabWidth": 2,
  "useTabs": false,
  "bracketSpacing": true,
  "arrowParens": "always"
}
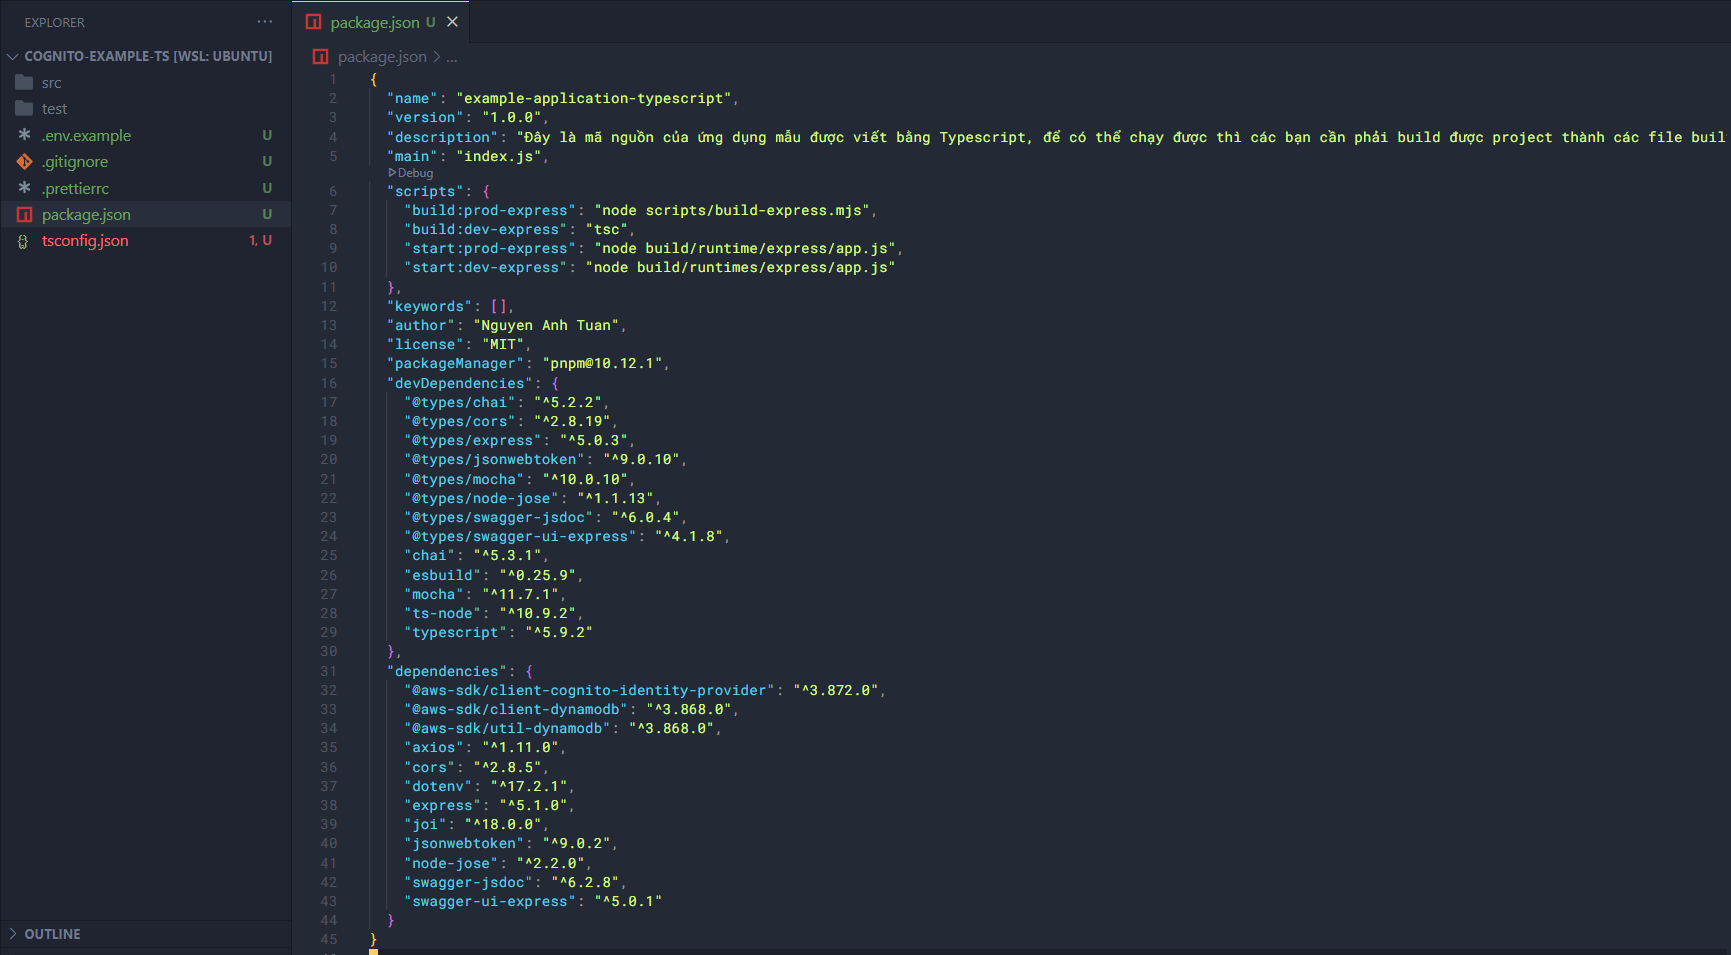
Next, we will create a package.json file. This file is the project’s metadata and contains all information in the project, including required libraries and their versions.
{
  "name": "example-application-typescript",
  "version": "1.0.0",
  "description": "Đây là mã nguồn của ứng dụng mẫu được viết bằng Typescript, để có thể chạy được thì các bạn cần phải build được project thành các file built.",
  "main": "index.js",
  "scripts": {
    "build:prod-express": "node scripts/build-express.mjs",
    "build:dev-express": "tsc",
    "start:prod-express": "node build/runtime/express/app.js",
    "start:dev-express": "node build/runtimes/express/app.js"
  },
  "keywords": [],
  "author": "Nguyen Anh Tuan",
  "license": "MIT",
  "packageManager": "pnpm@10.12.1",
  "devDependencies": {
    "@types/chai": "^5.2.2",
    "@types/cors": "^2.8.19",
    "@types/express": "^5.0.3",
    "@types/jsonwebtoken": "^9.0.10",
    "@types/mocha": "^10.0.10",
    "@types/node-jose": "^1.1.13",
    "@types/swagger-jsdoc": "^6.0.4",
    "@types/swagger-ui-express": "^4.1.8",
    "chai": "^5.3.1",
    "esbuild": "^0.25.9",
    "mocha": "^11.7.1",
    "ts-node": "^10.9.2",
    "typescript": "^5.9.2"
  },
  "dependencies": {
    "@aws-sdk/client-cognito-identity-provider": "^3.872.0",
    "@aws-sdk/client-dynamodb": "^3.868.0",
    "@aws-sdk/util-dynamodb": "^3.868.0",
    "axios": "^1.11.0",
    "cors": "^2.8.5",
    "dotenv": "^17.2.1",
    "express": "^5.1.0",
    "joi": "^18.0.0",
    "jsonwebtoken": "^9.0.2",
    "node-jose": "^2.2.0",
    "swagger-jsdoc": "^6.2.8",
    "swagger-ui-express": "^5.0.1"
  }
}
Install Packages
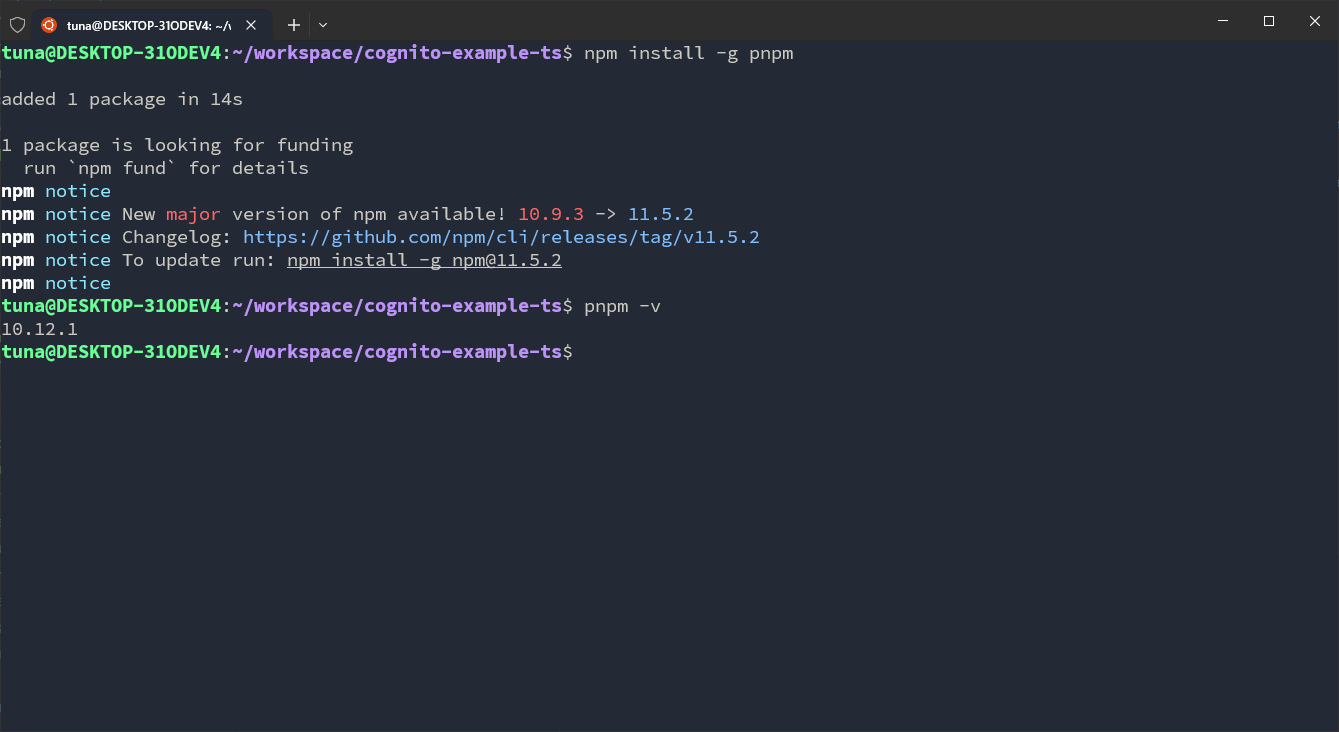
In this tutorial, I will use pnpm, so first install pnpm (since I already have it installed, the output message might differ).
npm install -g pnpm
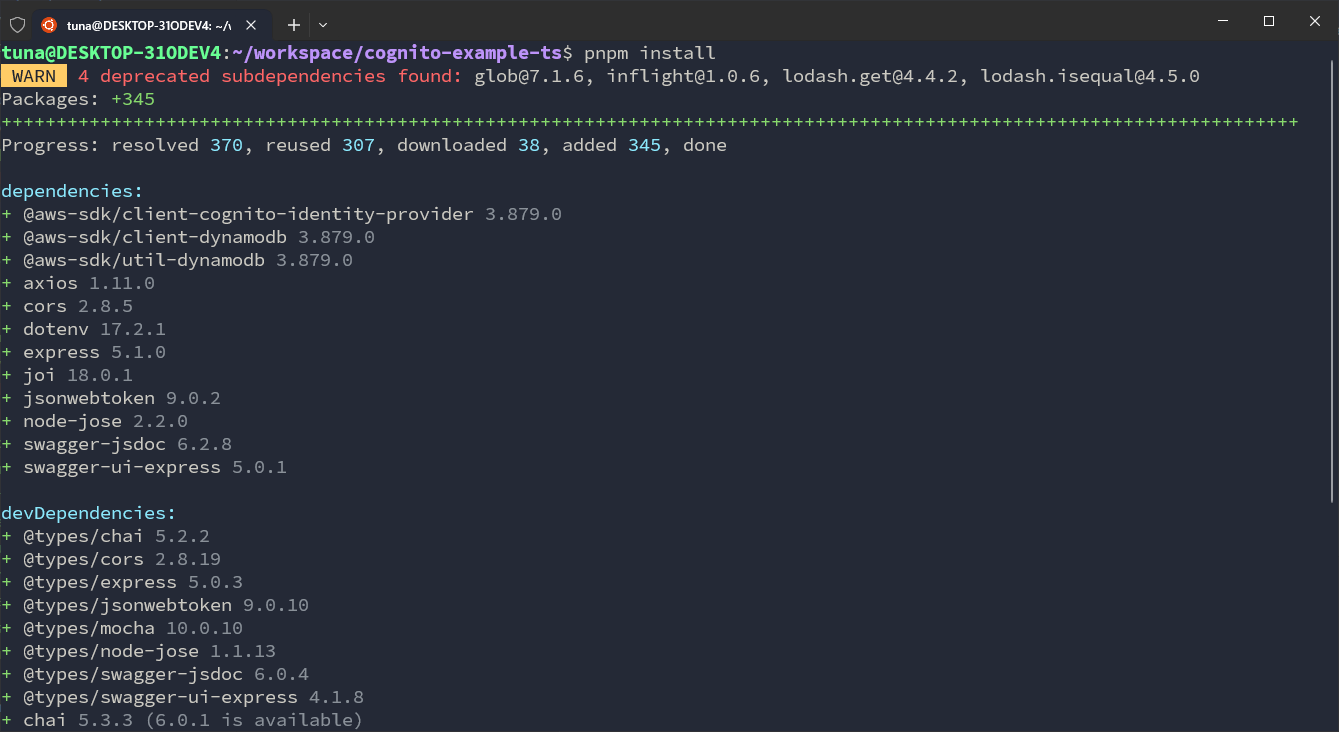
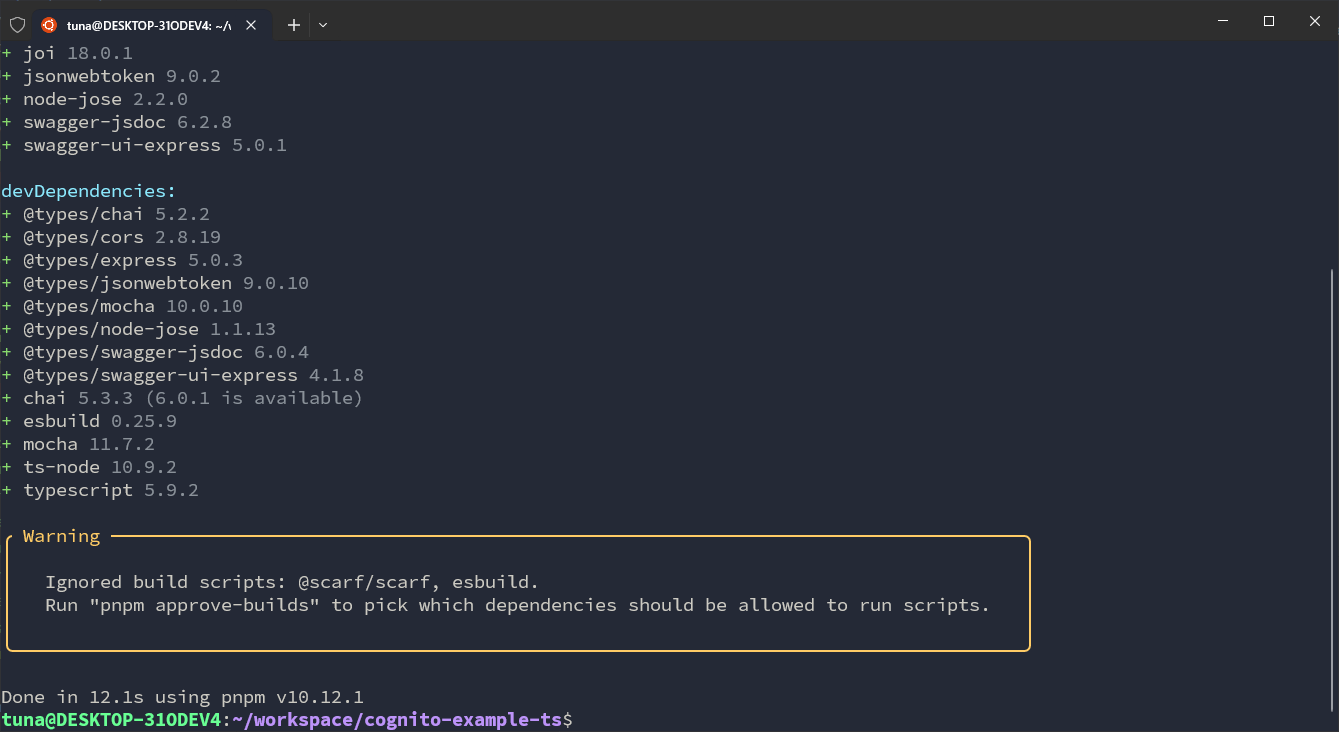
Since the previous package.json file already contains external library information, we can install them with this command:
pnpm install
Basically, we’ve set up a few things. Next, we’ll dive a bit deeper into the source code in the following section. See more content below.
Content
In this section, I will break it down into smaller parts, specifically: