2.4. Create users
Create users
Now we’ll create 2 users. Go to Users under User management. Click Create user.
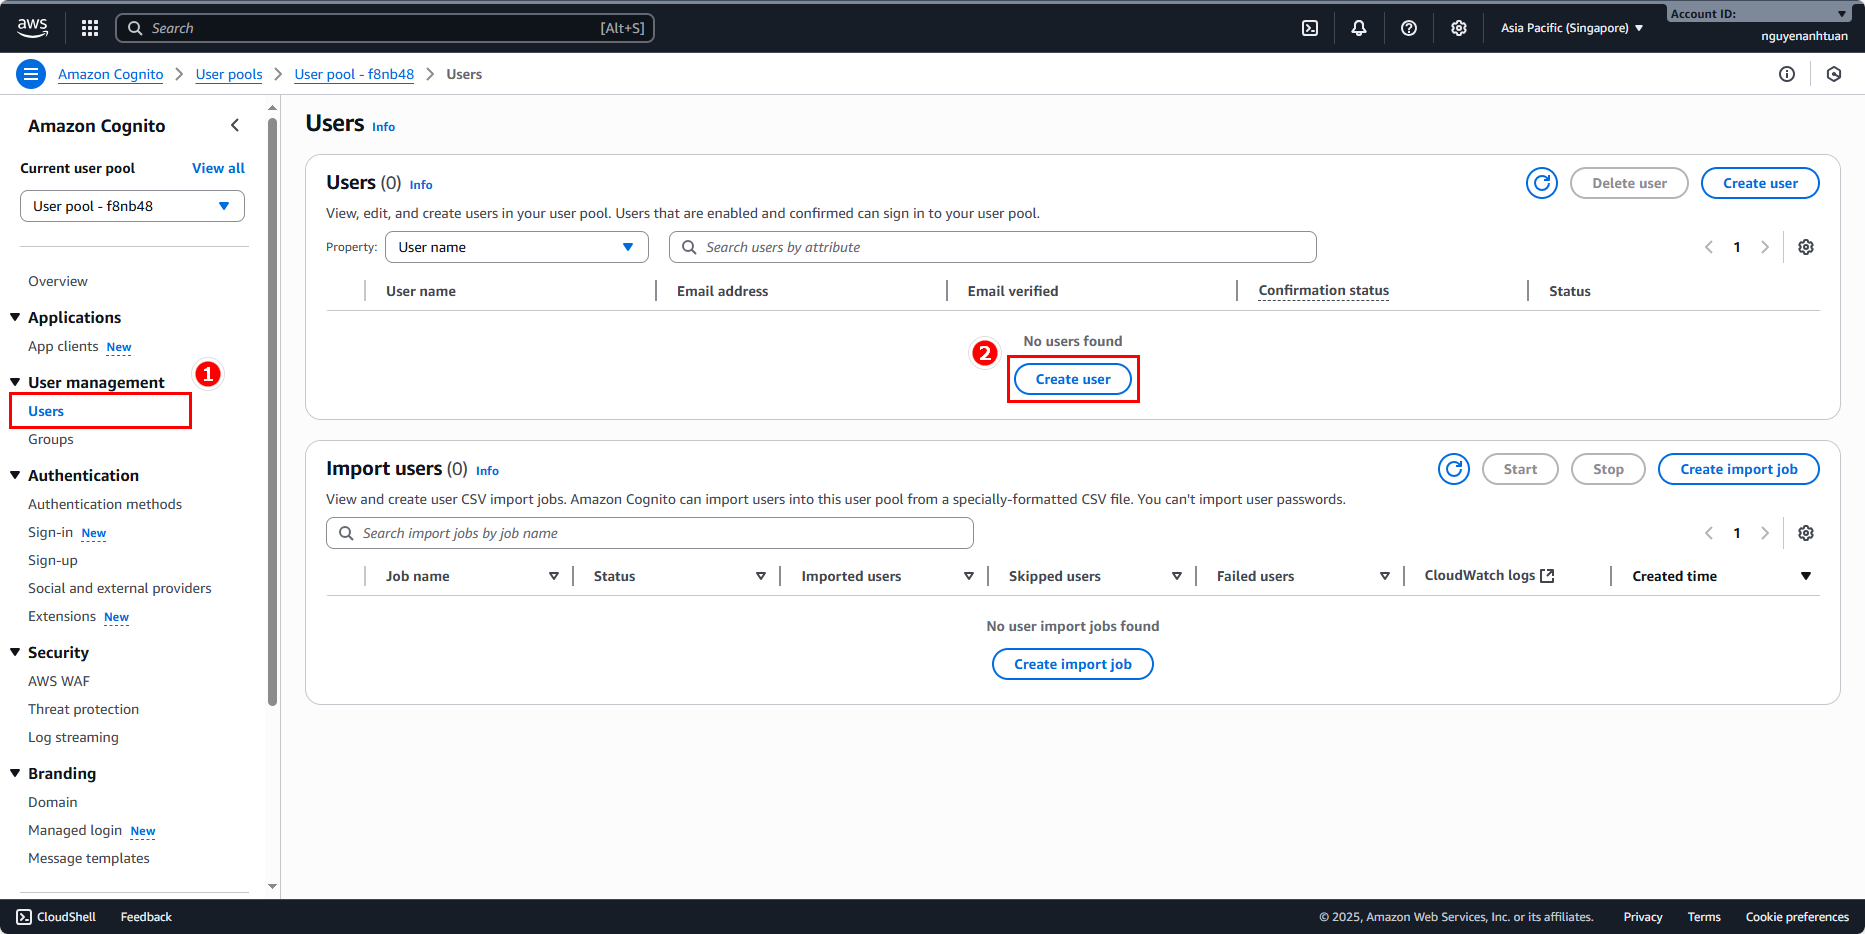
Use the following options:
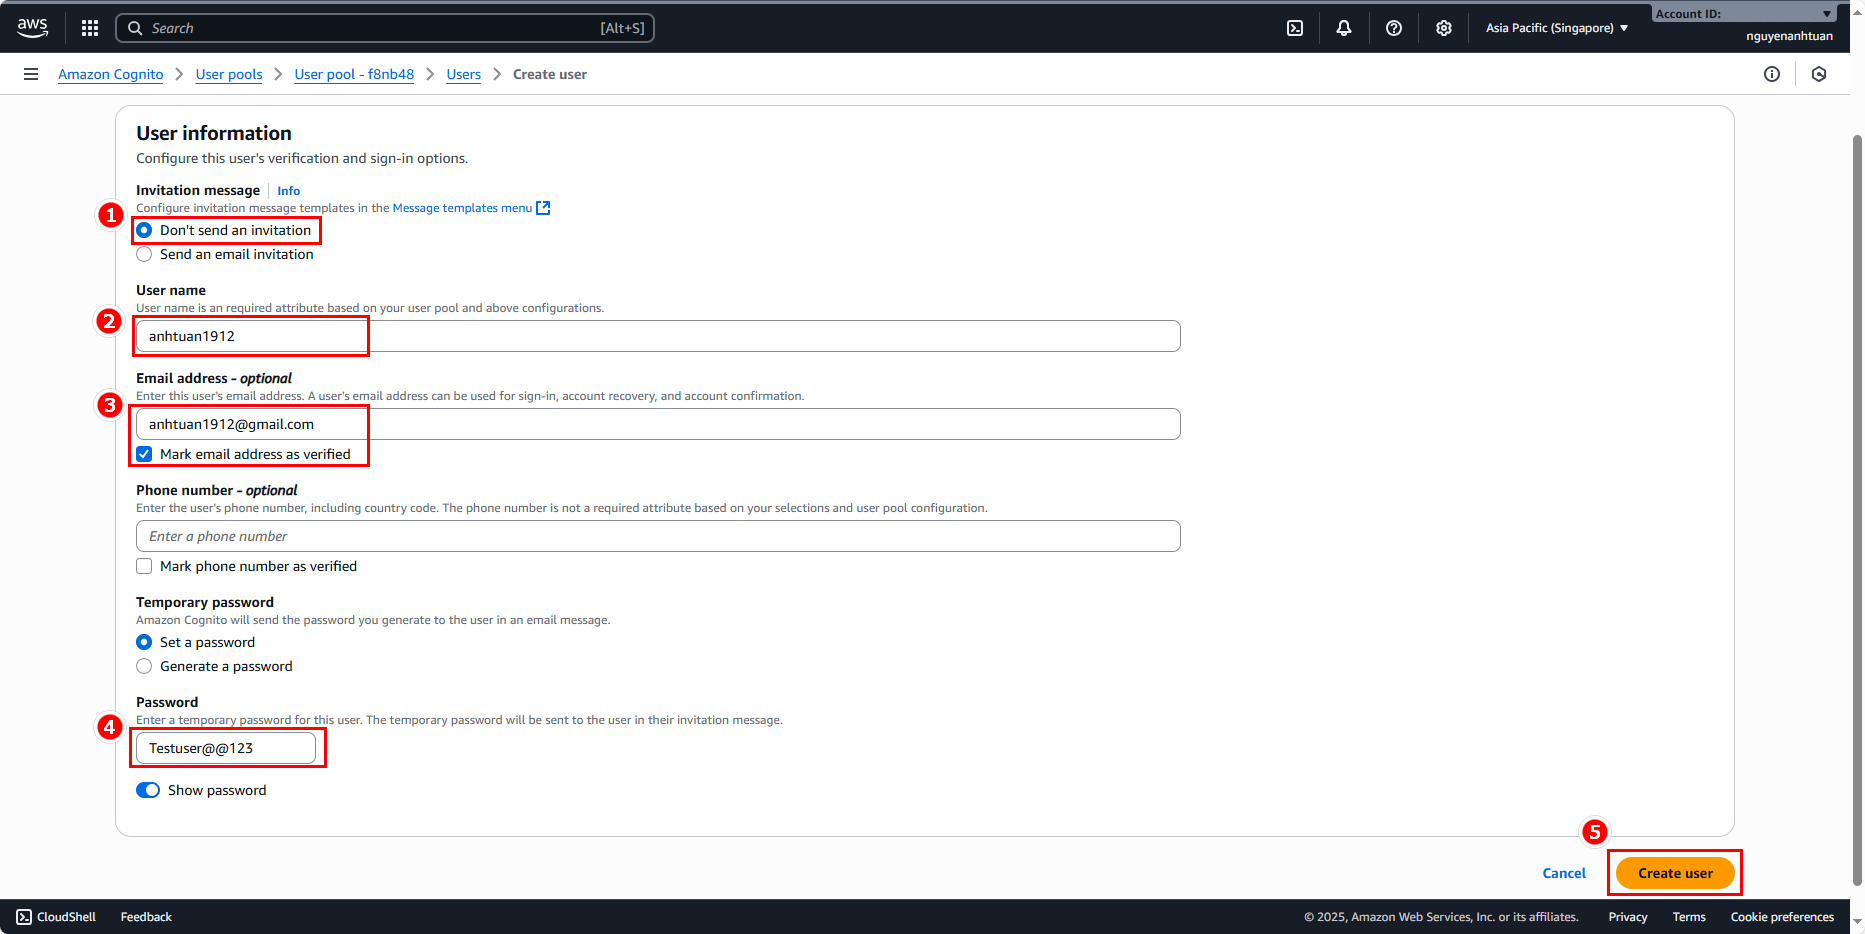
- User 1 (fill in whatever info you like, just make it easy to tell apart):
- Invitation message: Don’t send an invitation (recommended).
- Username:
anhtuan1912. - Email:
anhtuan1912@gmail.com. Check Mark email address as verified. - Choose Set password, enter password:
Testuser@@123.
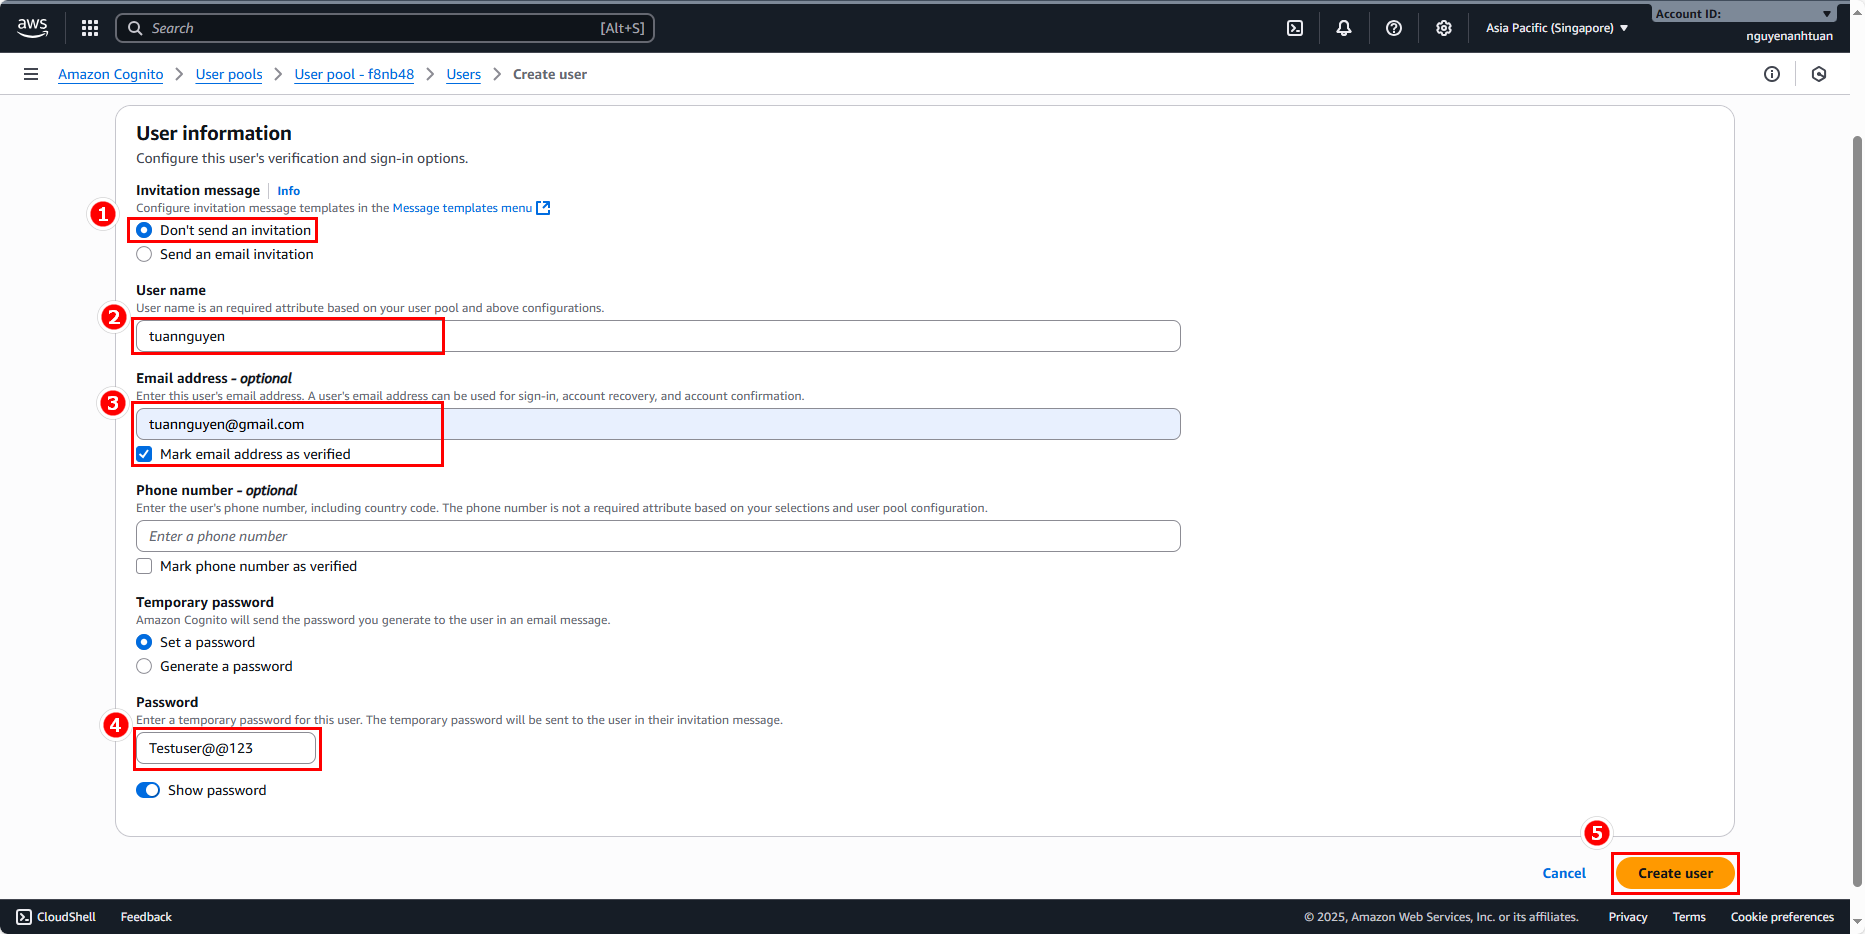
- User 2 (same as above, just differentiate):
- Invitation message: Don’t send an invitation (recommended).
- Username:
tuannguyen. - Email:
tuannguyen@gmail.com. Check Mark email address as verified. - Choose Set password, enter password:
Testuser@@123.
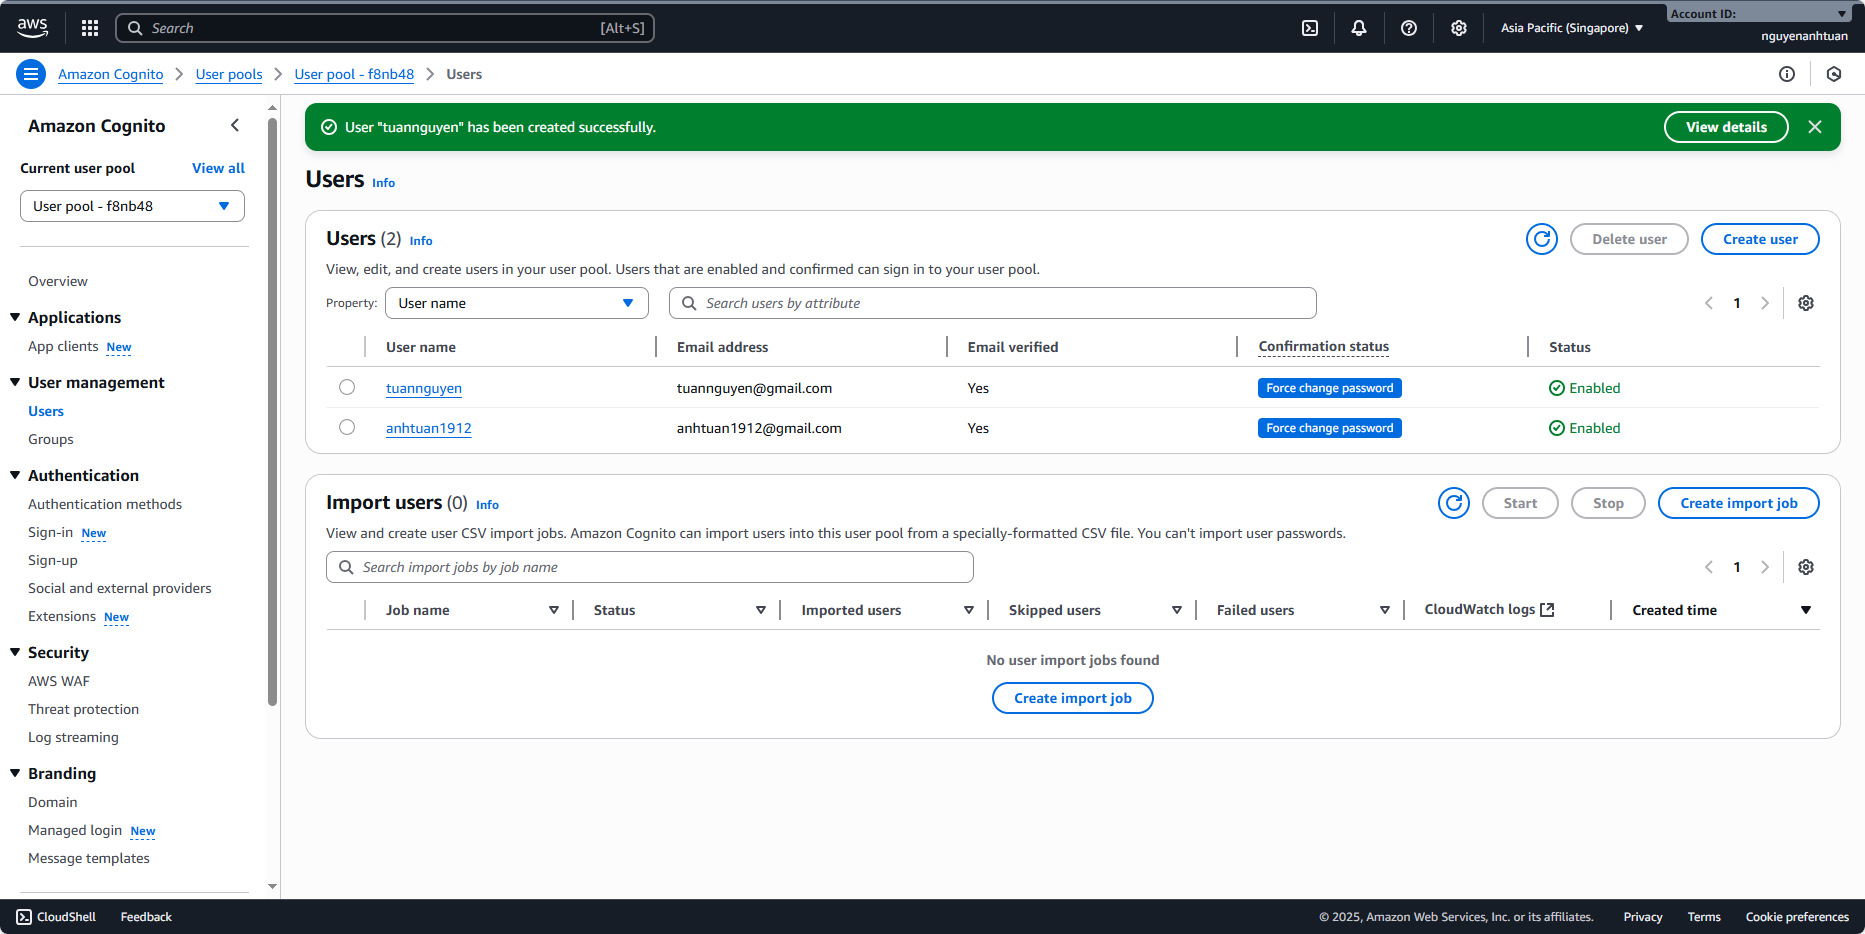
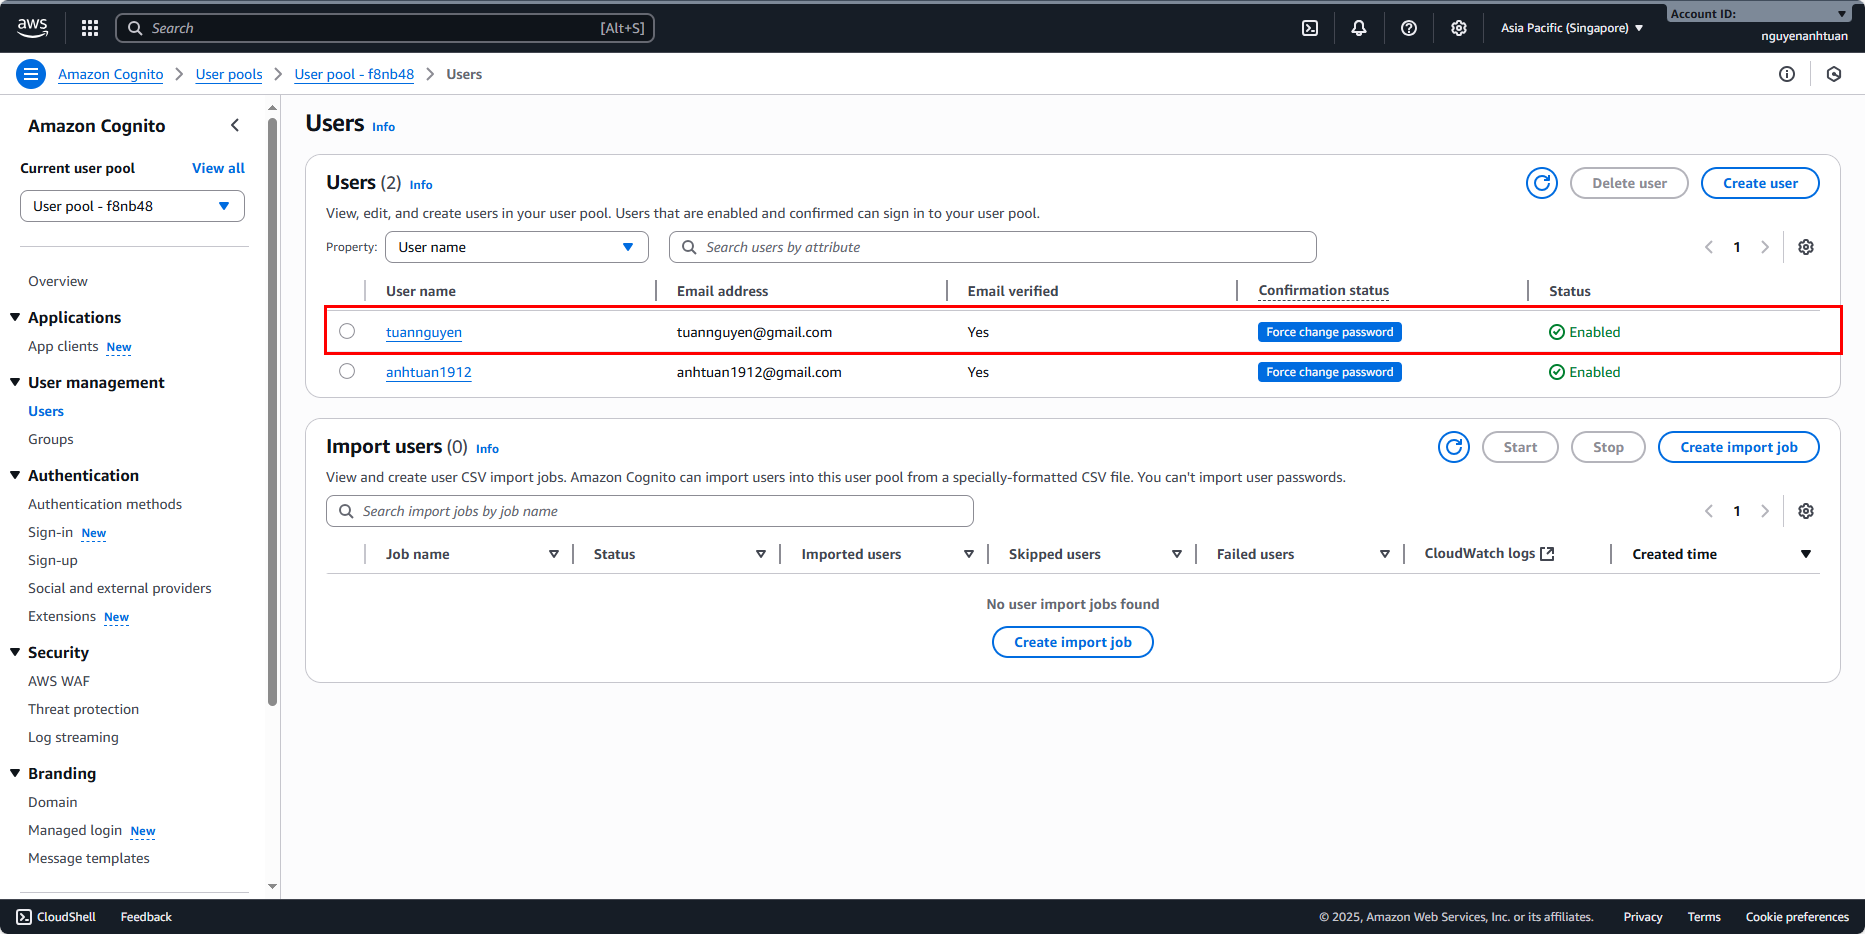
After creating them, you’ll have two users:
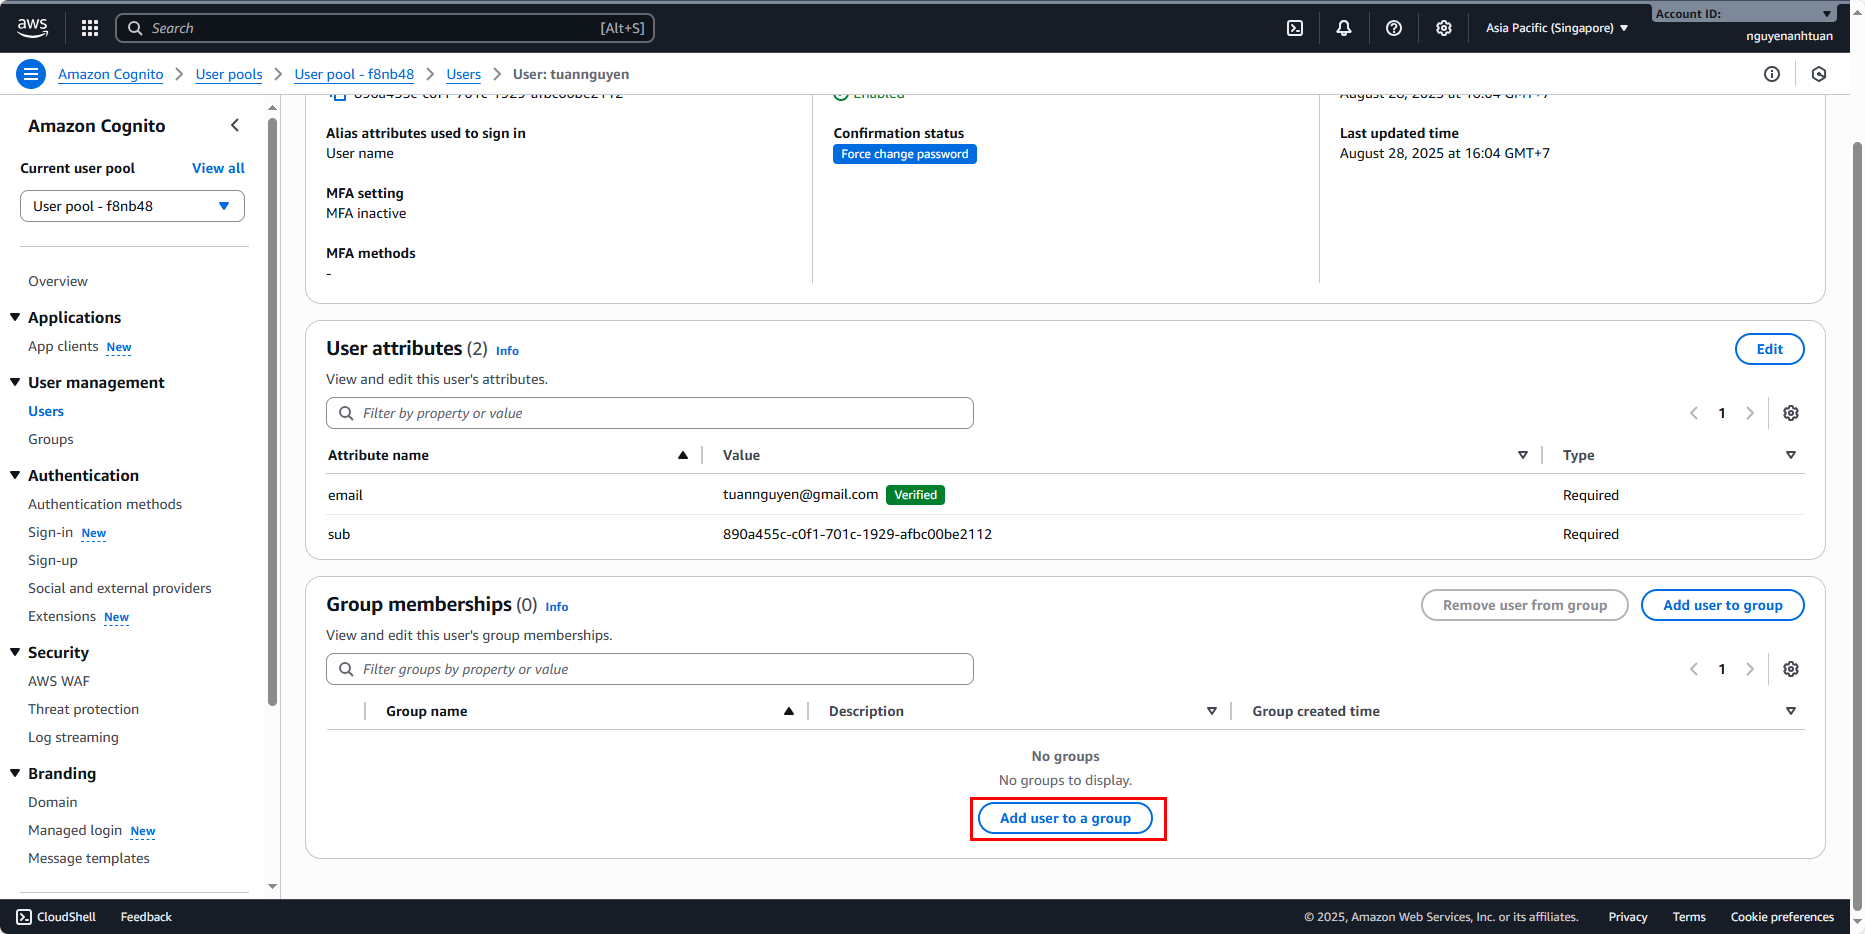
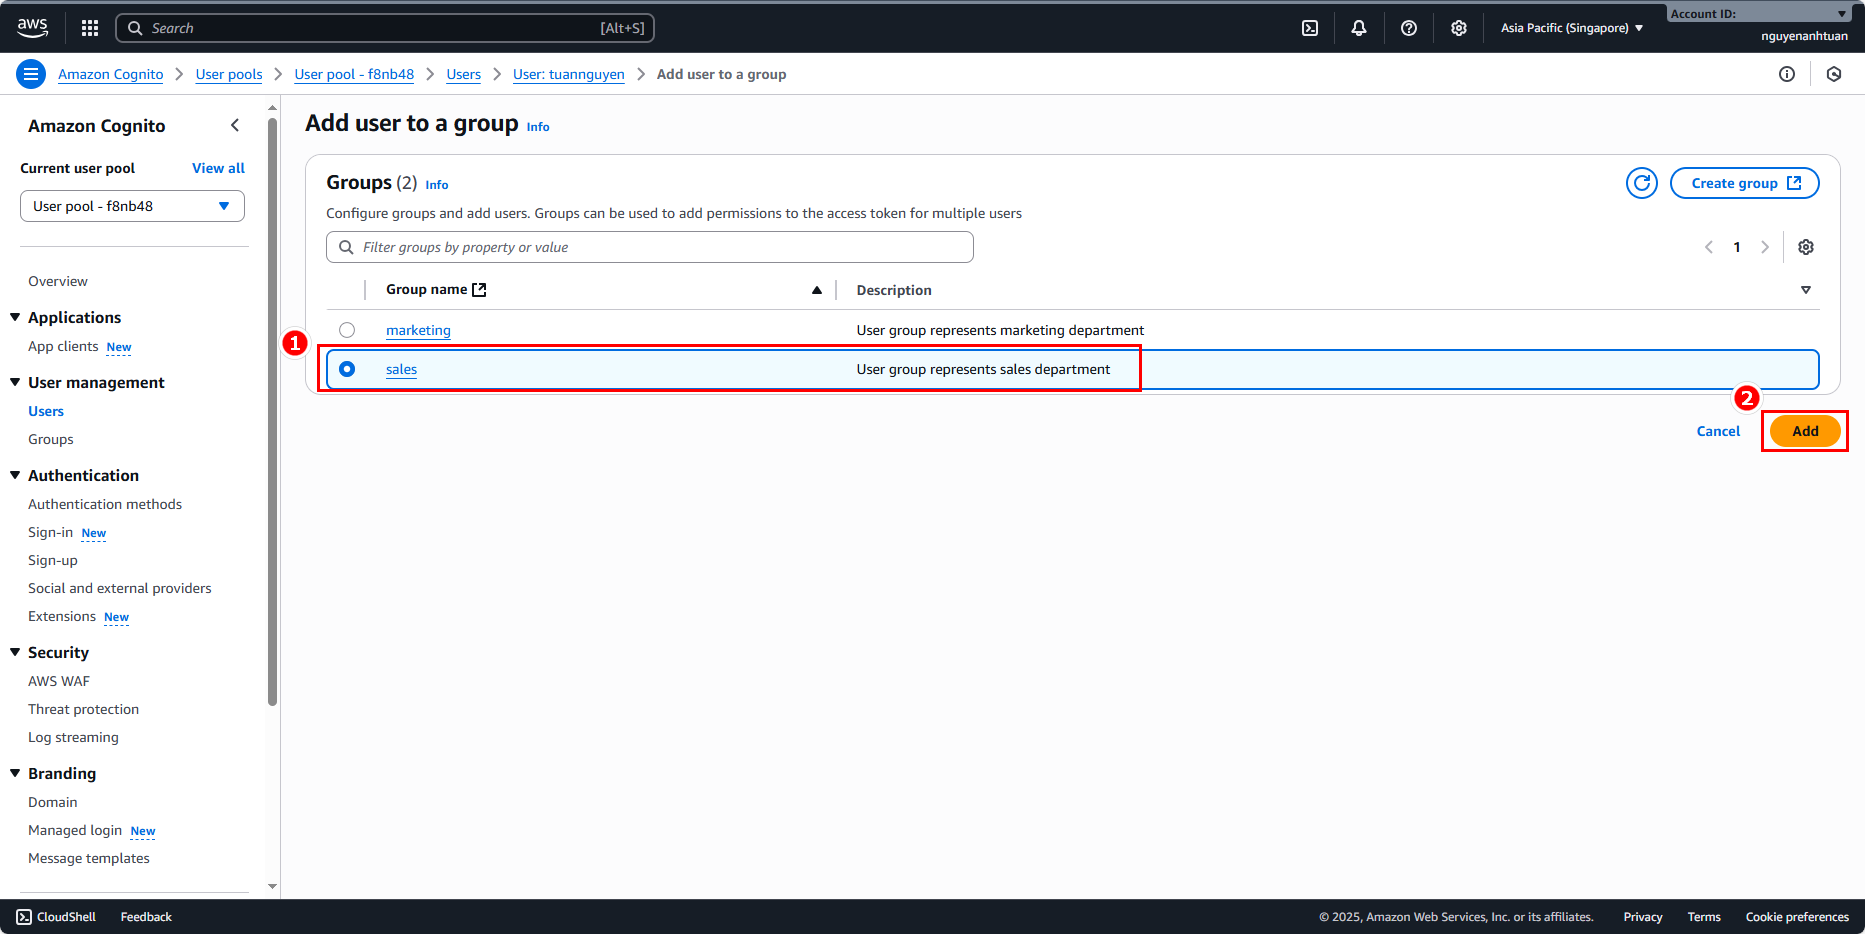
Next, add these two users to the two groups you set up earlier.
Add tuannguyen to sales, and anhtuan1912 to marketing.
Select sales and click Add.
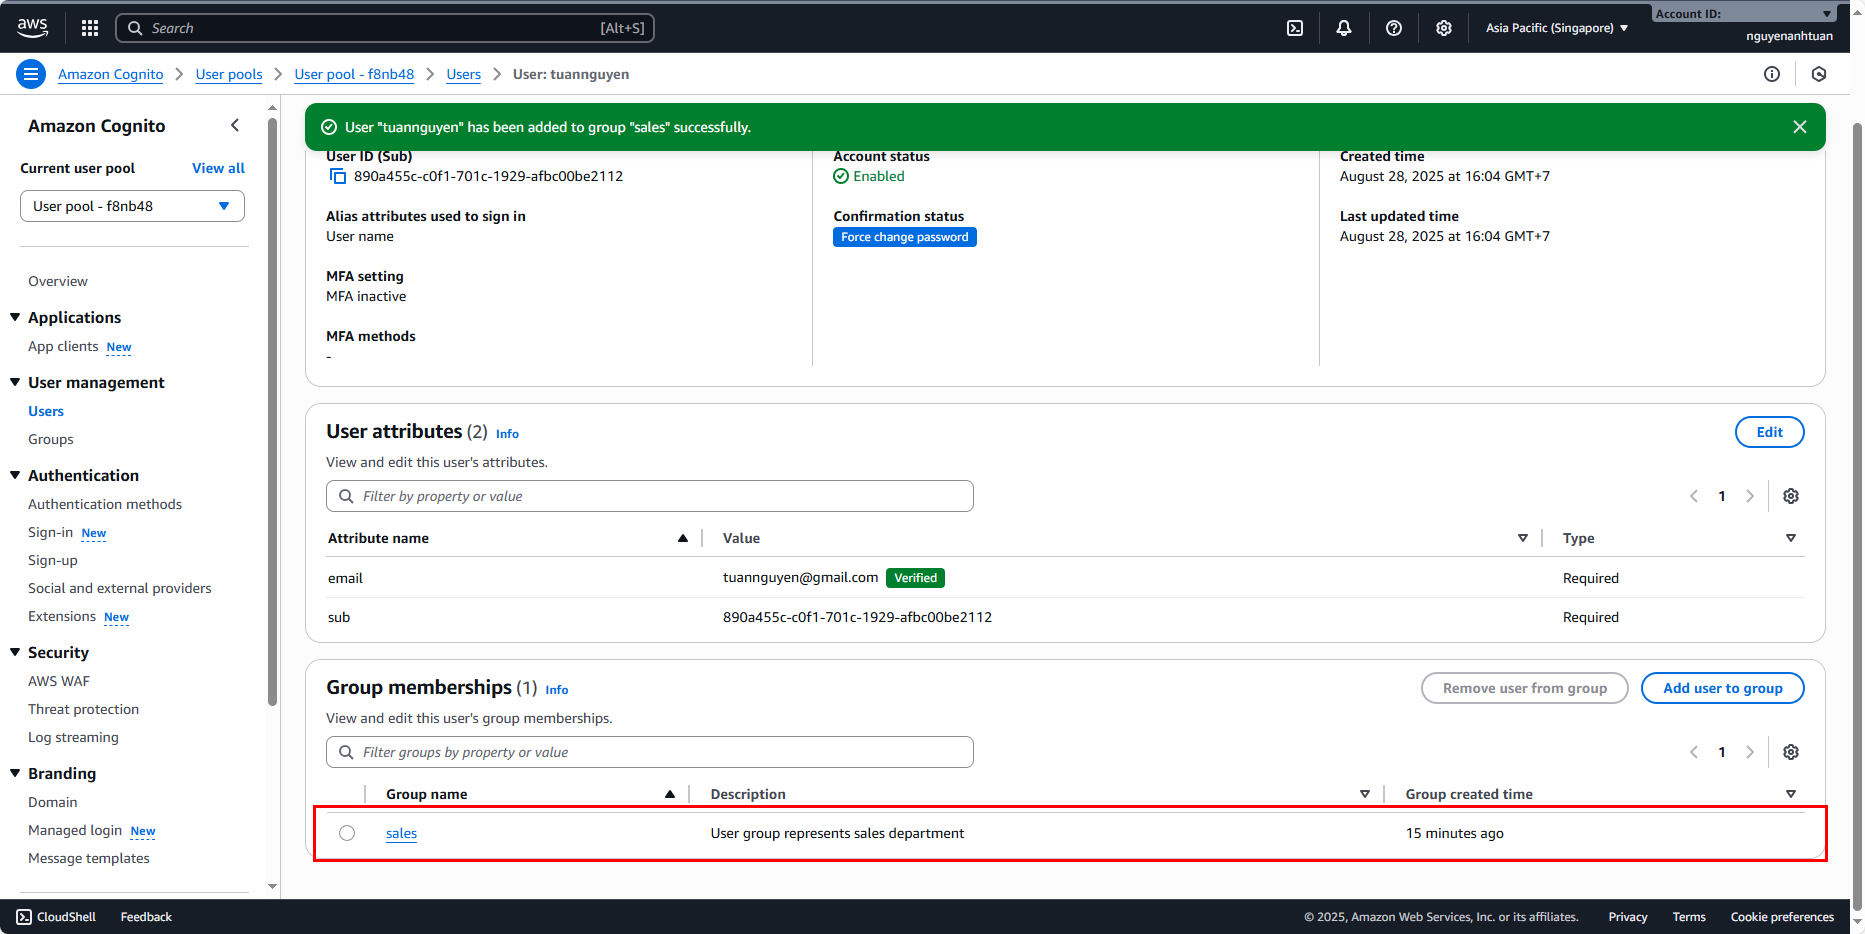
Do the same for the other user and you’ll get this result:

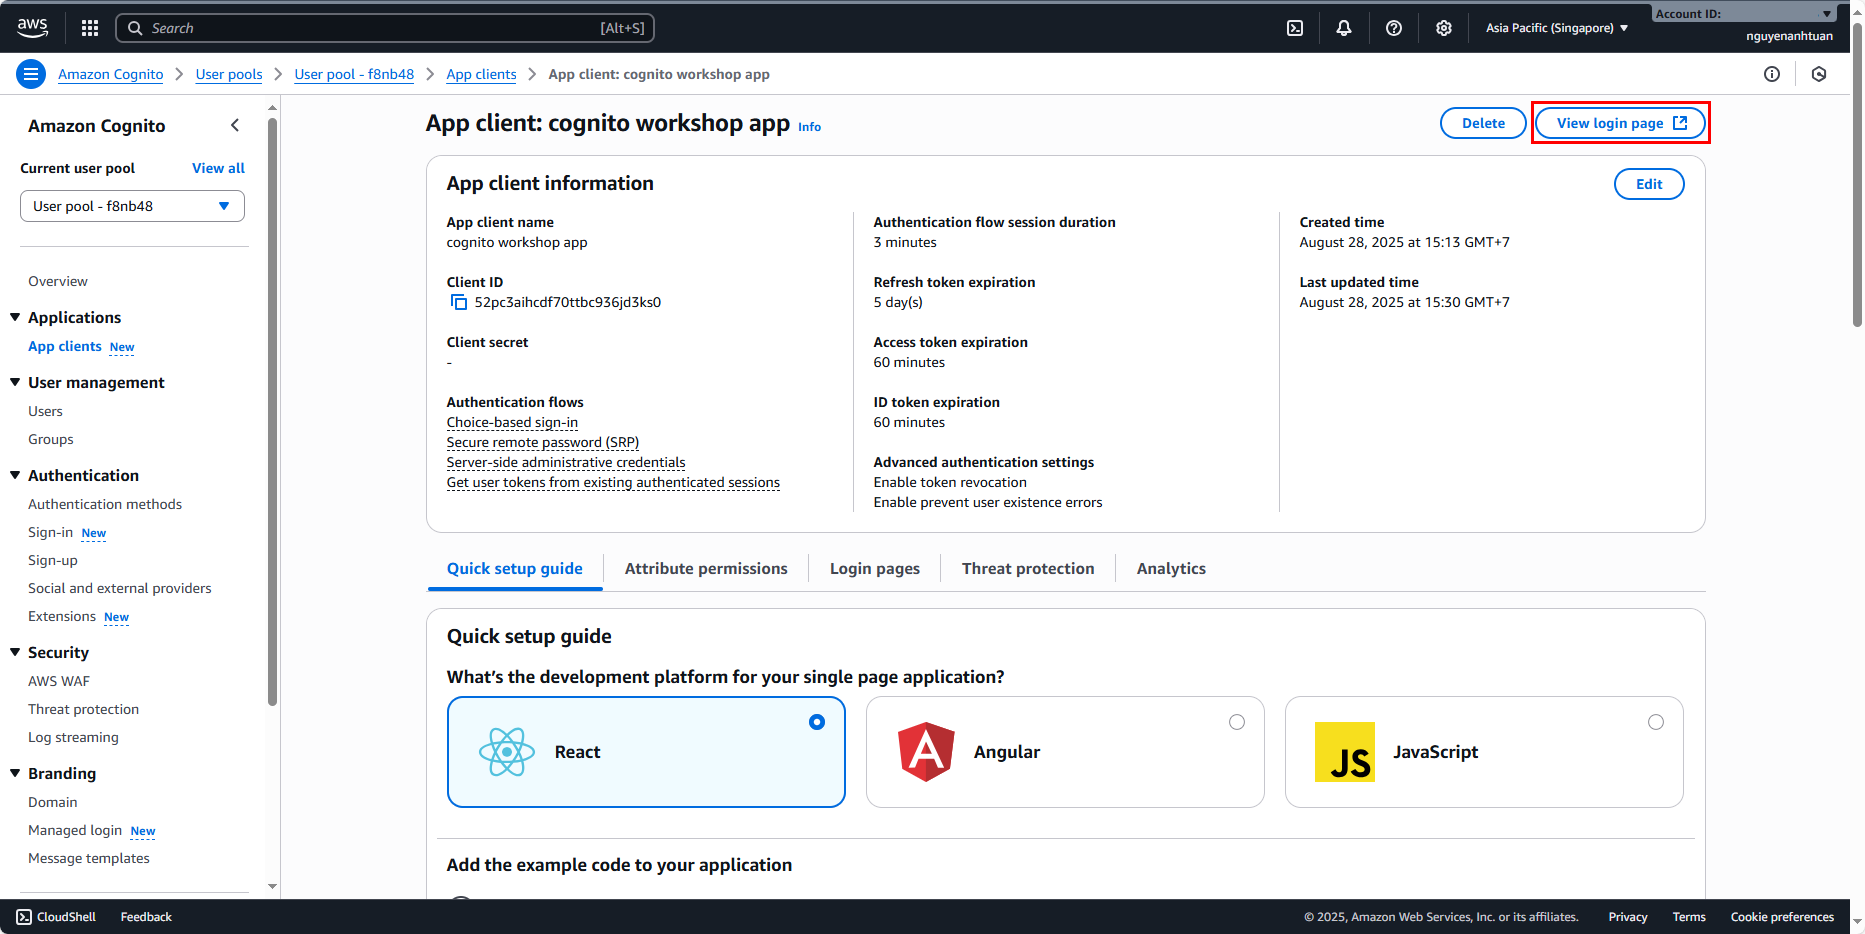
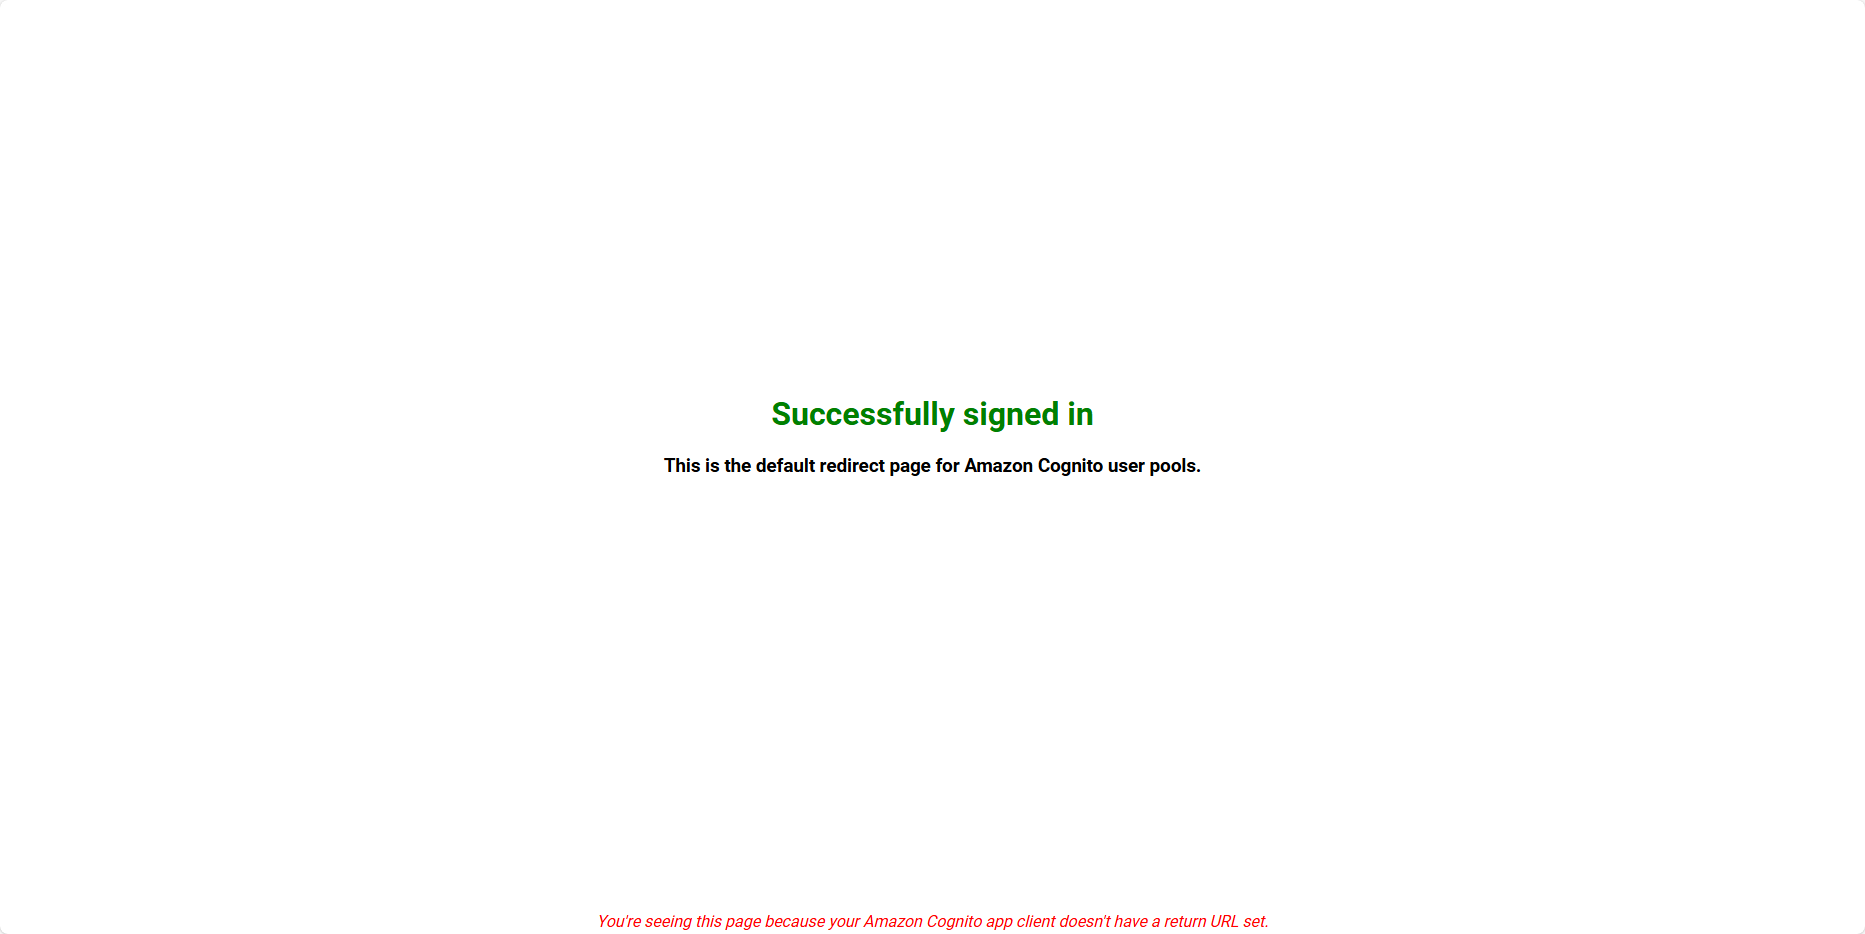
Finally, we need to perform the first login to register the details for these two users. Go back to the app client, click View login page in the top right corner.
This is the login page:
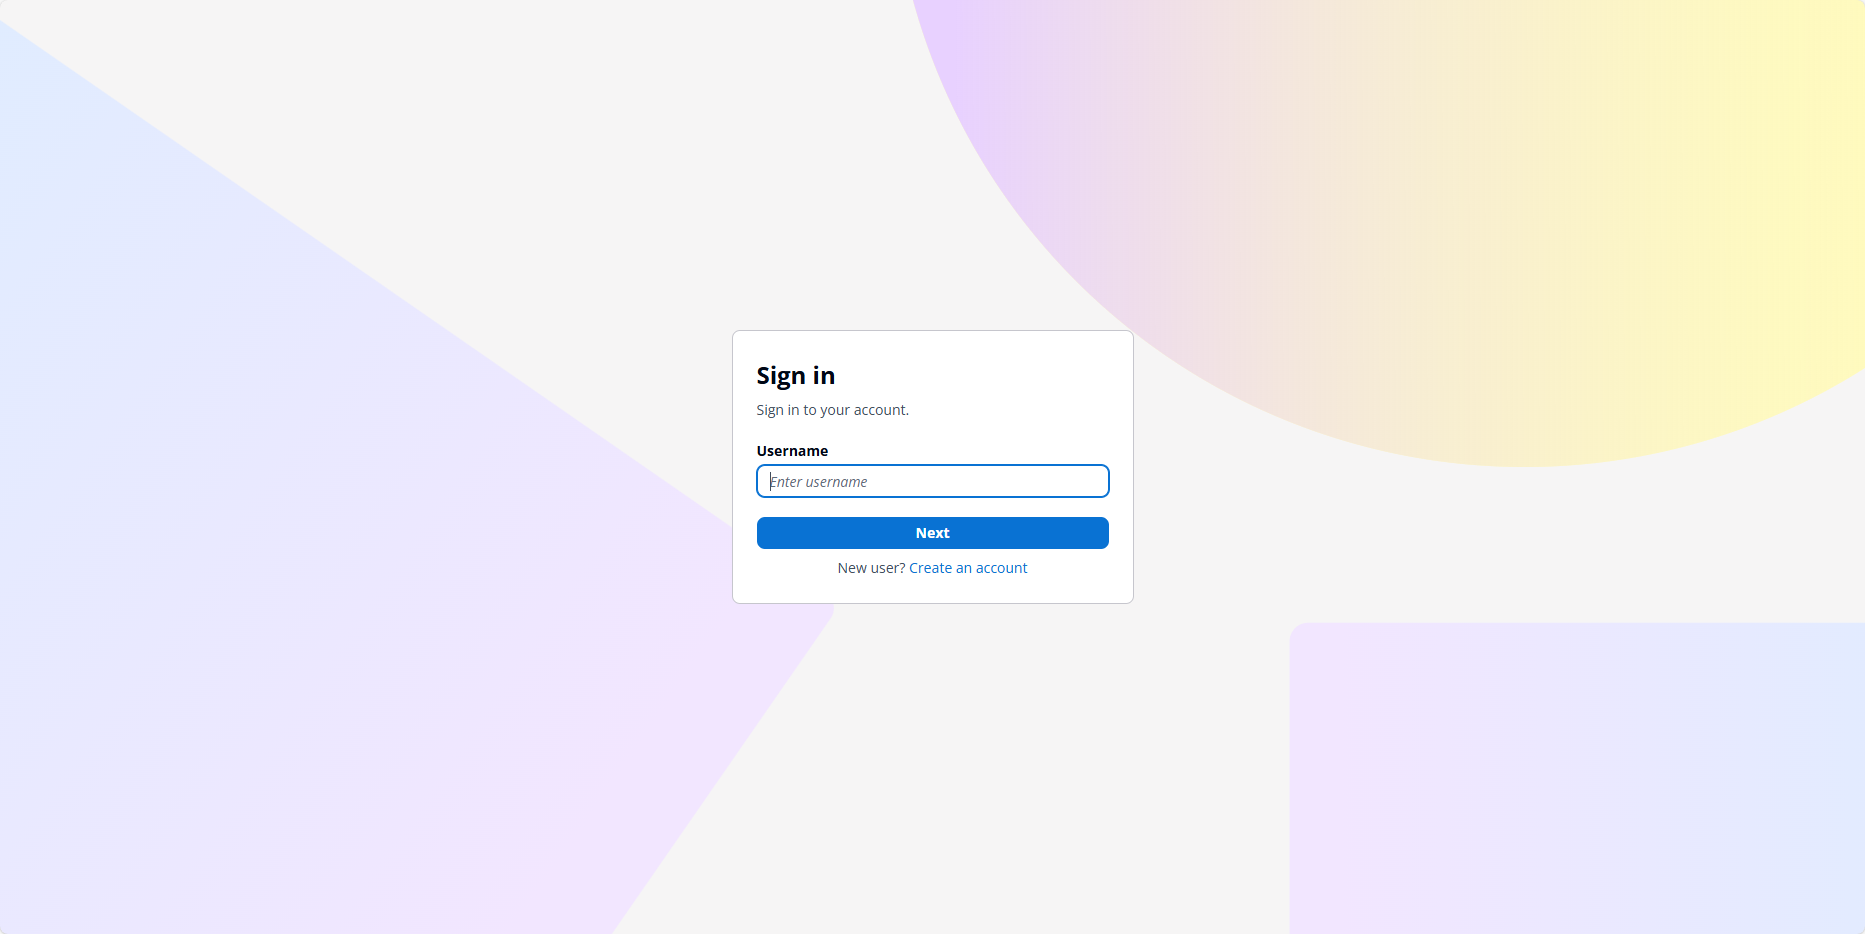
Now log in with tuannguyen first.
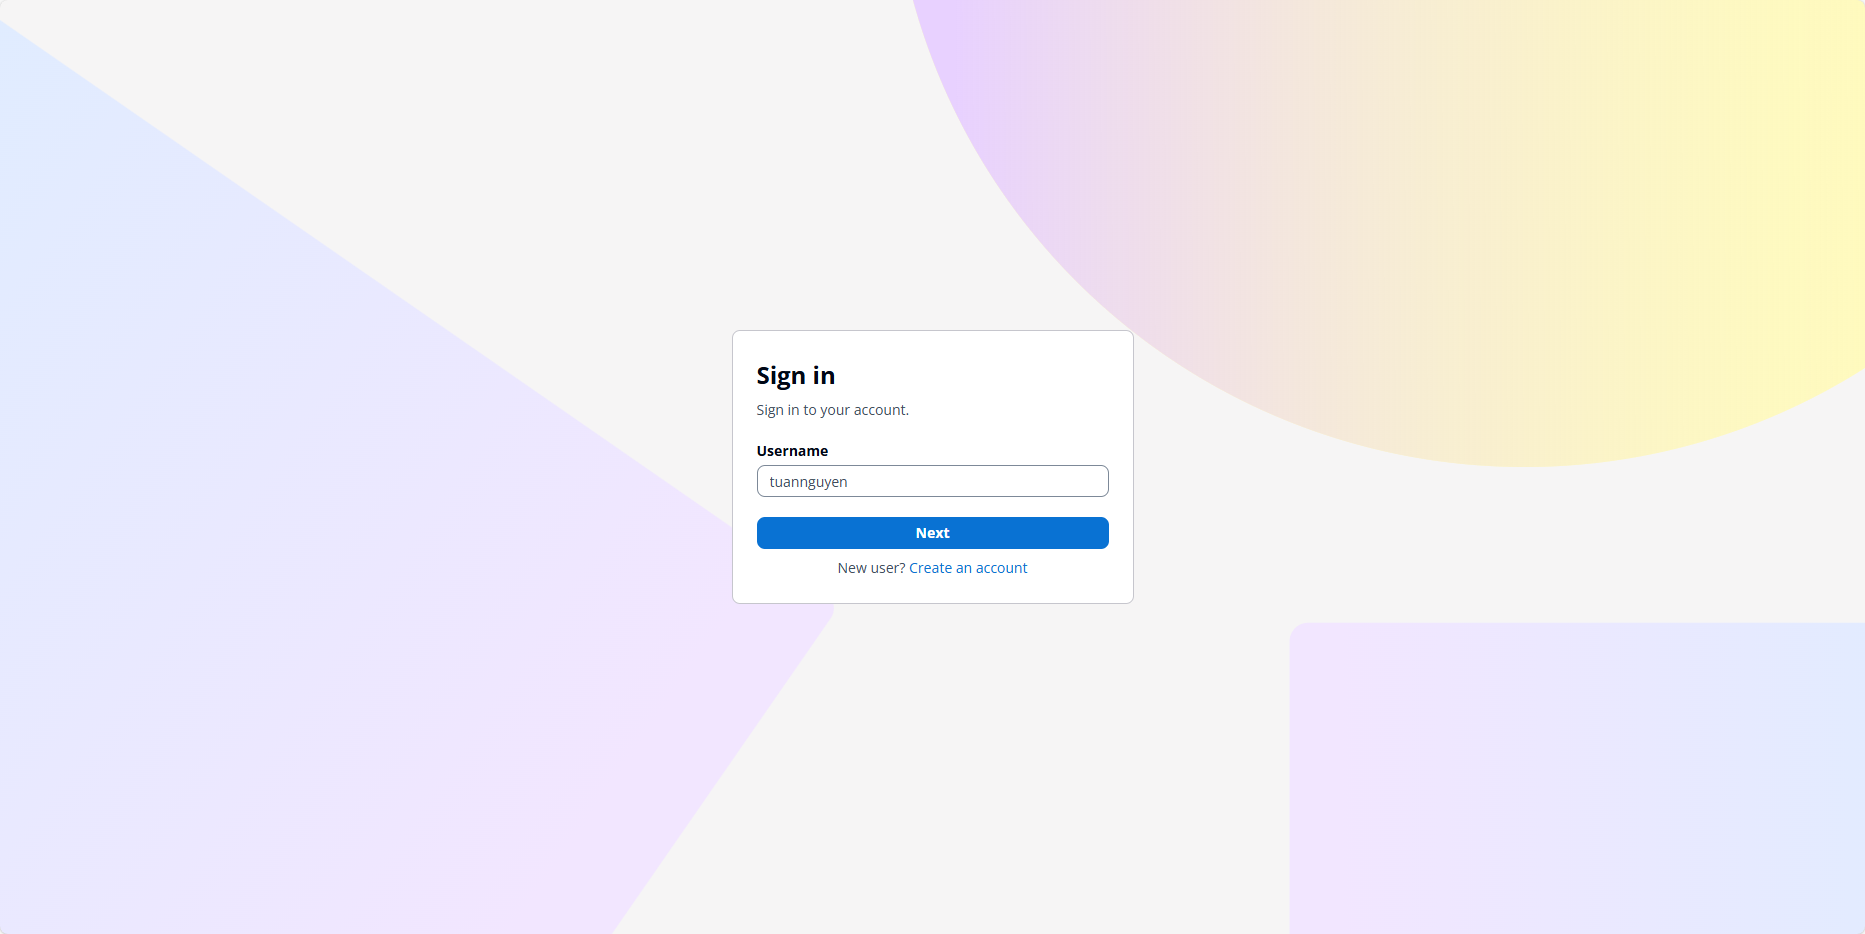
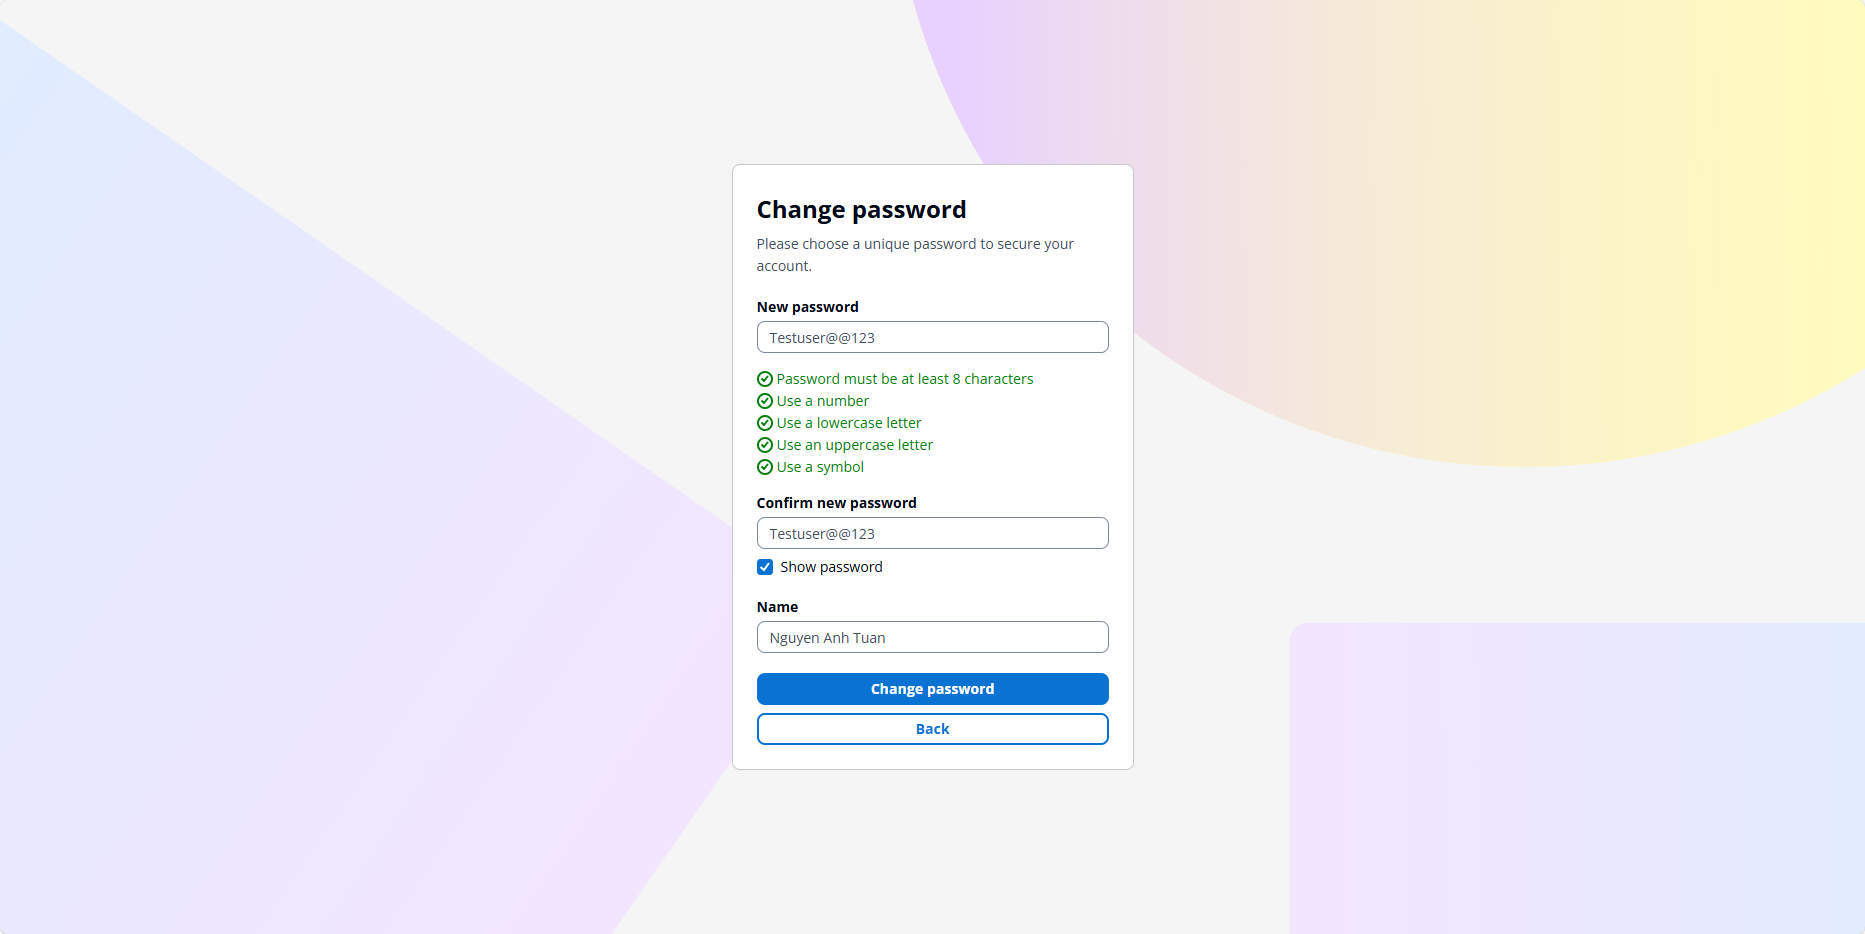
After entering the password, you’ll be taken to the registration page. Enter the old password again and the user’s name. Click Change password to complete.

Repeat for the other user.
Go back to the Cognito Console to see what’s changed.
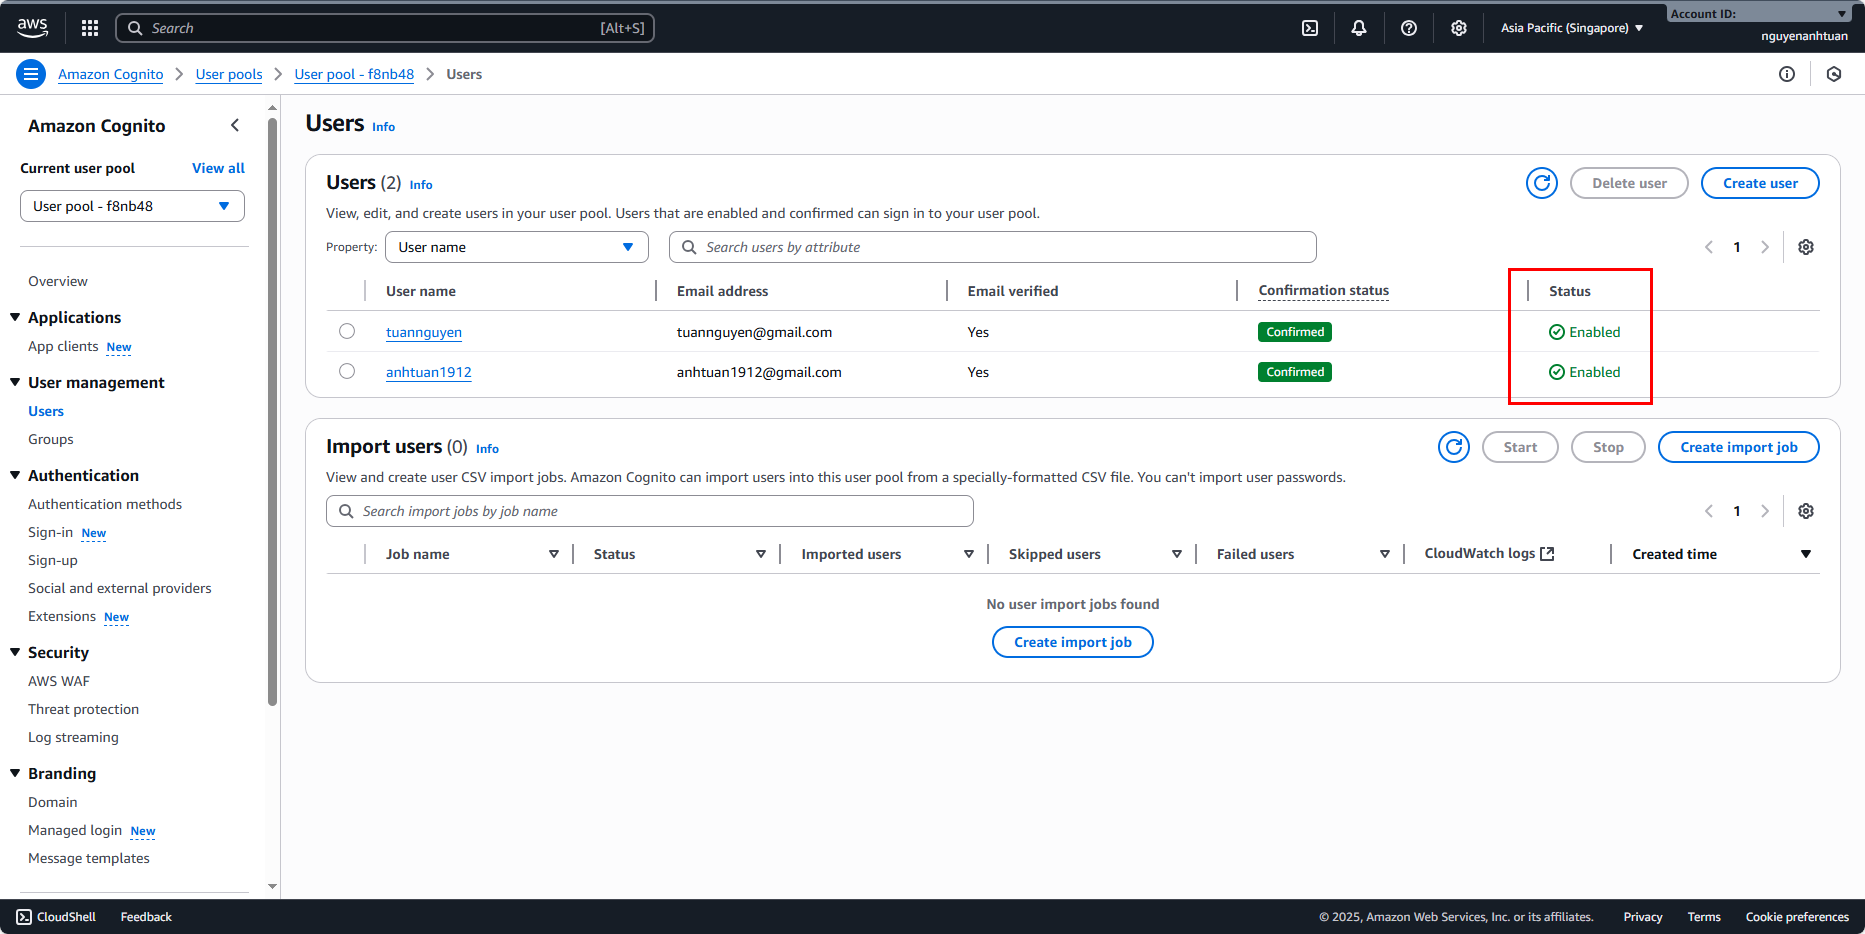
You’ll see both users are now Enabled. This means our Cognito setup is 90% done. We’ll handle the last 10% in the next section.
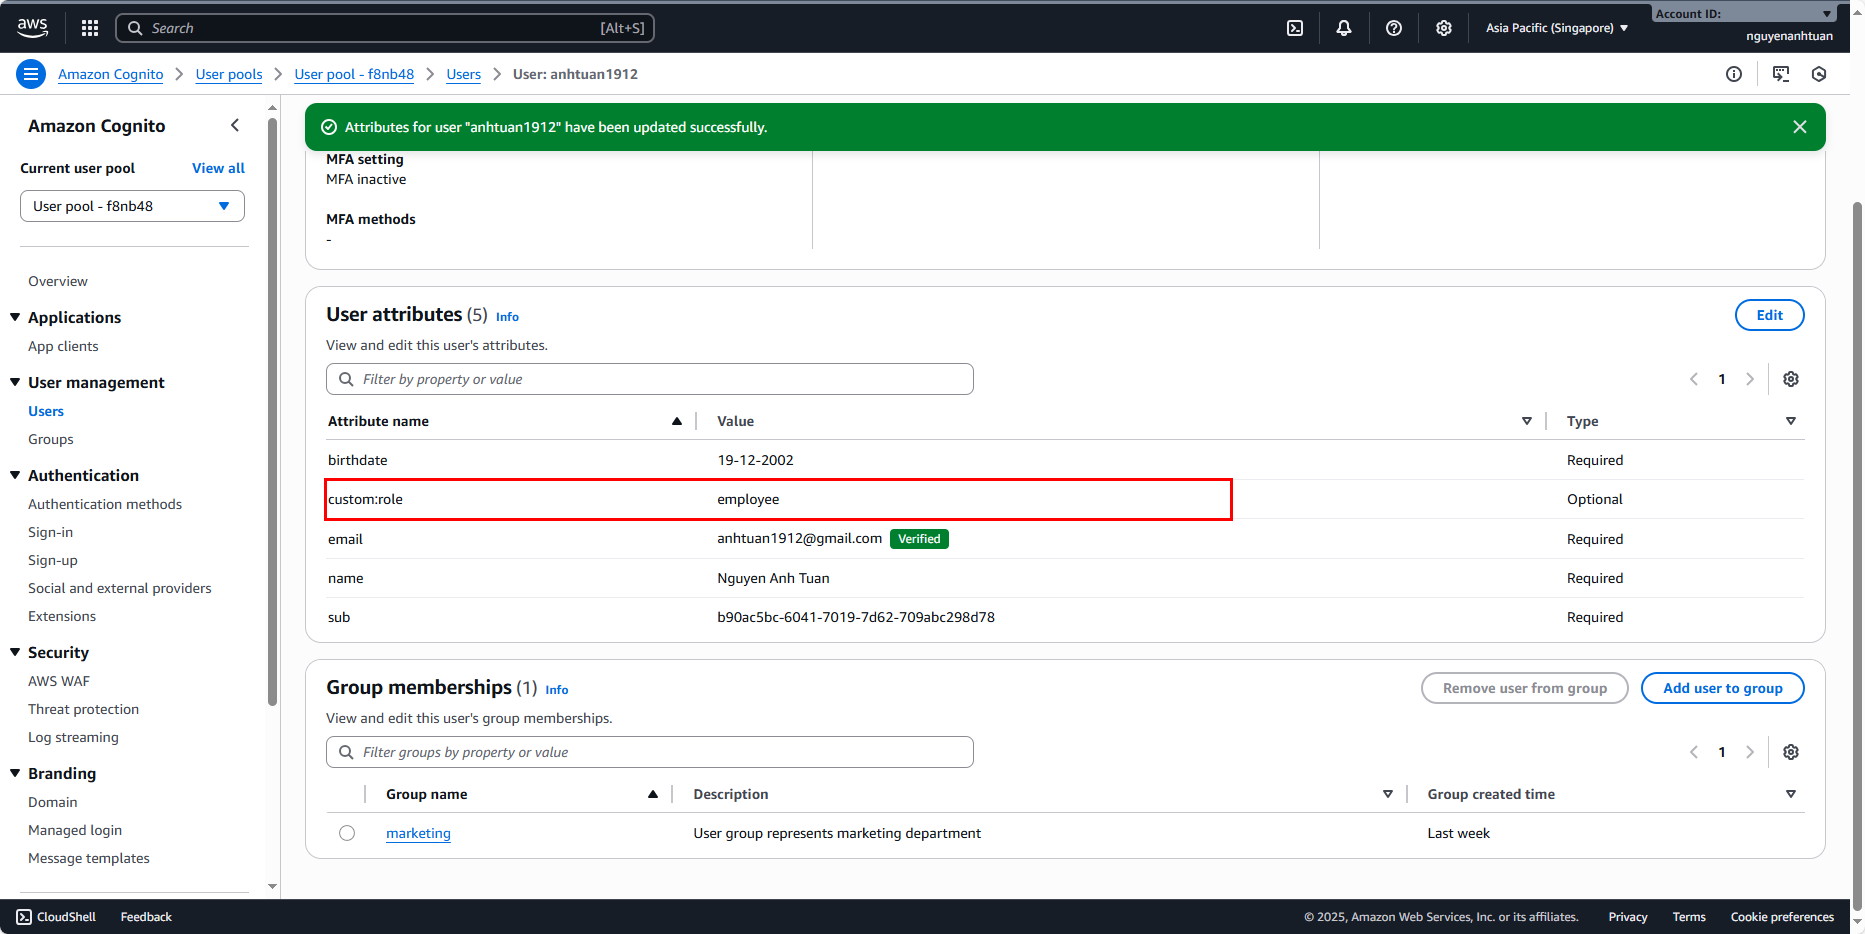
Add custom attribute
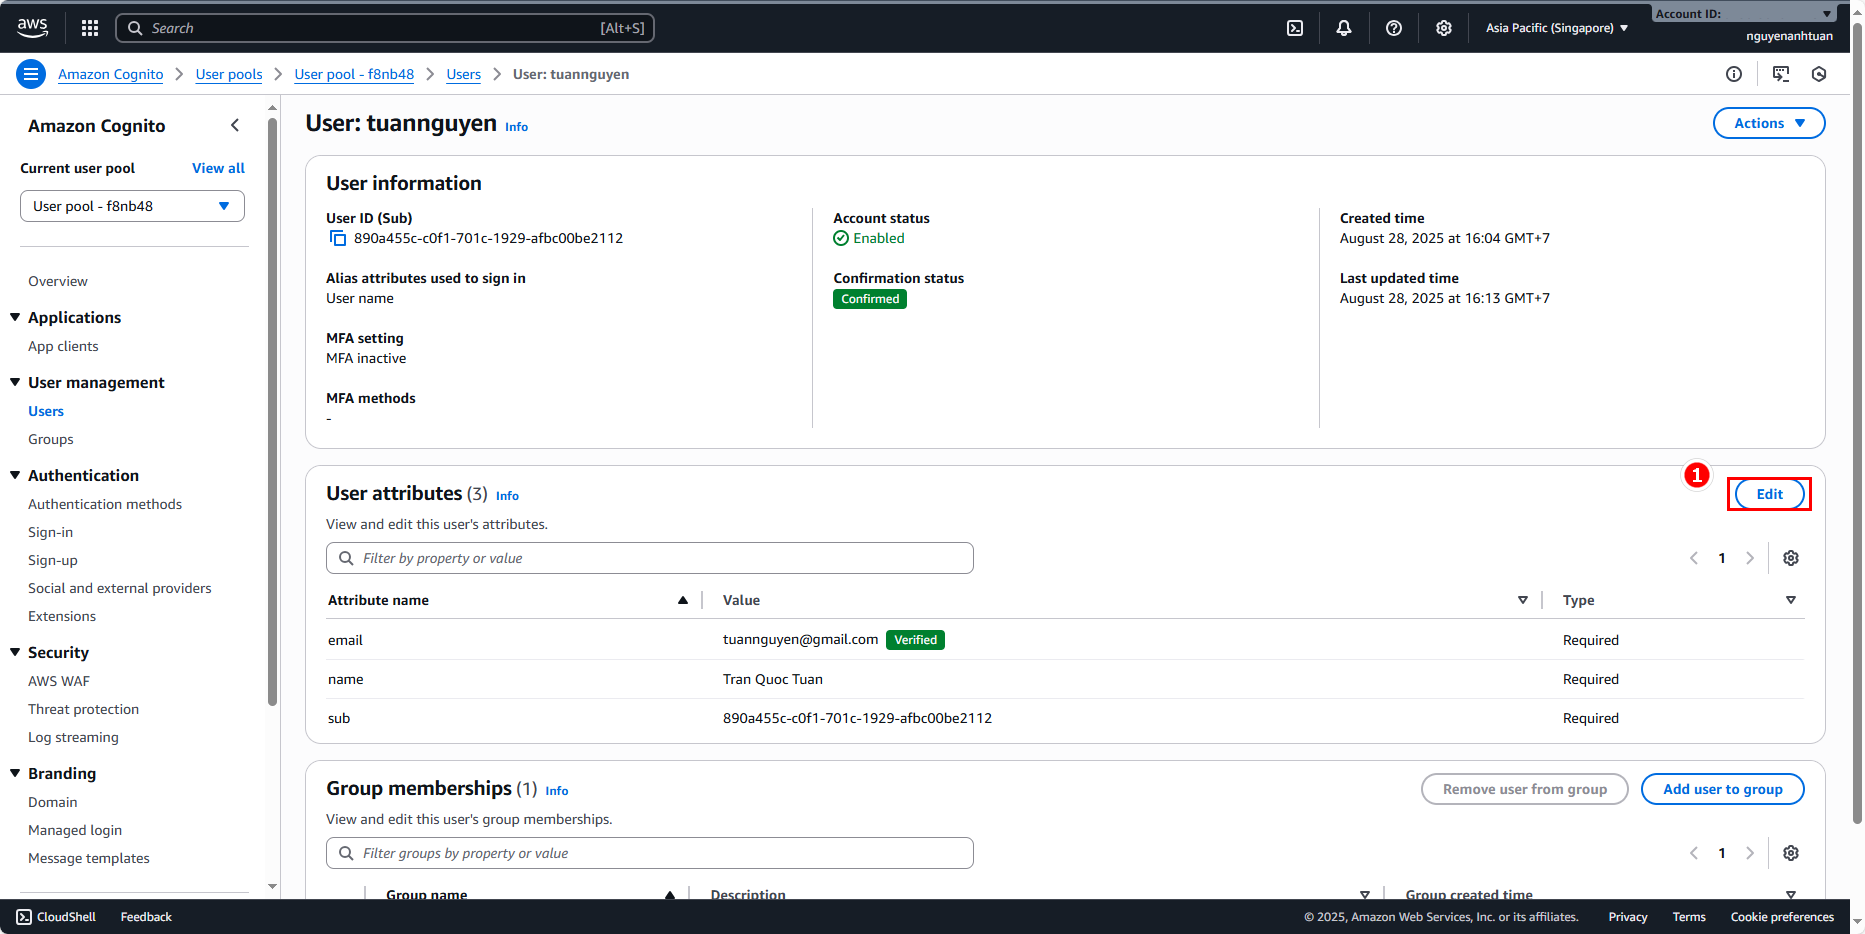
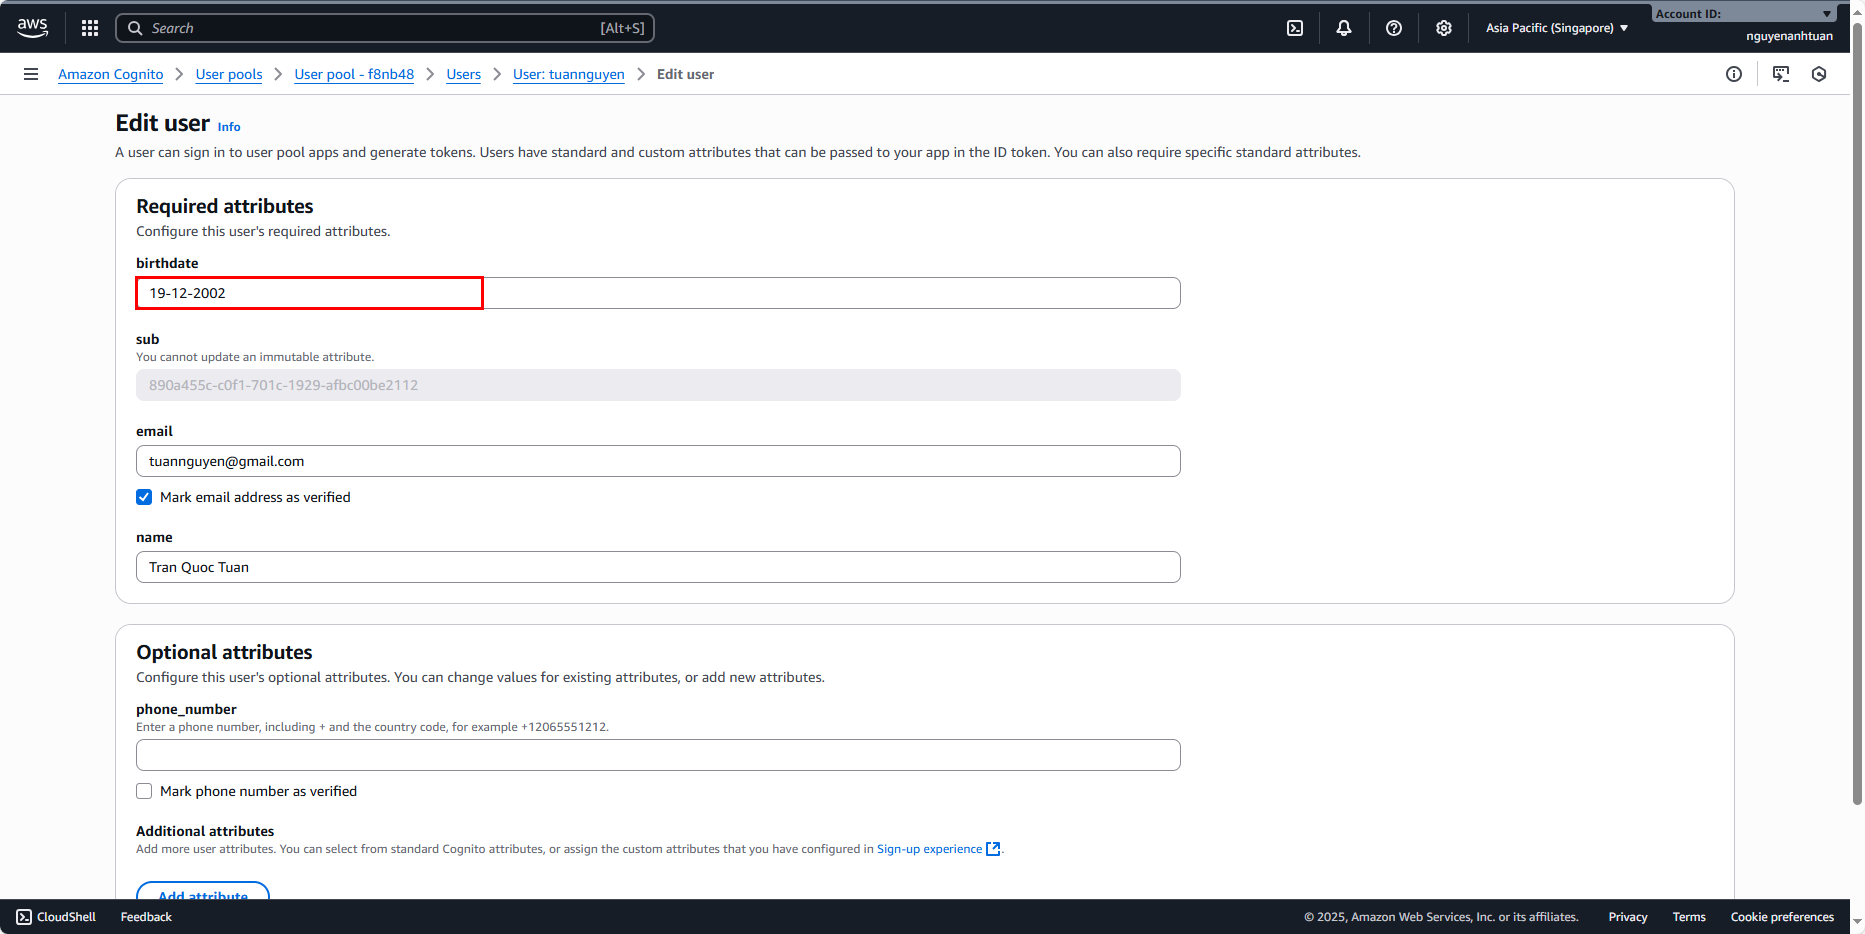
Now we’ll add the custom attribute for these users. Start with the user tuannguyen:
Add a birthdate:
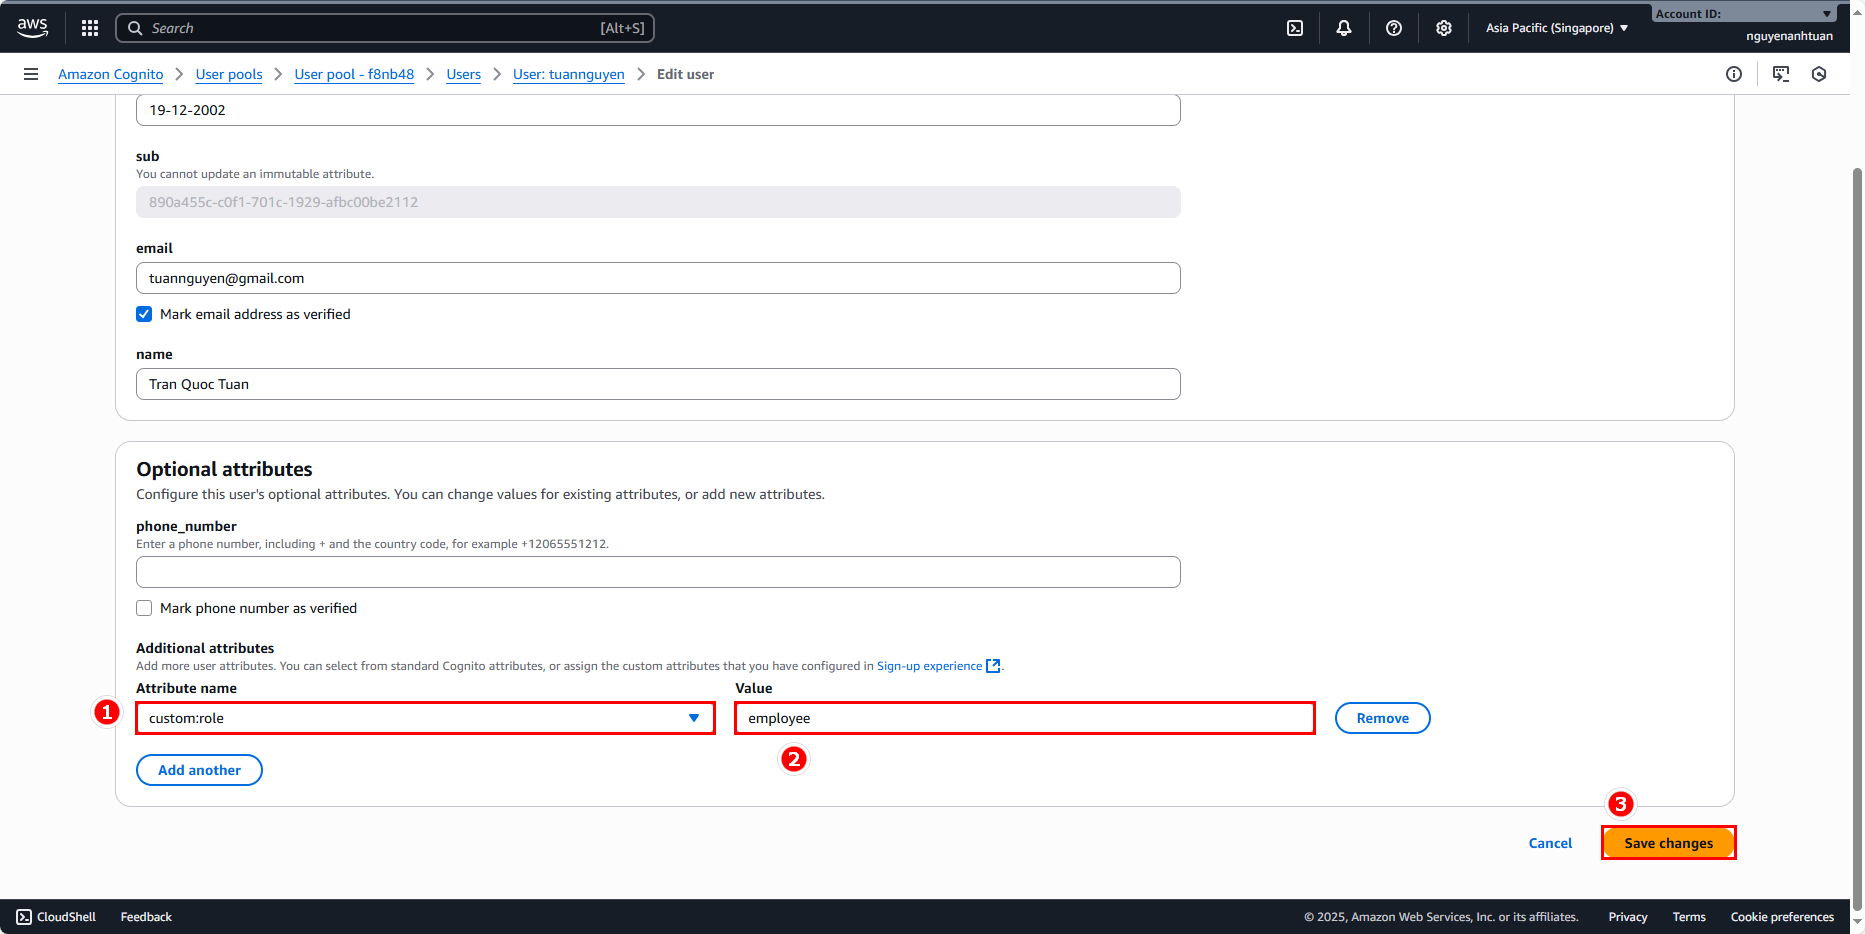
Scroll down to the Optional attributes section and do the following:
- First click Add attribute.
- Attribute name: choose custom:role.
- Value:
employee.
Then click Save changes.
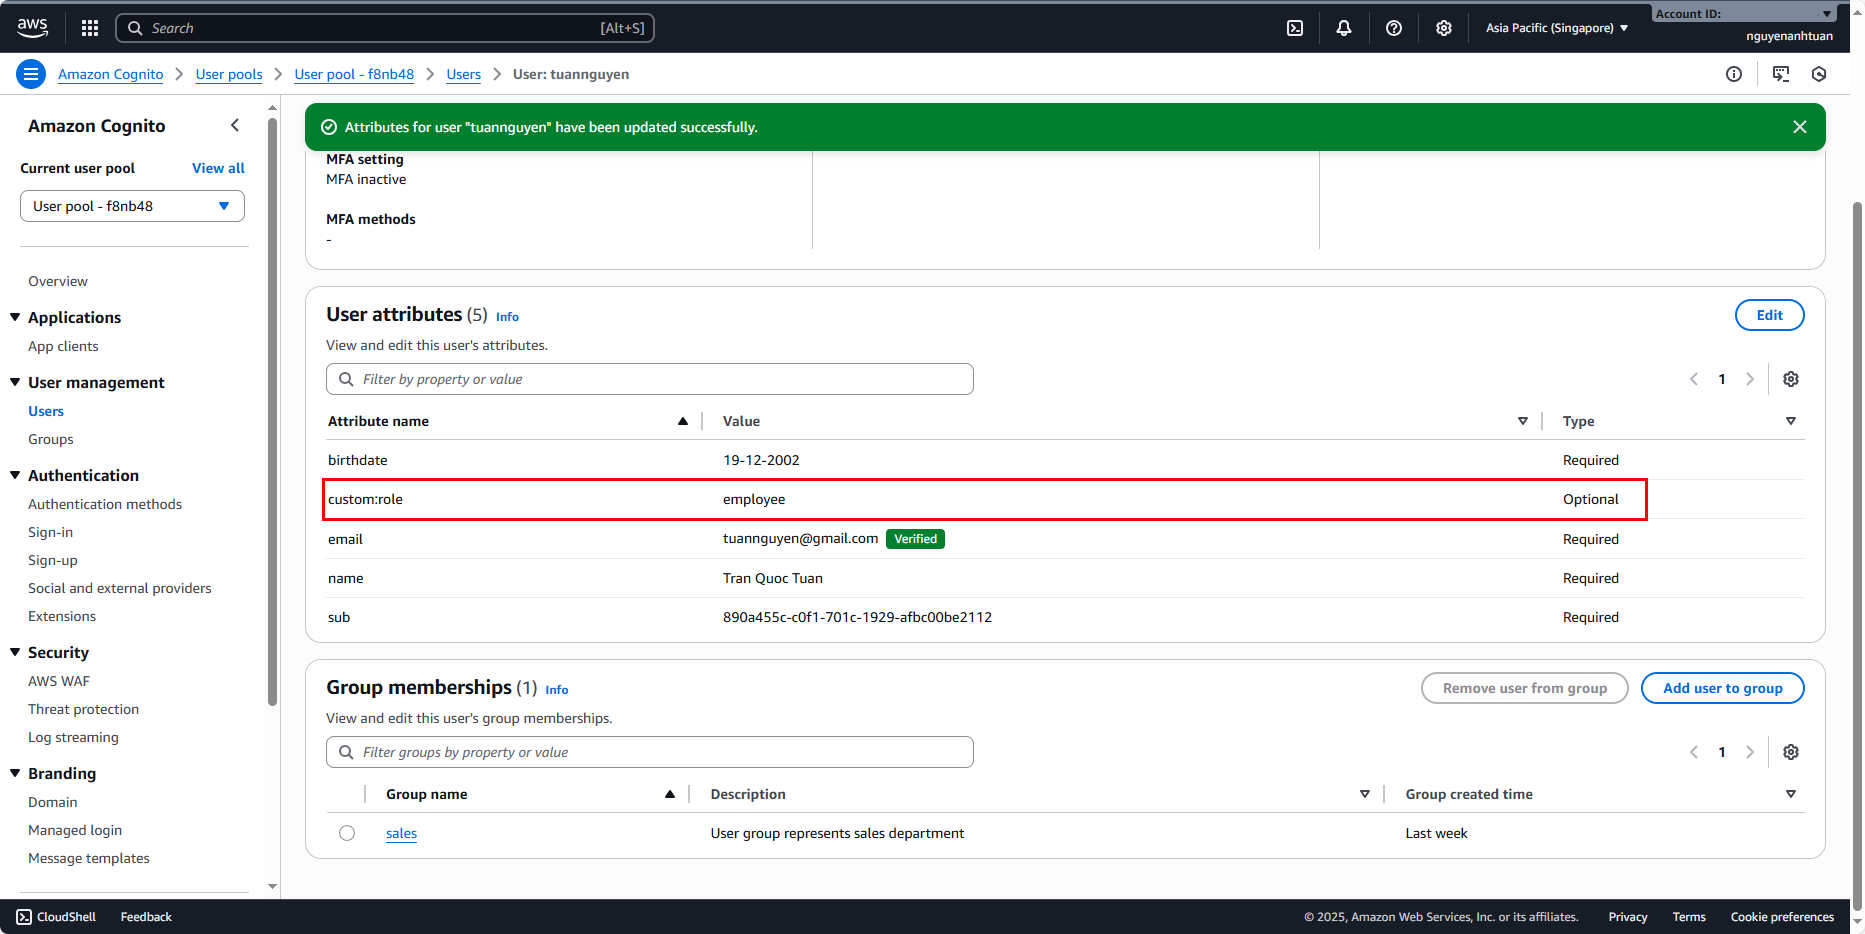
Do the same for anhtuan1912. You’ll get this result: