2.3. Create custom attribtues and create groups
Create custom attributes and groups
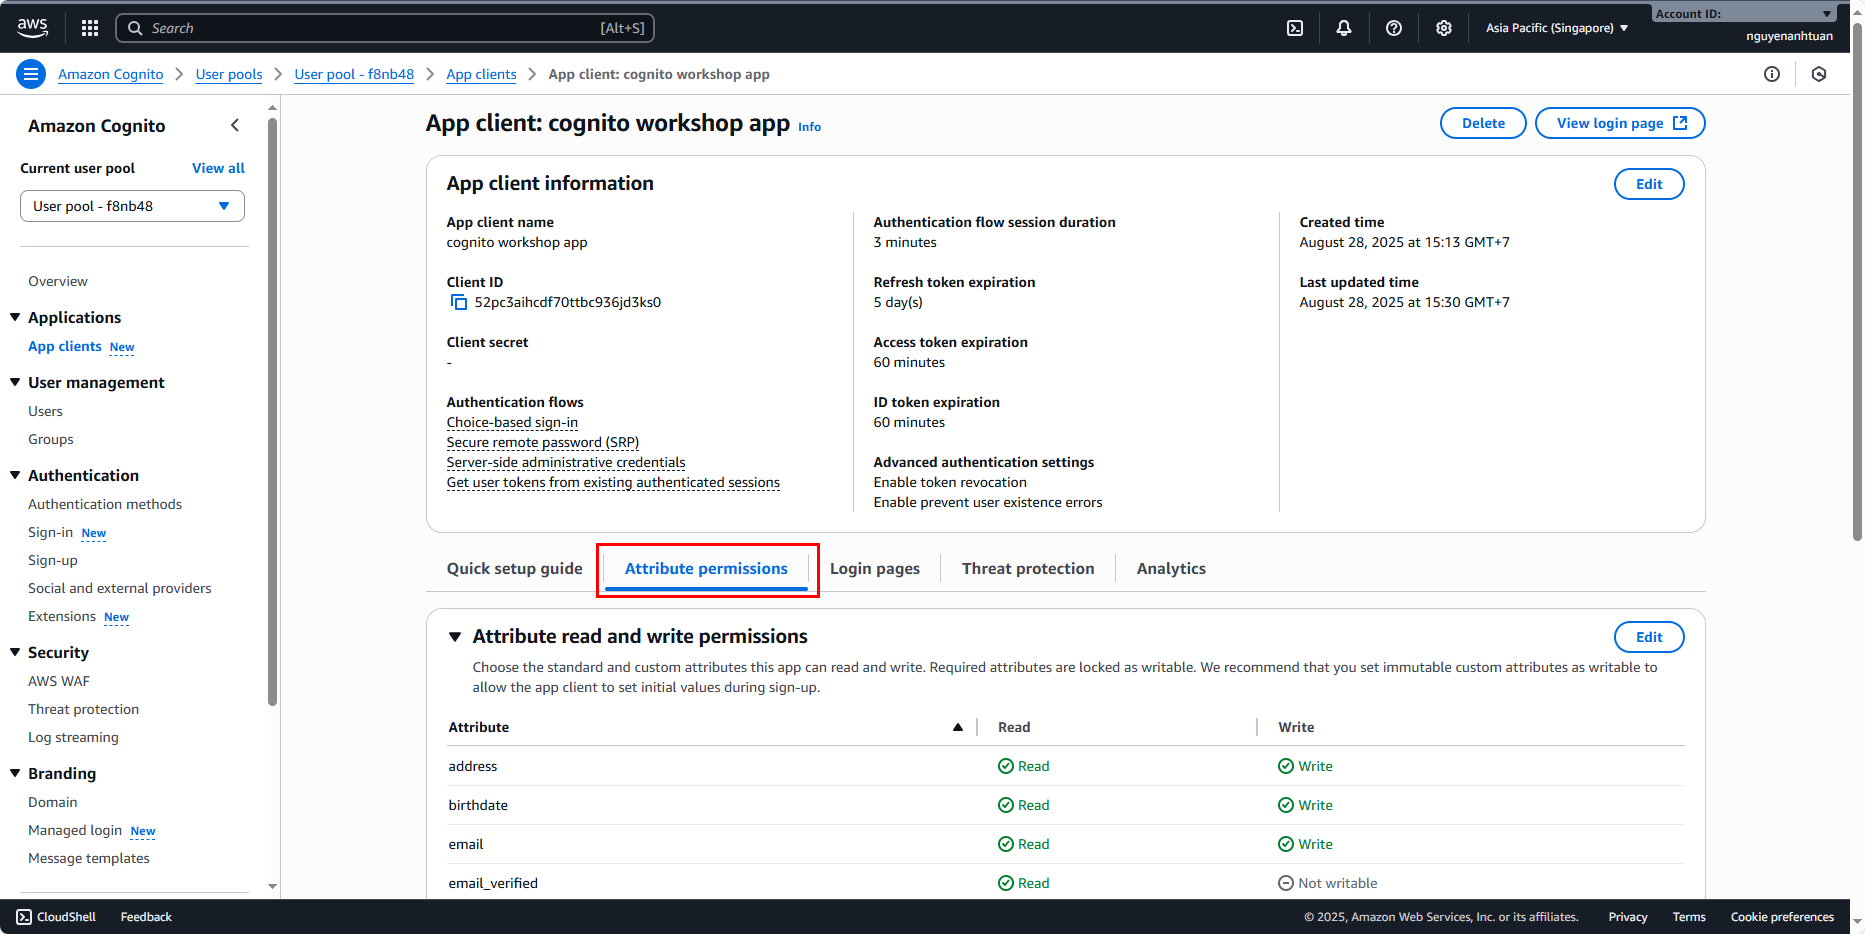
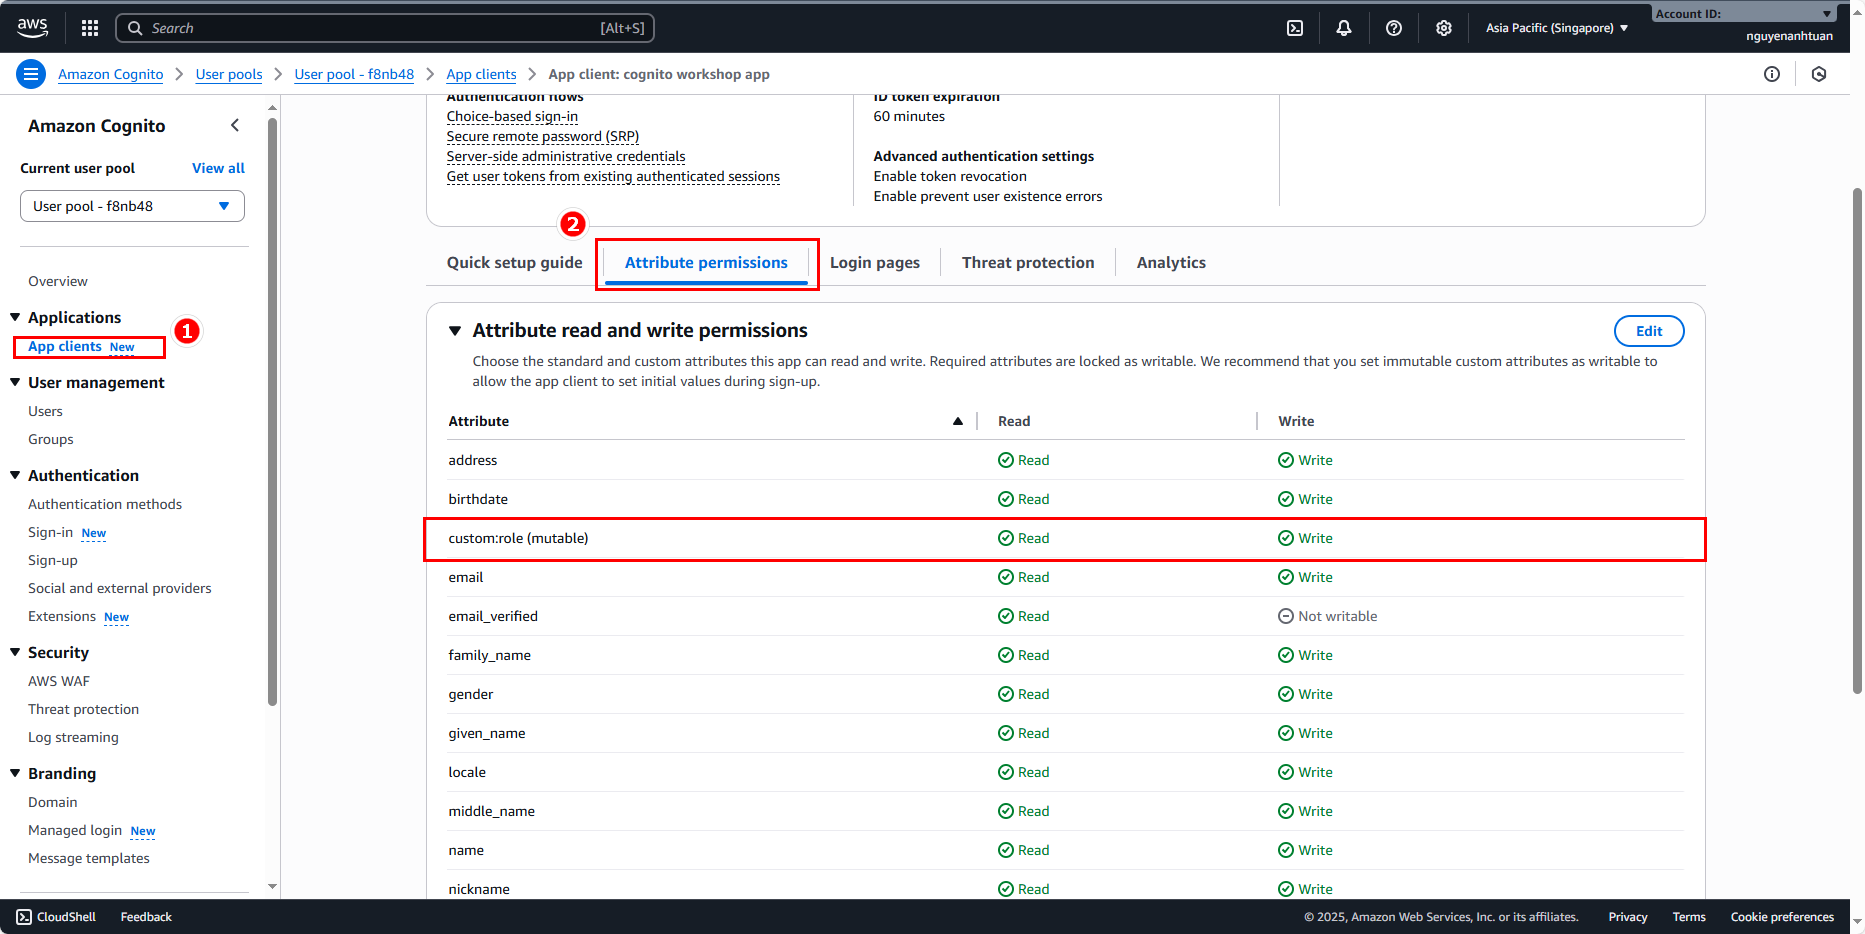
Next, let’s see which user attributes the app client is allowed to work with. First, go to the Attribute permissions tab.
Scroll down and you’ll see those attributes.
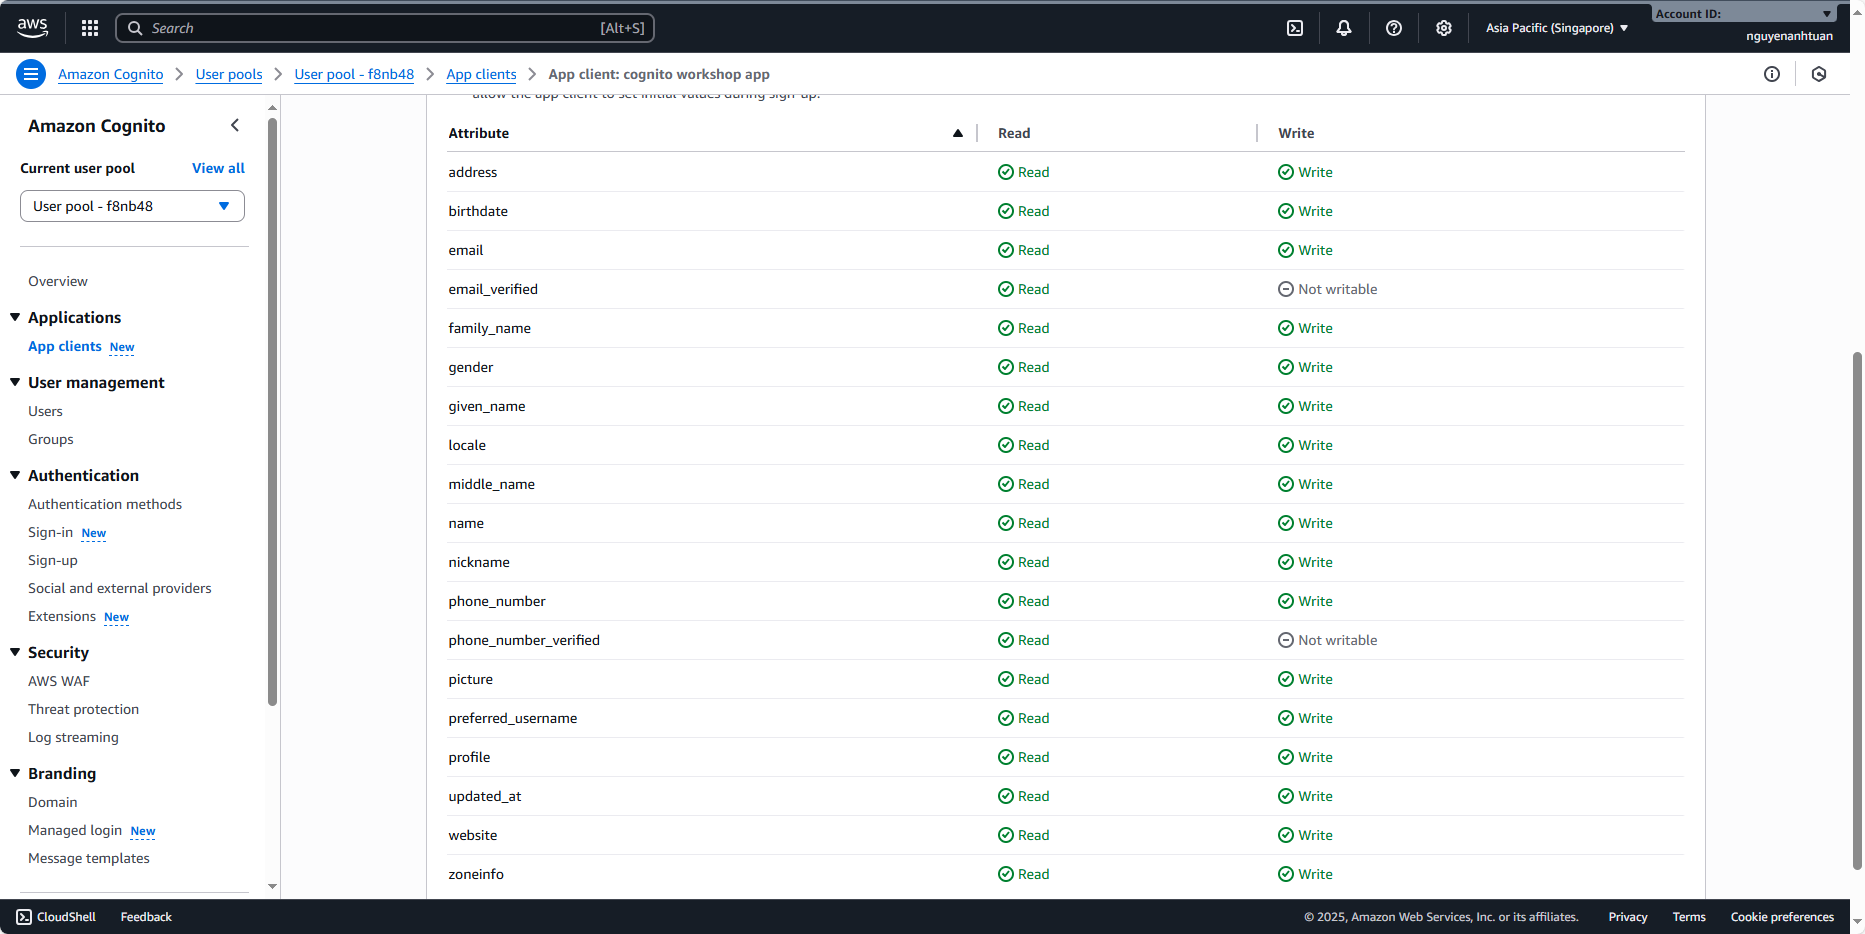
Here, you can see there’s no attribute that helps classify users by role or group within the system. To achieve this, we need to do two things: create a custom attribute and create a group.
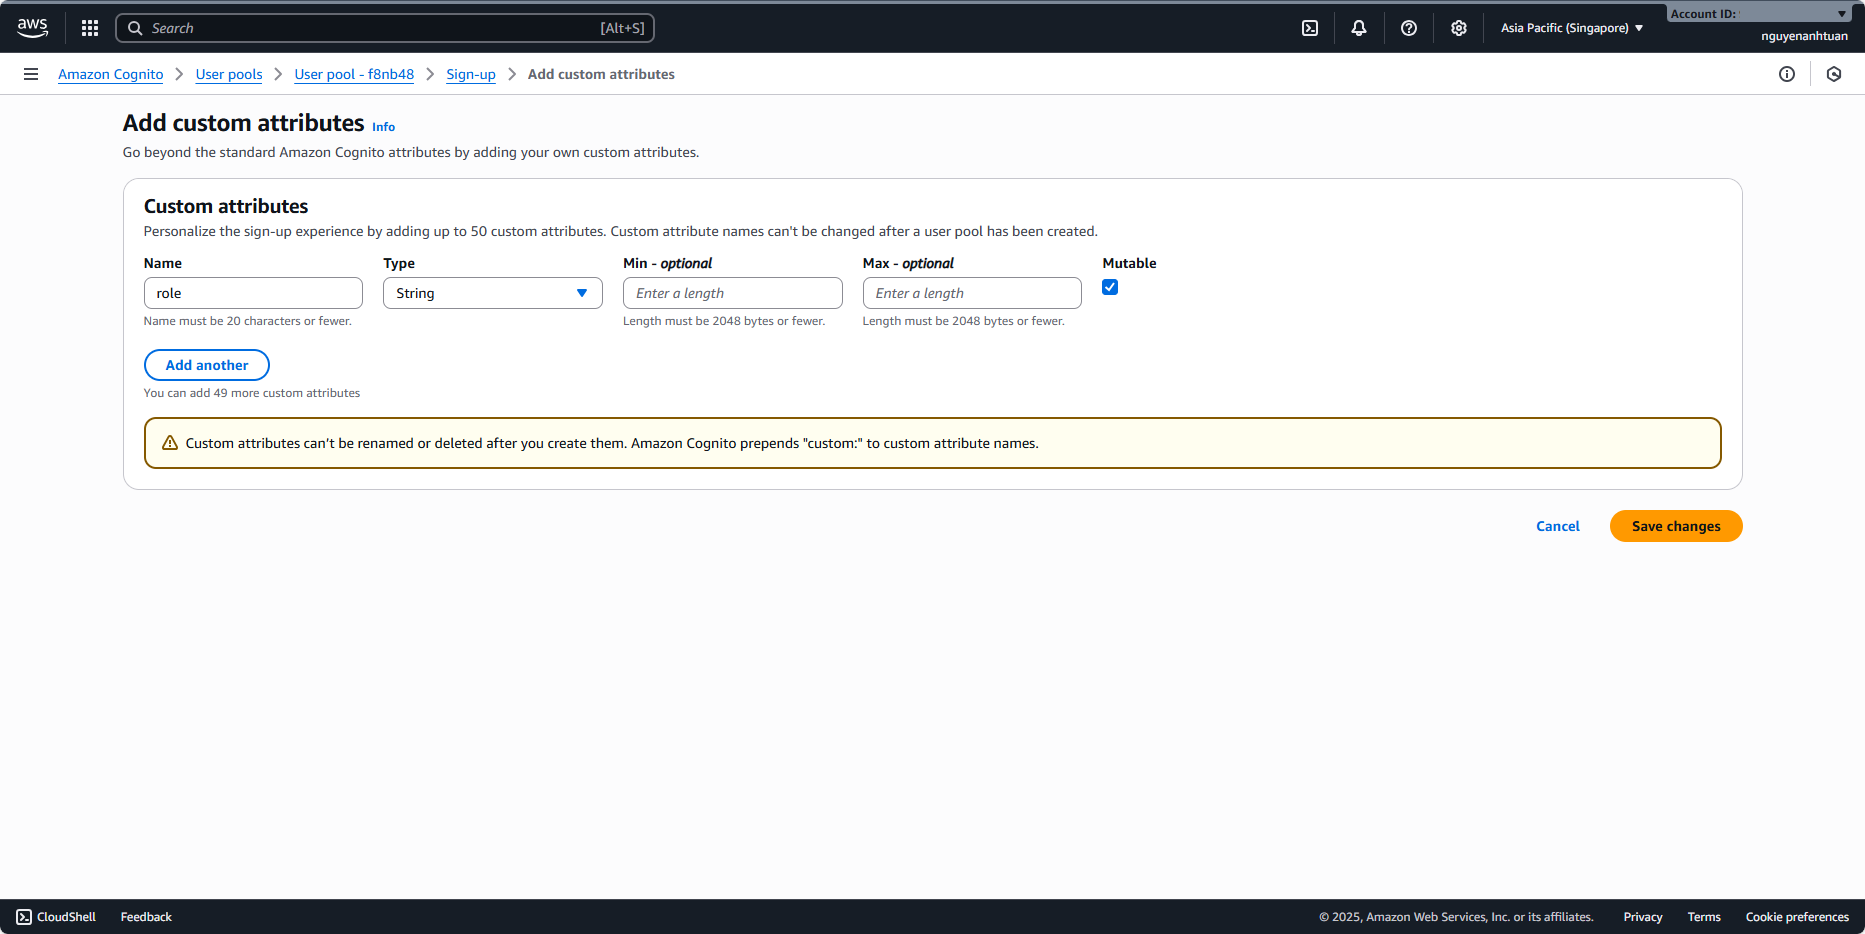
First, let’s create the custom attribute. In the right-hand menu, select Sign-up under Authentication. Inside Sign-in, you’ll see the Custom attributes section. Click Add custom attributes.
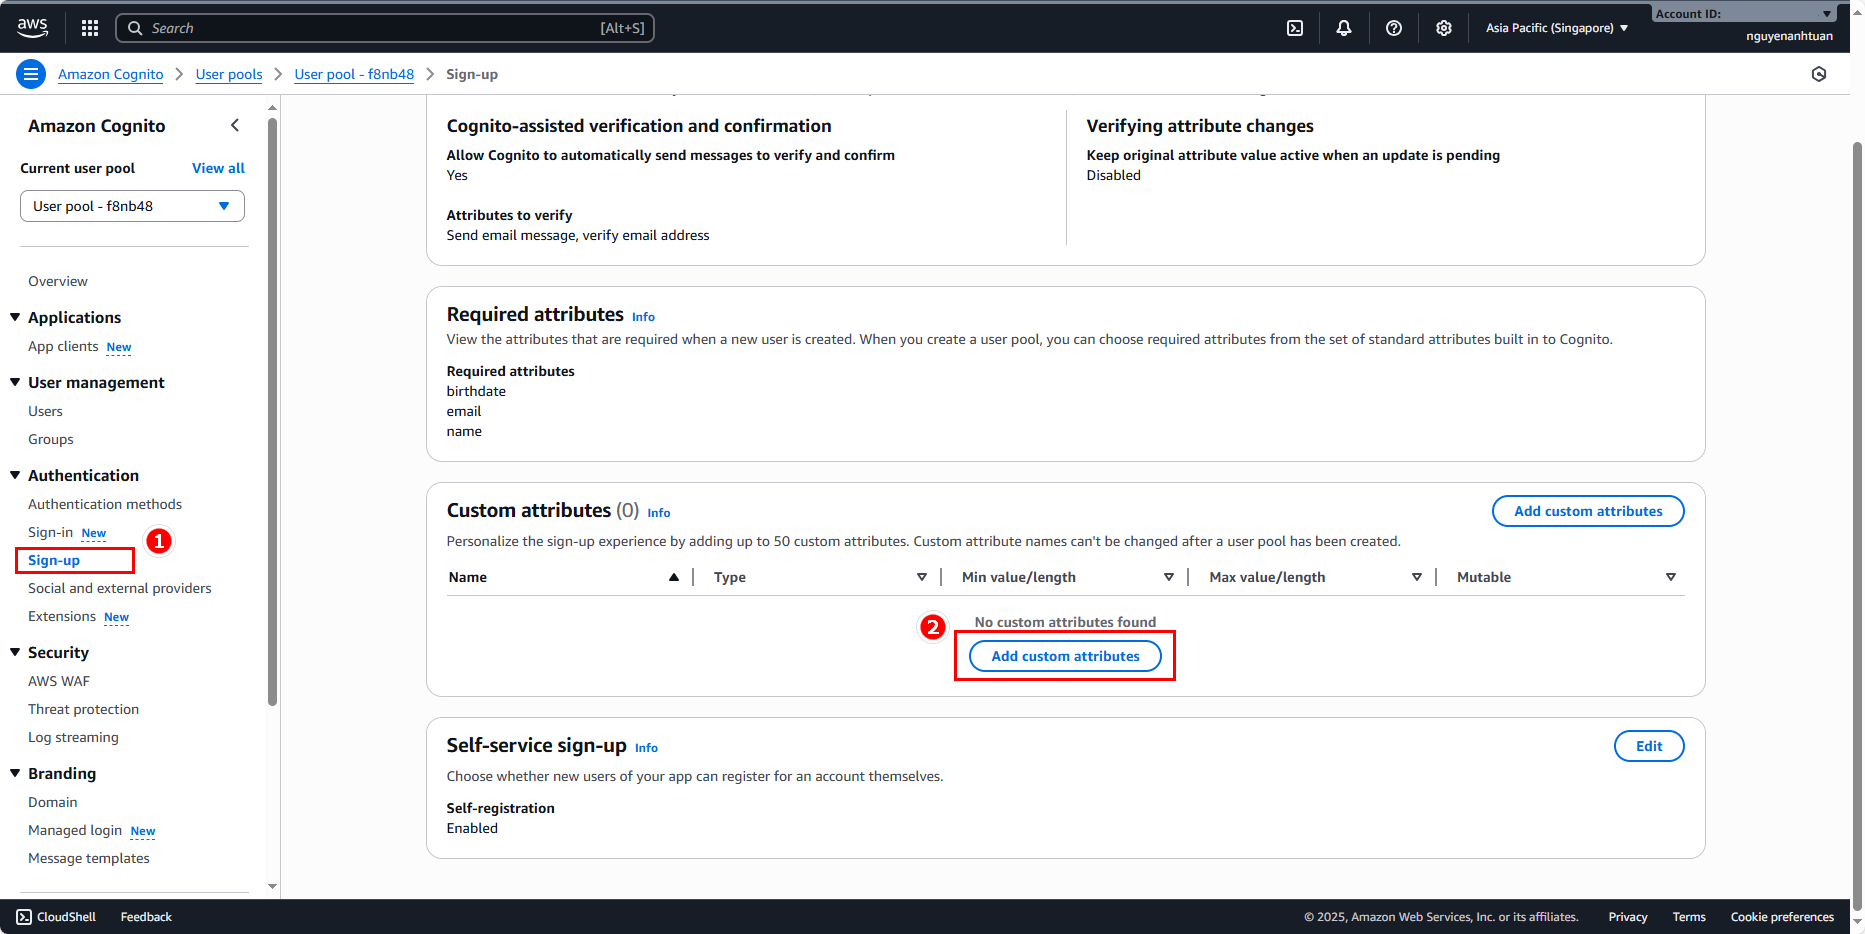
Create a new attribute named role, of type string.
When this attribute is used, it will be prefixed with custom:.
Then click Save changes to see the result.
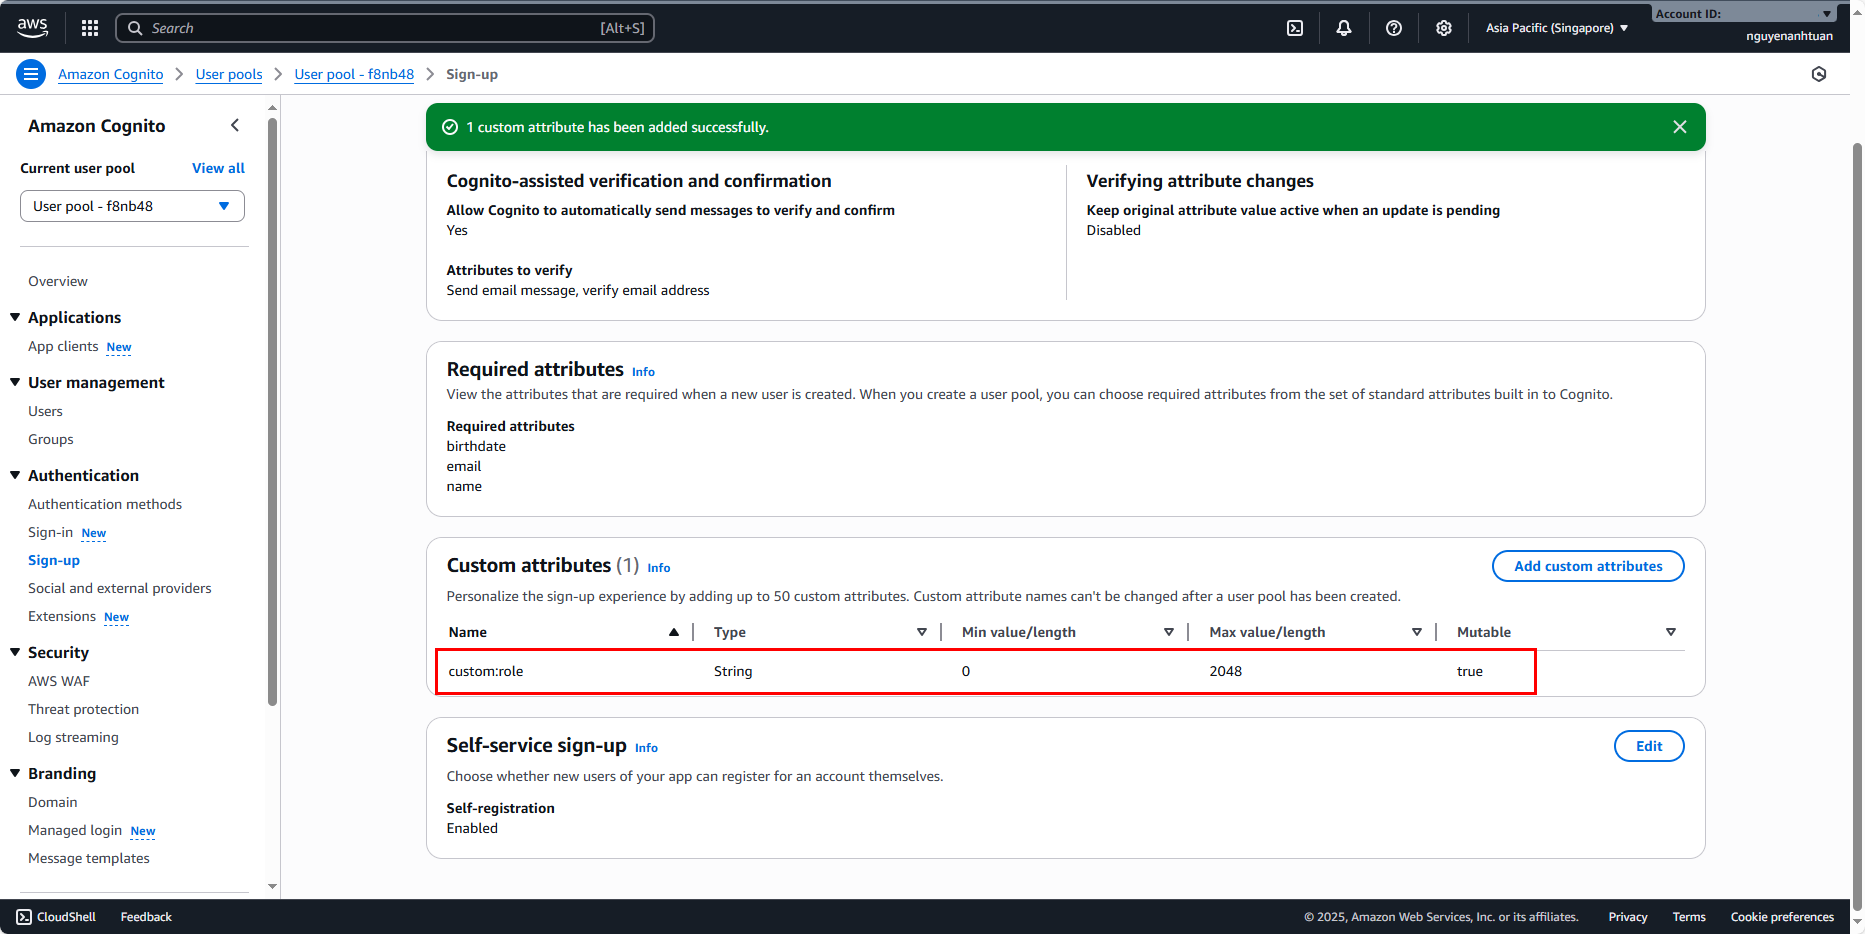
Back in the app client’s Attribute permissions, you’ll see that the app client now has read and write access to this new attribute, which means it’s been successfully added.
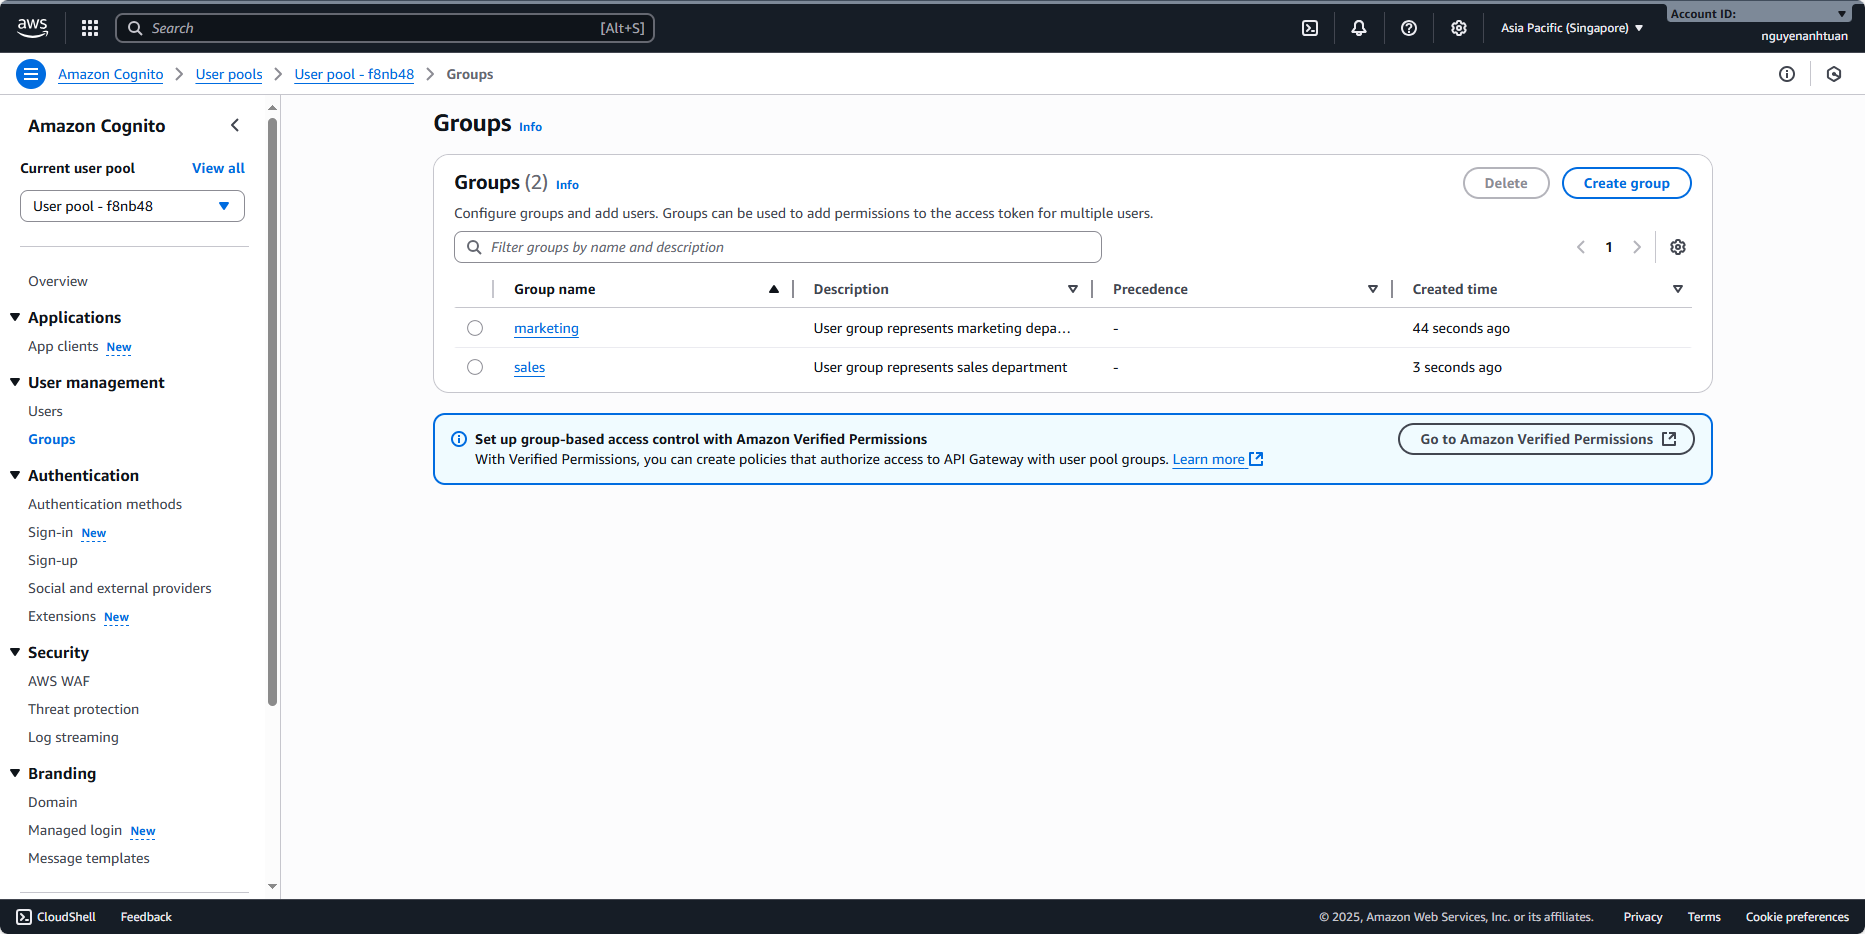
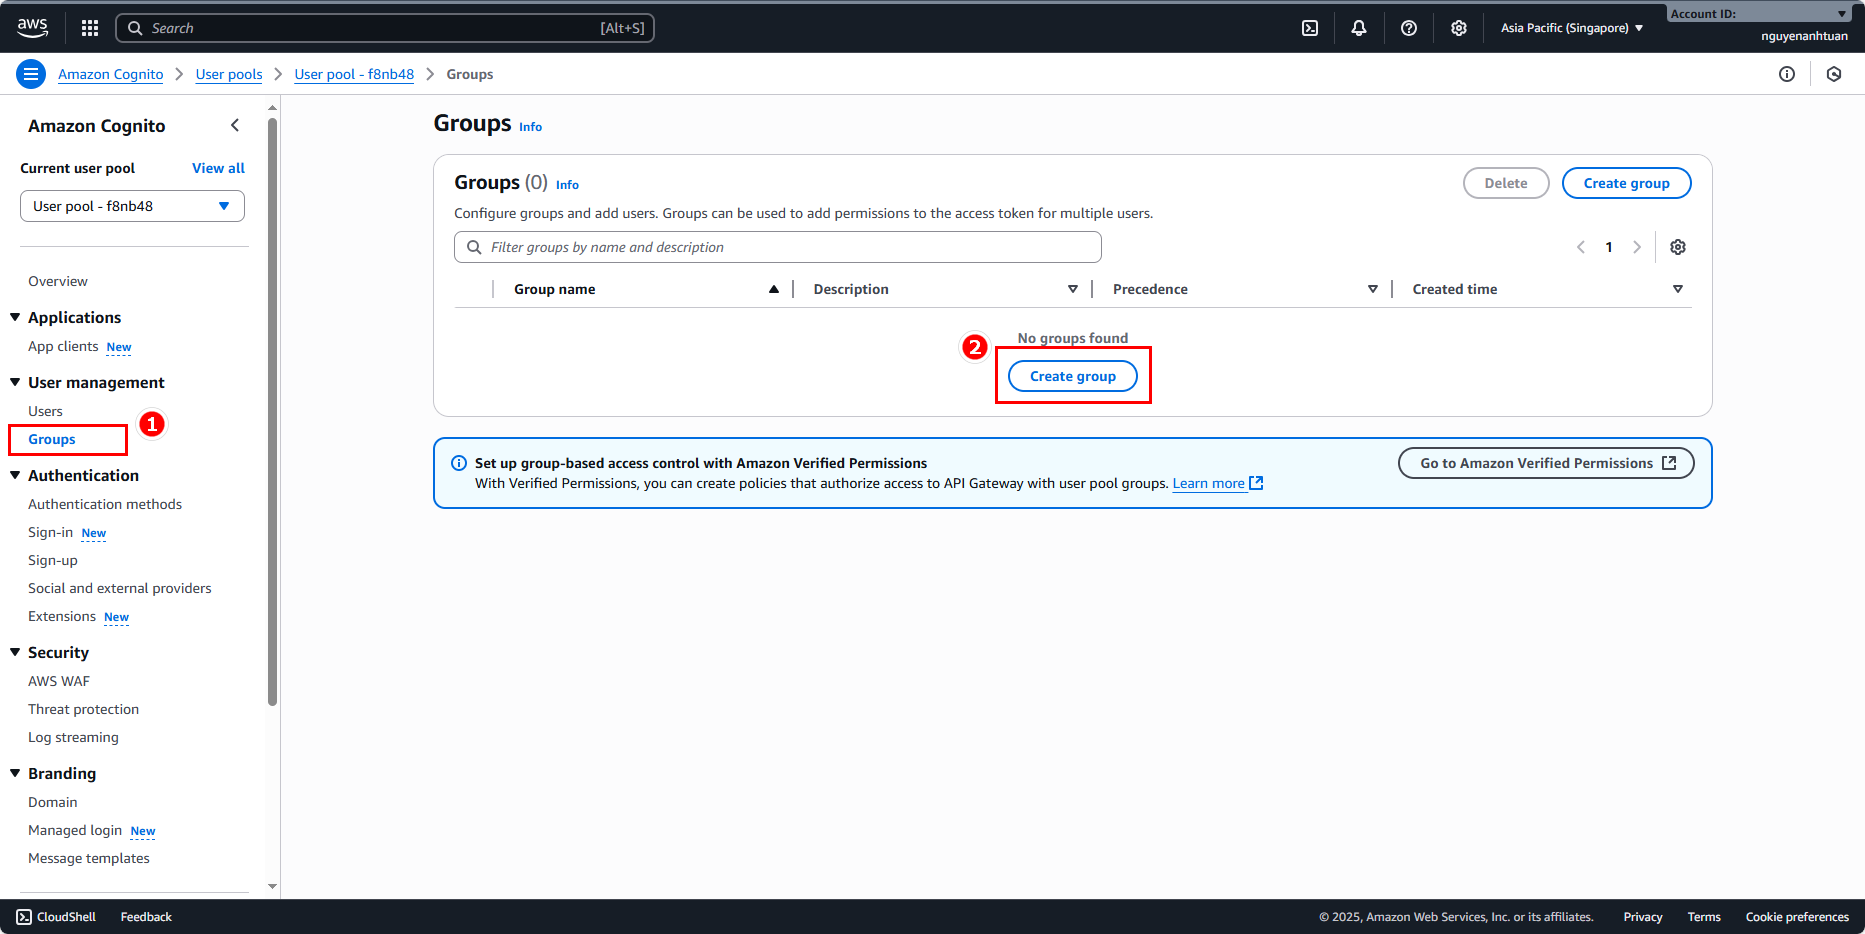
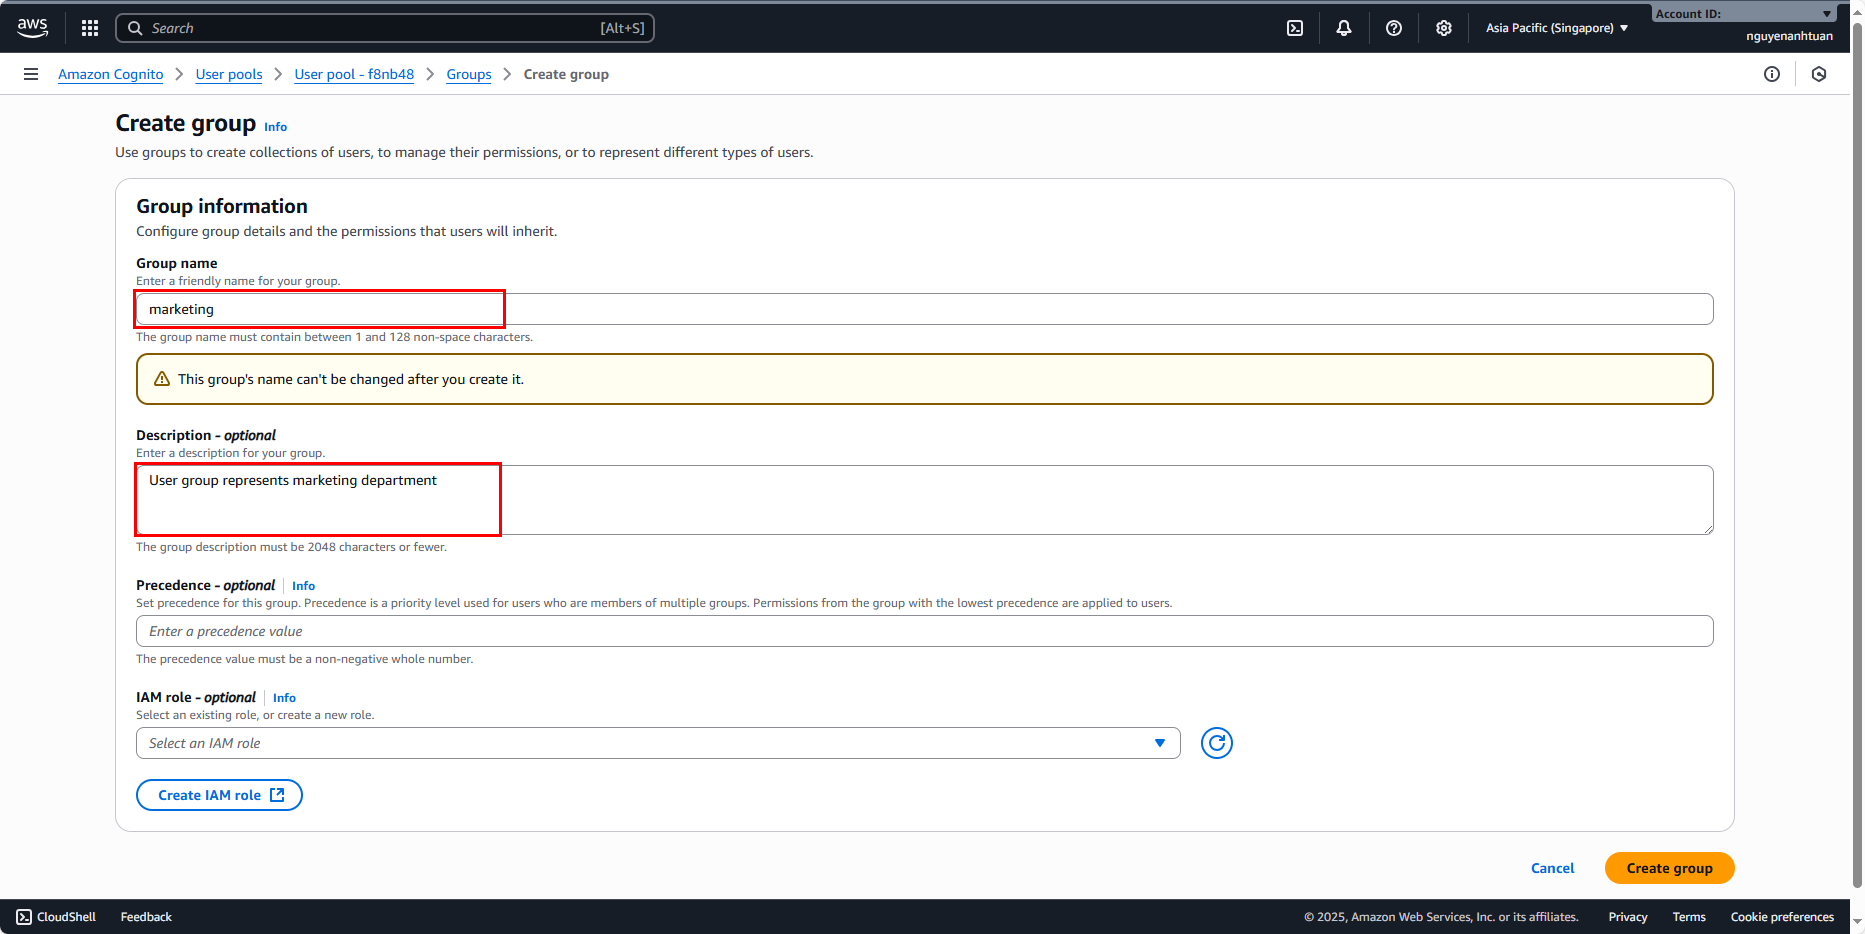
Next, to group users, we’ll need to create a User Group. When a user is added to a group, the group information will appear in the token’s claim under the attribute cognito:groups. Go to Group under User management in the right-hand menu. Click Create group.
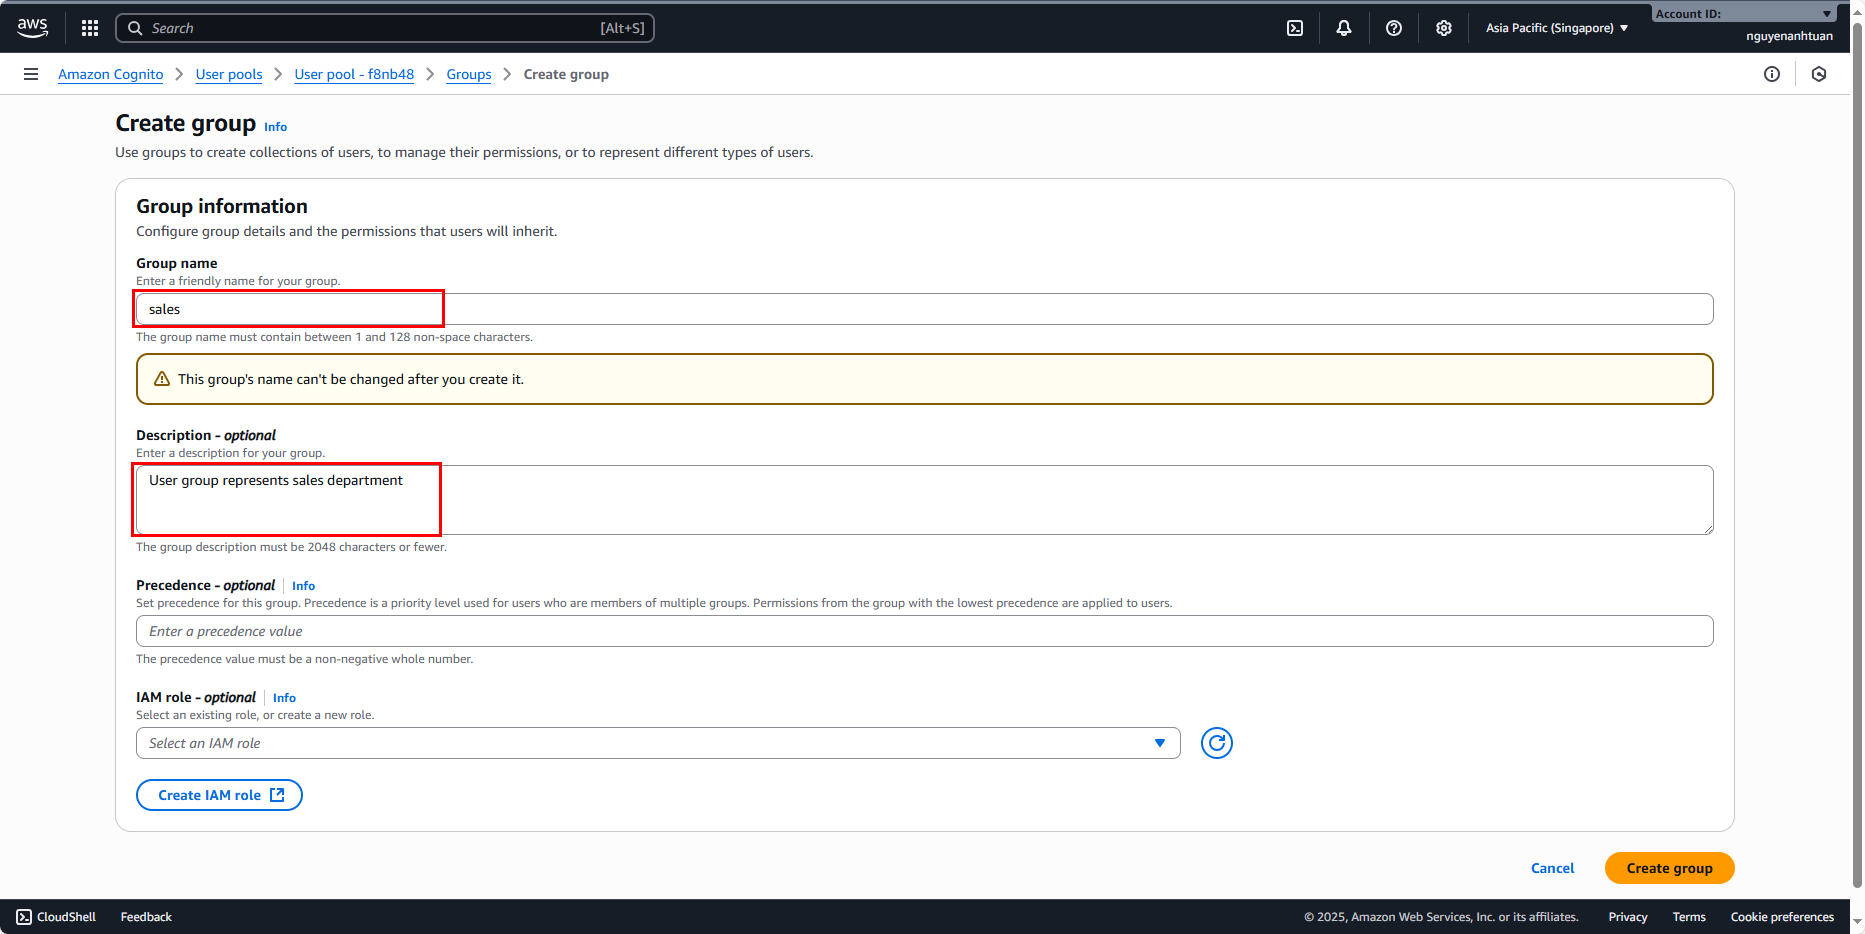
We’ll create two groups with the following details:
- Group 1:
- Name:
marketing. - Description:
User group represents marketing department.
- Name:
- Group 2:
- Name:
sales. - Description:
User group represents sales department.
- Name:
After creation, you’ll have two groups like this: