2. Setup Cognito User Pool
Here we will go deeper into Cognito. There are some features of Cognito that we need to pay attention to.
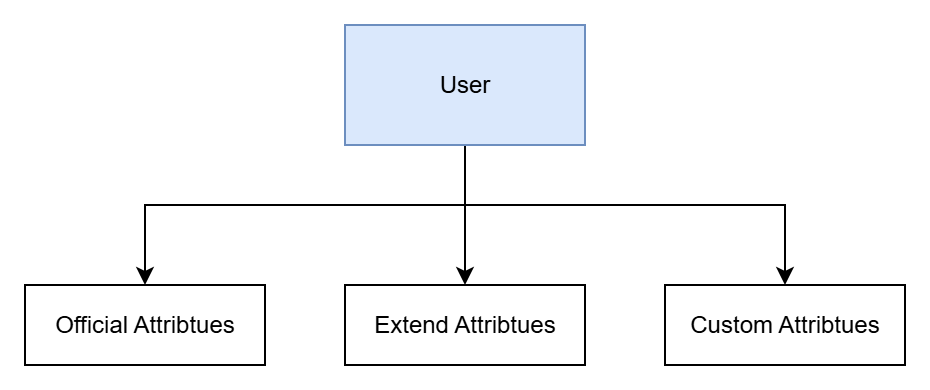
User Attributes
To store a user, we need to have their information, which is divided into attributes. In a User Pool, we have three different types of attributes:
- Official Attributes: the official attributes of a user in the pool.
- Extended Attributes: supplementary attributes from Cognito that are not directly part of the user pool.
- Custom Attributes: attributes defined and added by the user.
This is my own naming convention. “Custom attributes” is the exact term used in the official documentation, while the other two types are names I created based on their nature.
Officially supported attributes only help identify users in the pool and serve no other role. Imagine our application needs to implement authorization, but we only know the user’s information and not their role or team—this would make it difficult to implement such a feature. That’s why we need two additional types of attributes besides the official ones.
So, in this workshop, we will need an additional optional attribute to authorize users—role—along with using Cognito’s extended attribute—groups.
Authentication Flow
This is the process of authenticating with a Cognito user pool, and the user can define how they “initiate auth,” send information, and respond to any challenges returned.
The most common and widely used authentication type is username and password. In a Cognito Client App, this is called the USER_PASSWORD_AUTH authentication flow. Another, less visible but equally common form is token-based authentication, called the REFRESH_TOKEN_AUTH flow in Cognito.
We can also define our own custom flow when using external services, known in Cognito as CUSTOM_AUTH.
Server-side applications can also use a user’s username and password to log in; in Cognito, this is called ADMIN_USER_PASSWORD_AUTH. For this workshop, we only need to focus on these flows because we will directly use ADMIN_USER_PASSWORD_AUTH and also REFRESH_TOKEN_AUTH.
In short, users can log in directly with Cognito, or we can implement our own custom logic on the server side, which is what we’ll do in this workshop.
Extension (Lambda Triggerer)
In Cognito, there are two main flows: sign-up and sign-in. We can inject custom logic into these flows. For example, if sign-in goes A-B-C-D, we can insert a piece of code before B to execute additional logic—this is how I understand “Extension.” Cognito has four types of triggers, corresponding to four flows: Sign-up, Authentication, Custom authentication, and Messaging:
For Sign-up:
- Pre sign-up: a trigger called when a user signs up, allowing you to customize their information.
- Post confirmation: a trigger called after a user logs in or confirms. For example, you can customize the welcome message after the user confirms their email or phone number.
- Migrate user: a trigger called when new user information is added to the pool, e.g., imported from another source.
For Authentication:
- Pre authentication: a trigger called before the authentication process starts, where you can run custom logic.
- Post authentication: a trigger called after the authentication process completes, useful for logging or analytics.
- Pre token generation: a trigger called before a token is generated. Here you can modify the claims of the ID and access token. In this workshop, we’ll build this trigger to add a custom attribute to the claim.
For Custom authentication:
- Define auth challenge: a trigger called during authentication to define extra challenges the user must complete.
- Create auth challenge: similar to above but allows you to specify the challenge and its expected answer.
- Verify auth challenge: a trigger called after the user submits their response, where you can verify the result.
For Messaging:
- Custom message: a trigger called after a certain process, similar to Post confirmation but broader. You can customize message content, MFA, recovery messages, etc.
Content
This section will include: