Setup codebase
In this lesson, I still recommend that you use WSL (Windows Subsystem for Linux) or a real Linux distribution for practice. We will use Ubuntu 24.04.2 LTS to perform this setup. In case you haven’t installed WSL yet, you can view Microsoft’s guide at this link: https://learn.microsoft.com/en-us/windows/wsl/install (Recommend WSL 2).
In this section, I will split into 2 codebases for 2 different languages, so if you have experience with one language, choose that one; or if you want to explore more, you can choose both to practice.
Hypothetical Problem
Suppose I have the following problem: the client needs an application to manage information about potential customers for products, serving the Sales and Marketing teams first. My task now is to build such an application, but before starting the implementation, we need to design first.
I can deduce the business requirements for each team as follows:
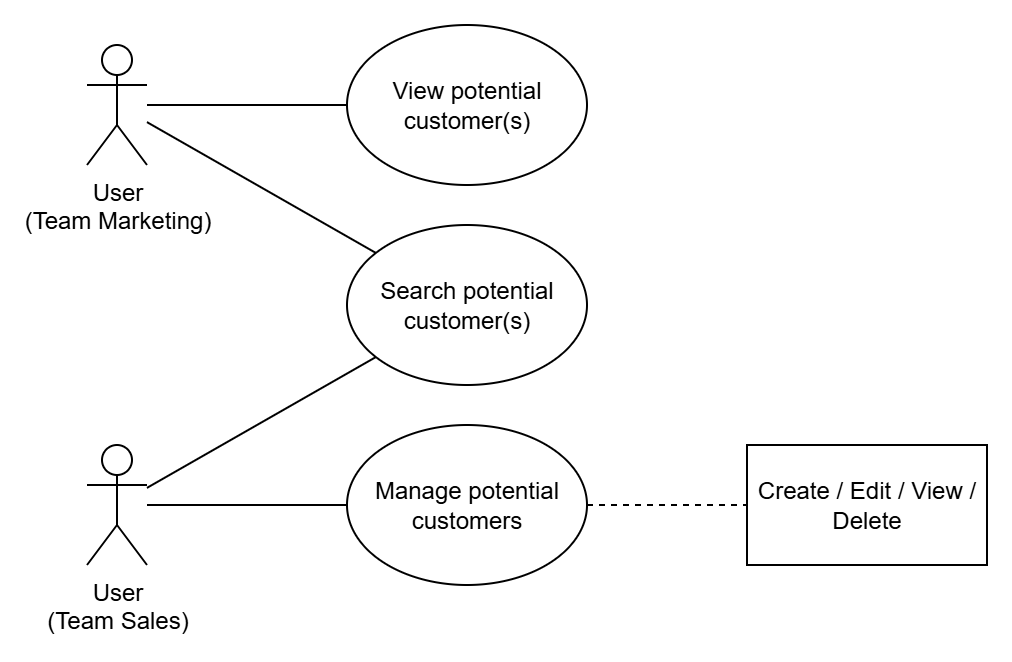
- With Marketing: they can only view information of one or multiple potential customers.
- With Sales: they can add / delete / edit potential customer information, as well as view the information of those customers.
However, to differentiate users from these two teams, we need to add Authentication and grant correct Authorization to each team. Thus, our application will temporarily have two main features: *Potential Customer Management- and Auth.
From here, we will have a simple Use Case diagram as follows:
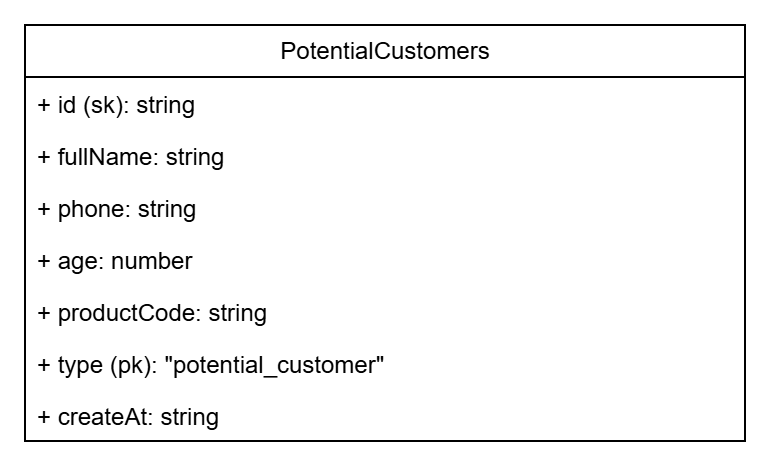
We have identified the actors and required features, now it’s time to define the data model. First, we see that this application will serve the management of potential customers, so we need to know what attributes of the customers we’ll manage. From this, we will build the data model for the potential customer, assuming it has the following attributes:
- id: identifier for the potential customer.
- fullName: full name of the customer.
- phone: phone number of the customer.
- age: age of the customer.
- productCode: product code that the customer is interested in.
- type: type of customer. Since this is a potential customer, I will set the default value to potential_customer. I will explain this in part 3 - Setting up DynamoDB.
- createAt: the time when this customer’s information was added.
In practice, this information may be more extensive to serve various purposes, but in this lesson we will simplify the design to focus more on the main goal.
So we have stated the problem. By now you should understand what we need to do, right?
Idea for the Codebase Structure
Before coding, let’s analyze the project’s codebase. Have you ever wondered when starting a project: “How should I organize the folders in my codebase?” or “Where is the starting point of my codebase? What modules are there?”. The fact that you and I split the codebase well also means we’re applying “Best Coding Practices,” among which the most common are Code Splitting and Maintainability.
In my opinion, in reality it depends on the size of the “problem,” the project’s lifespan, the product, and the team’s skill level to decide many things, including the codebase structure I’m talking about. But because this lesson is for learning purposes, I will try to make everything more complex, assuming that the “problem” we’re facing may expand in the future, and the project will be active for a long time.
From my perspective, a project that can expand features and be deployed in different places requires an abstraction mindset. Why? A simple example: on the road we see many four-wheeled vehicles carrying people, and we all call them cars. We just abstracted the “vehicle” class where each can come from different brands, models, and segments. We ignore many differences to reach a common view: cars have 4 wheels, carry people, and are medium-sized.

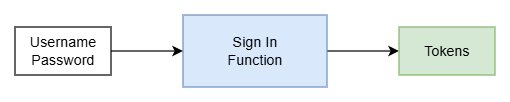
So, back to building our application: I don’t care how a component performs its tasks; I care about three things: input, output, and its main responsibility. For example, I have a login function. I don’t care how it performs the login, but it must ensure correct input/output data and do the login task correctly.
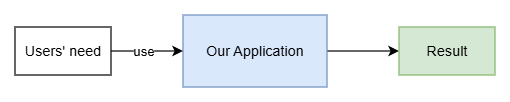
We will do the same with the application we’re about to build, which is even larger than the login function example. At this point, we only need to care that this application runs somewhere accessible to users, lets them view content and perform actions. With this view, even when the problem expands later, we can still easily scale and deploy more solutions while referring back to the original idea.
To achieve this, I need to design the codebase to ensure the above factors. Now is the time to get more specific but still abstract enough to remain neutral when designing the codebase:
- Where can the application be deployed? In what environment?
- What technology should I use?
- Does it depend on any external components?
Thus, I will initially split the codebase into three parts:
- Runtimes: the code built to run on a specific runtime. I will split into two types: Serverful and Serverless.
- Core: the main source code, the core containing the application’s business logic.
- Utils: to have some global helper functions, I will add this part to the codebase.
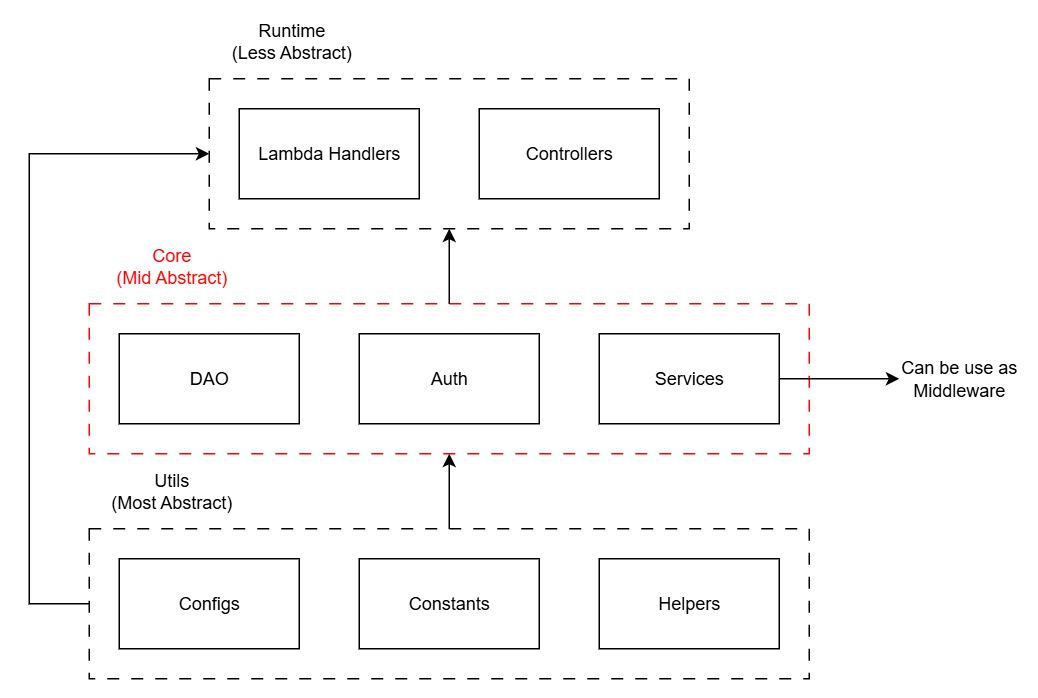
From here we can see: the entry point of the application will be in Runtimes. Knowing the Entry Point and Startup Flow is very important. With this architecture, the startup flow will be as follows:
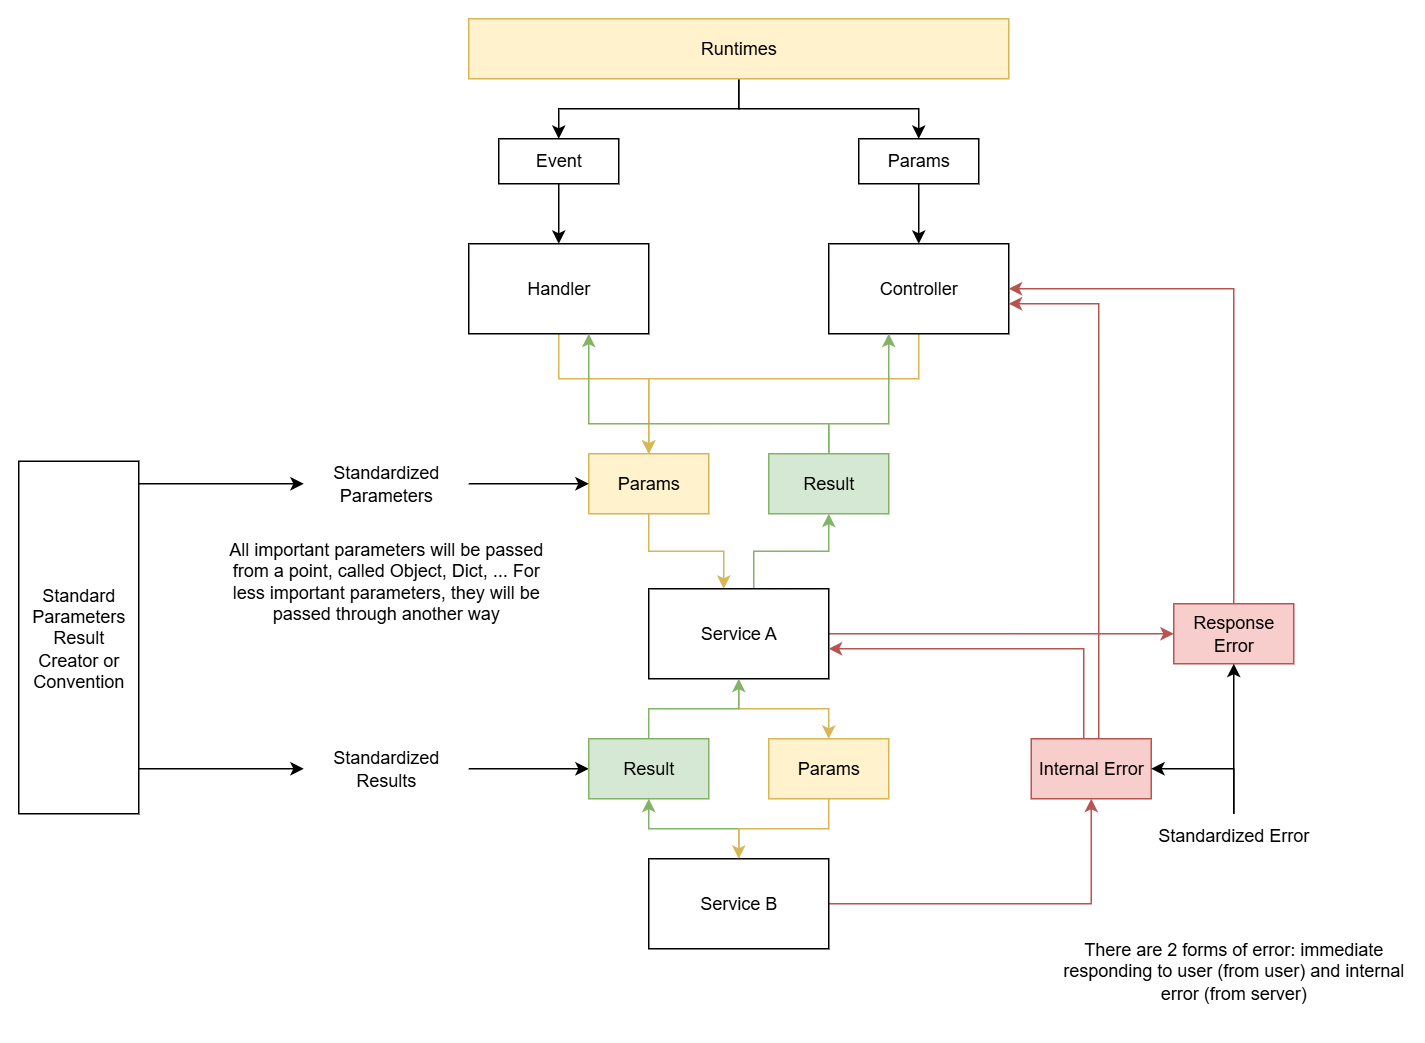
By now you should grasp the idea, right? Let’s summarize. Our goal is to build a codebase structure that can expand in the future and allow easy Unit Testing. This is why I must clarify the components in the overall codebase: which part is the main code responsible for processing results and responses — this is the part we particularly care about; which part will run to expose APIs for external applications to use, in what environment it runs?
Let’s start setting up the application!
Initialize the Codebase
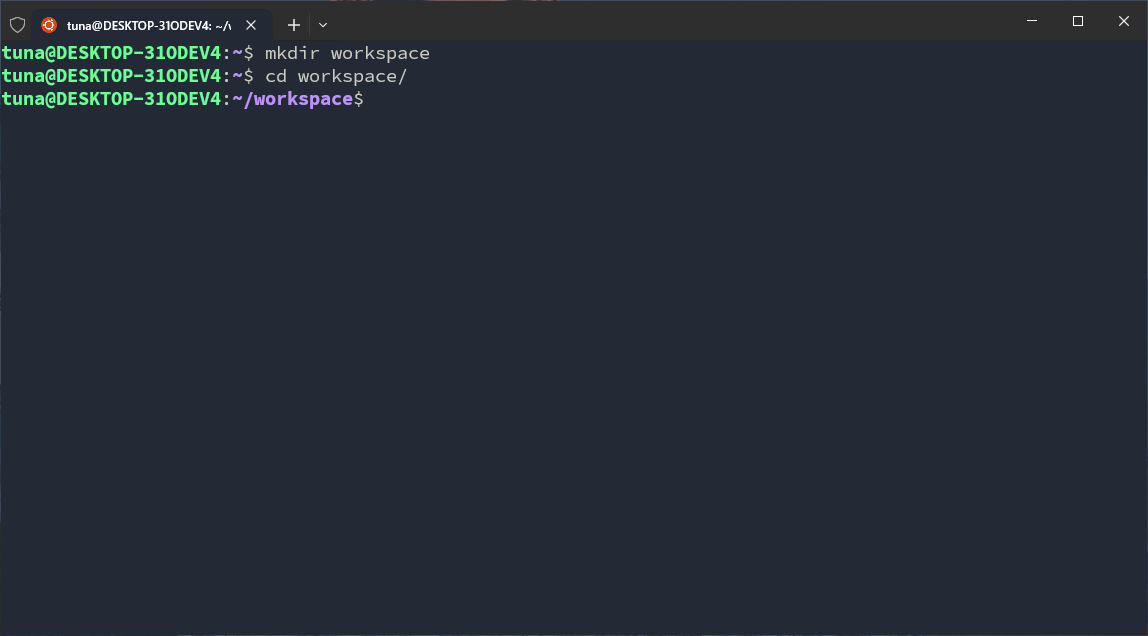
You can choose 1 of the 2 languages or both to do this exercise. First, go into the virtual machine — I will use WSL. First, we will create a directory named workspace to store our source code.
mkdir workspace
cd workspace
The content of this section may be repeated in both languages because I want to reuse the content, and also many people may skip the detailed setup part to jump directly into the setup without the detailed explanation.
Click here to go straight to the Python setup.
Typescript
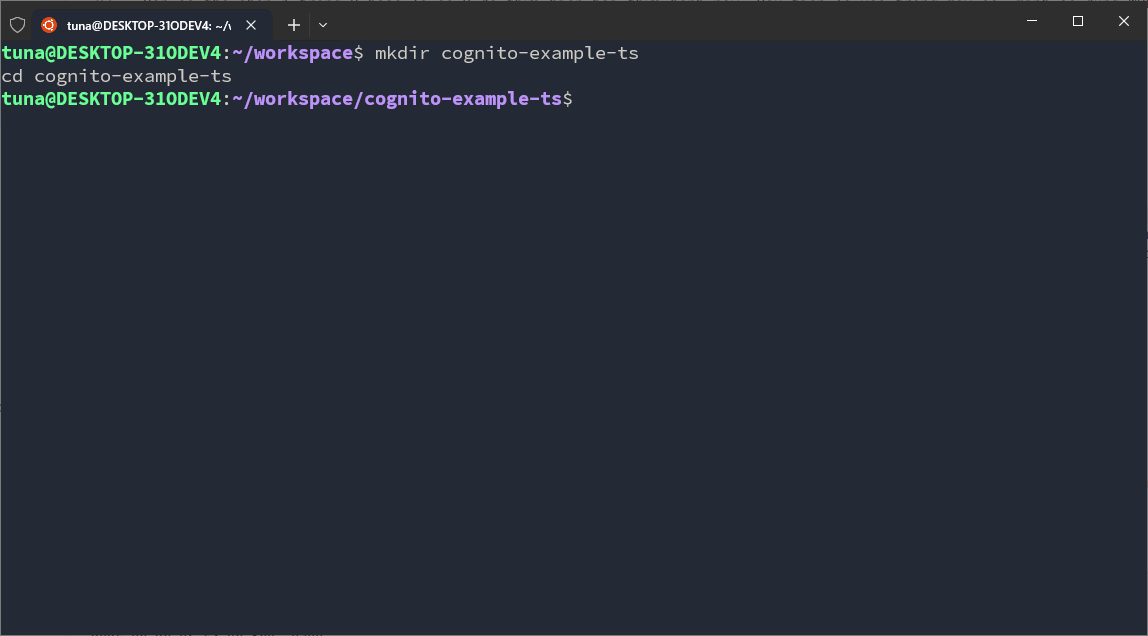
In the TypeScript codebase, I will use Express, a very famous Web API library chosen by many developers when starting a NodeJS project. We will install these later. First, in the workspace, I need to create another directory named cognito-example-ts.
mkdir cognito-example-ts
cd cognito-example-ts
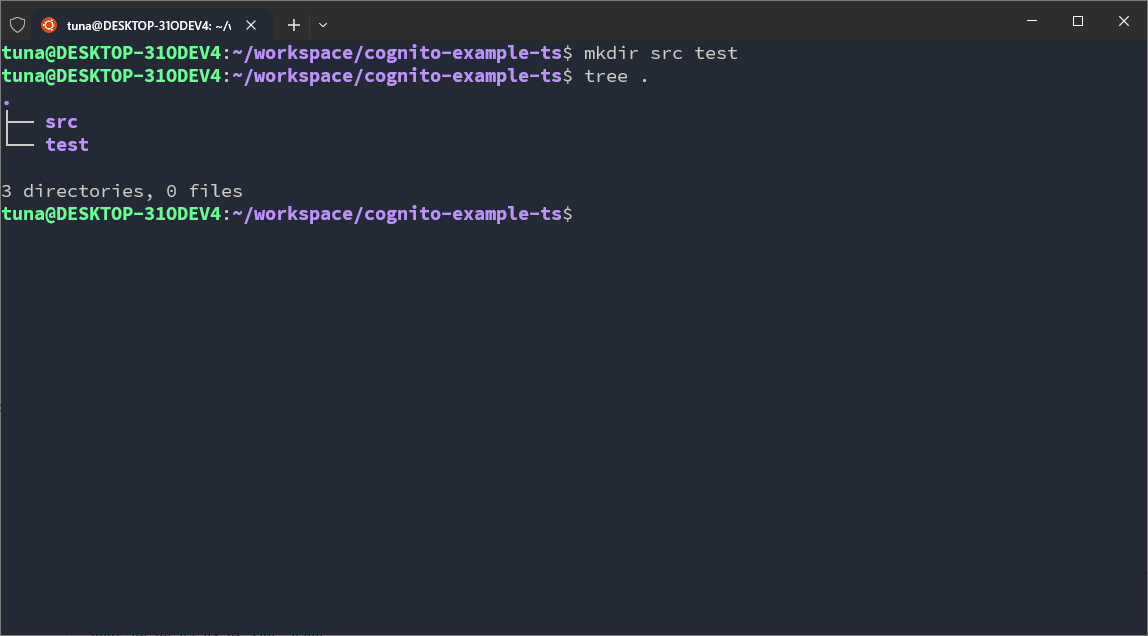
Next, we will create 2 directories: src → contains the main application source code and test → contains scripts to test features, functions, or some helper functions.
mkdir src test
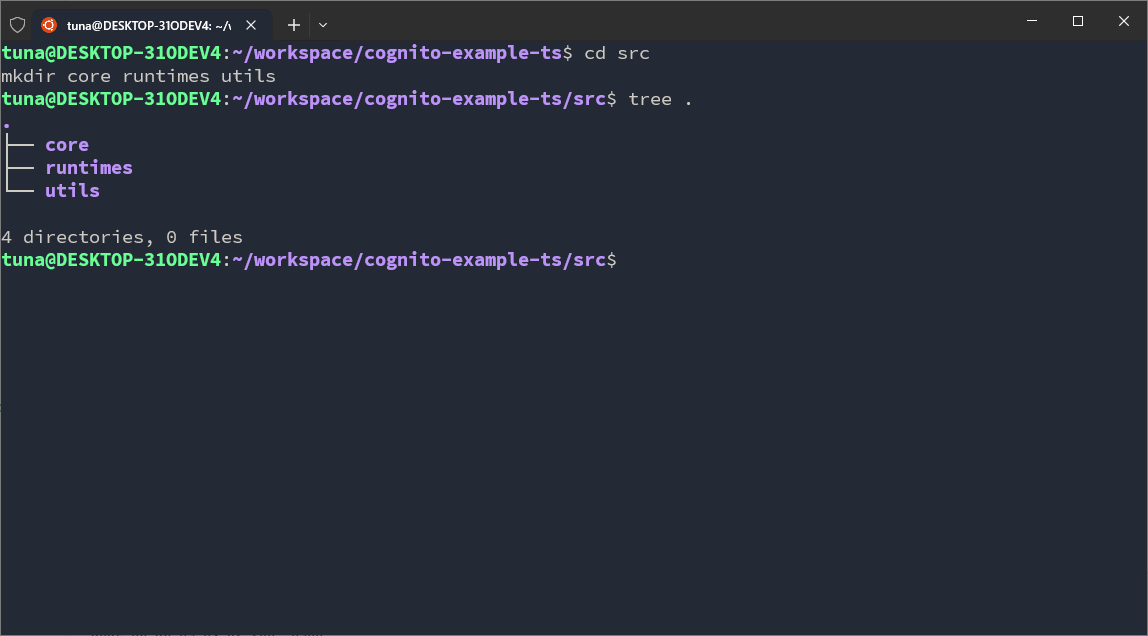
Leave the test folder for now, go into the src folder first. In this folder, we set up 3 more directories: core, runtimes and utils.
cd src
mkdir core runtimes utils
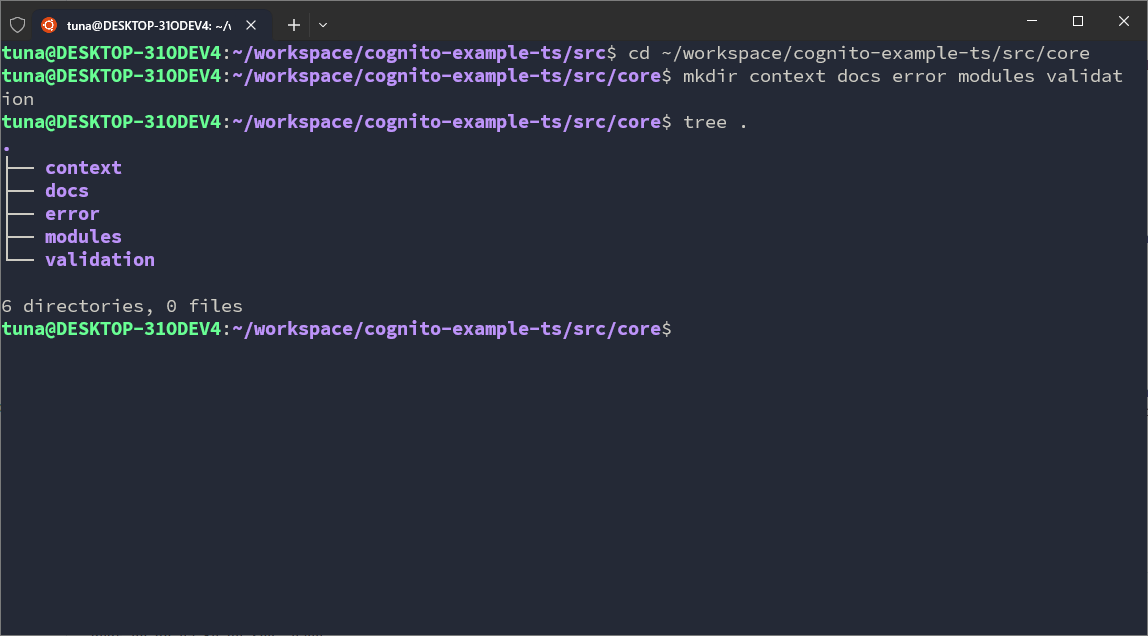
In core, we will set up some folders:
cd ~/workspace/cognito-example-ts/src/core
mkdir context docs error modules validation
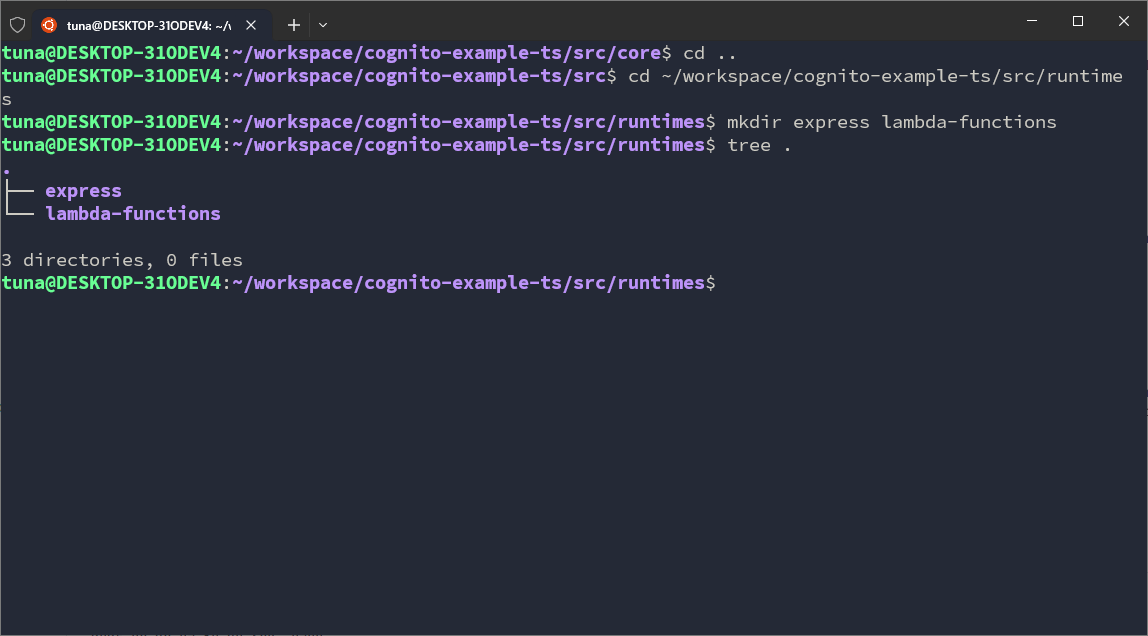
In runtimes, we will set up some folders:
cd ~/workspace/cognito-example-ts/src/runtimes
mkdir express lambda-functions
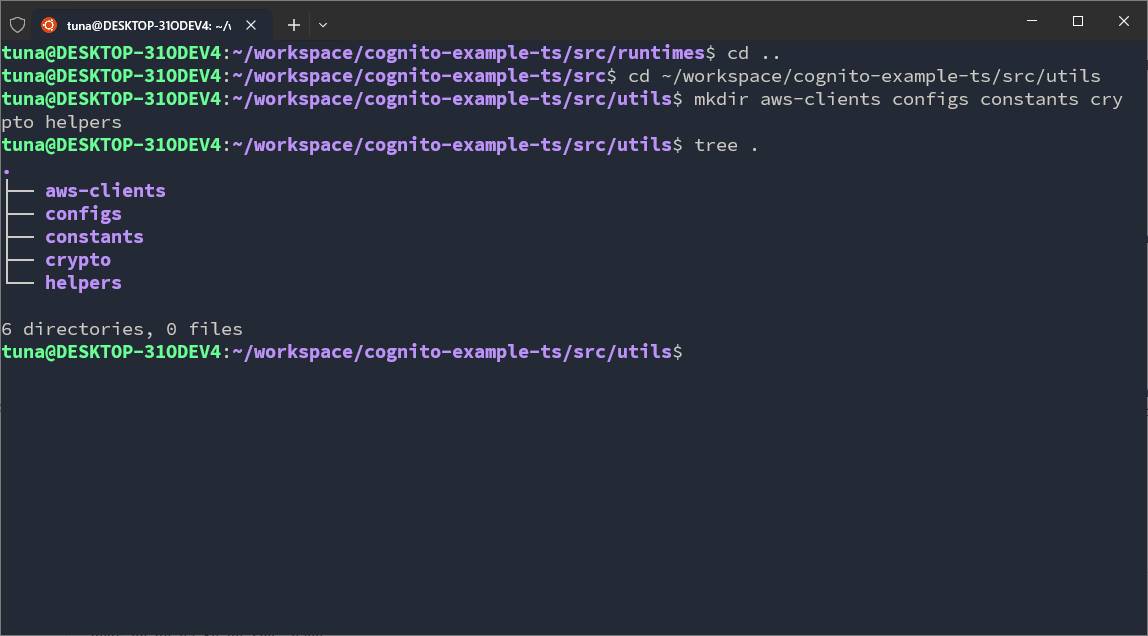
In utils, we will set up some folders:
cd ~/workspace/cognito-example-ts/src/utils
mkdir aws-clients configs constants crypto helpers
I will annotate the folders and their meanings below.
Python
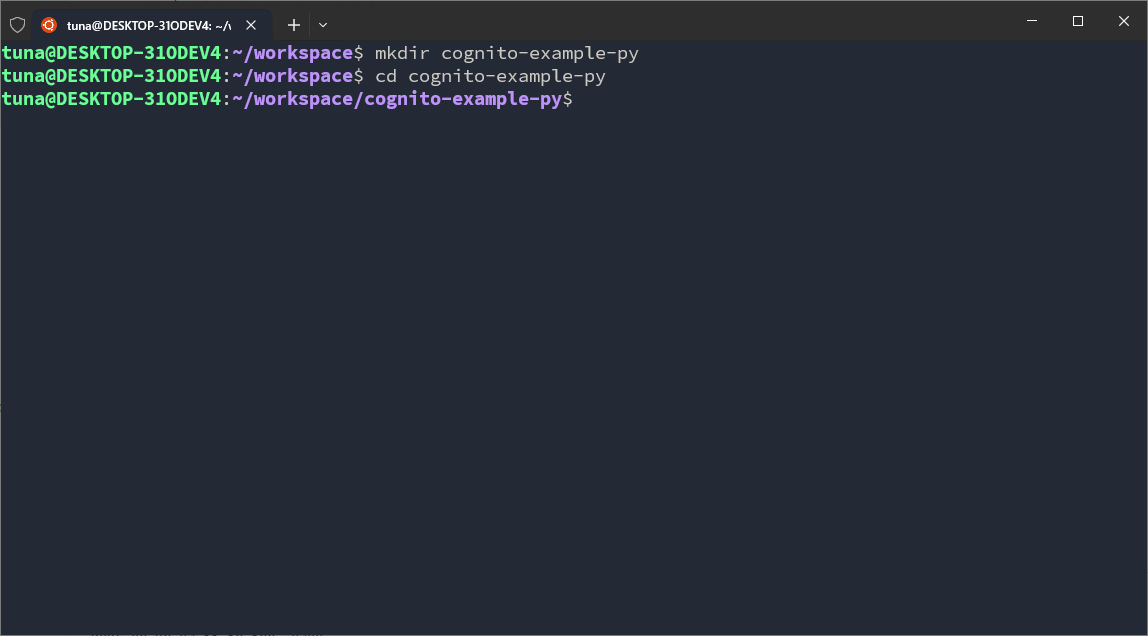
In the Python codebase, I will use FastAPI, a very popular Web API library for Python. In the workspace, I need to create another directory named cognito-example-py.
mkdir cognito-example-py
cd cognito-example-py
Next, we will create 2 directories: src → contains the main application source code and test → contains scripts to test features, functions, or some helper functions.
mkdir src test

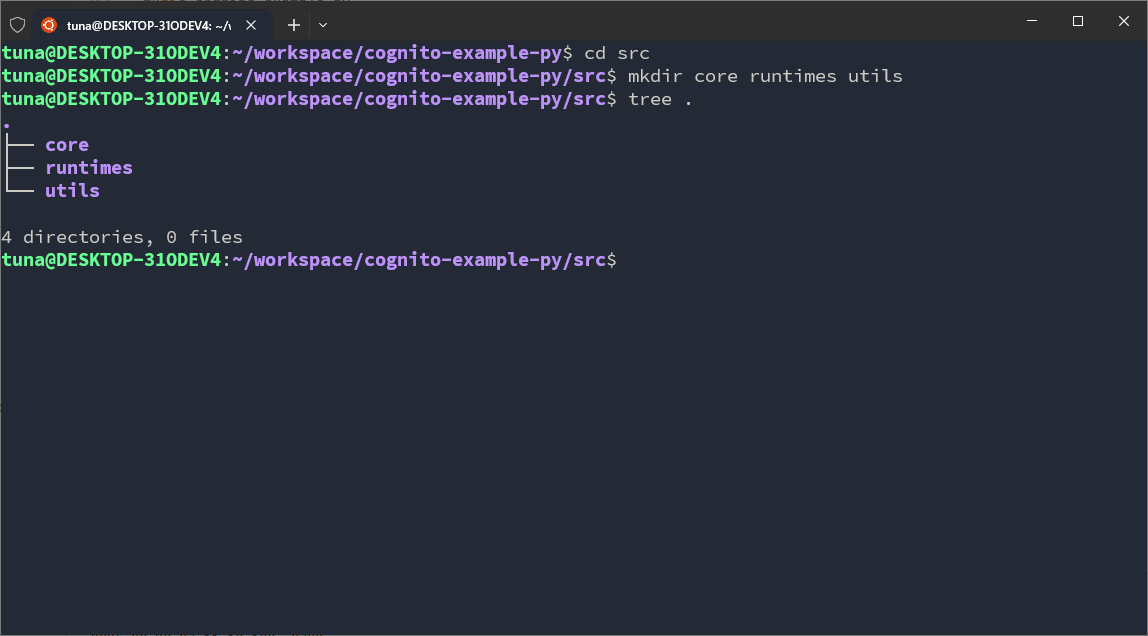
Leave the test folder for now, go into the src folder first. In this folder, we set up 3 more directories: core, runtimes and utils.
cd src
mkdir core runtimes utils
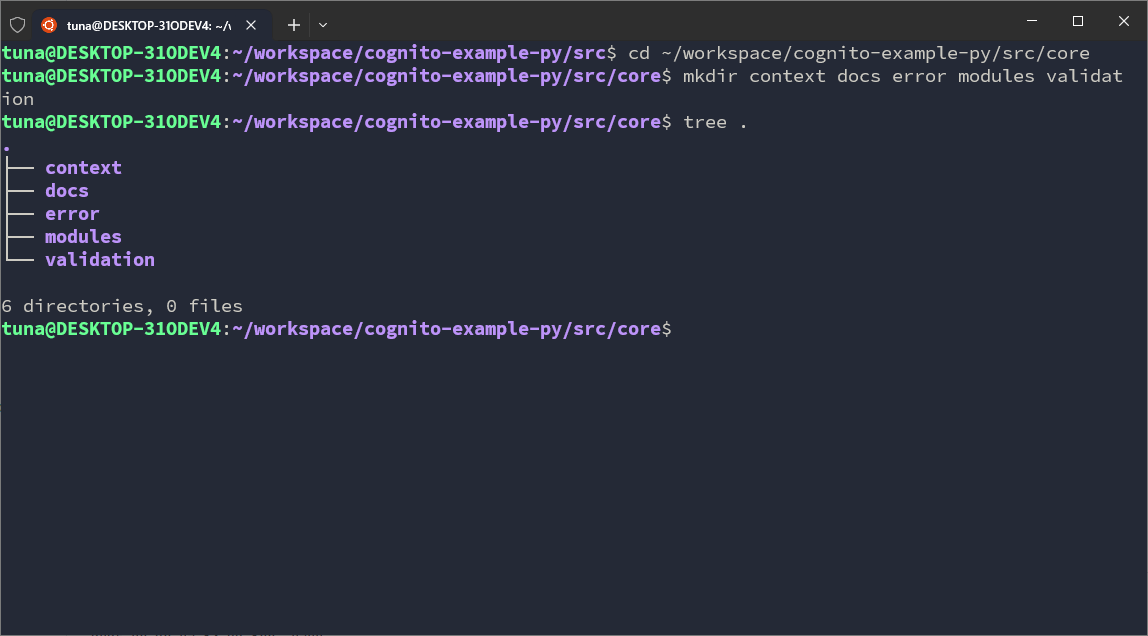
In core, we will set up some folders:
cd ~/workspace/cognito-example-py/src/core
mkdir context docs error modules validation
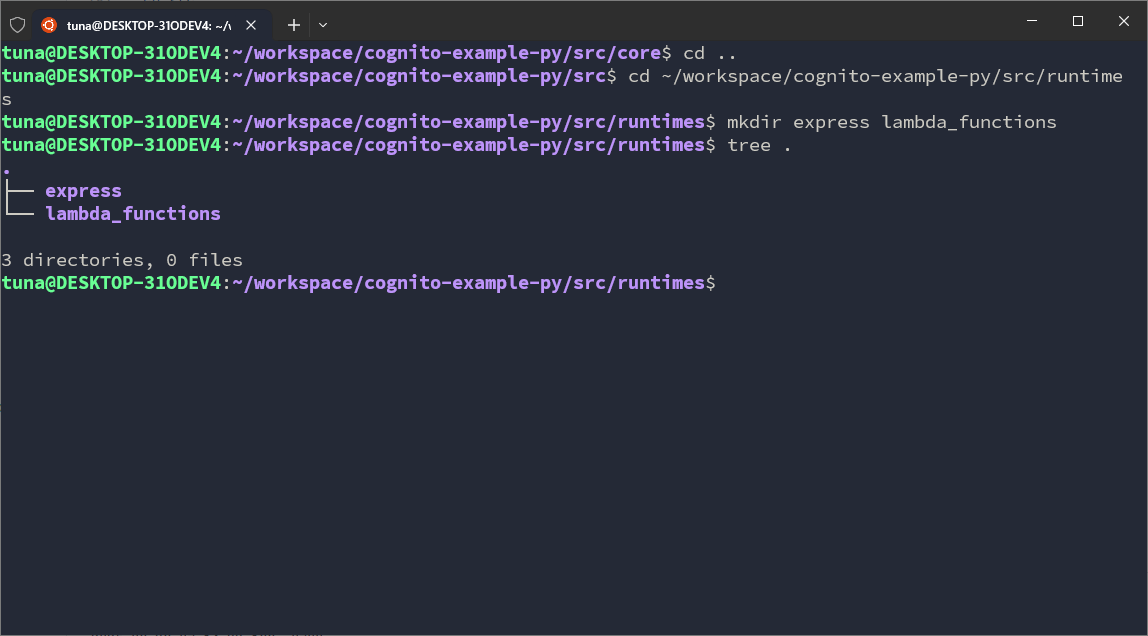
In runtimes, we will set up some folders:
cd ~/workspace/cognito-example-py/src/runtimes
mkdir express lambda_functions
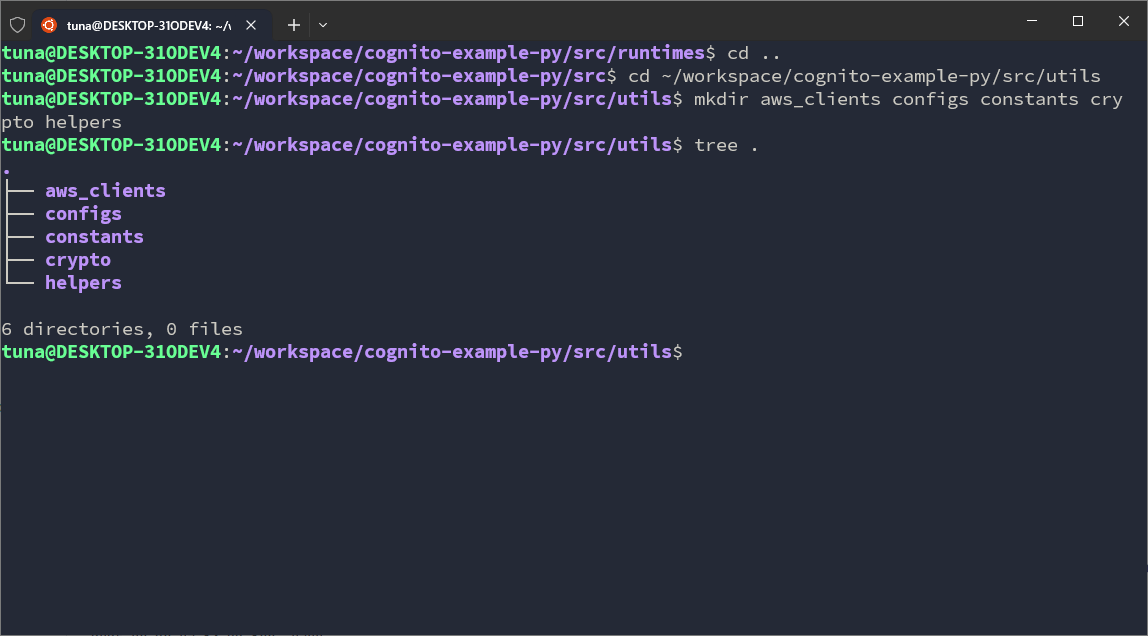
In utils, we will set up some folders:
cd ~/workspace/cognito-example-py/src/utils
mkdir aws_clients configs constants crypto helpers
I will annotate the folders and their meanings below.
Overall, both TypeScript and Python will have a directory structure like this:
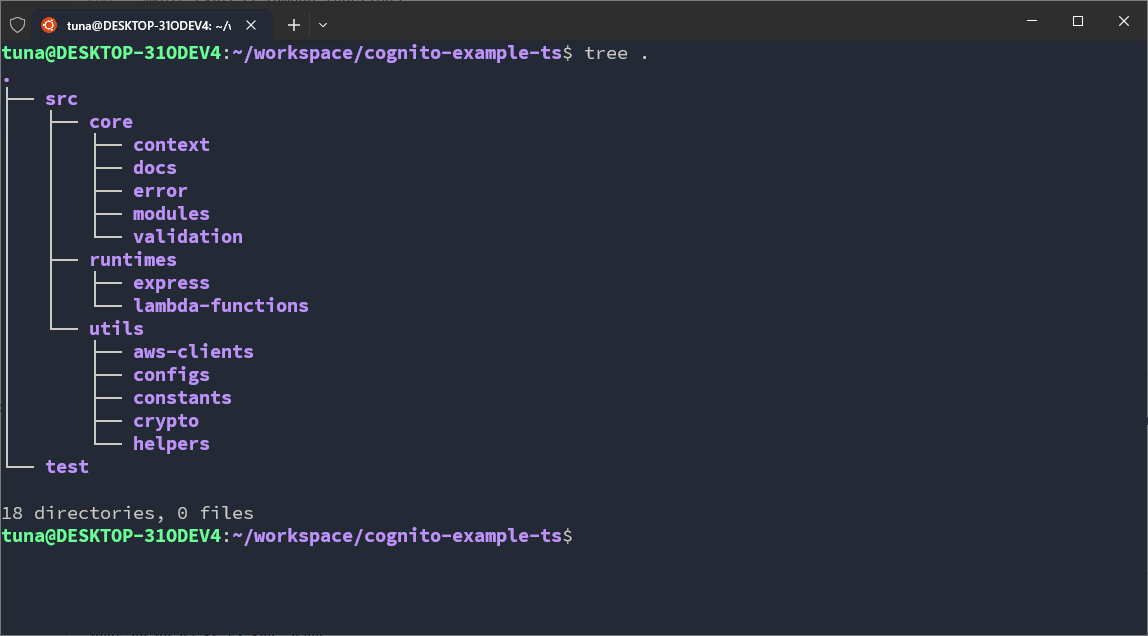

Annotations:
- In
corewe will have:context: where we define the execution context. There are 2 main contexts: Runtime Context — the context of the *runtime- we use to run the application; Internal Context — the internal context inside core, separate from the Runtime context. In fact, context is the objects I create to standardize input data between elements in *core- and between *runtime- and core.docs: where we write documentation for the project. These documents are more application-like, meaning they are not plain text documents. The documentation we will set up will be Swagger UI.error: where we define standardized errors for the codebase. Errors can originate from many places such as the system, runtime, external libraries, third-party APIs, or exceptions occurring in a function. That’s why I need to group them into objects in the codebase and standardize them into groups and error codes.modules: where the main business logic code resides. Currently there are 2 main features, so we will have 2 corresponding modules.validation: where we set up the data validation library. This is part of Validation in security, so I will set it up separately. Both TypeScript and Python have many libraries for this task, so I will make a separate folder.
- In
runtimeswe have:expressorfastapi: where we set up running the API with libraries. Here we will also get familiar with concepts like Middleware, Body Parser, HTTP Response and Request, Routing, …lambda_function: where we write code for Lambda Functions.
- In
utilswe have:aws_clients: where we configure everything related to AWS to communicate with AWS services.configs: where configurations initialized during build-time are stored.constants: where constant values initialized during code writing are stored. They do not change in build-time or runtime.crypto: a module supporting encoding/decoding and encrypting/decrypting.helpers: individual, smaller helper modules.
So we have learned the meaning of the codebase and set up its structure. Next, we will learn about the AWS SDK and the idea of integrating the AWS SDK into our codebase to implement the functions we have defined.