Prepare Frontend Application
Frontend Application
The blog application’s frontend is a web interface built with React and Vite, allowing users to view a list of posts and create new posts via the Gateway API. The frontend will be hosted on S3 and distributed via CloudFront (following steps).
Frontend in the Workshop
In this section, we will:
Create a React/Vite project.
Configure the application to call the Gateway API (
GET /posts,POST /posts).Add basic interface components (article list, article creation form).
Package the application for deployment to S3.
Benefits of using React/Vite:
High performance: Vite provides fast build times and smooth development experience.
Popular: React has a large community, easy to integrate with RESTful API.
Reusability: React components help build flexible and easy-to-maintain interfaces.
Compatible with S3/CloudFront: Easy to deploy static applications.
Price of Frontend
Development cost: Free (using open source tools such as React, Vite).
Deployment cost: Calculated in S3 and CloudFront (steps 7, 8). Free Tier provides:
S3: 5GB storage, 20,000 GET requests, 2,000 PUT requests free/month.
CloudFront: 1TB of data transfer/month free.
Which configuration should we choose for this workshop?
We will use React with Vite because:
Vite has a fast build speed, suitable for small applications such as blogs.
React is easy to integrate with API Gateway via the
axiosorfetchlibrary.Simple structure, easy to deploy to S3 as a static site.
Prepare the Frontend application
- Set up the development environment
Make sure you have Node.js (recommended version 20.x) and npm installed.
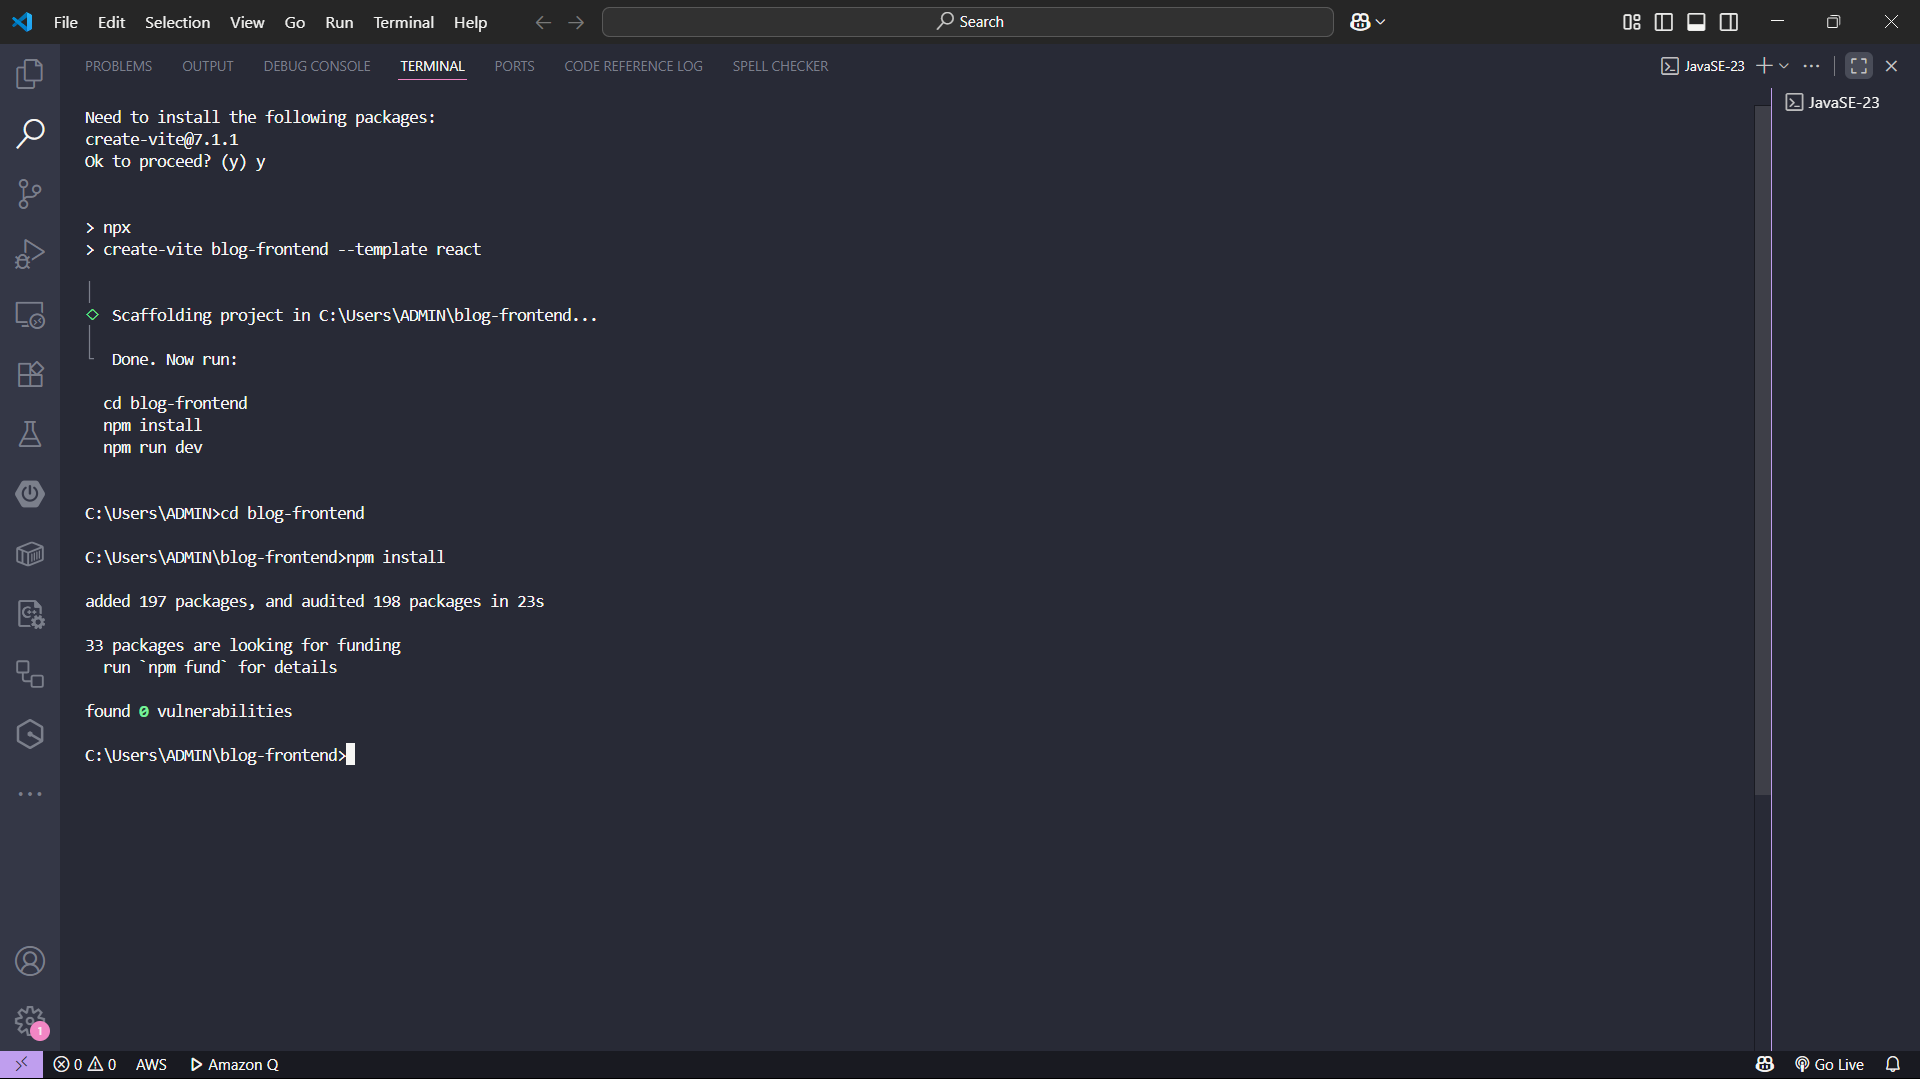
Install Vite and create a React project:
npm create vite@latest blog-frontend -- --template react
cd blog-frontend
npm install
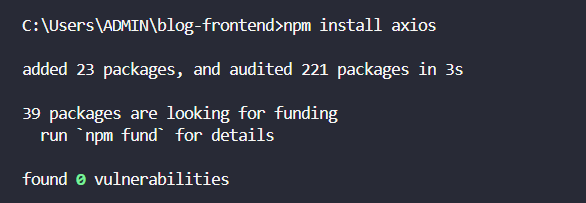
- Install additional libraries
- Install
axiosto call API Gateway:
npm install axios
- Configure source code
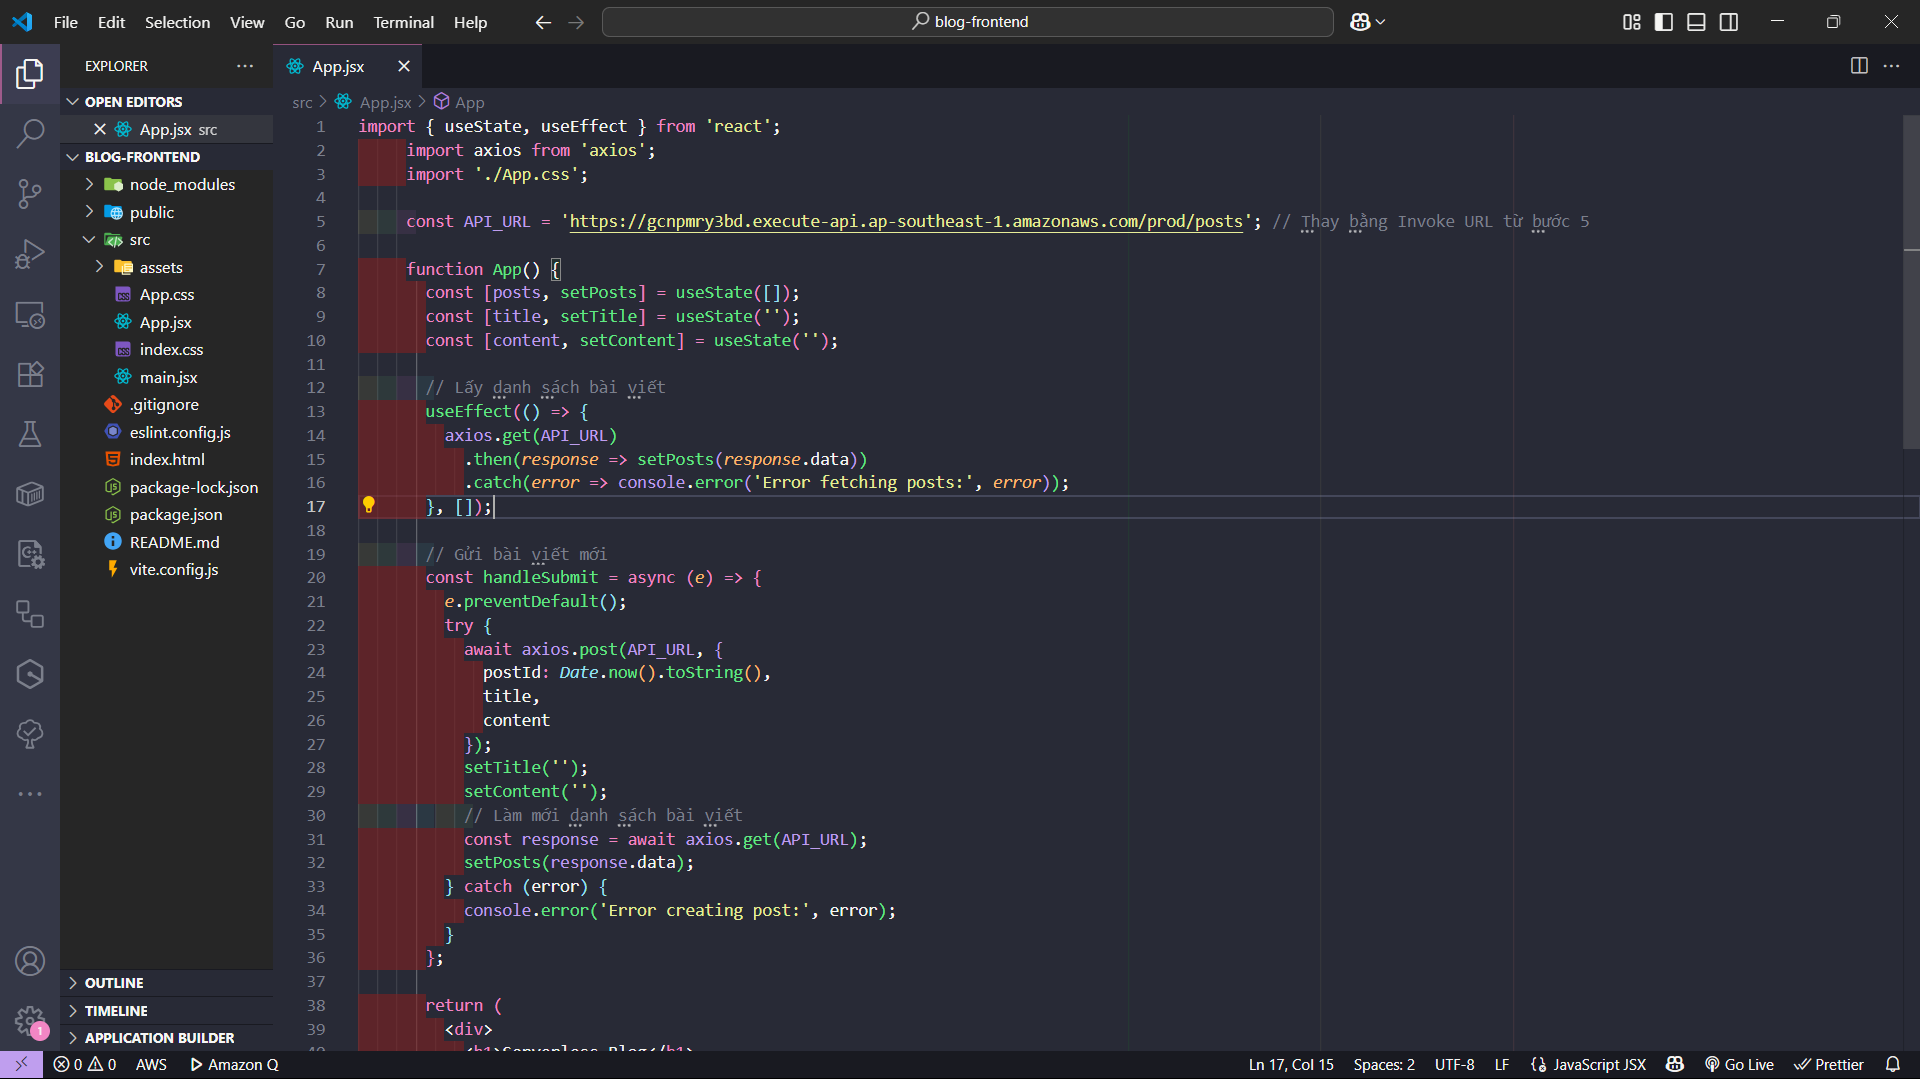
- Replace the content of the
src/App.jsxfile with the following code to display the list of posts and the post creation form:
import { useState, useEffect } from 'react';
import axios from 'axios';
import './App.css';

const API_URL = '<Invoke URL>/posts'; // Replace with Invoke URL from step 5

function App() {
const [posts, setPosts] = useState([]);
const [title, setTitle] = useState('');
const [content, setContent] = useState('');

// Get list of posts
useEffect(() => {
axios.get(API_URL)
.then(response => setPosts(response.data))
.catch(error => console.error('Error fetching posts:', error));
}, []);

// Submit new posts
const handleSubmit = async (e) => {
e.preventDefault();
try {
await axios.post(API_URL, {
postId: Date.now().toString(),
title,
content. content
});
setTitle('');
setContent('');
// Refresh the post list
const response = await axios.get(API_URL);
setPosts(response.data);
} catch (error) {
console.error('Error creating post:', error);
}
};

return (
<div>
<h1>Serverless Blog</h1>
<h2>Create Post</h2>
<form onSubmit={handleSubmit}>
<input
type="text"
value={title}
onChange={(e) => setTitle(e.target.value)}
placeholder="Title"
required. required
/>
<textarea
value={content}
onChange={(e) => setContent(e.target.value)}
placeholder="Content"
required. required
/>
<button type="submit">Create Post</button>
</form>
<h2>Posts</h2>
<ul>
{posts.map(post => (
<li key={post.postId.S}>
<h3>{post.title.S}</h3>
<p>{post.content.S}</p>
<small>{post.createdAt.S}</small>
</li>
))}
</ul>
</div>
);
}

export default App;
- Update
src/App.cssfile to add basic styles:
body {
font-family: Arial, sans-serif;
max-width: 800px;
margin: 0 auto;
padding: 20px;
}
input, textarea {
display: block;
width: 100%;
margin: 10px 0;
padding: 8px;
}
button {
padding: 8px 16px;
background-color: #007bff;
color: white;
border: none;
cursor: pointer;
}
button:hover {
background-color: #0056b3;
}
ul {
list-style: none;
padding: 0;
}
li {
margin-bottom: 20px;
border-bottom: 1px solid #ddd;
padding-bottom: 10px;
}
- Configure API URL
- Replace
<Invoke URL>insrc/App.jsxwith Invoke URL from step 5 (API Gateway), for example:https://<api-id>.execute-api.<region>.amazonaws.com/prod/posts.

- Test the application
- Run the application locally:
npm run dev
Open a browser at
http://localhost:5173to test:View the list of posts from API Gateway (
GET /posts).Create a new post via form (
POST /posts).If you encounter errors (e.g. CORS or API not responding):
Check Invoke URL and CORS in API Gateway.
View console logs in browser or Lambda’s CloudWatch Logs.
- Packaging the App
- Build the app to generate static files:
npm run build
- The result will be in the
dist/folder, ready to upload to S3.
Make sure the Invoke URL in src/App.jsx matches the URL from the API Gateway.
Check CORS in the API Gateway to avoid errors when calling the API from the browser.
Files in the dist/ folder must be uploaded to S3 in the next step.
Done
- You have created and configured a React/Vite frontend app, ready to deploy to S3.