Setting Up the Code Execution Environment
1. Introduction
To run and test Amazon Bedrock Agent, we need to set up a code execution environment. You can use Google Colab or run it locally. In this guide, we will use Jupyter Notebook on Google Colab as the programming environment.
2. Initializing Jupyter Notebook on Google Colab
Step 1: Create a New Notebook on Google Colab
- Access the Google Colab Console
- Select “New Notebook” to create a new Notebook file.
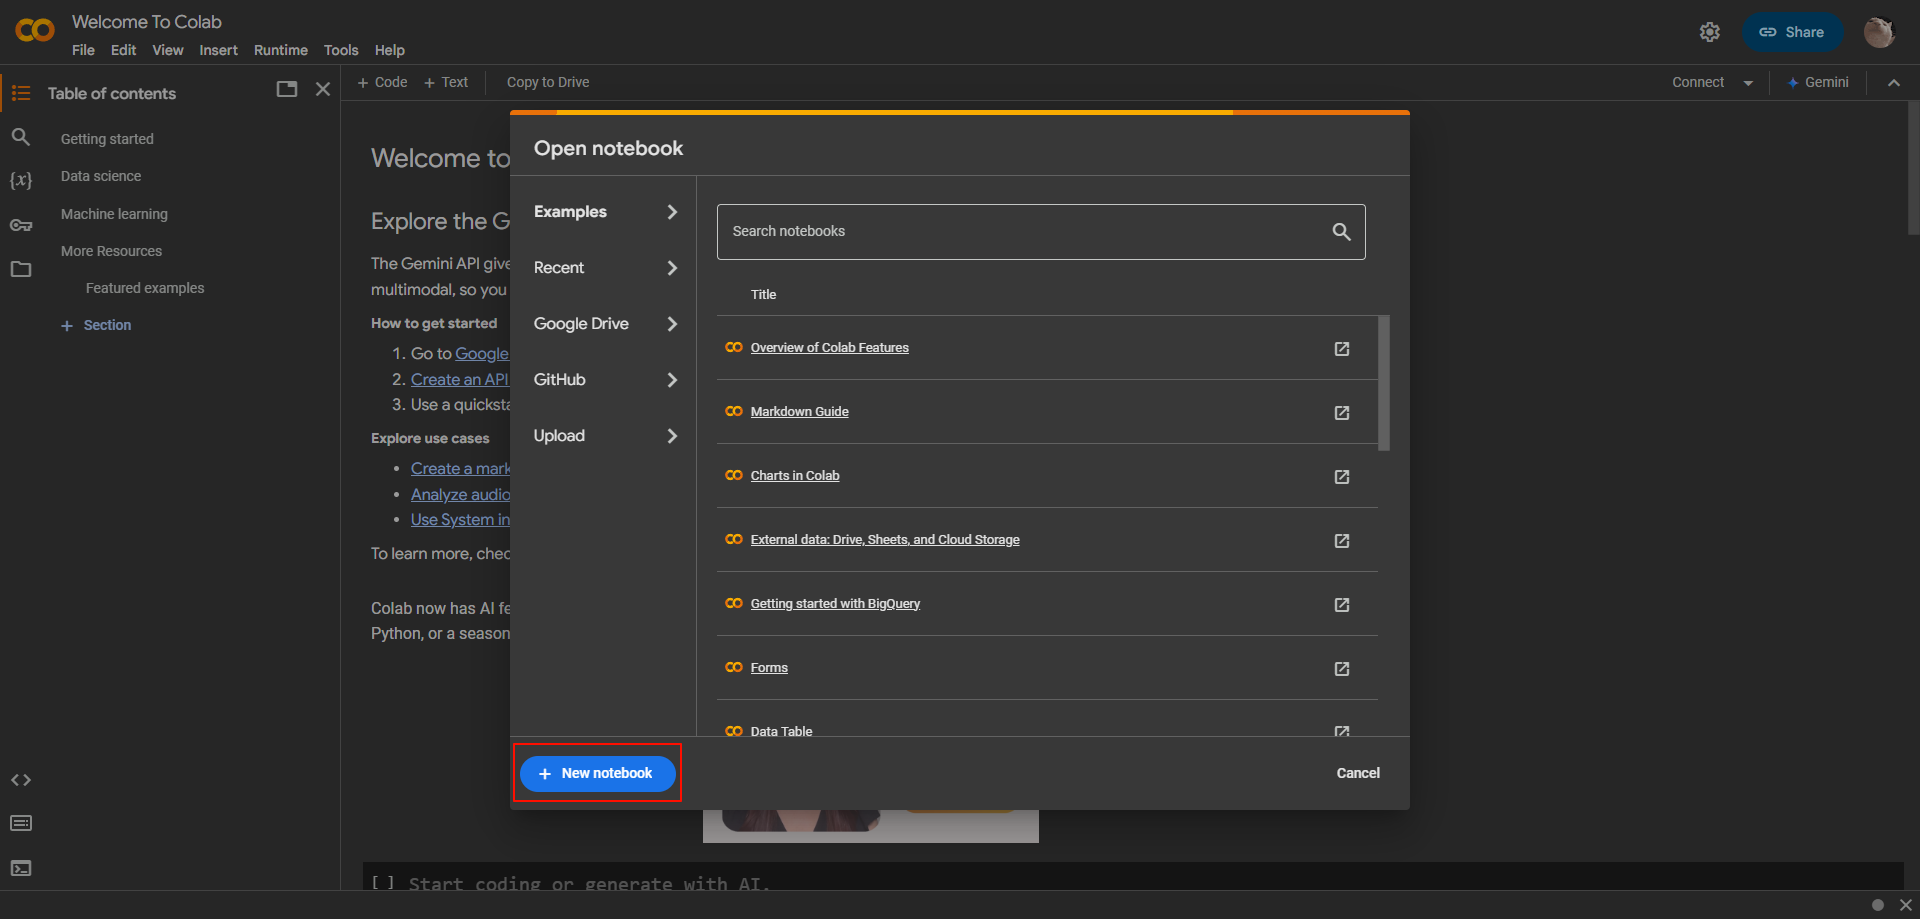
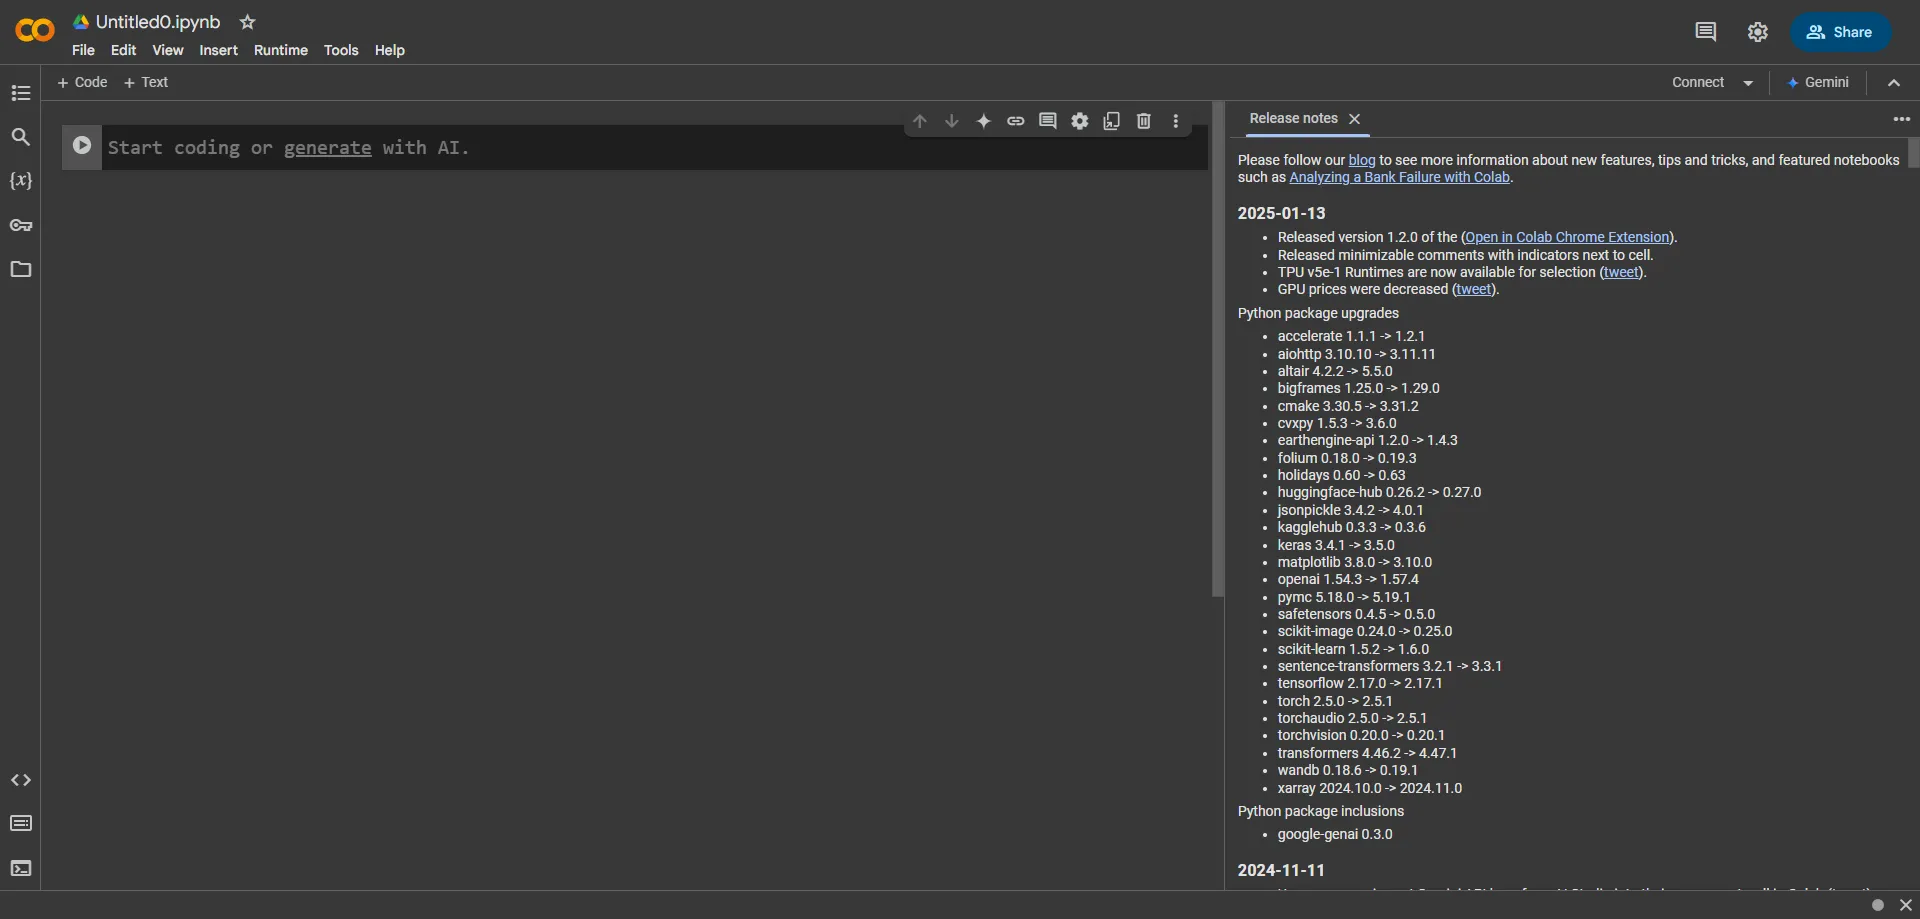
- Successfully created a new notebook.
3. Installing & Configuring AWS CLI
Step 2: Install AWS CLI V2
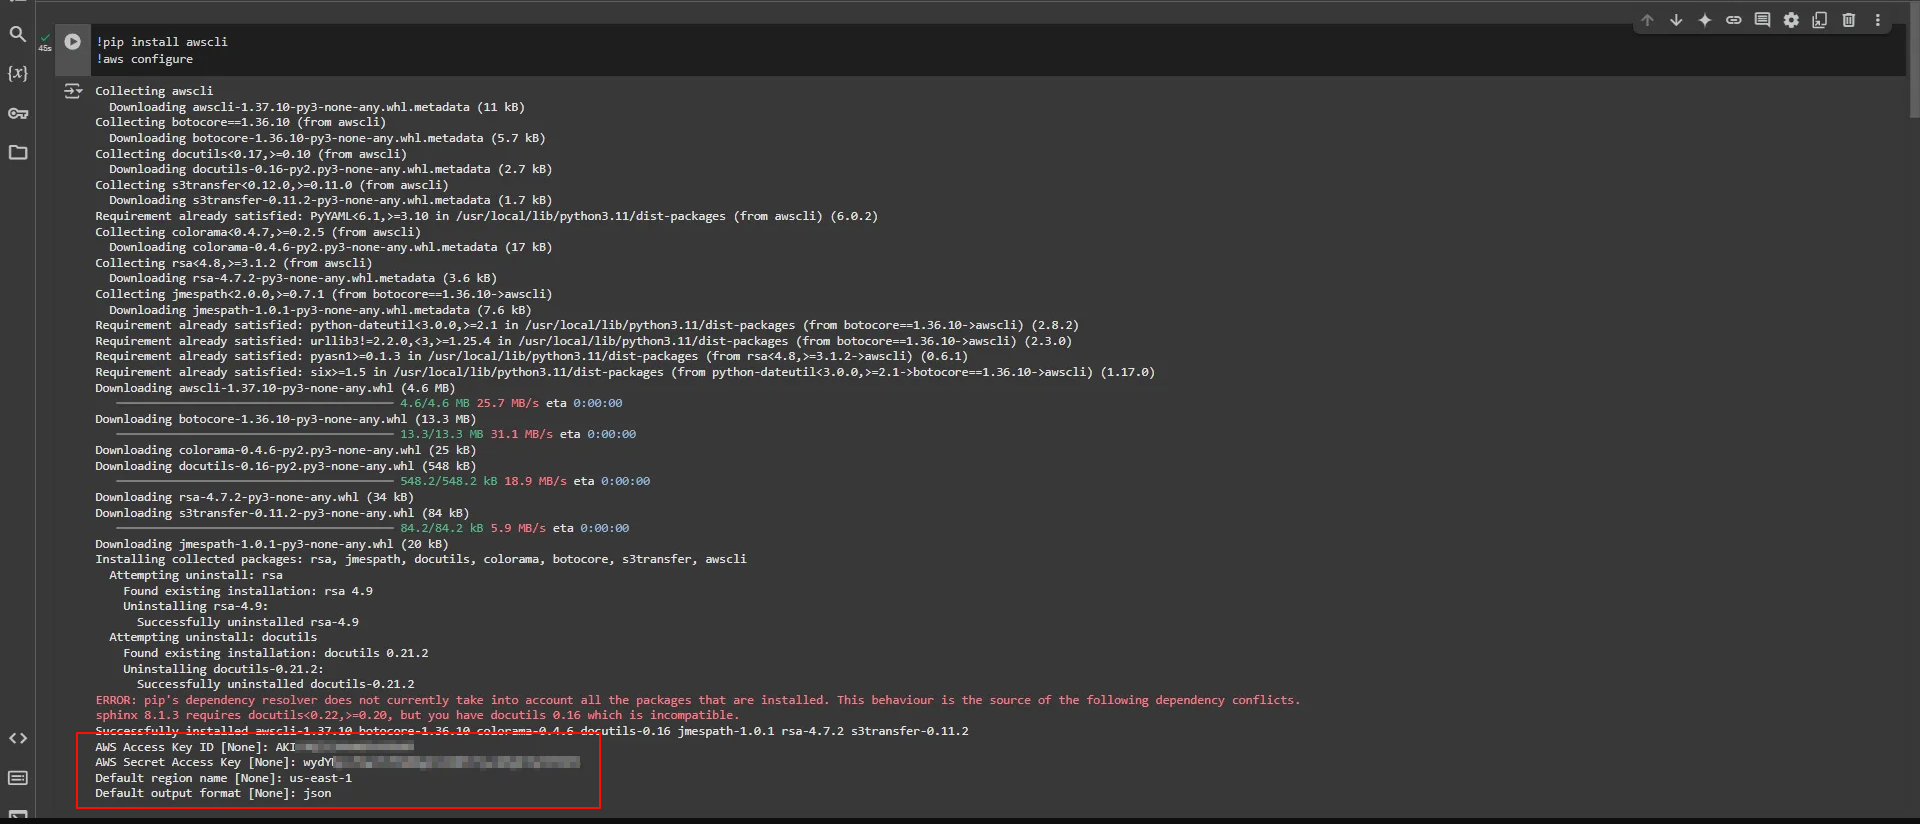
Run the following command to install AWS CLI:
!pip install awscli
Step 3: Configure AWS CLI
When running the aws configure command, you need to enter the following information:
- AWS Access Key ID – IAM User’s Access Key ID
- AWS Secret Access Key – IAM User’s Secret Access Key
- Default region name – Select the execution region (
us-east-1supports Claude 3.0 Sonnet) - Default output format – Choose
json
!aws configure
4. Updating Packages
Step 4: Install and Upgrade AWS SDK Libraries
Before starting, update the necessary libraries to ensure you have the latest versions:
!python3 -m pip install --upgrade -q boto3
!python3 -m pip install --upgrade -q botocore
!python3 -m pip install --upgrade -q awscli
Then, check the versions of boto3, botocore, and awscli. The version of boto3 should be greater than or equal to 1.34.139.
import boto3
import botocore
import awscli

print("Boto3 Version:", boto3.__version__)
print("Botocore Version:", botocore.__version__)
print("AWS CLI Version:", awscli.__version__)

5. Setting Up Logger & Importing Support Libraries
Step 5: Import Required Libraries
import json
import time
from io import BytesIO
import uuid
import pprint
import logging
Step 6: Configure Logger to Track Progress
logging.basicConfig(
    format='[%(asctime)s] p%(process)s {%(filename)s:%(lineno)d} %(levelname)s - %(message)s',
    level=logging.INFO
)
logger = logging.getLogger(__name__)
6. Establishing Connections with AWS Services
Step 7: Initialize Boto3 Clients
We need to create boto3 clients to connect to AWS services such as IAM, Lambda, and Bedrock Agent.
# Initialize boto3 clients
sts_client = boto3.client('sts')
iam_client = boto3.client('iam')
lambda_client = boto3.client('lambda')
bedrock_agent_client = boto3.client('bedrock-agent')
bedrock_agent_runtime_client = boto3.client('bedrock-agent-runtime')
7. Setting Configuration Variables
Step 8: Retrieve AWS Account Information
We will retrieve the Region and Account ID to use during deployment.
# Retrieve AWS account information
session = boto3.session.Session()
region = session.region_name
account_id = sts_client.get_caller_identity()["Account"]
region, account_id
Step 9: Set Configuration Variables
In this step, we will set important configuration variables for Amazon Bedrock Agent. These variables define the agent’s information, access permissions, foundation model, and operational instructions.
# Declare environment variables
suffix = f"{region}-{account_id}"
agent_name = "assistant-w-code-interpret"
agent_bedrock_allow_policy_name = f"{agent_name}-ba-{suffix}"
agent_role_name = f'AmazonBedrockExecutionRoleForAgents_{agent_name}'
agent_foundation_model = "anthropic.claude-3-sonnet-20240229-v1:0"
agent_description = "An assistant that helps write and execute Python code to answer questions and create documentation."
agent_instruction = """
You are an assistant that helps users answer questions and create documentation.
You have access to a code interpreter to execute Python code.
When encountering a task that can be solved with Python code, write the corresponding code,
send it to the interpreter for execution, and then return the result to the user.
"""
agent_alias_name = f"{agent_name}-alias"
Explanation of Configuration Variables
agent_name: Identifier name of the Agent.agent_bedrock_allow_policy_name: Name of the IAM policy allowing the Agent to access the Bedrock model.agent_role_name: Name of the IAM role assigned to the Agent.agent_foundation_model: Foundation model the Agent will use (Claude 3 Sonnet).agent_description: Description of the Agent’s functionality.agent_instruction: Operational instructions for the Agent, defining how it processes and executes Python code.agent_alias_name: Alias of the Agent for use in subsequent requests.
📌 Important Note:
- The
agent_instructionvariable plays a crucial role in guiding the Agent’s behavior. - This Agent can automatically create, execute Python code, and use the results to assist users.
Completing the Code Execution Environment Setup
The environment is now ready! You can now use Jupyter Notebook to deploy Amazon Bedrock Agent with ease. 🎯