Deploying Workload with ArgoCD
Deploy Workload with ArgoCD
Define workload repo
ArgoCD Bootstrapping starts with defining variables with repo information such as the URL of the workload repo and the in-app path of the applications. We will use a smaller version of the application. Full-scale example of an application containing a workload for team-burnham:
const repoUrl = 'https://github.com/aws-samples/eks-blueprints-workloads.git'

const bootstrapRepo : blueprints.ApplicationRepository = {
    repoUrl,
    targetRevision: 'workshop',
}
You can see more EKS Blueprints Workloads
ArgoCD add-on definition
The variables can then be passed as a parameter in the ArgoCD add-on definitions for our stage. Optionally, you can set a secret for the Argo admin.
const prodBootstrapArgo = new blueprints.ArgoCDAddOn({
    bootstrapRepo: {
        ...bootstrapRepo,
        path: 'envs/dev'
    },
});
You can set different paths from the repo based on the environment you are working in. Since our path has dev, test, and prod deployments, we can set the path to ’envs/dev’, ’envs/test’ and ’env/prod’ and set the variables to names individual.
We can then pass this information to the pipeline using the addOns method as part of the stackBuilder property that drives the blueprints.
blueprints.CodePipelineStack.builder()
  .name("pipeline-name")
  .owner("owner-name")
  .repository({
      repoUrl: 'repo-name',
      credentialsSecretName: 'github-token',
      targetRevision: 'main'
  })
  .wave({
      id: 'envs',
      stages: [
          { id: "dev", stackBuilder: blueprint.clone('ap-southeast-1').addOns(devBootstrapArgo)}
      ]
  })
  .build(app, 'pipeline-stack');
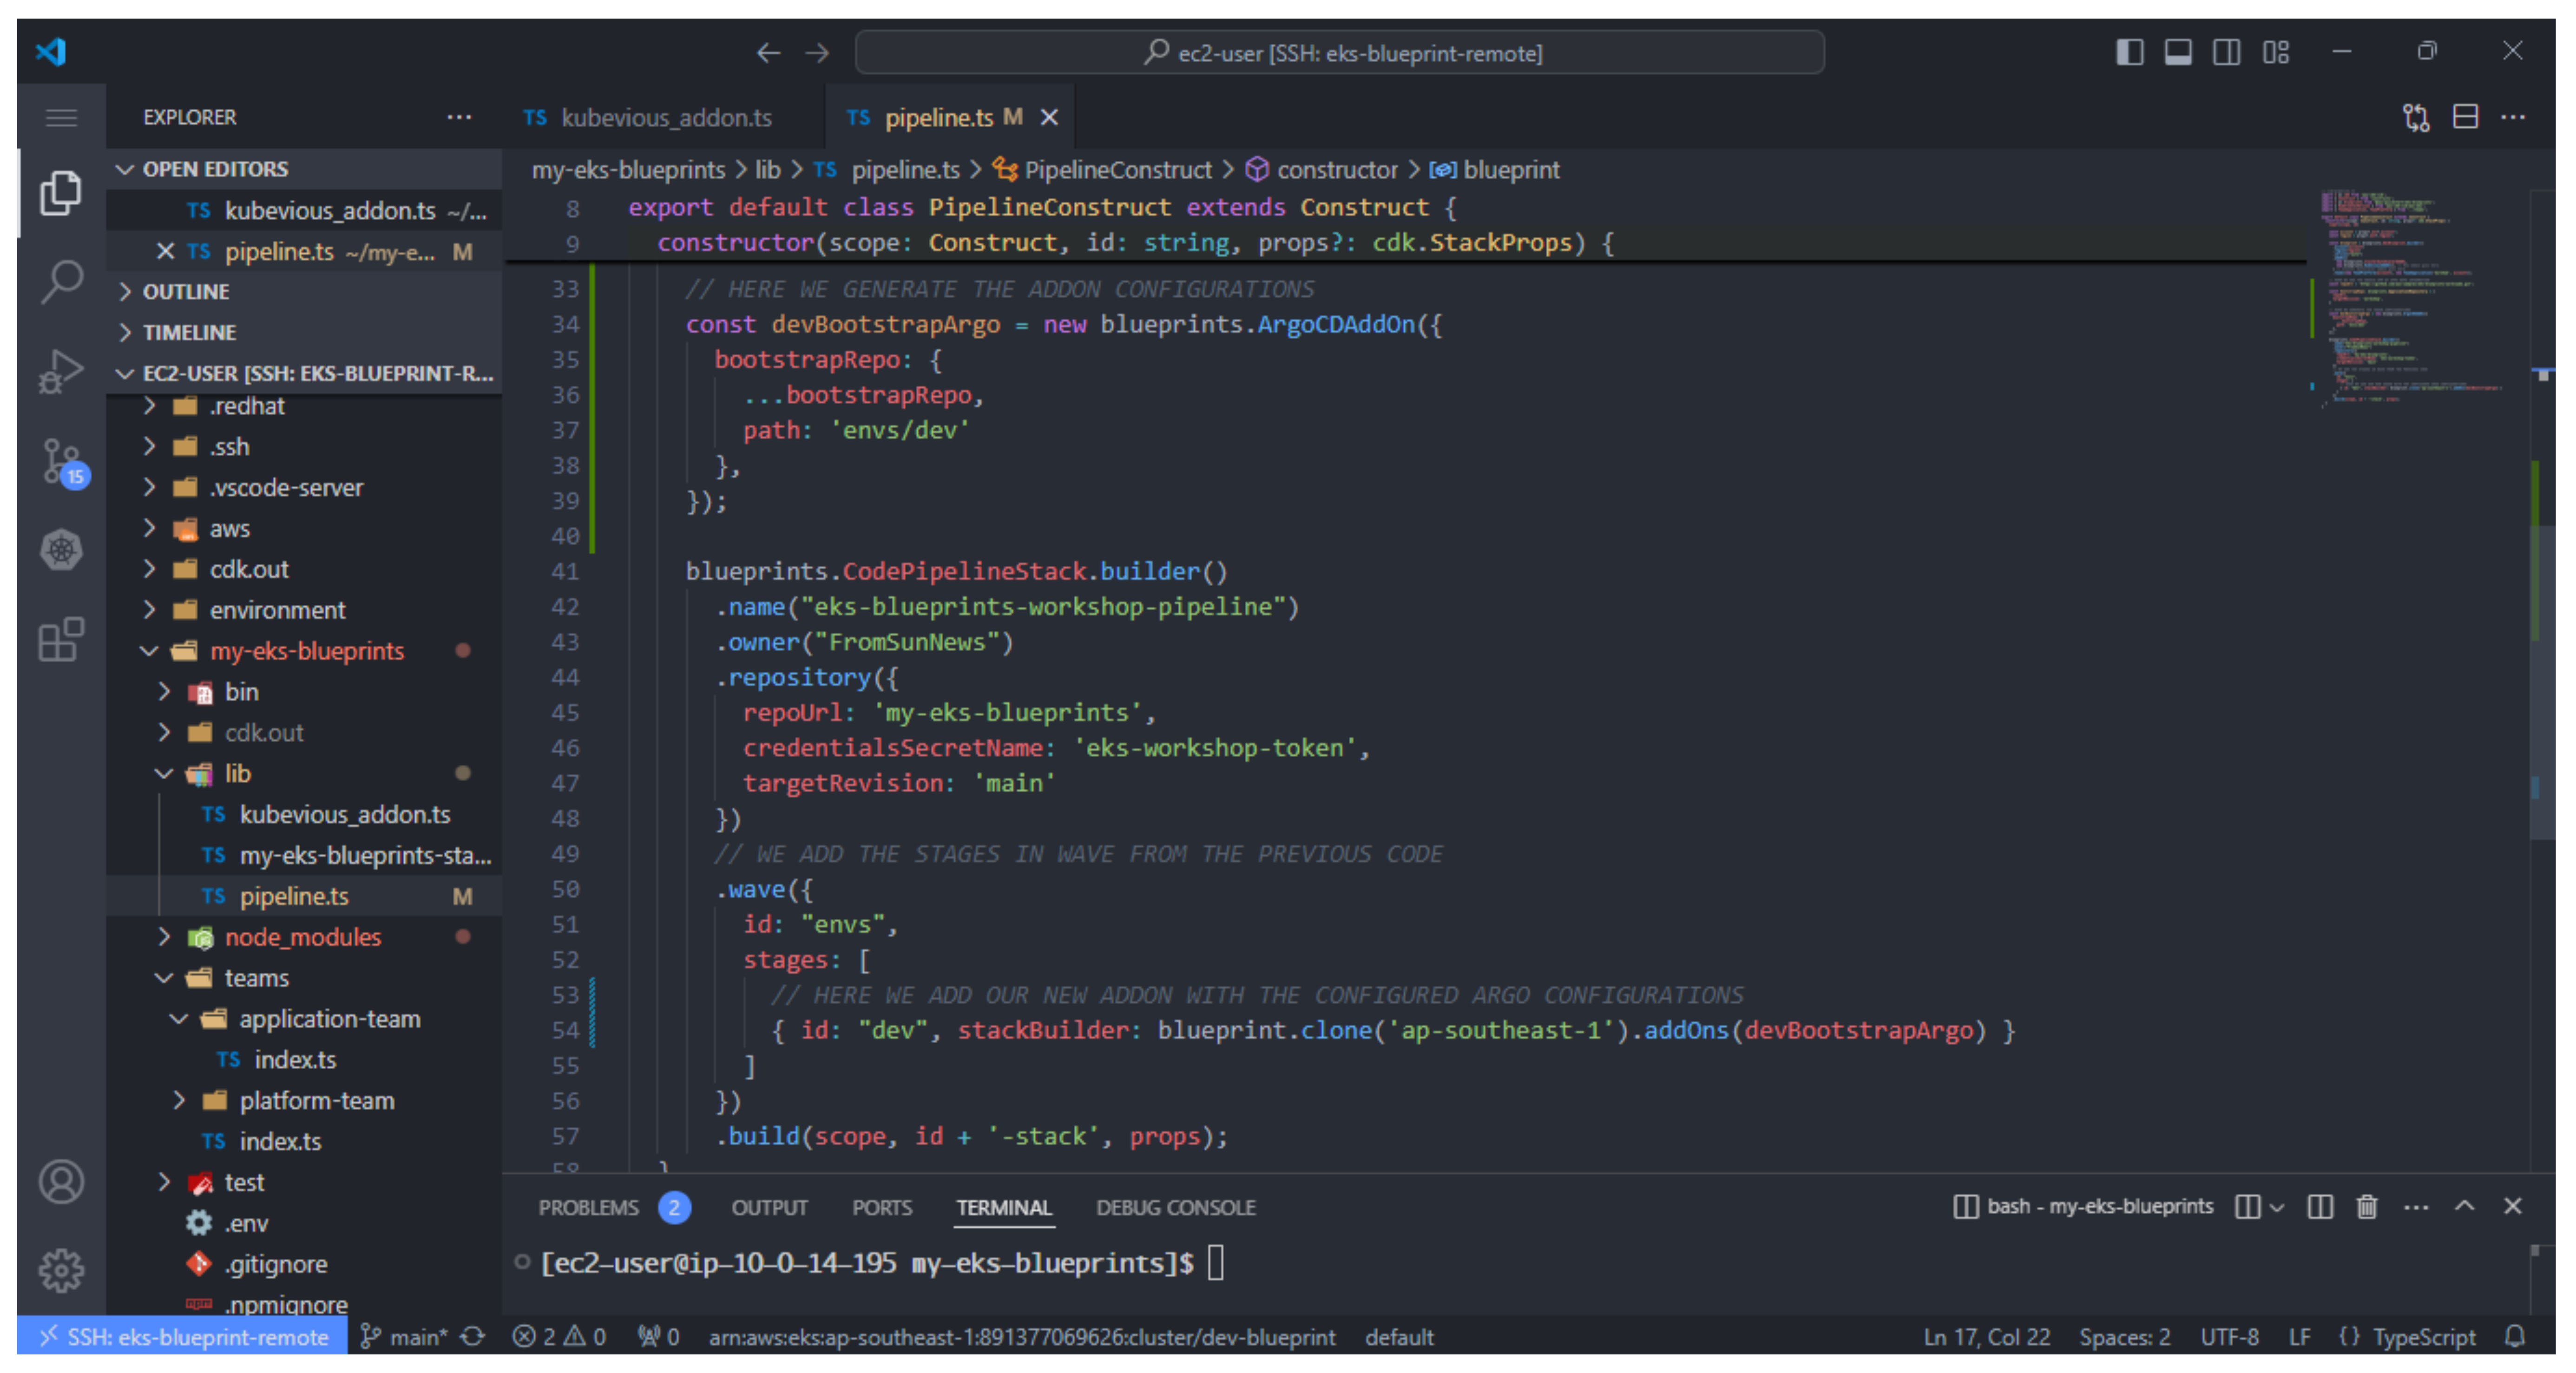
- Make changes to the file lib/pipeline-stack.ts
// lib/pipeline.ts
import * as cdk from 'aws-cdk-lib';
import { Construct } from 'constructs';
import * as blueprints from '@aws-quickstart/eks-blueprints';
import { KubernetesVersion } from 'aws-cdk-lib/aws-eks';
import { TeamApplication, TeamPlatform } from '../teams';

export default class PipelineConstruct extends Construct {
  constructor(scope: Construct, id: string, props?: cdk.StackProps) {
    super(scope, id)

    const account = props?.env?.account!;
    const region = props?.env?.region!;

    const blueprint = blueprints.EksBlueprint.builder()
      .account(account)
      .region(region)
      .version("auto")
      .addOns(
        new blueprints.ClusterAutoScalerAddOn,
        new blueprints.KubeviousAddOn(),
      )
      .teams(new TeamPlatform(account), new TeamApplication('burnham', account));

    // HERE WE ADD THE ARGOCD APP OF APPS REPO INFORMATION
    const repoUrl = 'https://github.com/aws-samples/eks-blueprints-workloads.git';

    const bootstrapRepo: blueprints.ApplicationRepository = {
      repoUrl,
      targetRevision: 'workshop',
    }

    // HERE WE GENERATE THE ADDON CONFIGURATIONS
    const devBootstrapArgo = new blueprints.ArgoCDAddOn({
      bootstrapRepo: {
        ...bootstrapRepo,
        path: 'envs/dev'
      },
    });

    blueprints.CodePipelineStack.builder()
      .name("eks-blueprints-workshop-pipeline")
      .owner("your-github-username")
      .repository({
          repoUrl: 'your-repo-name',
          credentialsSecretName: 'github-token',
          targetRevision: 'main'
      })
      // WE ADD THE STAGES IN WAVE FROM THE PREVIOUS CODE
      .wave({
        id: "envs",
        stages: [
          // HERE WE ADD OUR NEW ADDON WITH THE CONFIGURED ARGO CONFIGURATIONS
          { id: "dev", stackBuilder: blueprint.clone('ap-southeast-1').addOns(devBootstrapArgo) }
        ]
      })
      .build(scope, id + '-stack', props);
  }
}

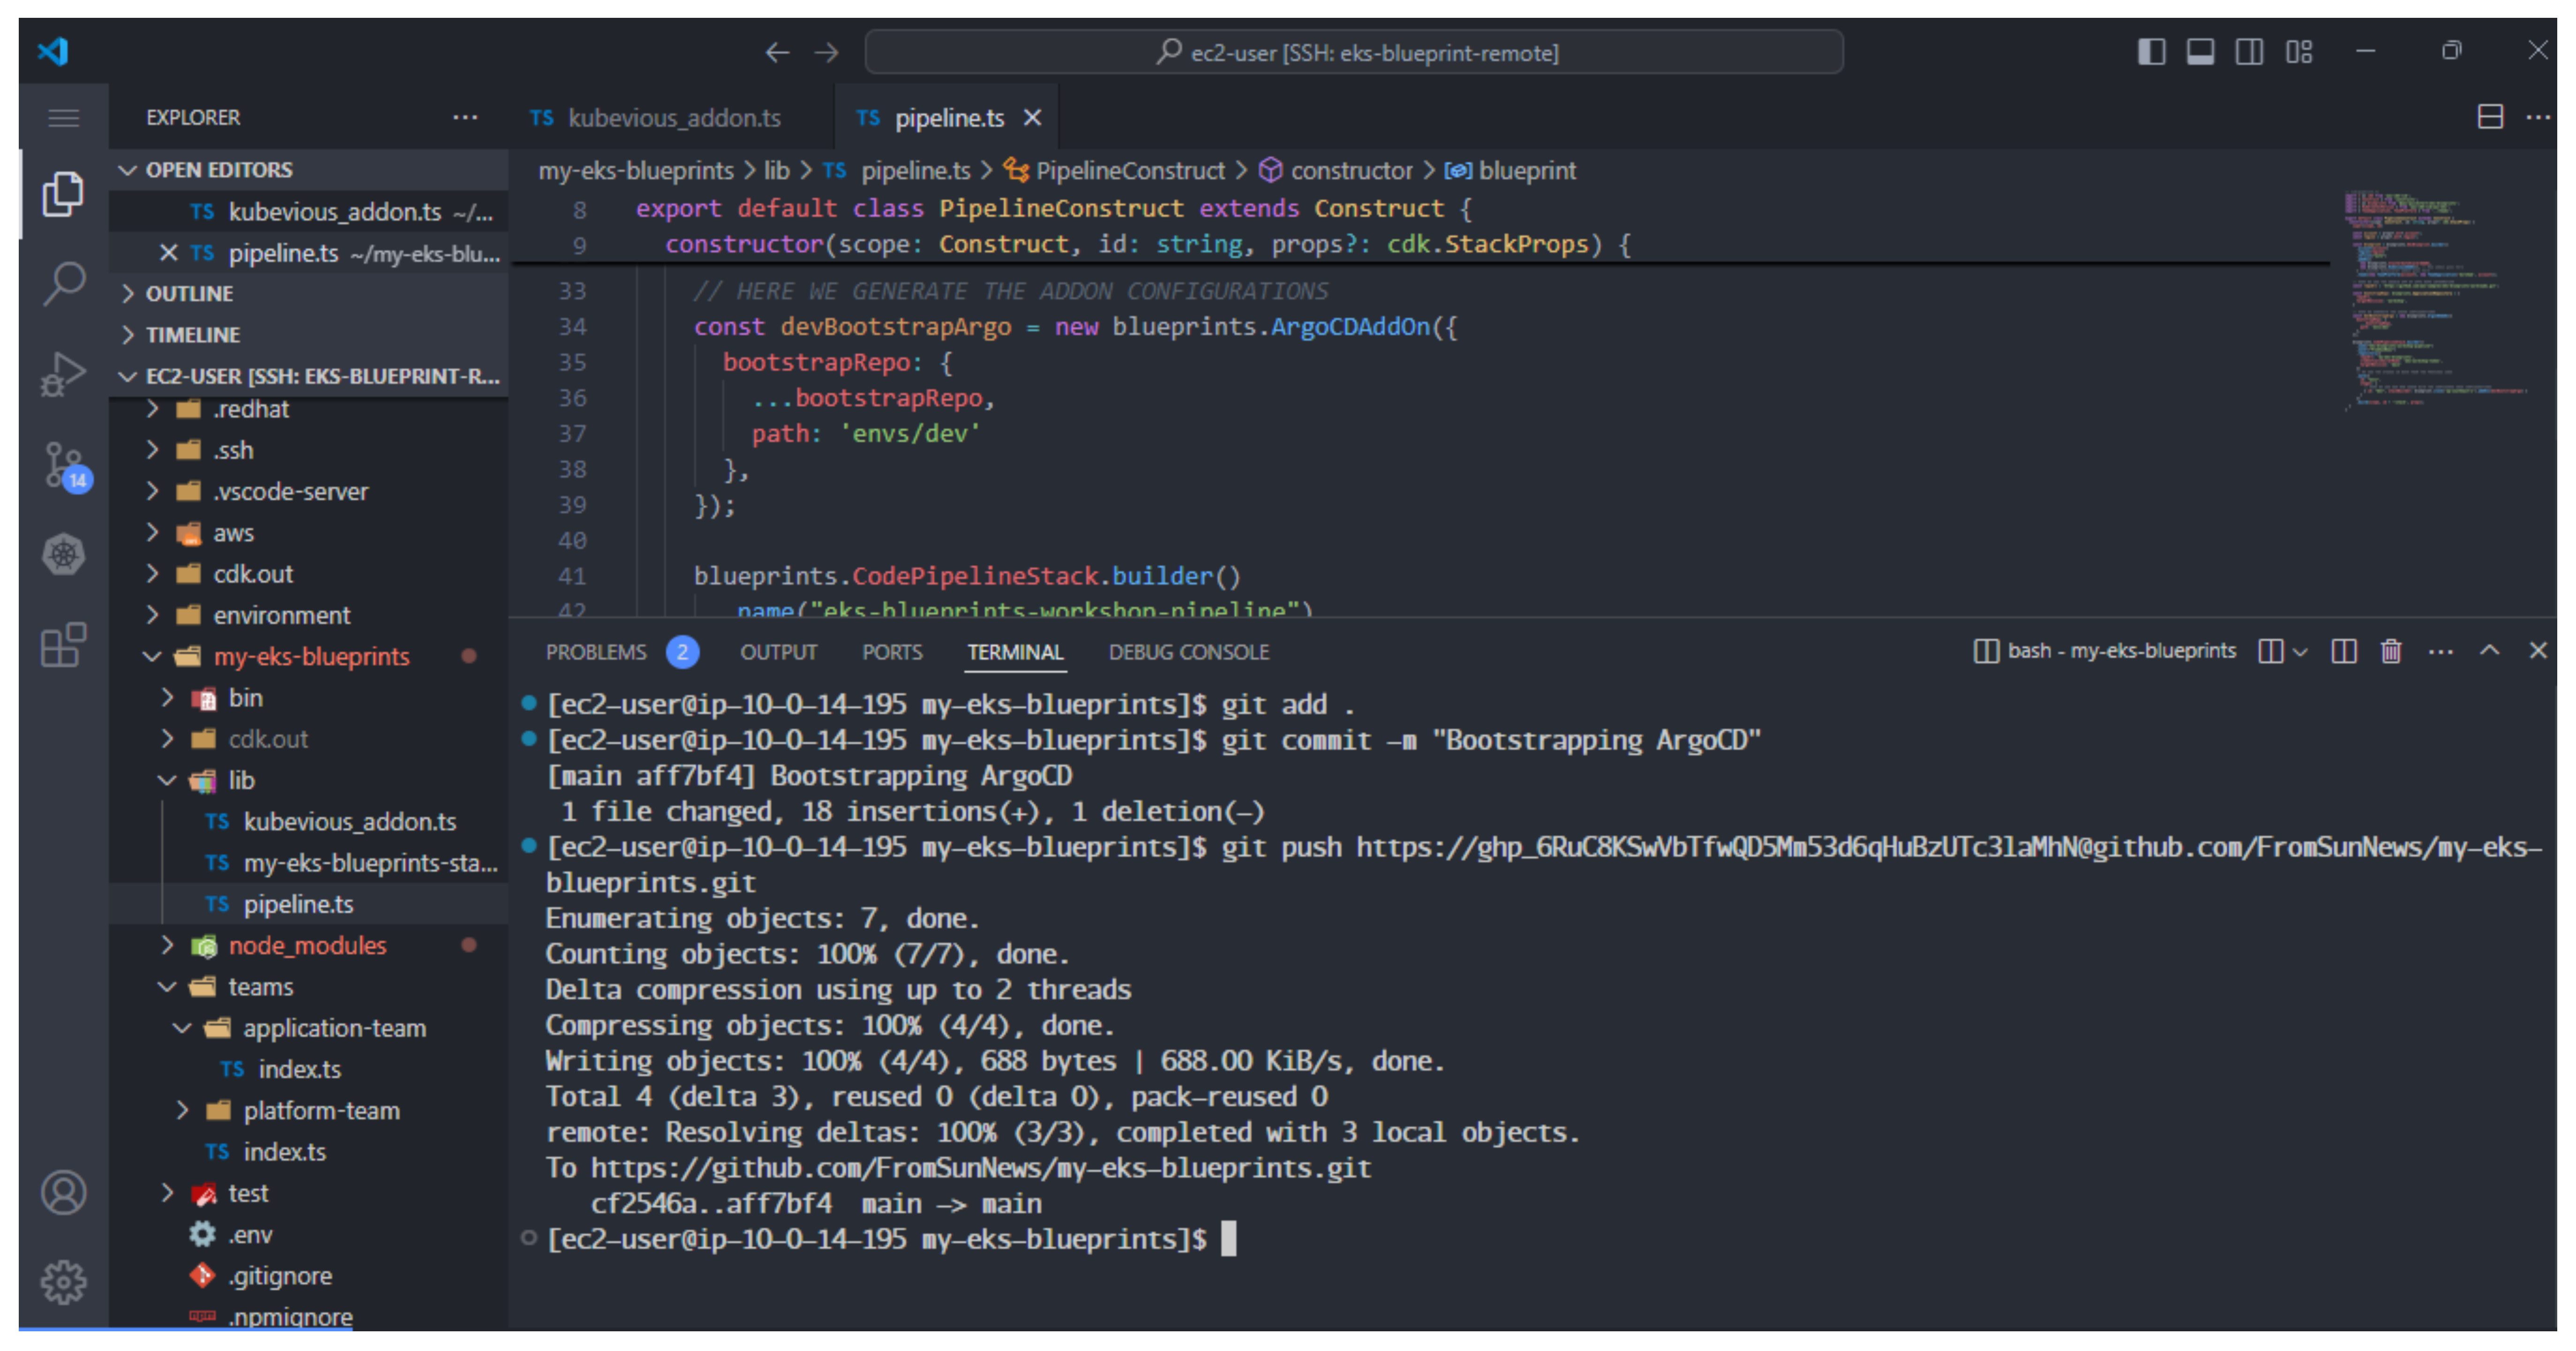
- Thực hiện push thay đổi lên Github repository
git add .
git commit -m "Bootstrapping ArgoCD"
git push https://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@github.com/FromSunNews/my-eks-blueprints.git

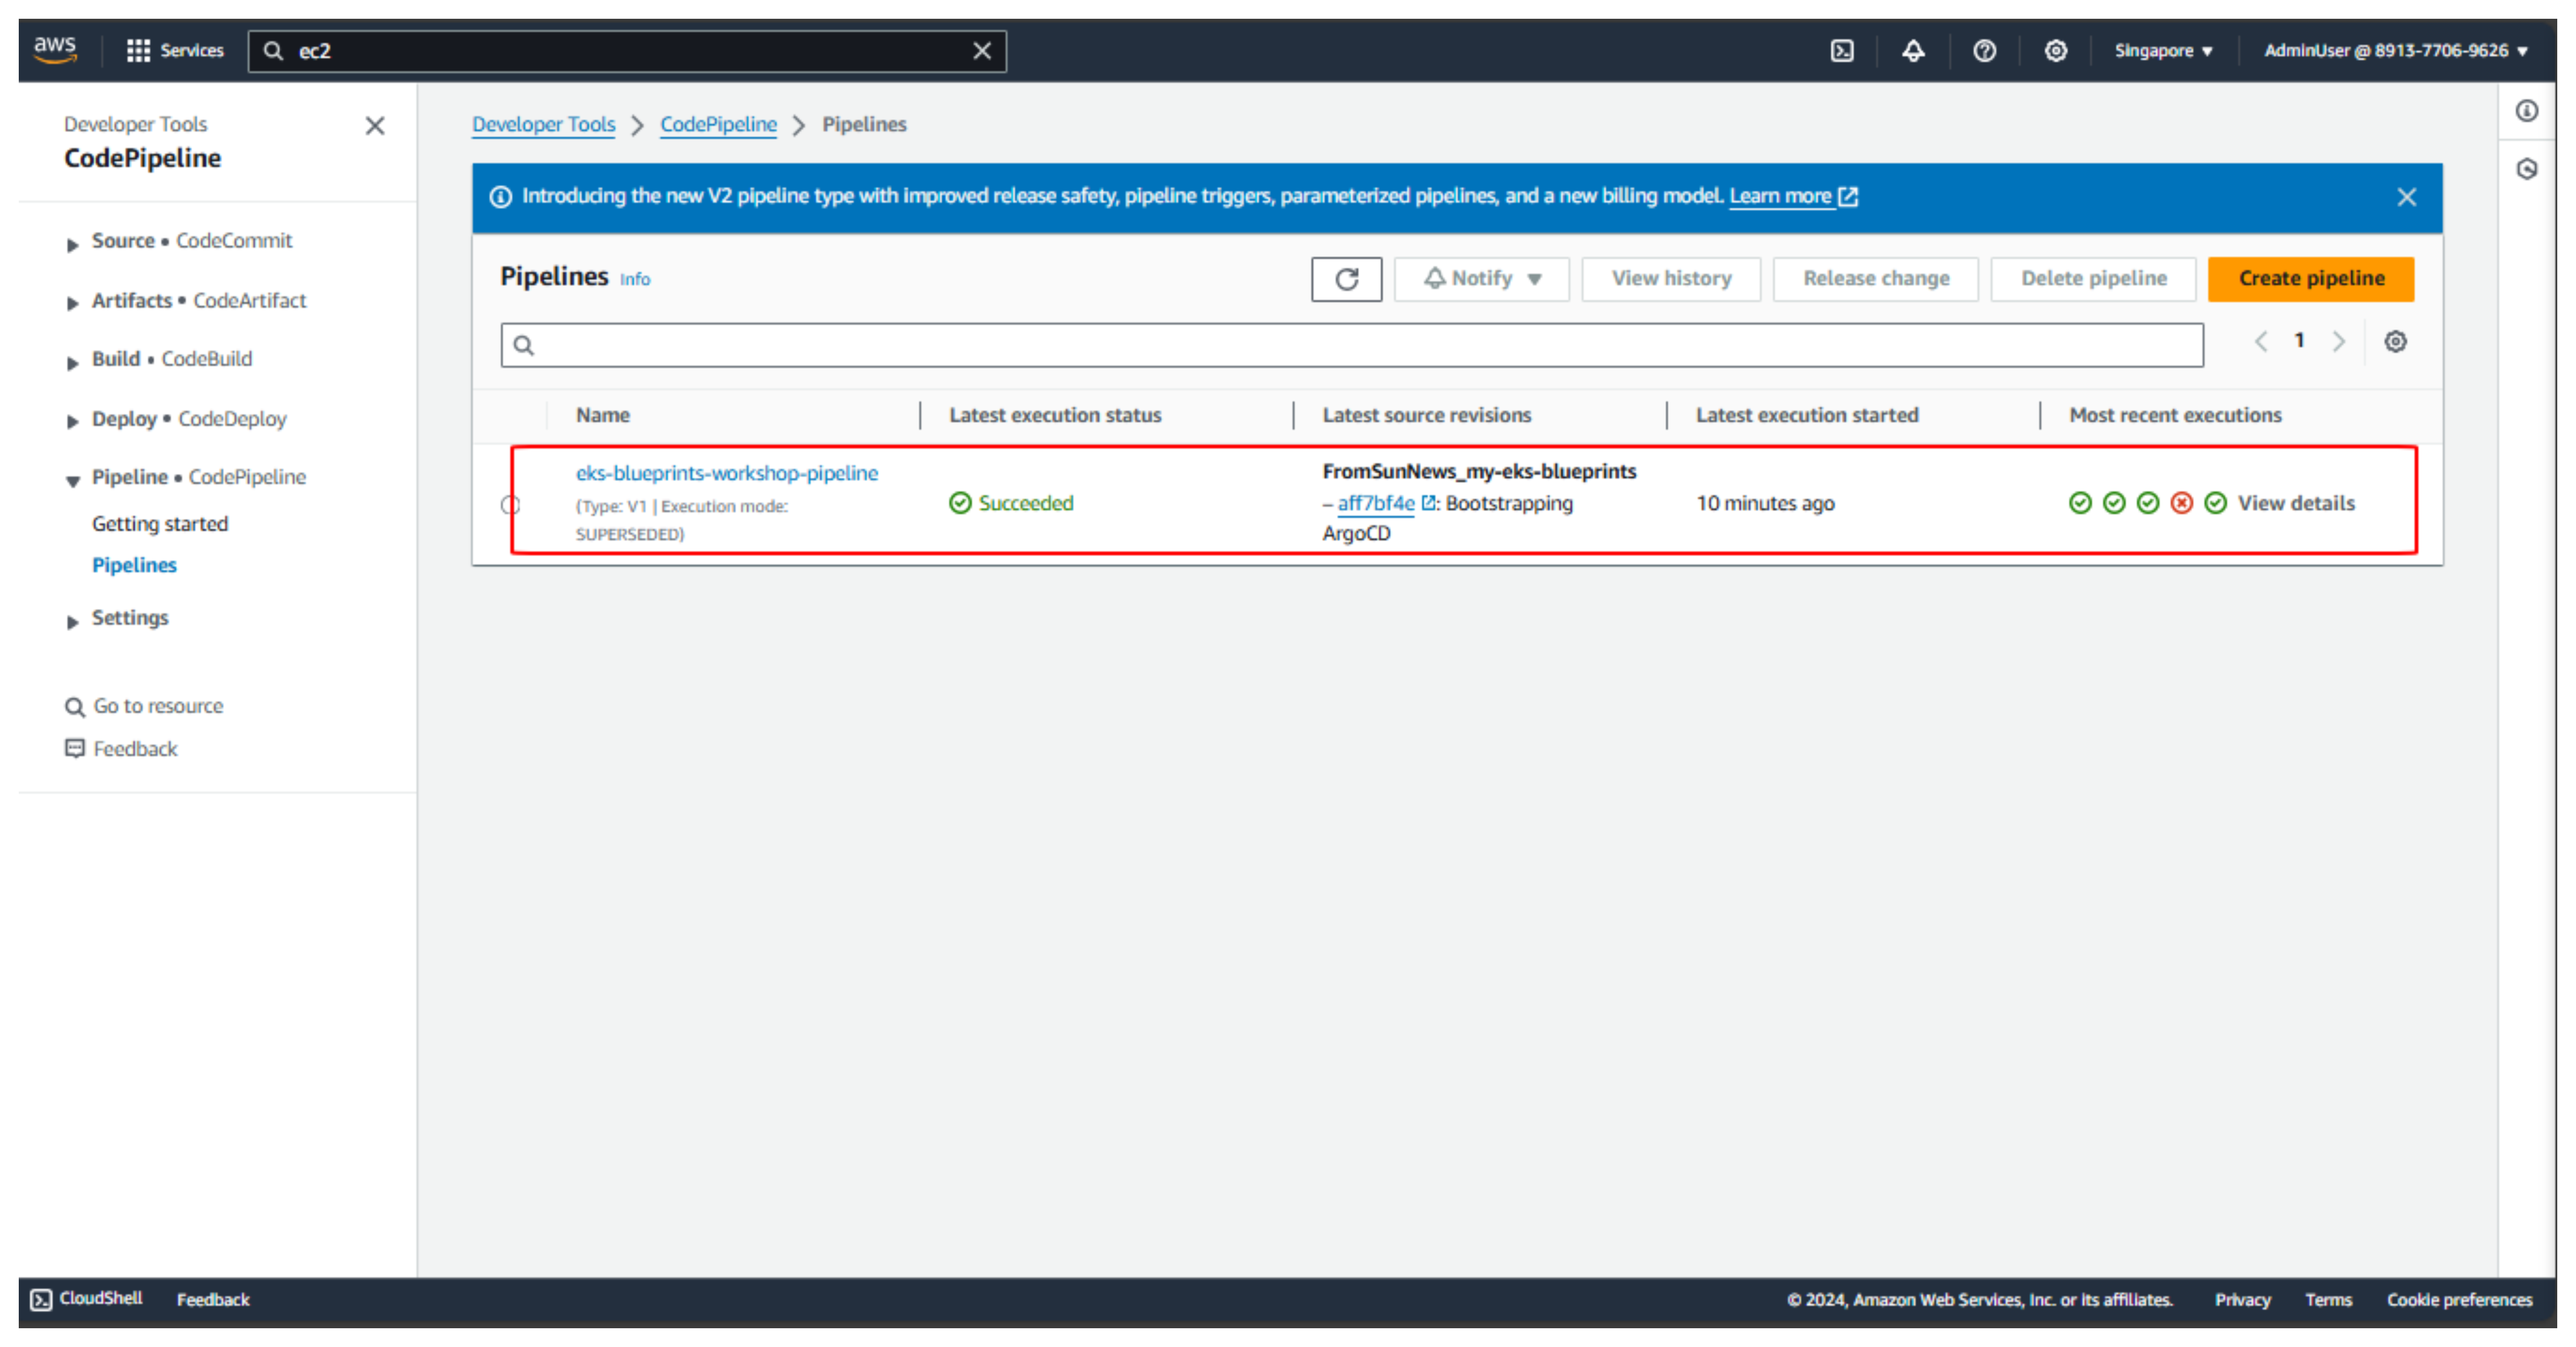
- Đợi 15 phút sau sẽ hoàn thành

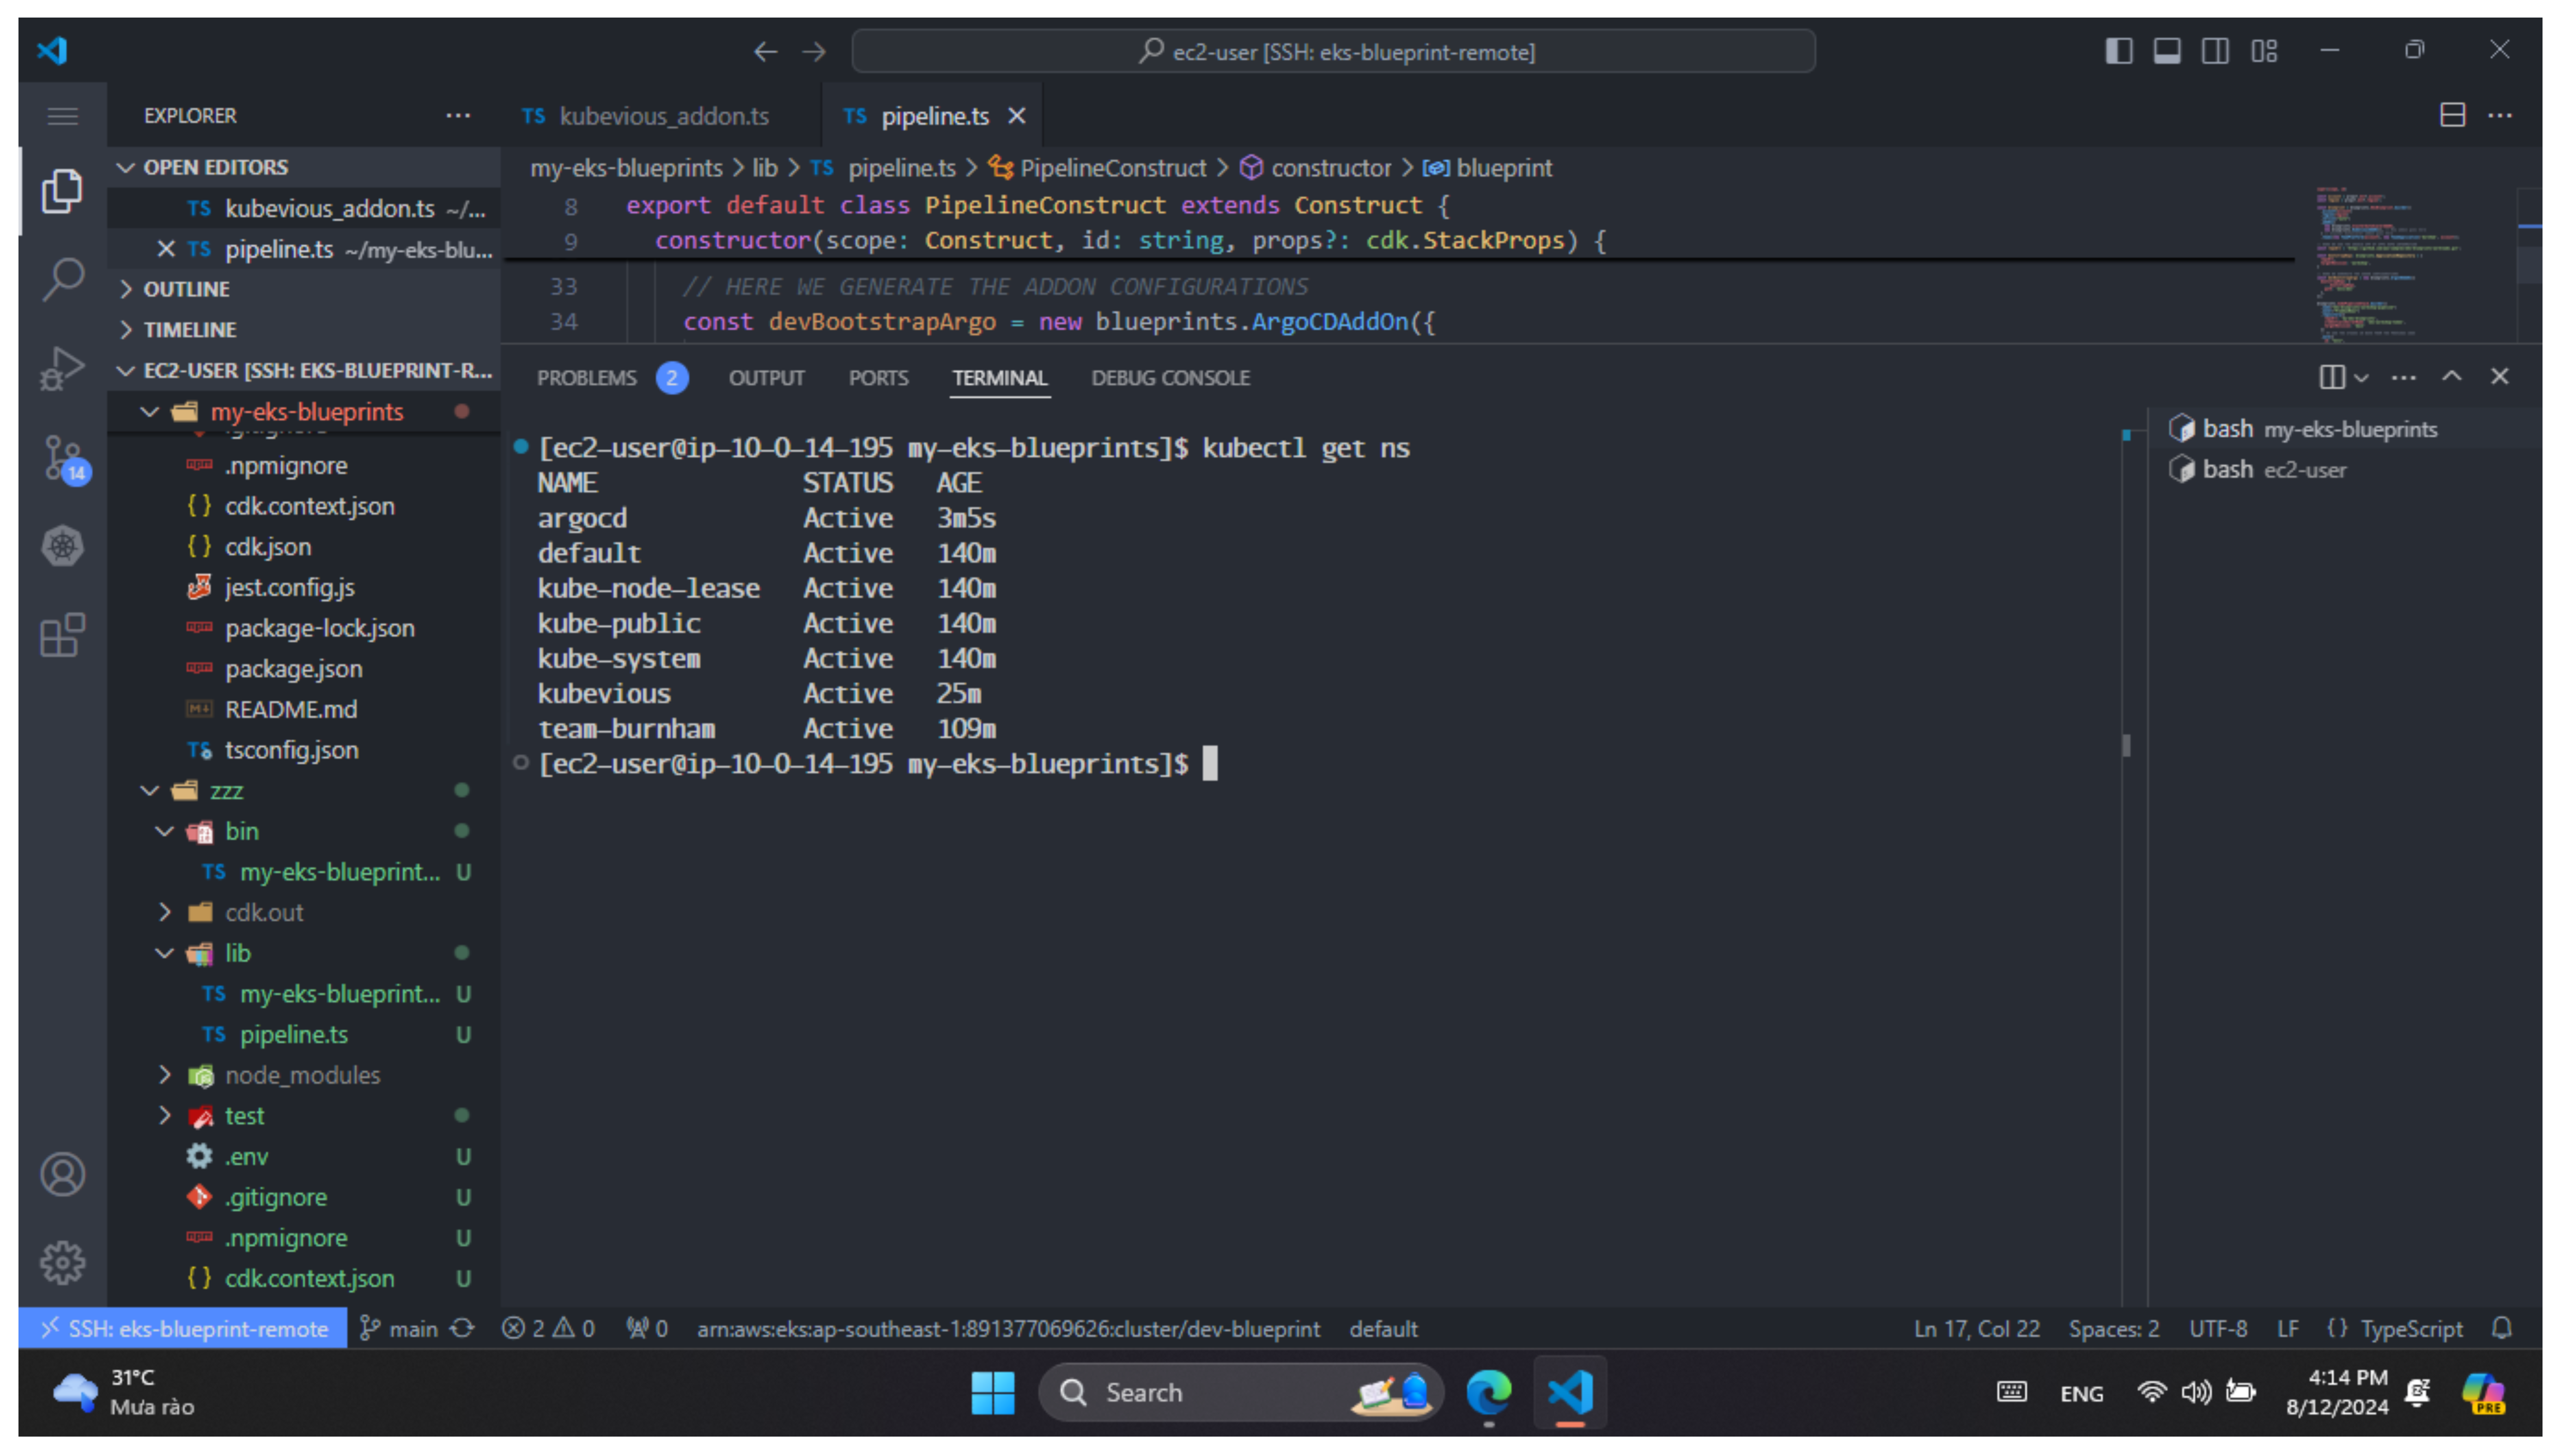
- Thực hiện kiểm tra argocd namespace bằng lệnh.
kubectl get ns
