Create add-ons
Create add-ons
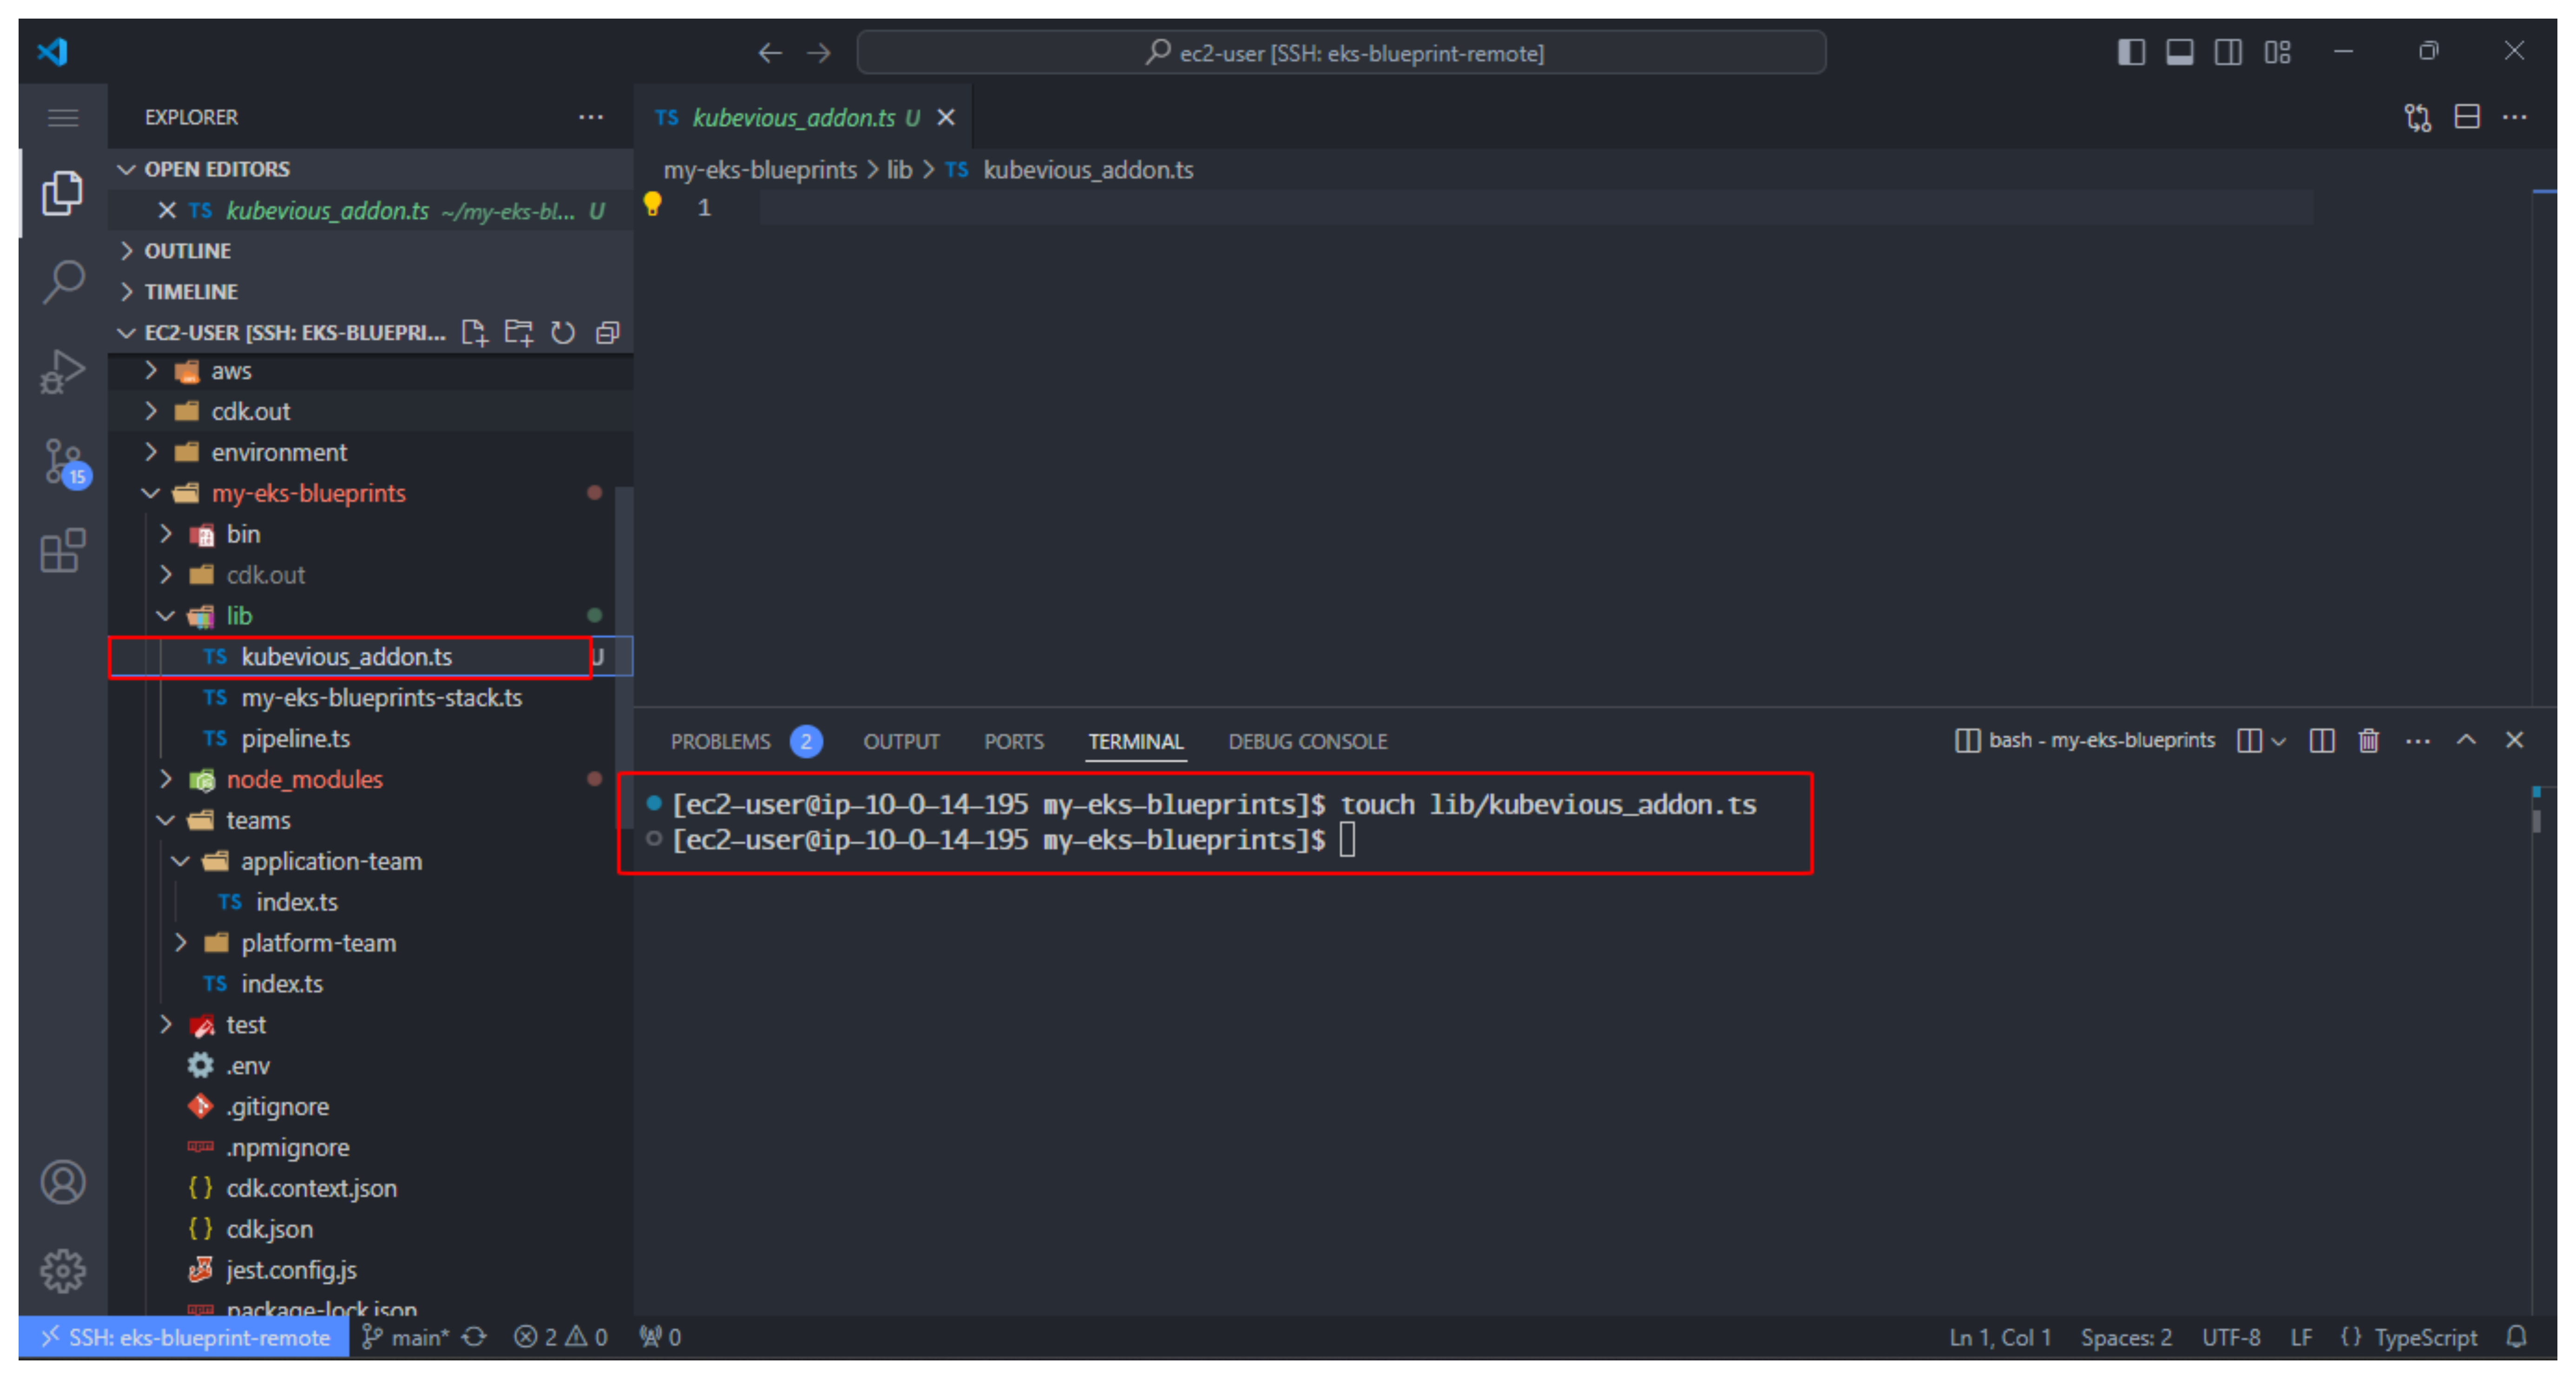
- First, we create kubevious_addon.ts in the lib folder
touch lib/kubevious_addon.ts
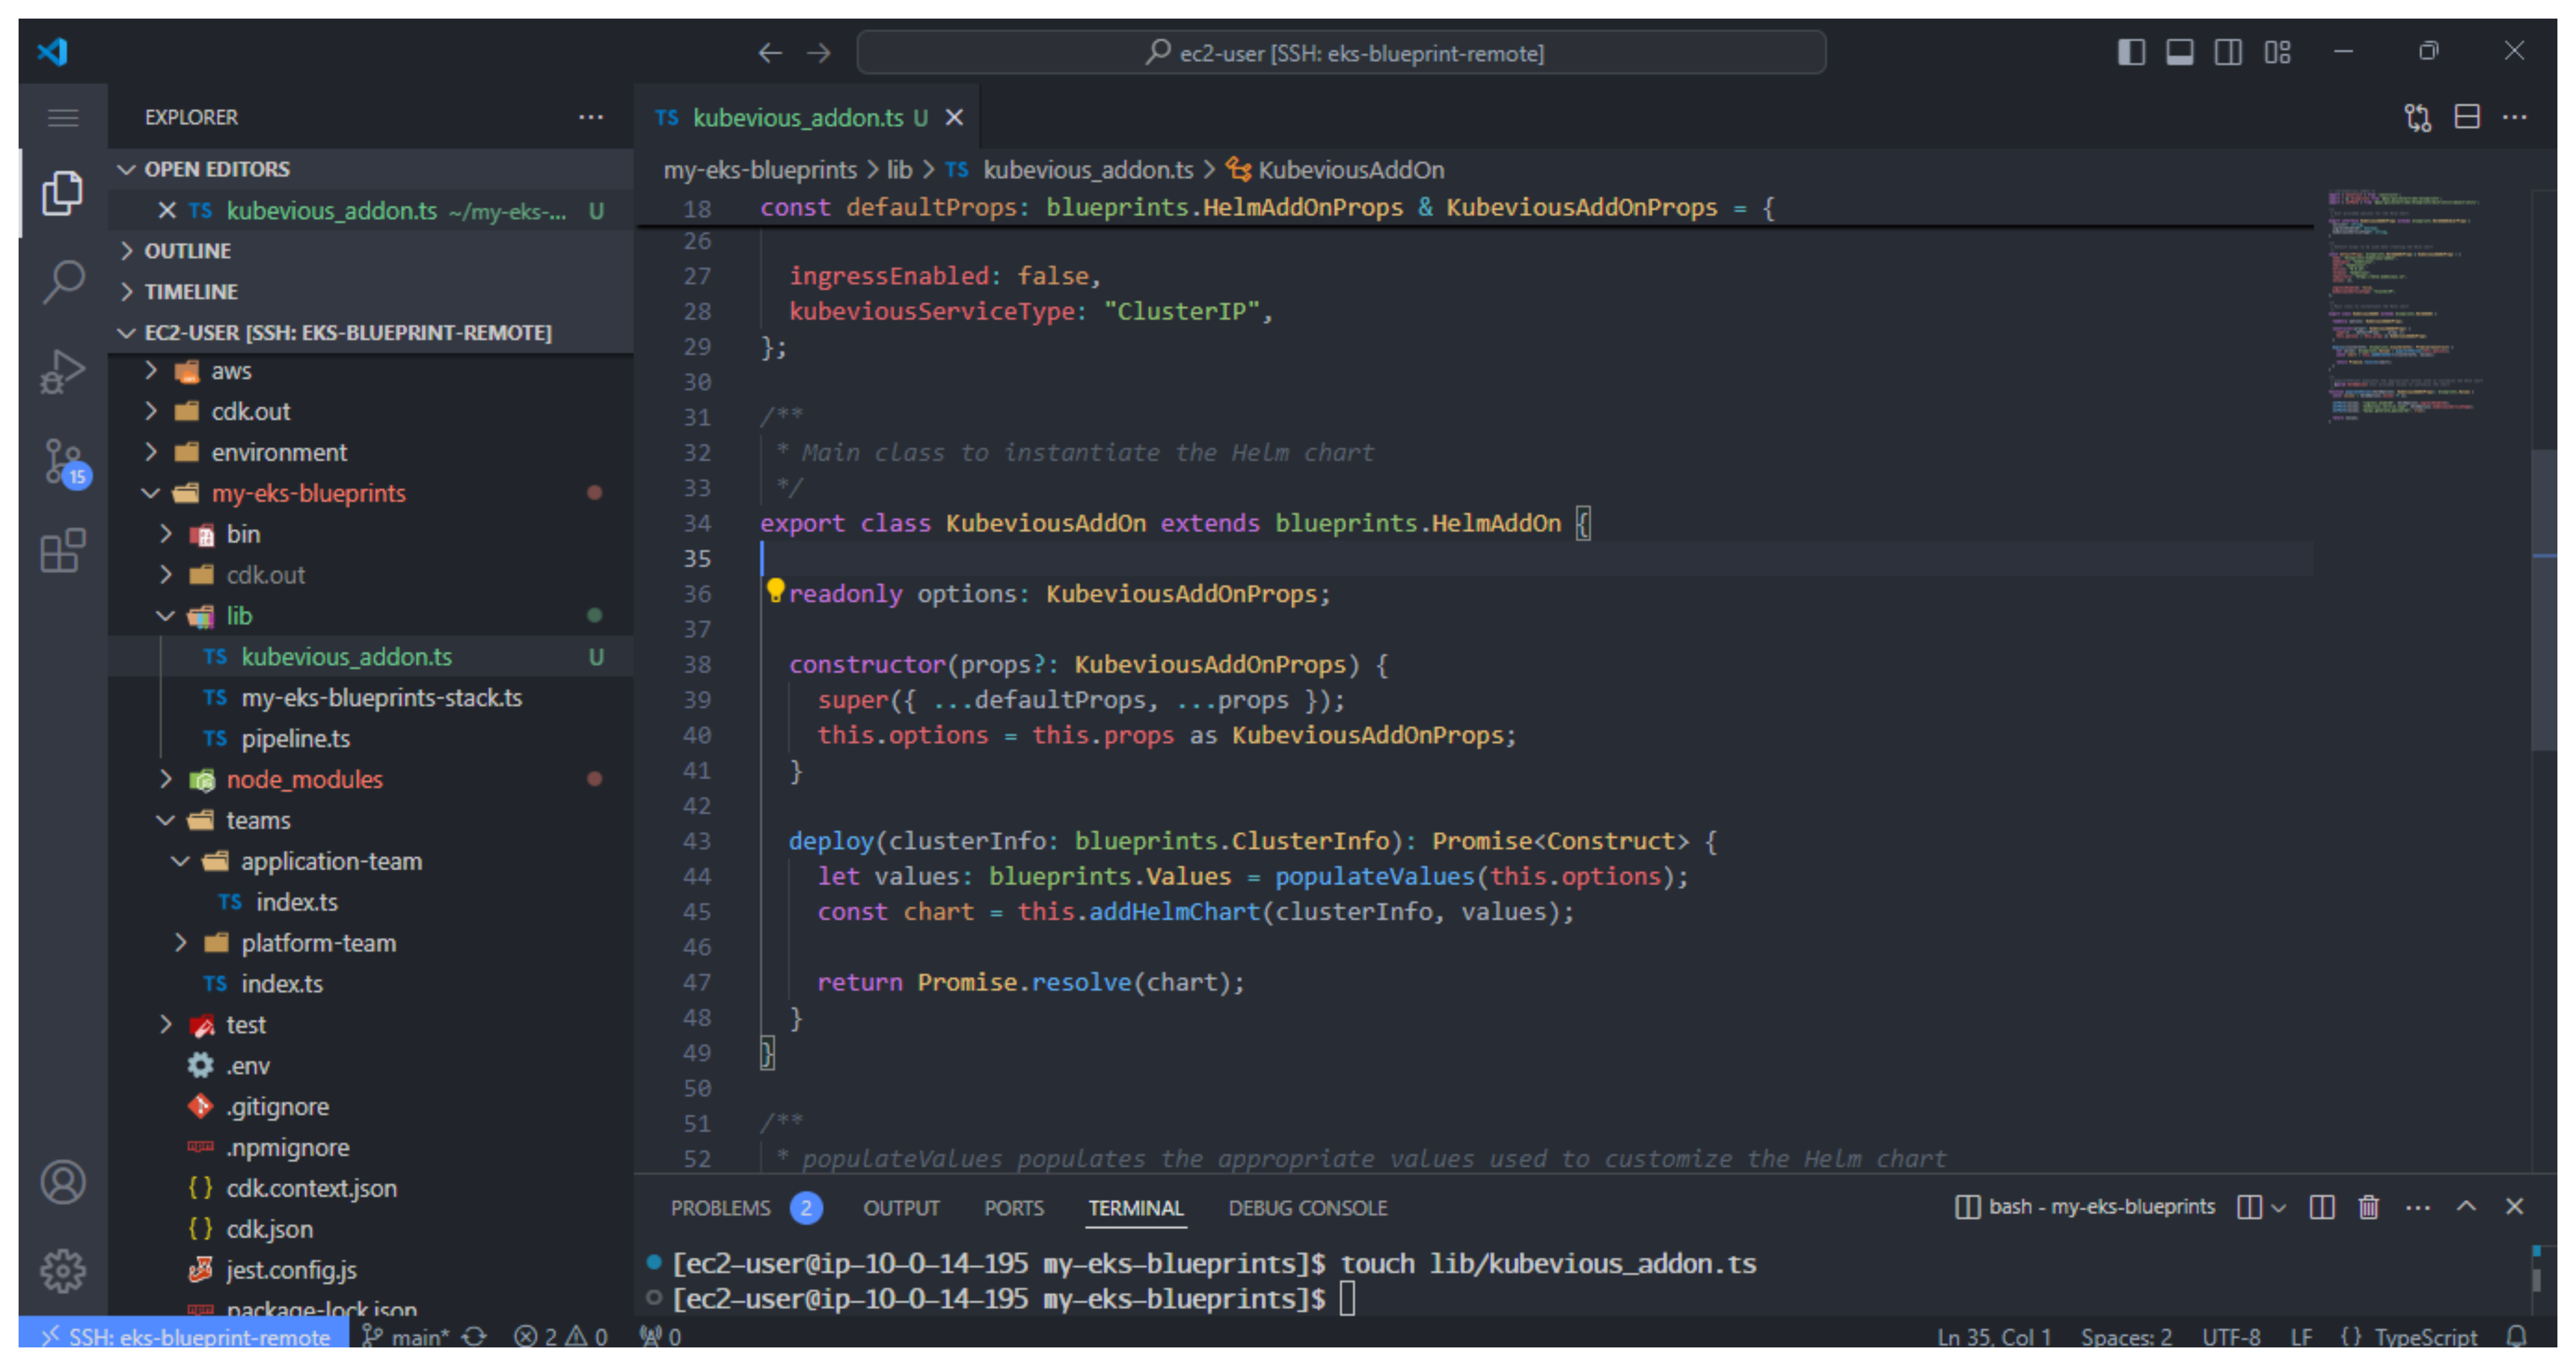
- Add the following code to the kubevious_addon.ts file
// lib/kubevious_addon.ts
import { Construct } from 'constructs';
import * as blueprints from '@aws-quickstart/eks-blueprints';
import { setPath } from '@aws-quickstart/eks-blueprints/dist/utils/object-utils';

/**
 * User provided options for the Helm Chart
 */
export interface KubeviousAddOnProps extends blueprints.HelmAddOnUserProps {
  version?: string,
  ingressEnabled?: boolean,
  kubeviousServiceType?: string,
}

/**
 * Default props to be used when creating the Helm chart
 */
const defaultProps: blueprints.HelmAddOnProps & KubeviousAddOnProps = {
  name: "blueprints-kubevious-addon",
  namespace: "kubevious",
  chart: "kubevious",
  version: "0.9.13",
  release: "kubevious",
  repository:  "https://helm.kubevious.io",
  values: {},

  ingressEnabled: false,
  kubeviousServiceType: "ClusterIP",
};

/**
 * Main class to instantiate the Helm chart
 */
export class KubeviousAddOn extends blueprints.HelmAddOn {

  readonly options: KubeviousAddOnProps;

  constructor(props?: KubeviousAddOnProps) {
    super({...defaultProps, ...props});
    this.options = this.props as KubeviousAddOnProps;
  }

  deploy(clusterInfo: blueprints.ClusterInfo): Promise<Construct> {
    let values: blueprints.Values = populateValues(this.options);
    const chart = this.addHelmChart(clusterInfo, values);

    return Promise.resolve(chart);
  }
}

/**
 * populateValues populates the appropriate values used to customize the Helm chart
 * @param helmOptions User provided values to customize the chart
 */
function populateValues(helmOptions: KubeviousAddOnProps): blueprints.Values {
  const values = helmOptions.values ?? {};

  setPath(values, "ingress.enabled",  helmOptions.ingressEnabled);
  setPath(values, "kubevious.service.type",  helmOptions.kubeviousServiceType);
  setPath(values, "mysql.generate_passwords",  true);

  return values;
}
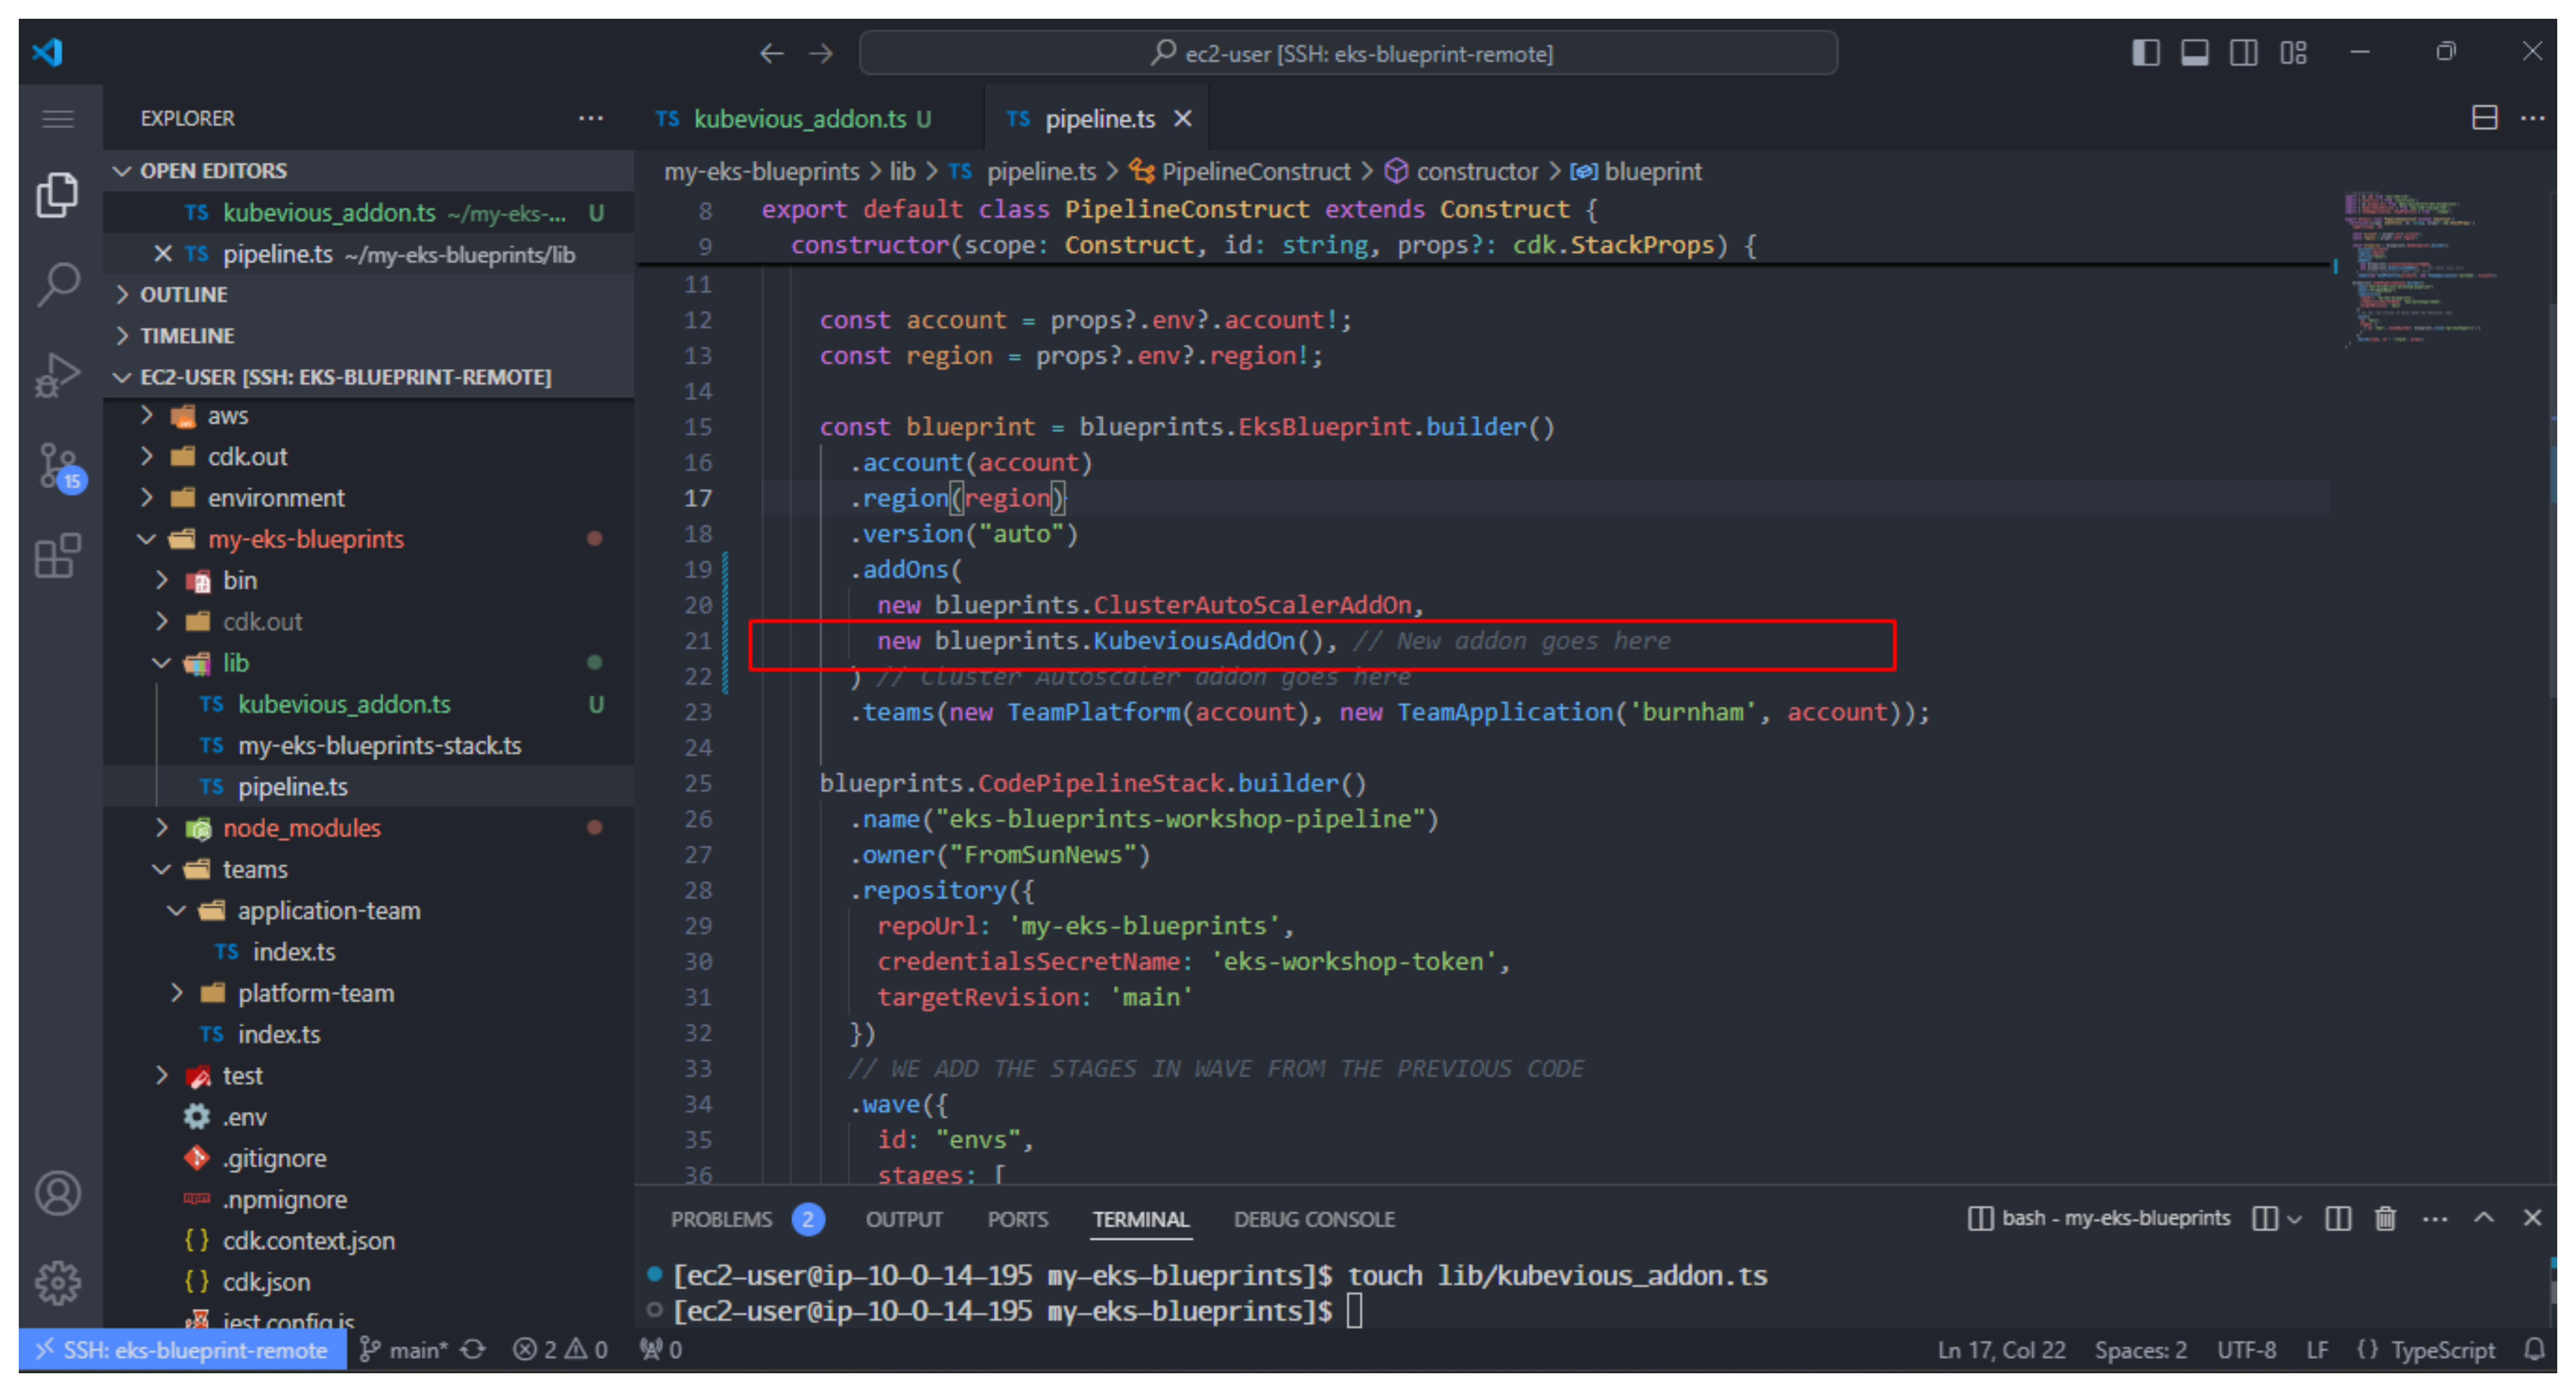
- Then add the following code to lib/pipeline.ts
// lib/pipeline-stack.ts
import * as cdk from 'aws-cdk-lib';
import { Construct } from 'constructs';
import * as blueprints from '@aws-quickstart/eks-blueprints';

import { TeamPlatform, TeamApplication } from '../teams';

export default class PipelineConstruct extends Construct {
  constructor(scope: Construct, id: string, props?: cdk.StackProps){
    super(scope,id)

    const blueprint = blueprints.EksBlueprint.builder()
    .account(account)
    .region(region)
    .addOns(
      new blueprints.ClusterAutoScalerAddOn,
      new blueprints.KubeviousAddOn(), // New addon goes here
    )
    .teams(new TeamPlatform(account), new TeamApplication('burnham',account));

    blueprints.CodePipelineStack.builder()
      .name("eks-blueprints-workshop-pipeline")
      .owner("your-github-username")
      .repository({
          repoUrl: 'your-repo-name',
          credentialsSecretName: 'github-token',
          targetRevision: 'main'
      })
      .wave({
        id: "envs",
        stages: [
          { id: "dev", stackBuilder: blueprint.clone('ap-southeast-1')}
        ]
      })
      .build(scope, id+'-stack', props);
  }
}
- Do push to Github repository
git add .
git commit -m "adding Kubevious"
git push https://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@github.com/AWS-First-Cloud-Journey/my-eks-blueprints.git
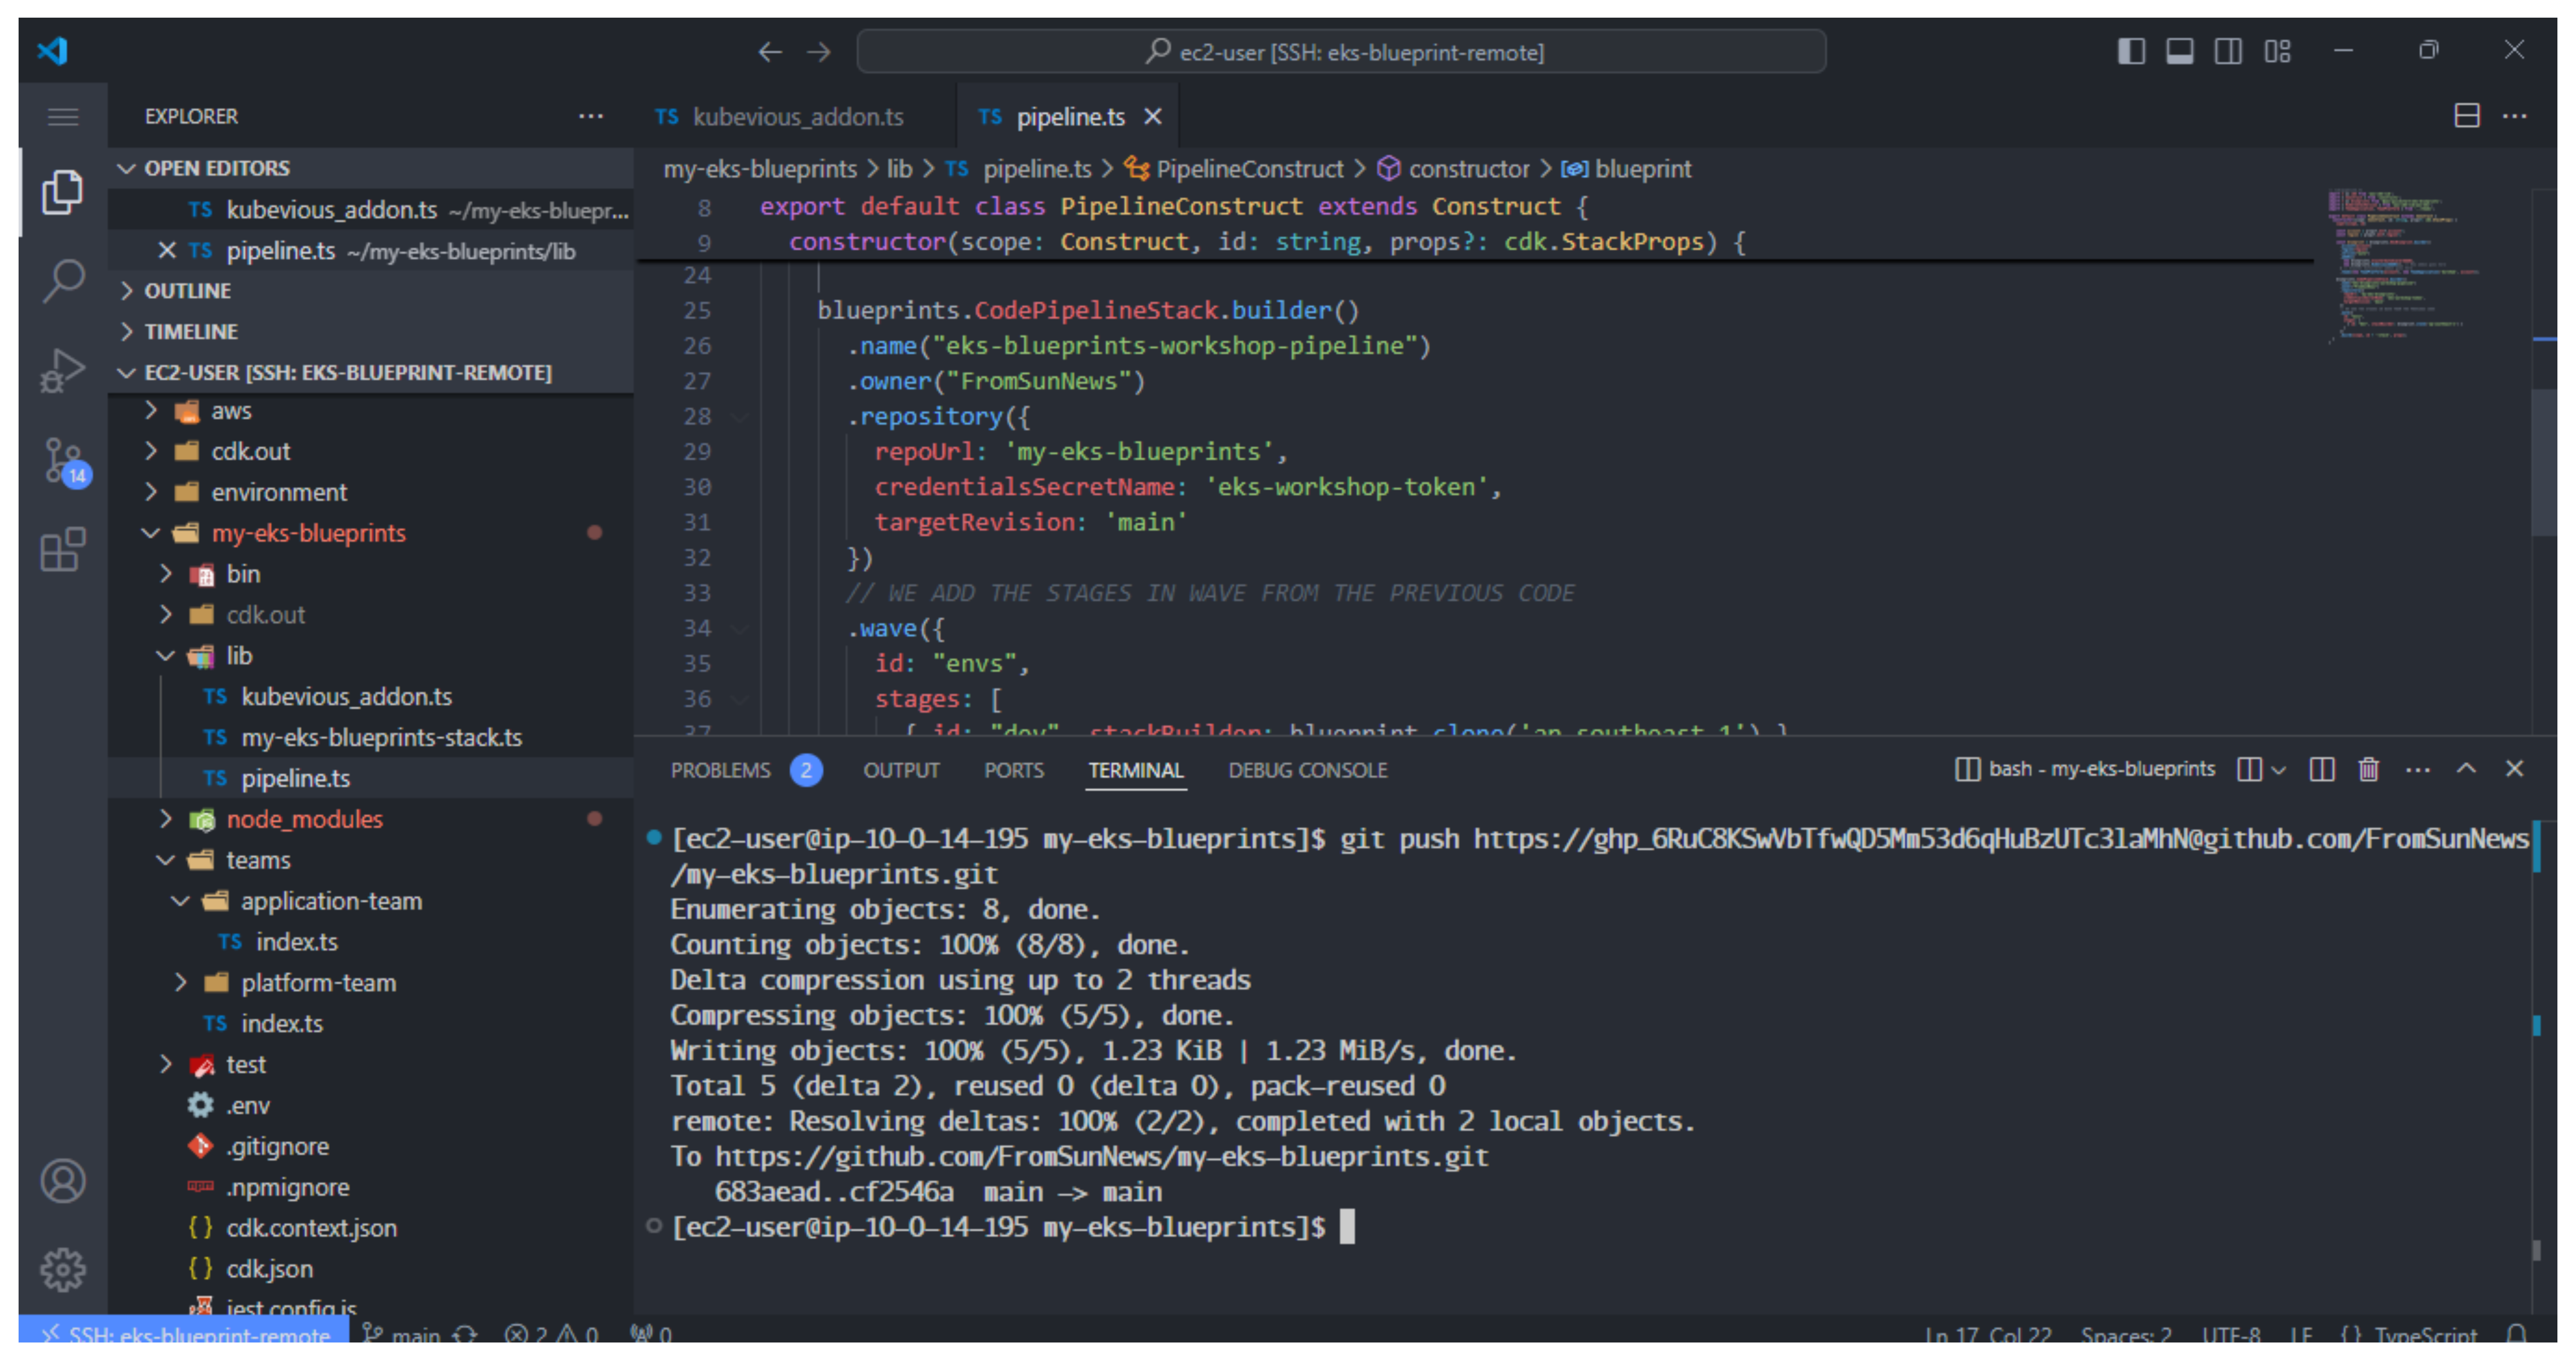
- Wait 15 minutes to complete
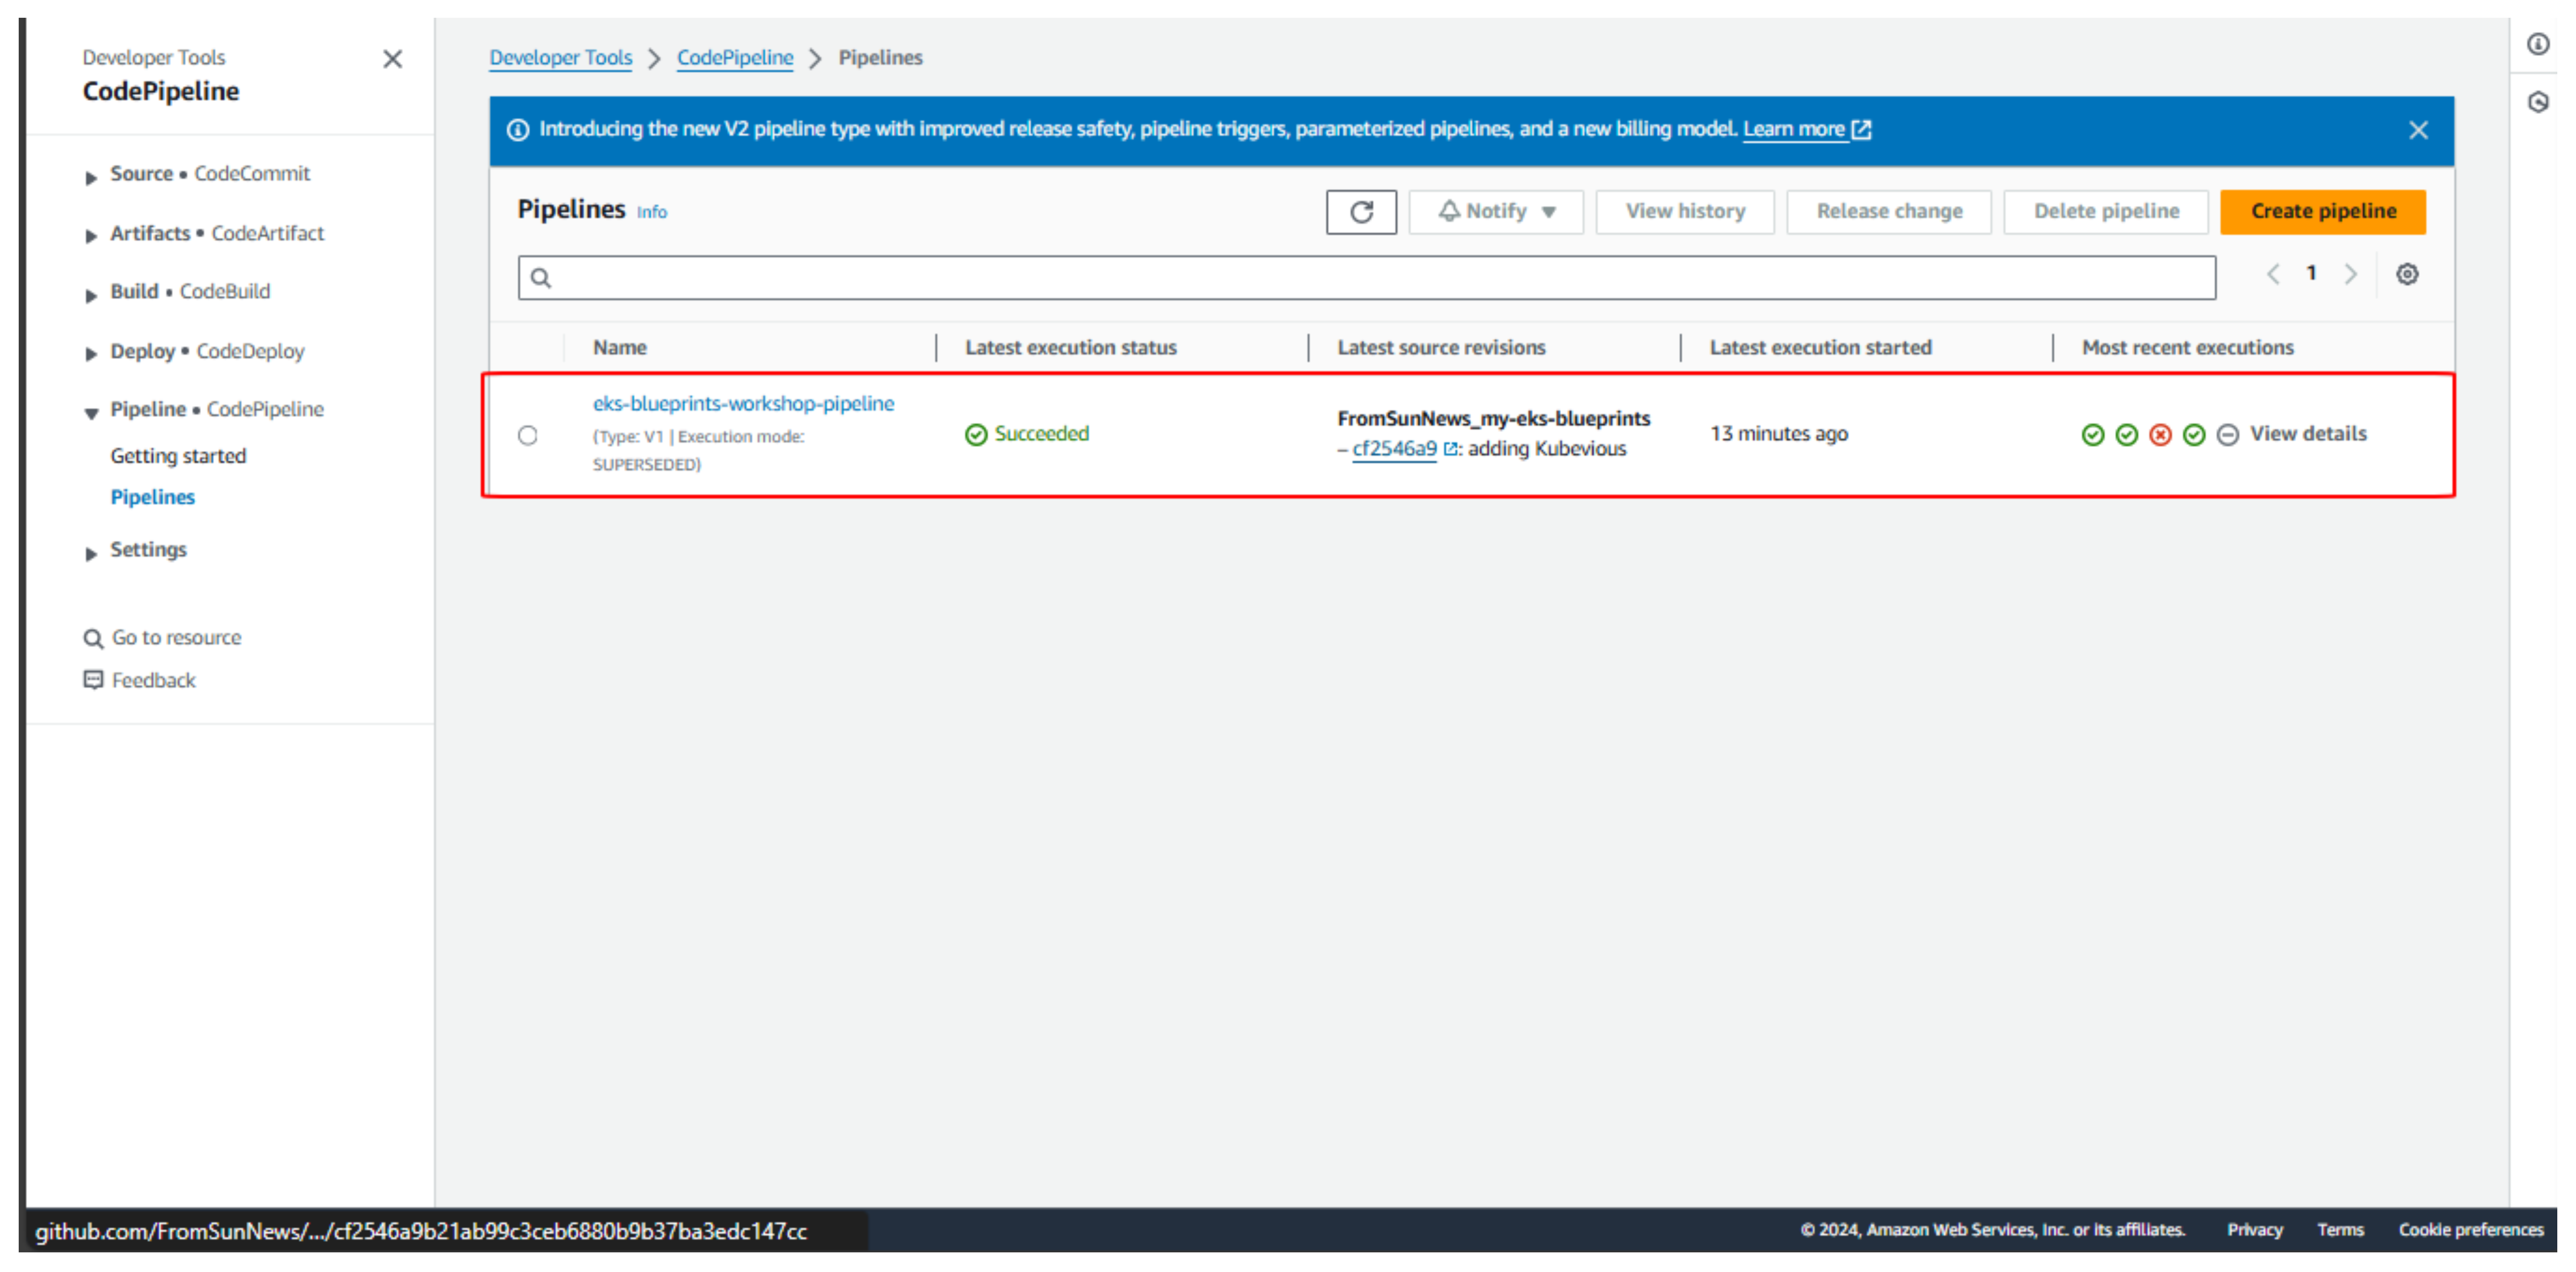
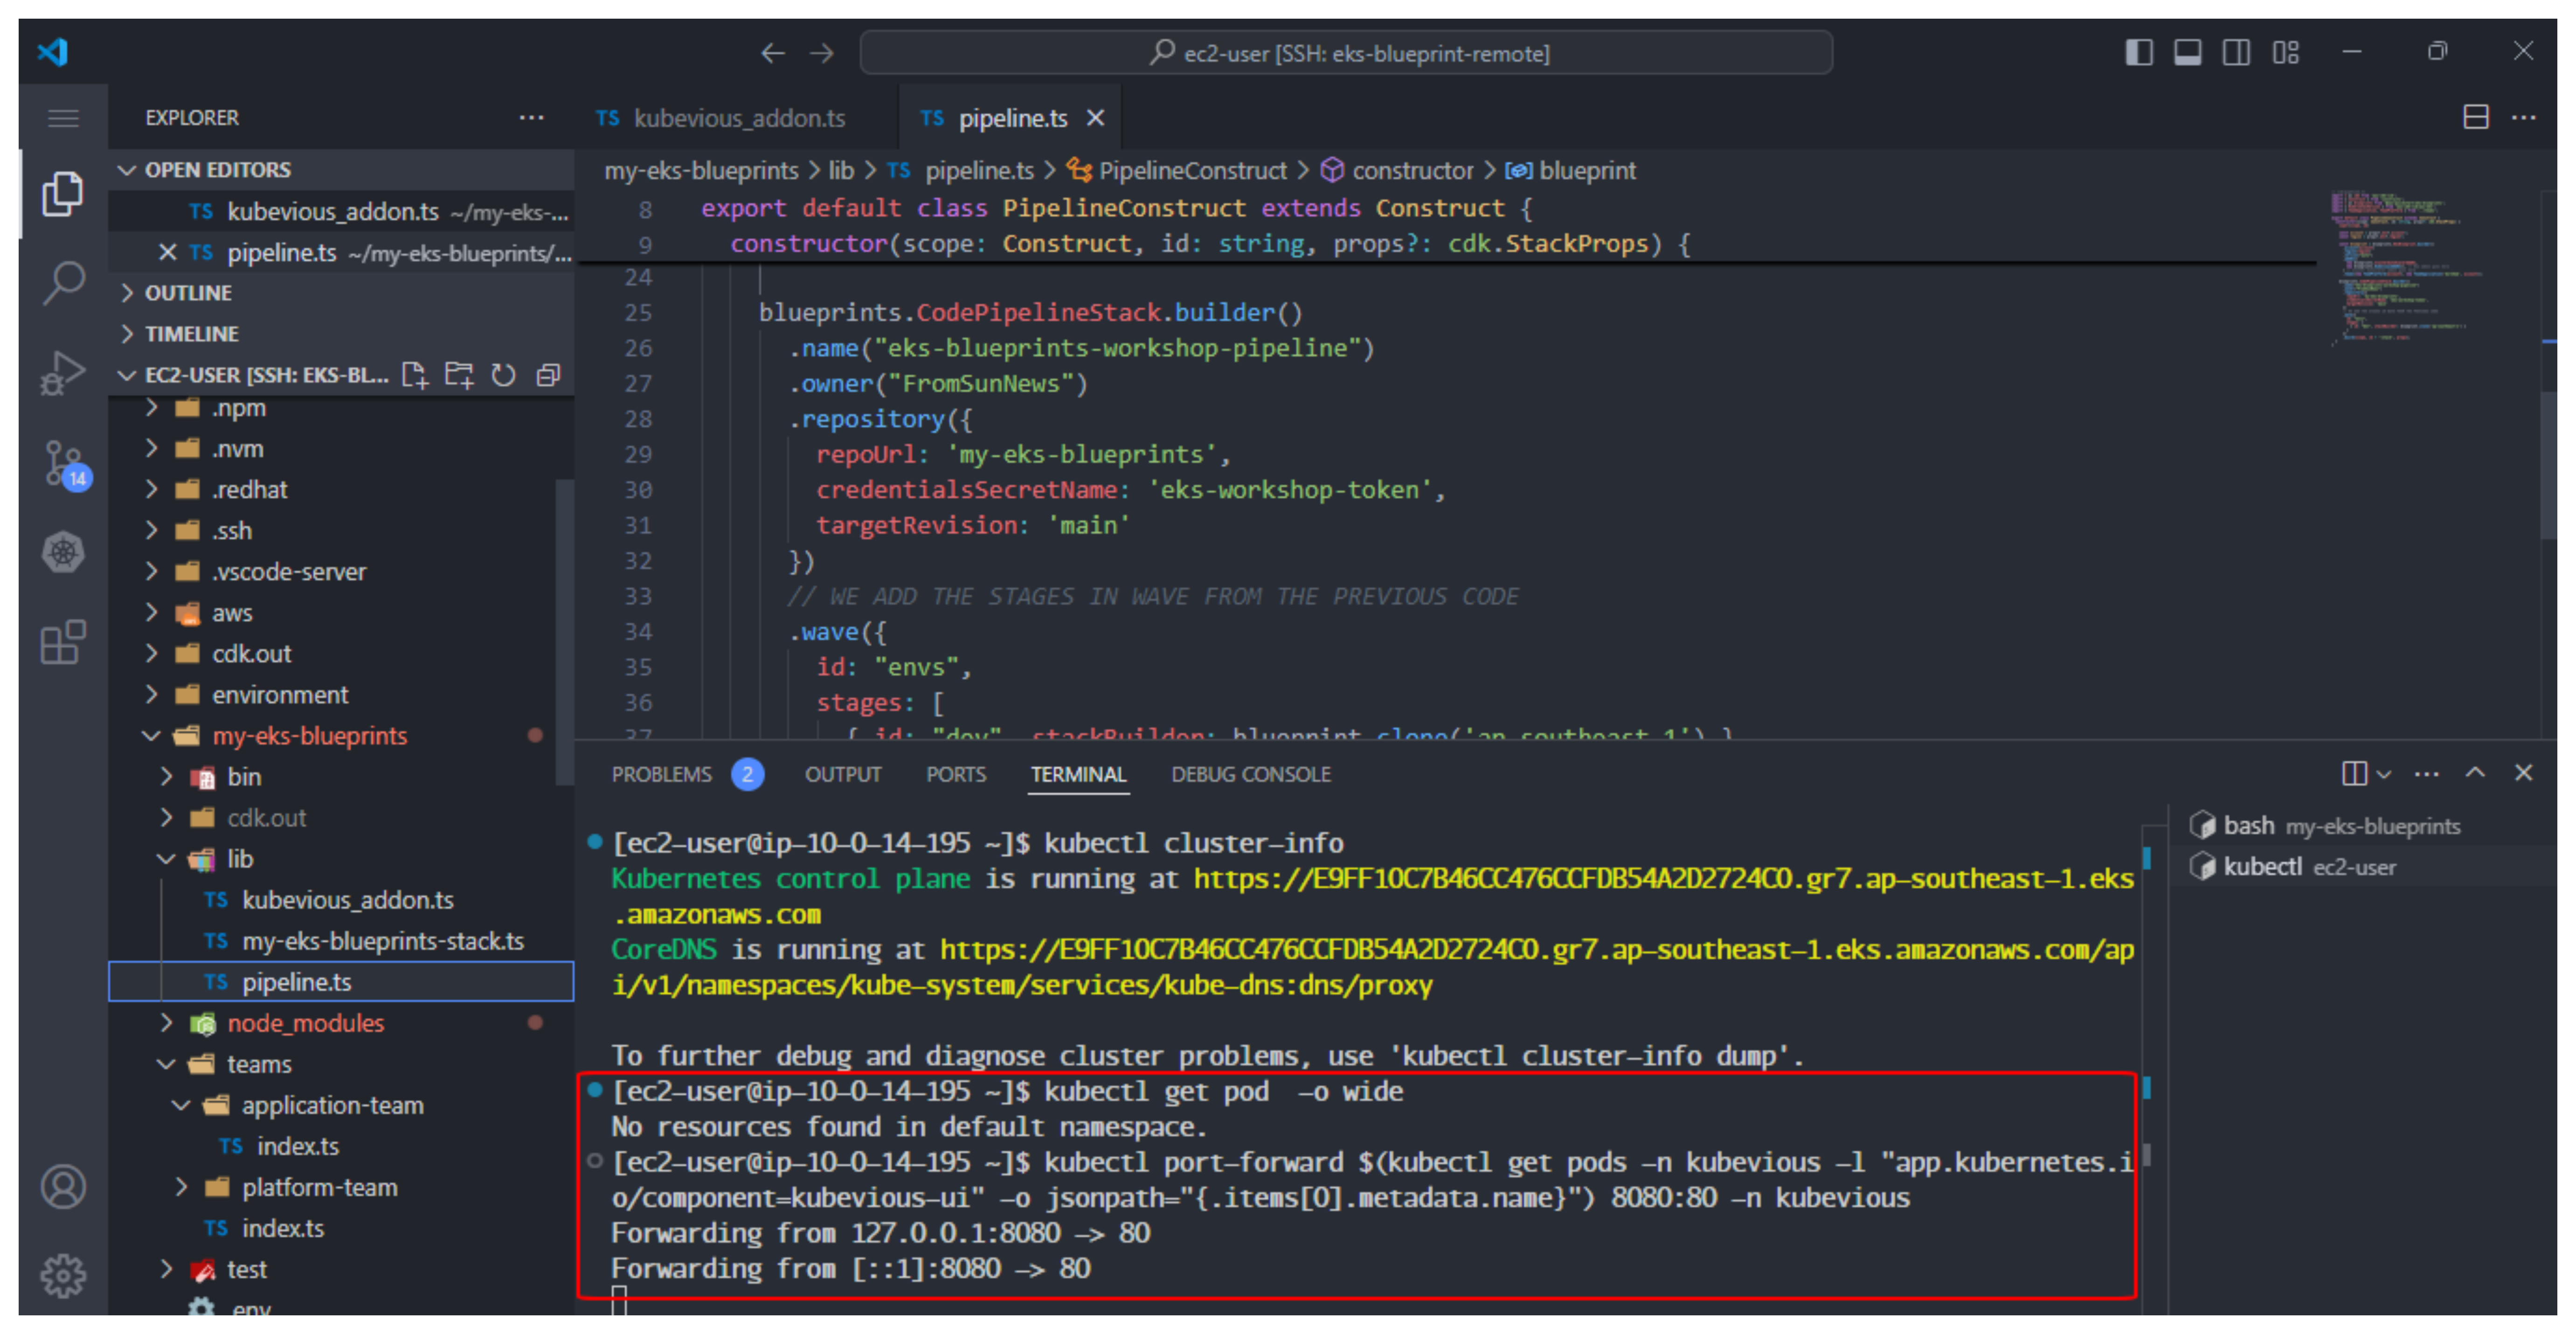
- Once the pipeline is complete, we can see our add-ons in action by running the command below:
kubectl port-forward $(kubectl get pods -n kubevious -l "app.kubernetes.io/component=kubevious-ui" -o jsonpath="{.items[0].metadata.name}") 8080:80 -n kubevious
