Testing Cluster Autoscaler
Check Cluster Autoscaler
we were able to deploy Cluster Autoscaler successfully.
The following steps will help test and validate the Cluster Autoscaler functionality in your cluster.
Deploy a sample application as a deployment. Scale deployment to 50. Scaling event monitoring.
Deploy sample application
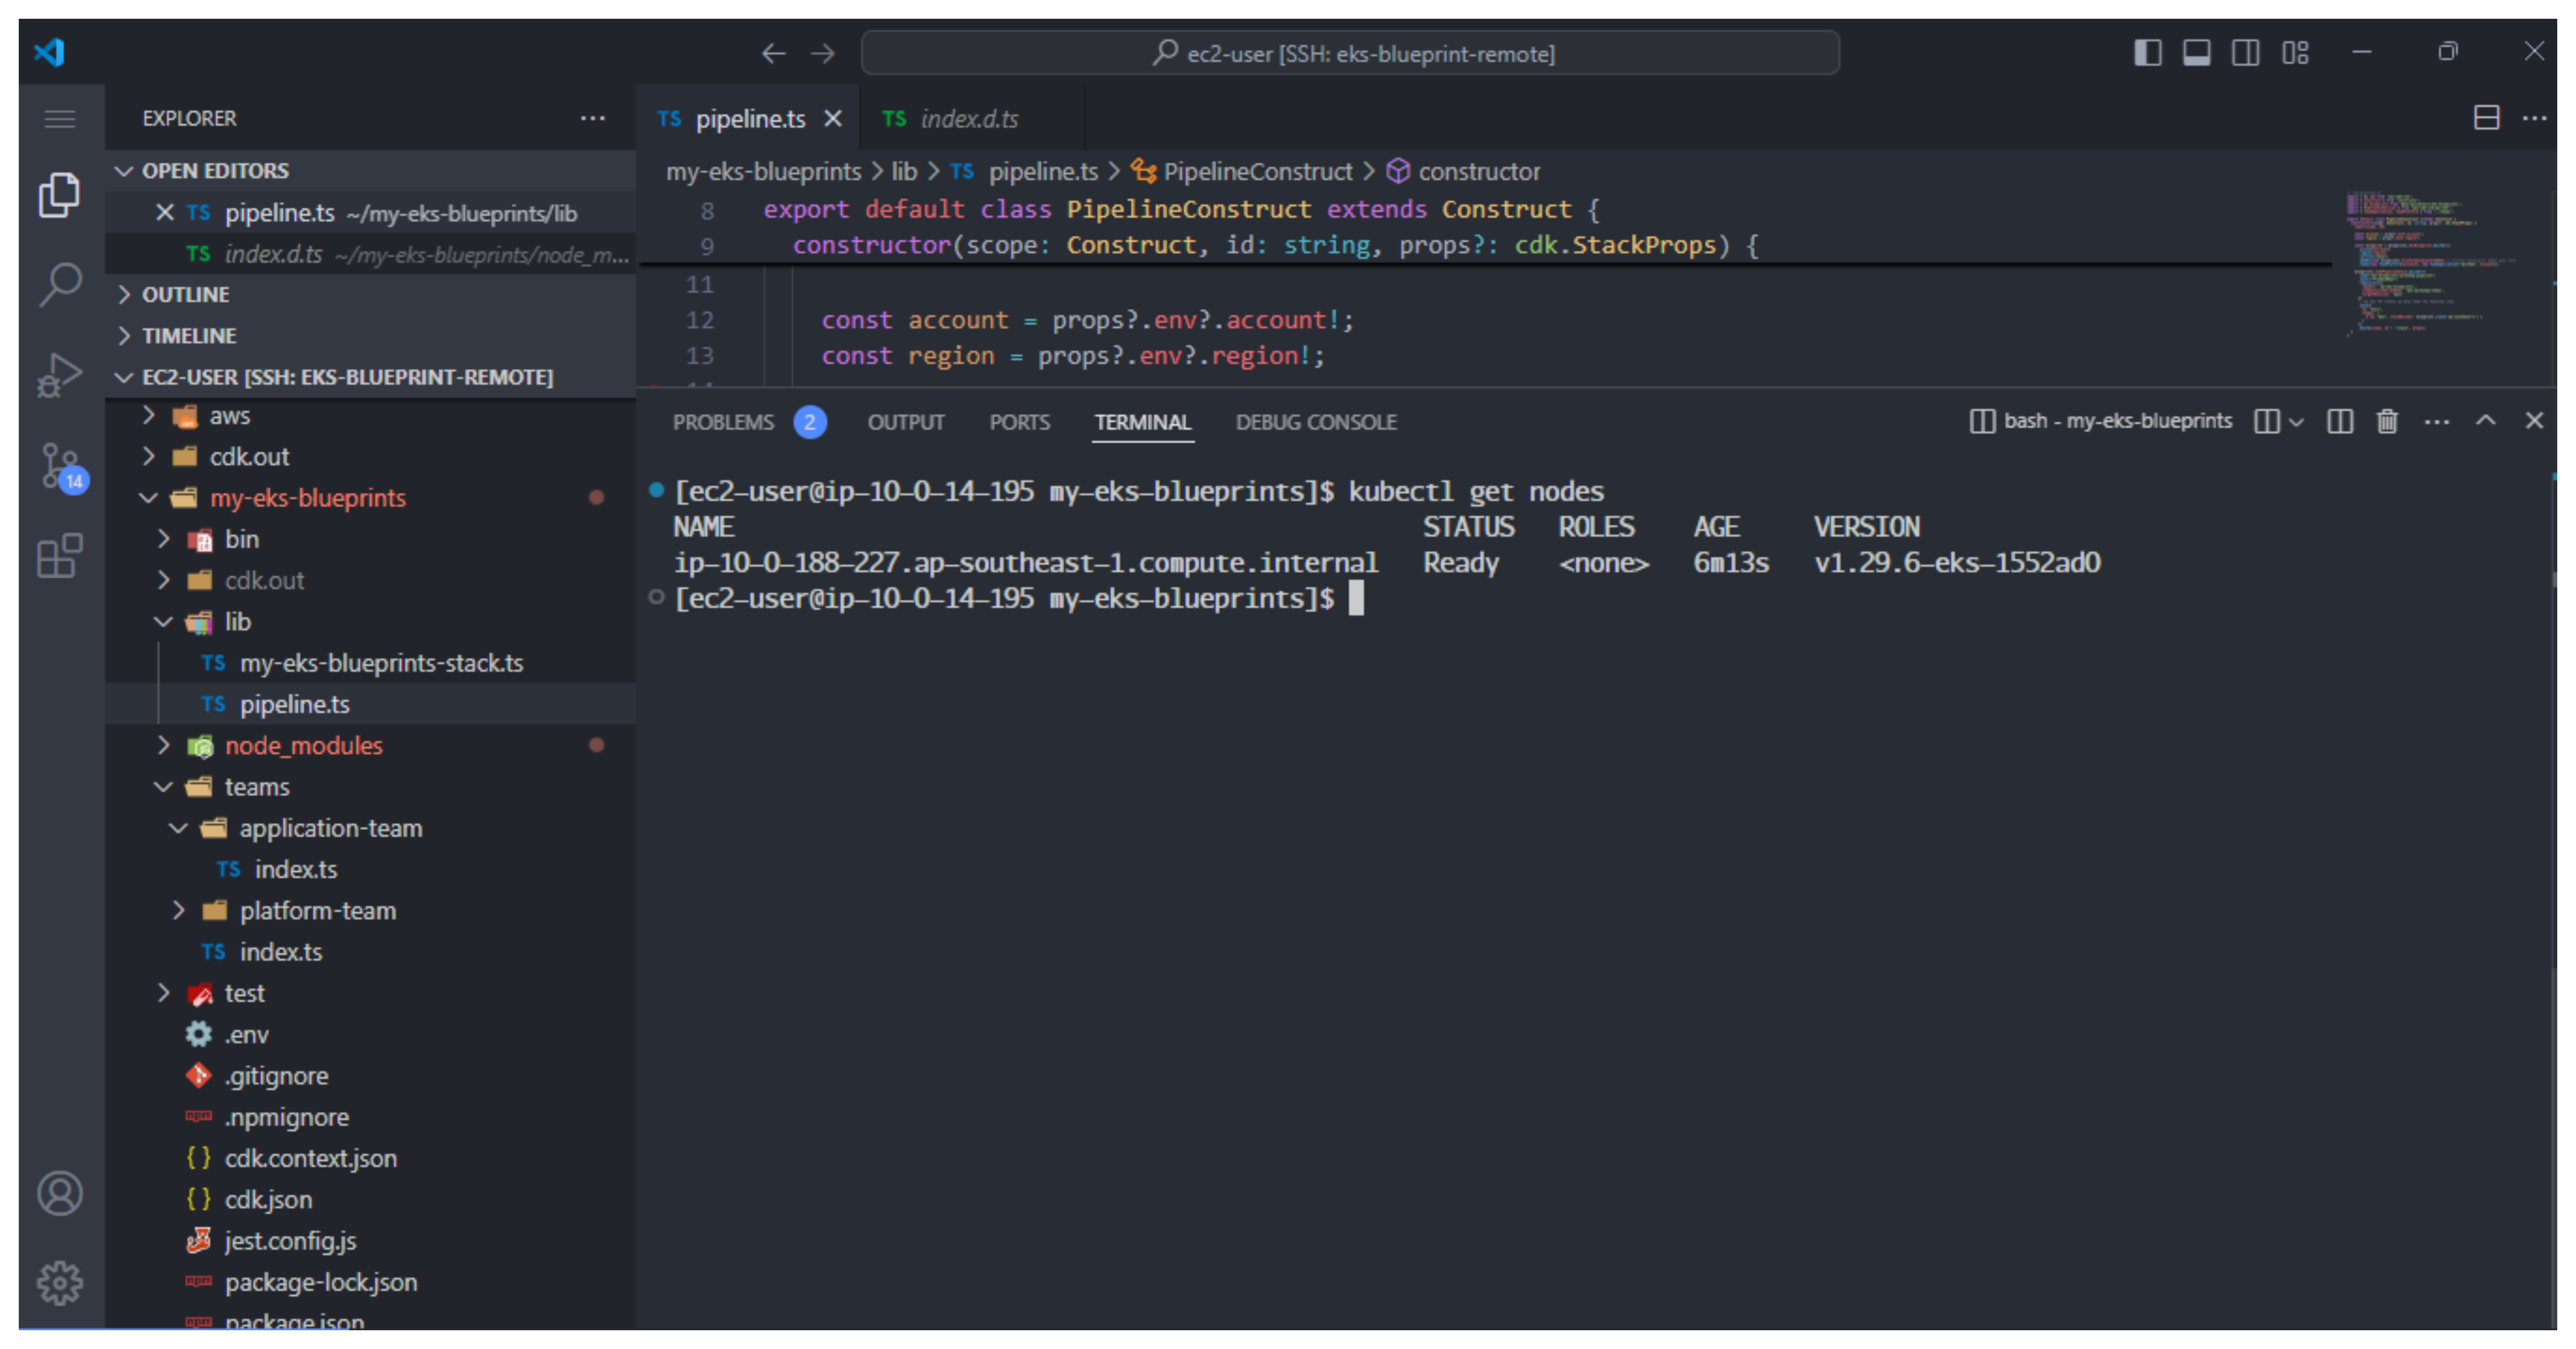
- Check the number of available nodes.
kubectl get nodes
- Make sample nginx application Create a directory and a file named nginx.yaml:
mkdir -p /home/ec2-user/environment
sudo vi /home/ec2-user/environment/nginx.yaml
Copy the following content into the nginx.yaml file:
apiVersion: apps/v1
kind: Deployment
metadata:
  name: nginx-to-scaleout
spec:
  replicas: 1
  selector:
    matchLabels:
      app: nginx
  template:
    metadata:
      labels:
        service: nginx
        app: nginx
    spec:
      containers:
      - image: nginx
        name: nginx-to-scaleout
        resources:
          limits:
            cpu: 500m
            memory: 512Mi
          requests:
            cpu: 500m
            memory: 512Mi
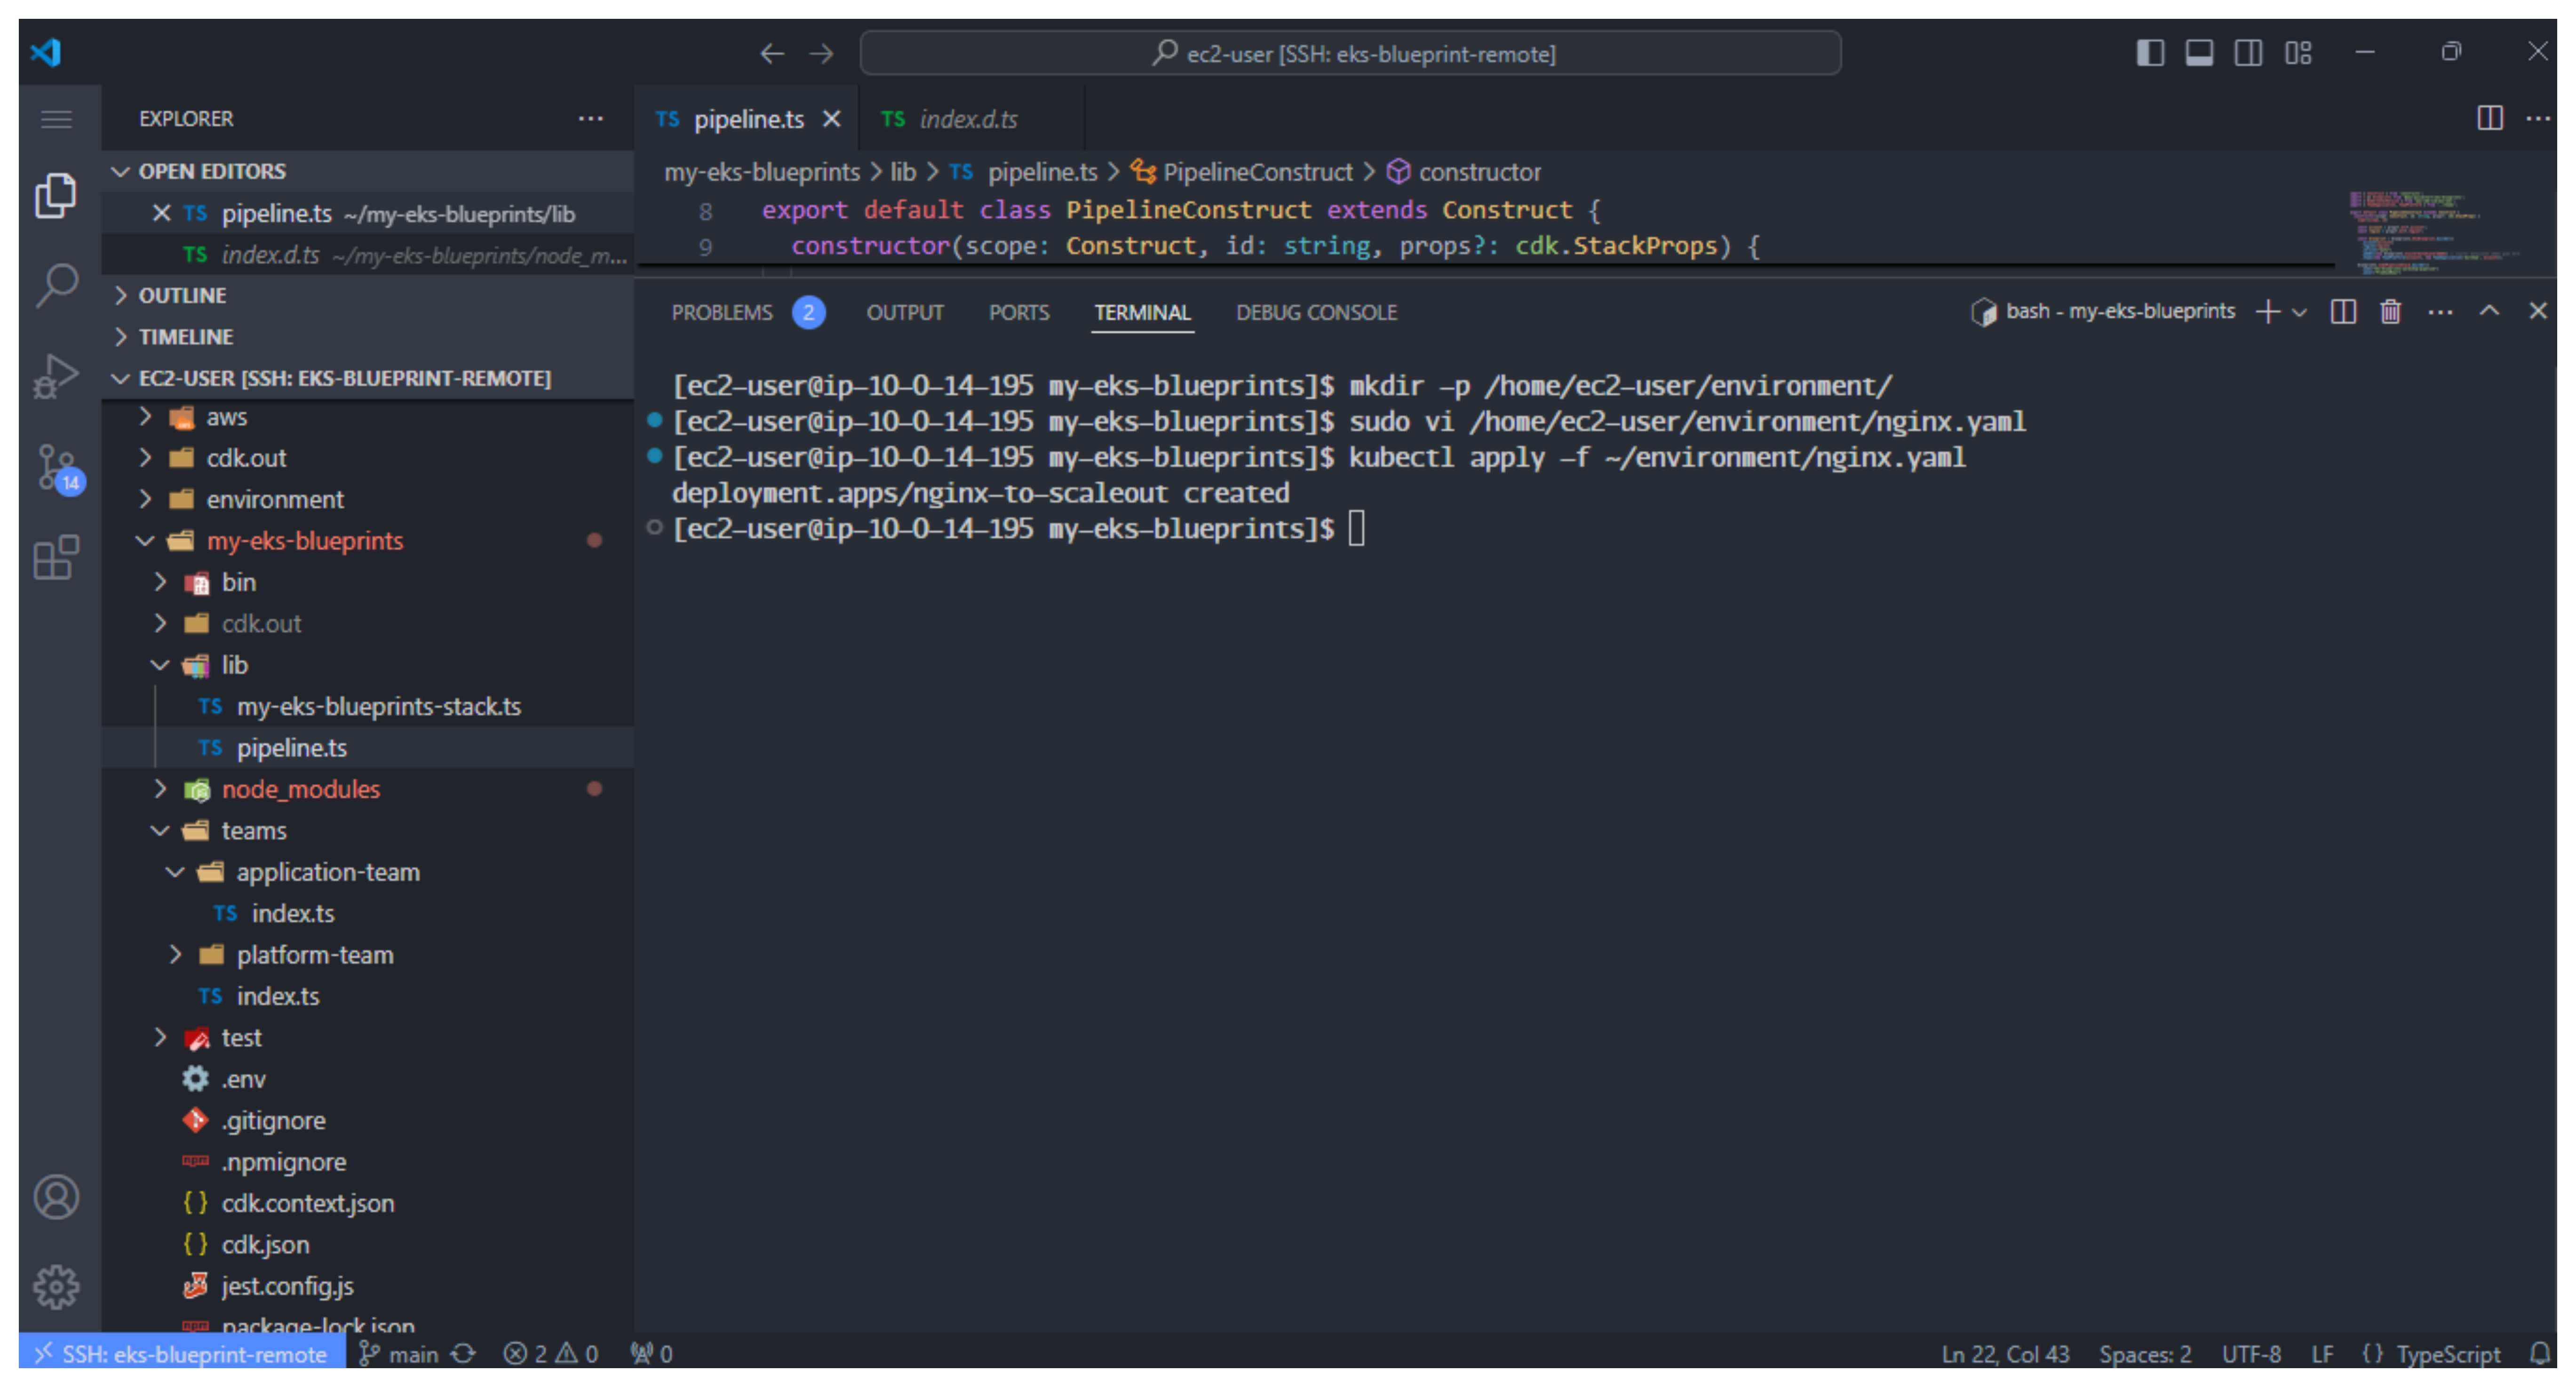
Finally, apply the nginx.yaml file:
kubectl apply -f ~/environment/nginx.yaml
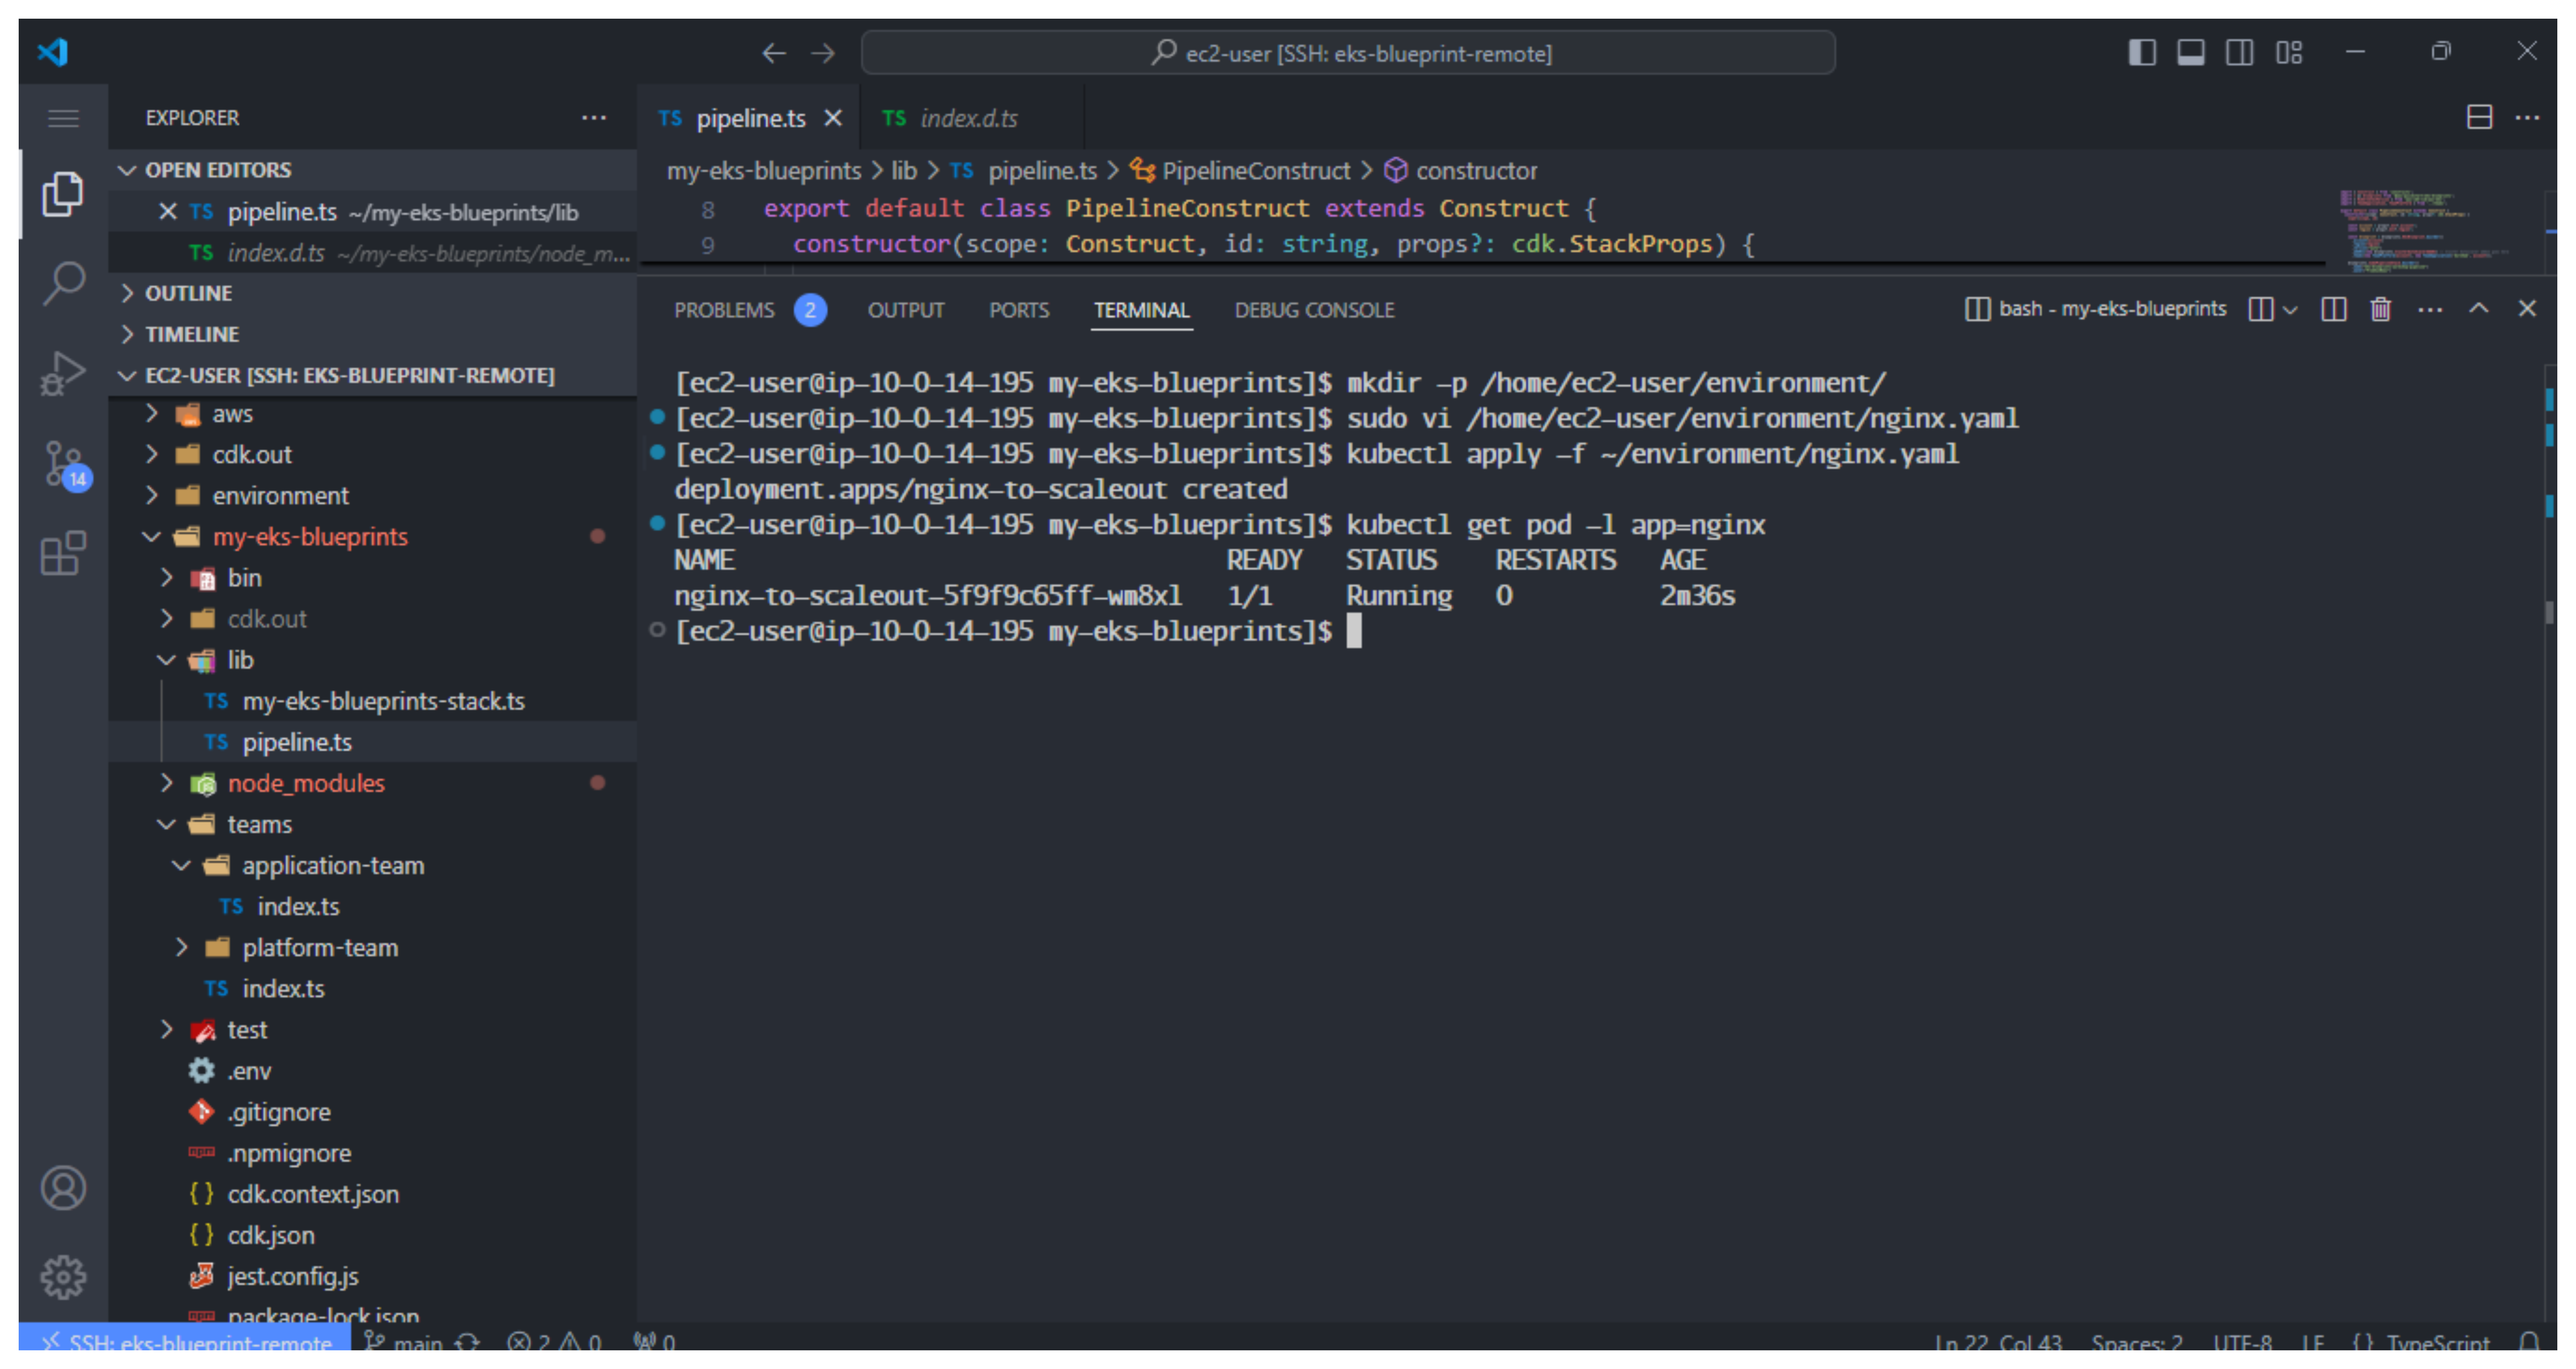
- Check the pod is running
kubectl get pod -l app=nginx
- Implement Scale deployment replicas
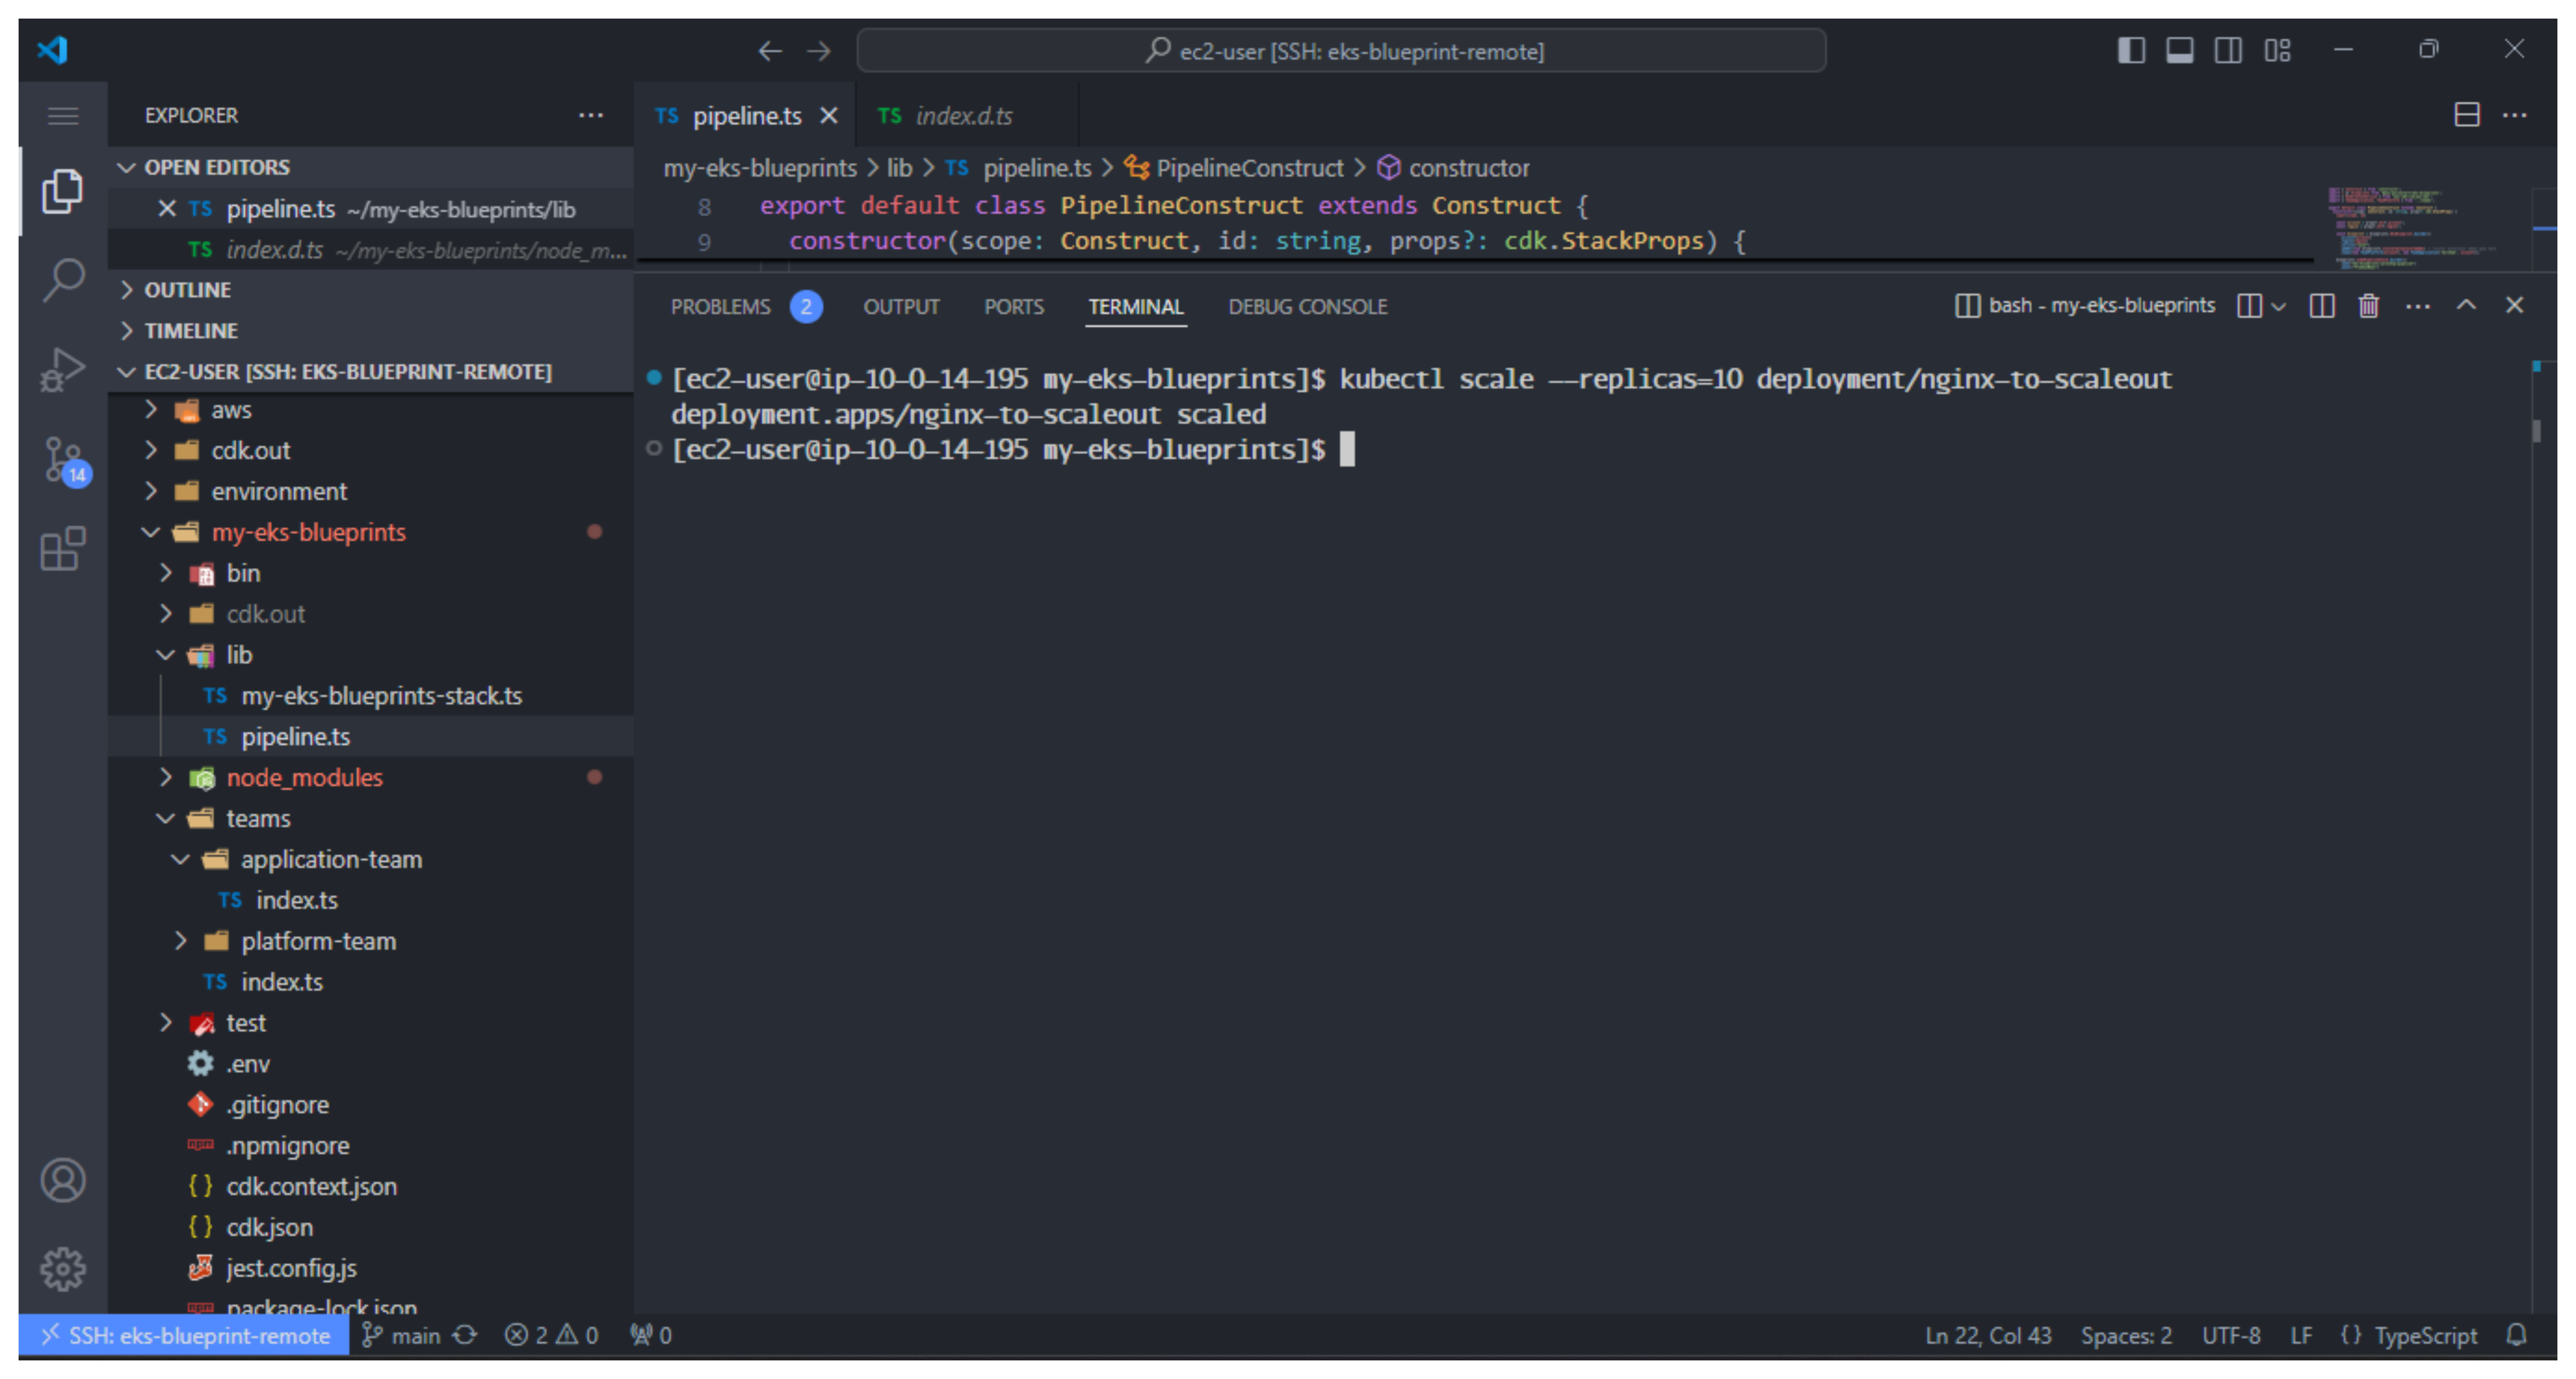
- We can now scale the deployment to 10 replicas and observe the deployment:
kubectl scale --replicas=10 deployment/nginx-to-scaleout
- Next we do Monitoring the scaling event
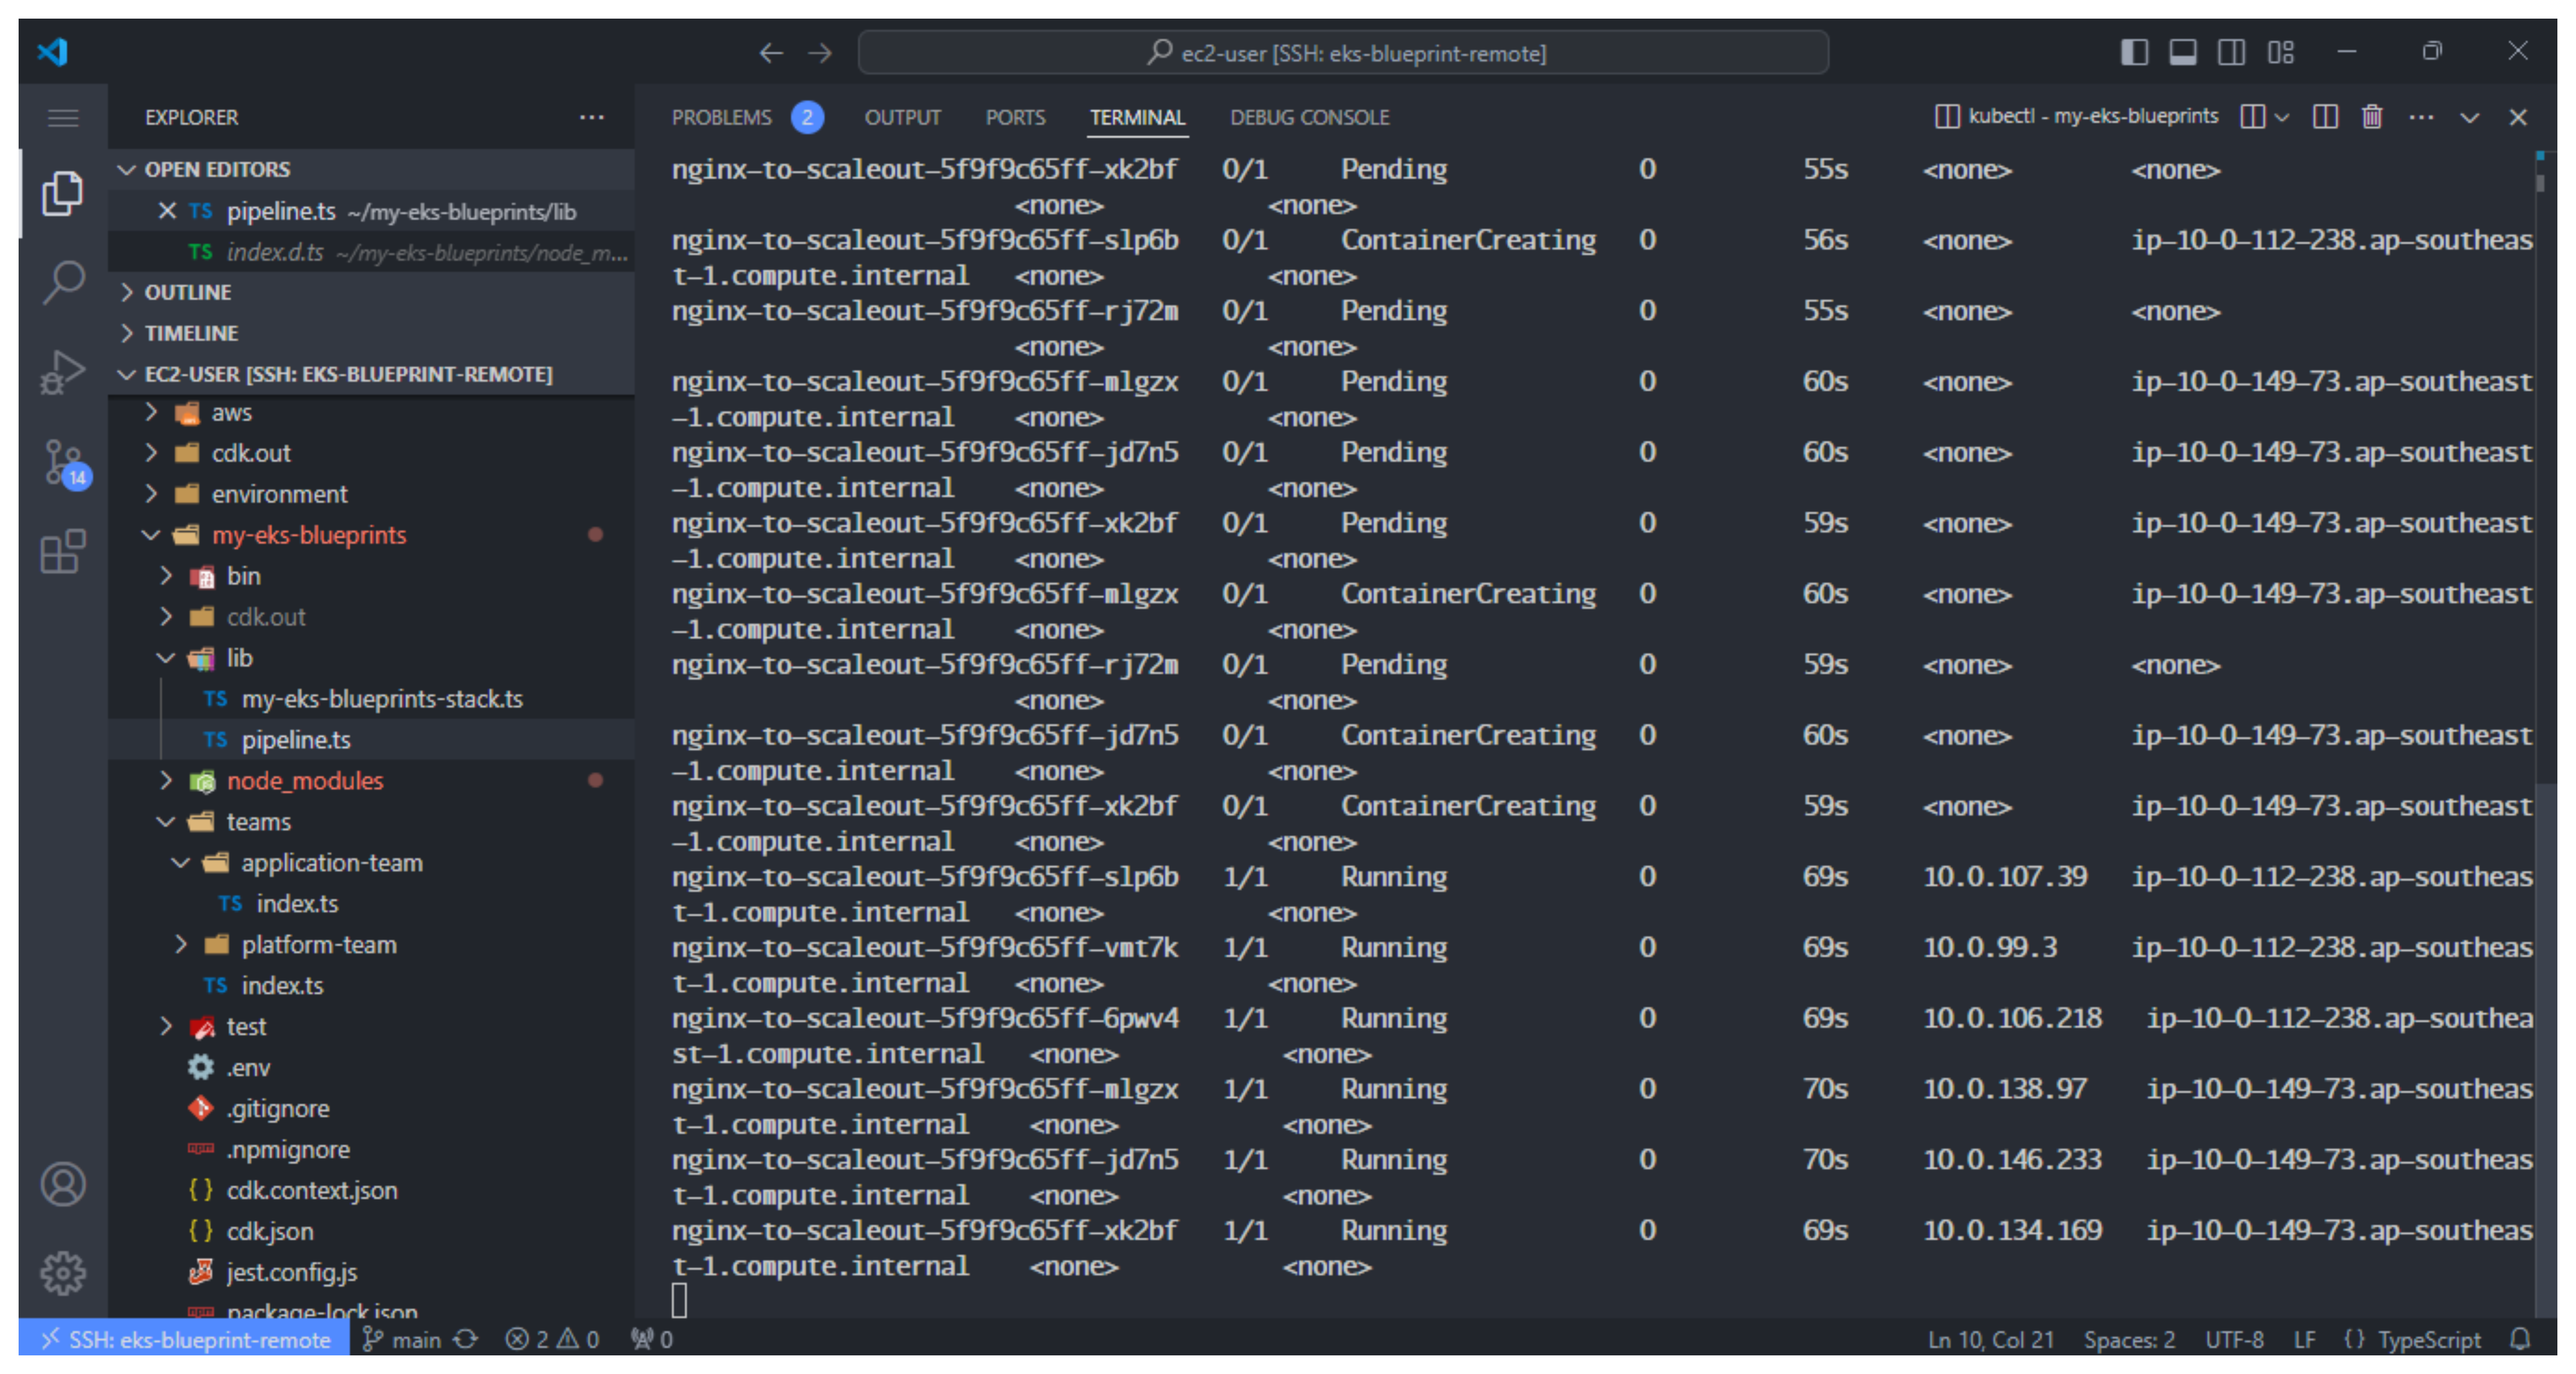
- Some pods will be in a Pending state, which will trigger the cluster-autoscaler to expand the EC2 pool:
kubectl get pods -l app=nginx -o wide --watch
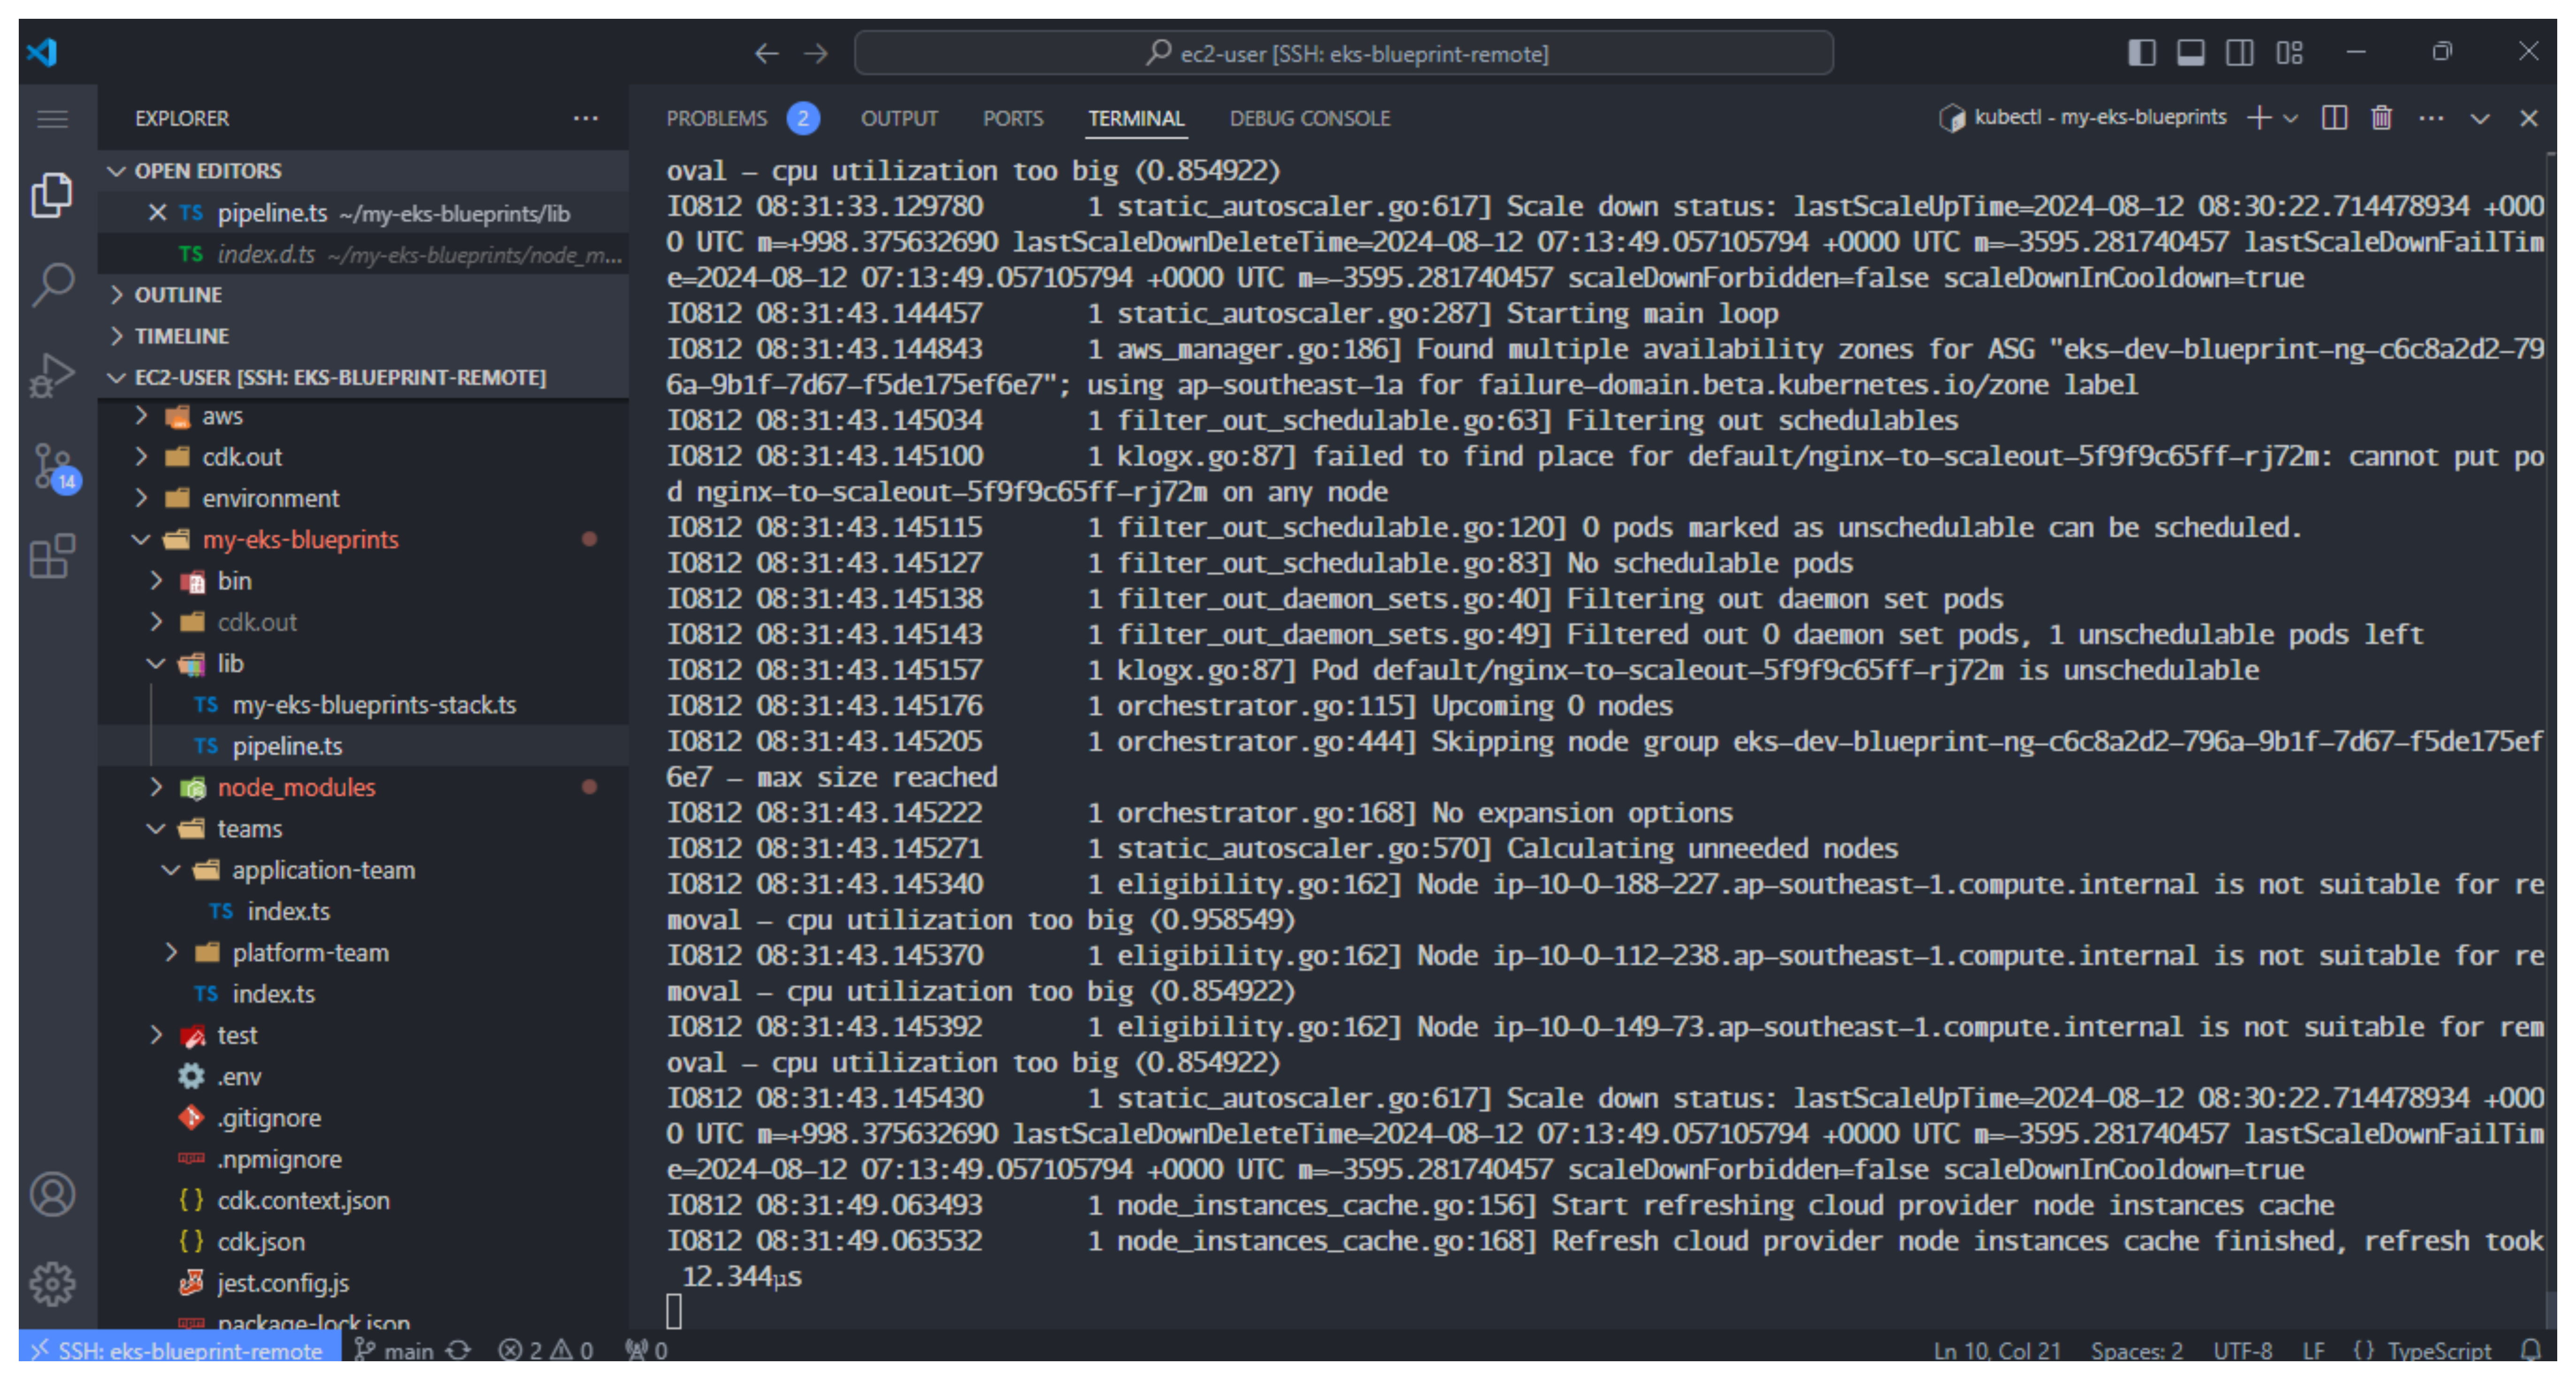
- To view the cluster-autoscaler log
kubectl -n kube-system logs -f deployment/blueprints-addon-cluster-autoscaler-aws-cluster-autoscaler
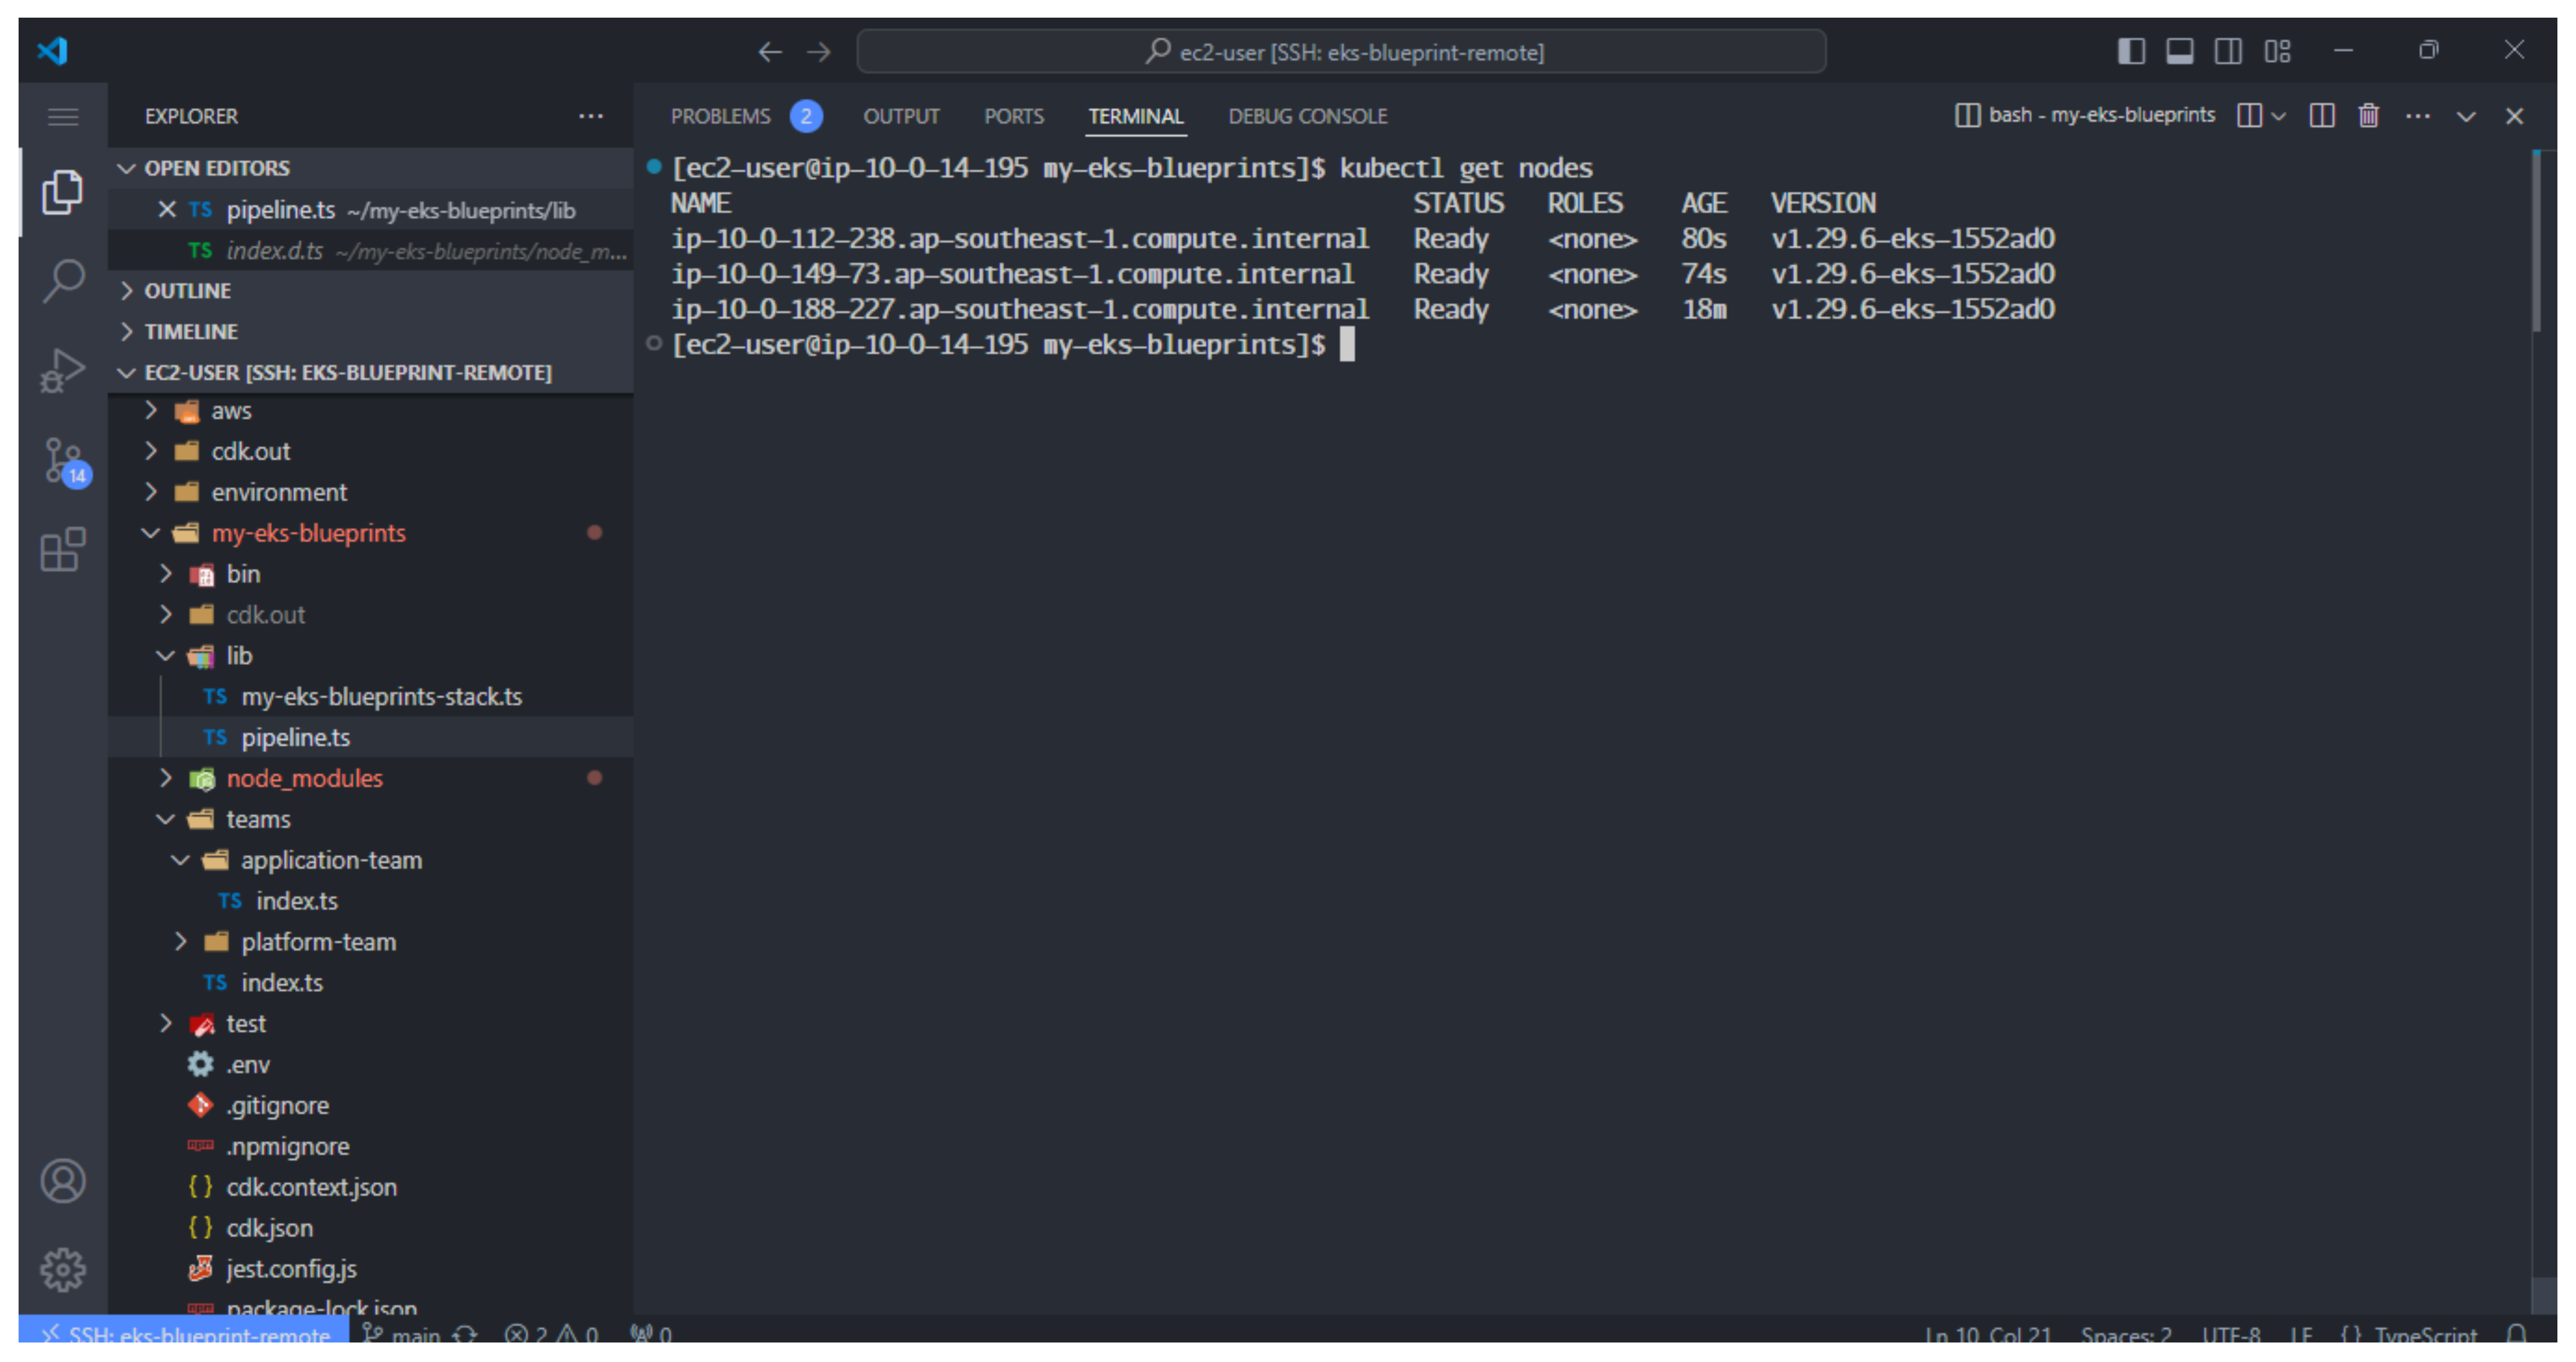
- You can list all the nodes
kubectl get nodes
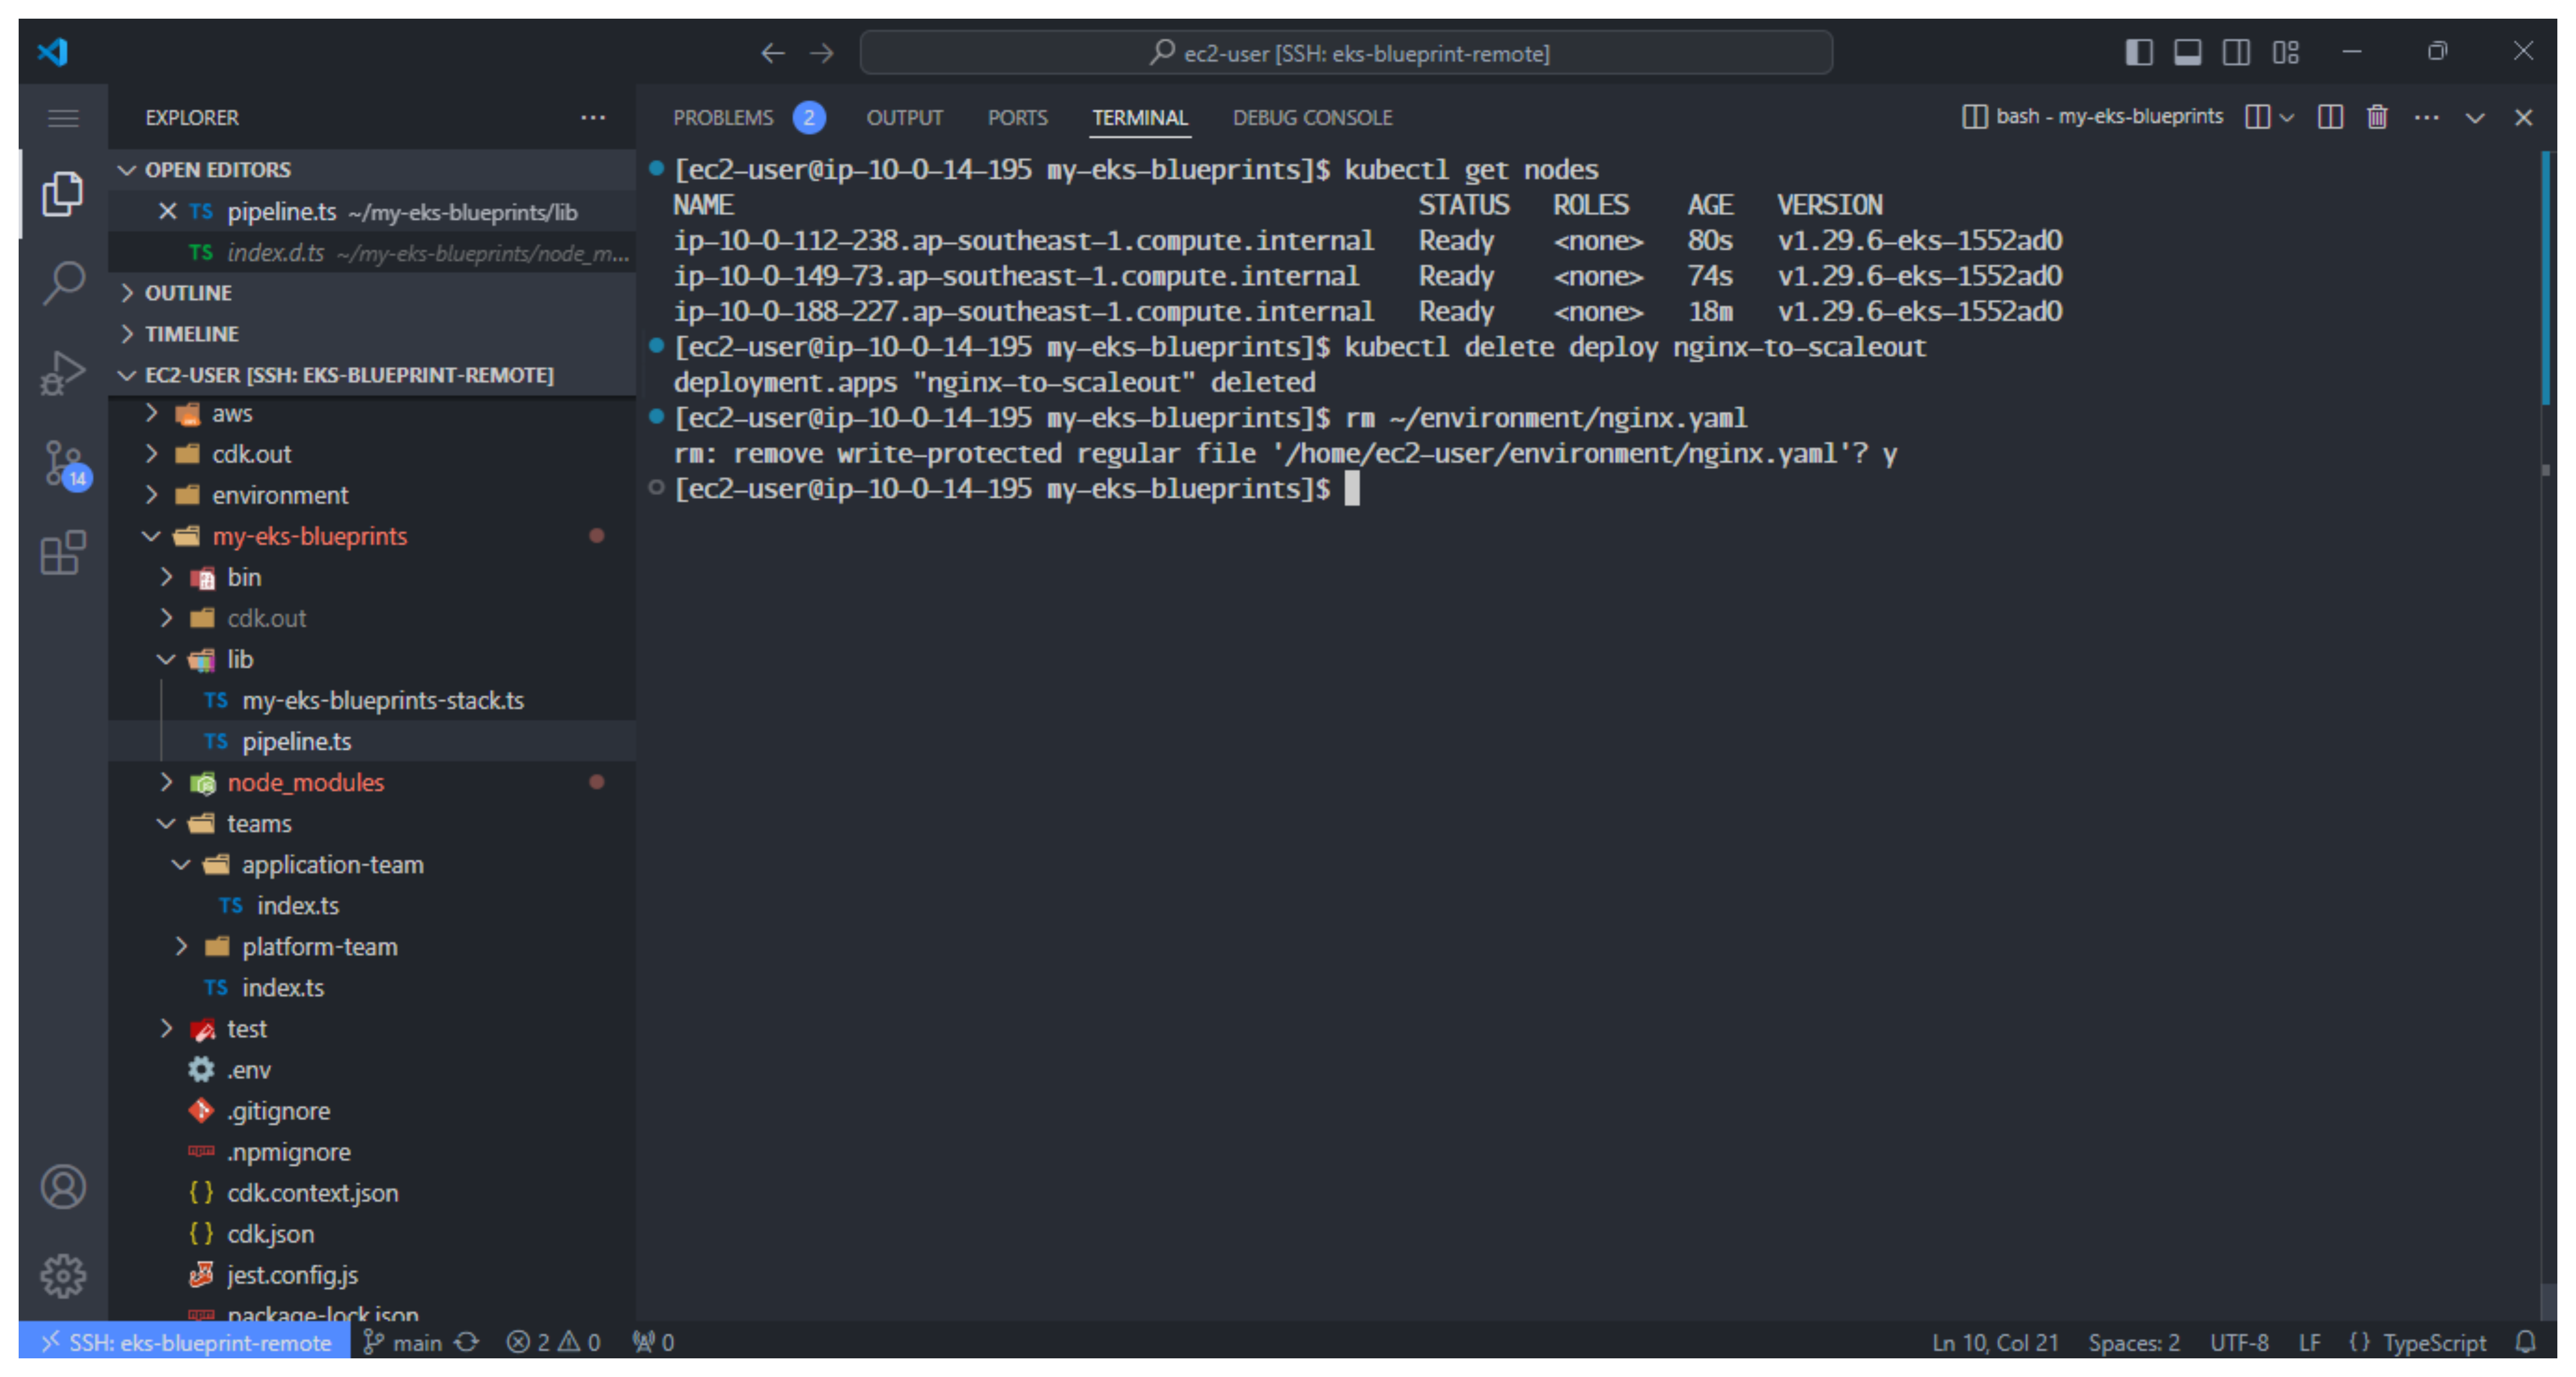
- To delete the execution resource
kubectl delete deploy nginx-to-scaleout
rm ~/environment/nginx.yaml
