Create VPC và EC2 Instance
Create a VPC
- Access AWS Management Console:
- Search for VPC.
- Select Create VPC.
- VPC Settings:
- In the Resources to create section, select VPC and more.
- In Name tag auto-generation, enter EKS Blueprint VPC.
- In IPv4 CIDR block, enter 10.0.0.0/16.

- Select Availability Zones (AZs):
- Choose the AZs as shown in the image and click Create VPC.
- Completion:
- After creation, you will have a VPC that looks like this.

Create an EC2 Instance
- Access AWS Management Console:
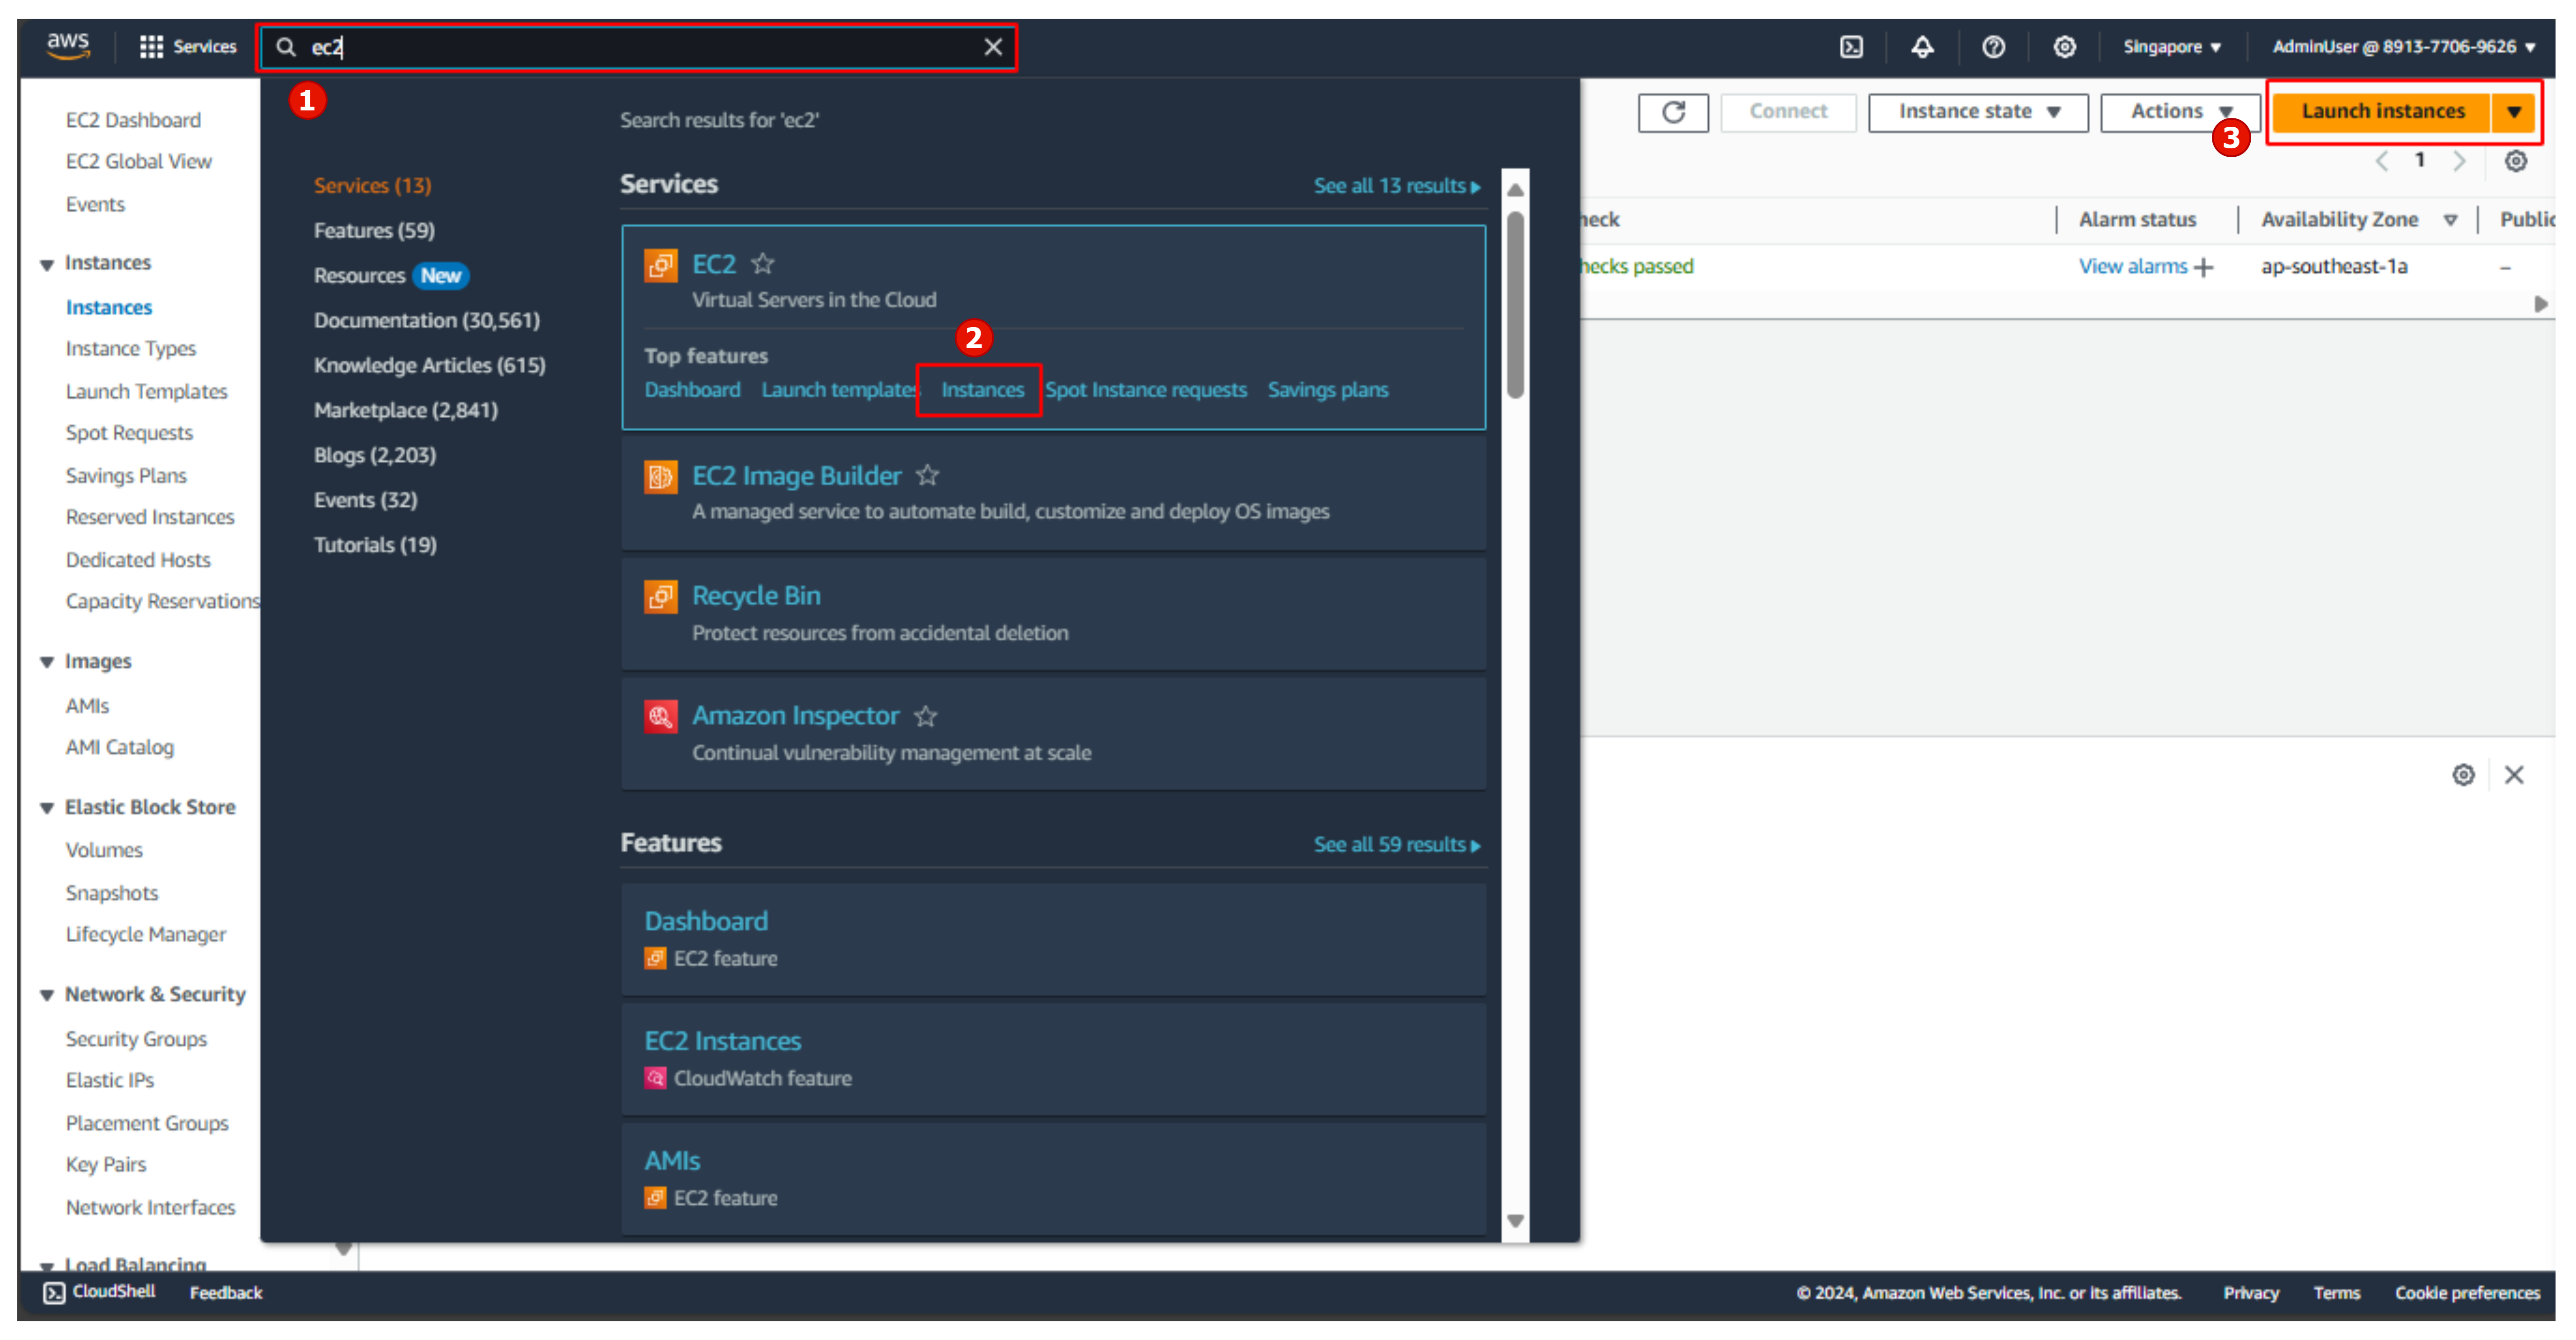
- Search for EC2.
- Select Launch Instance.
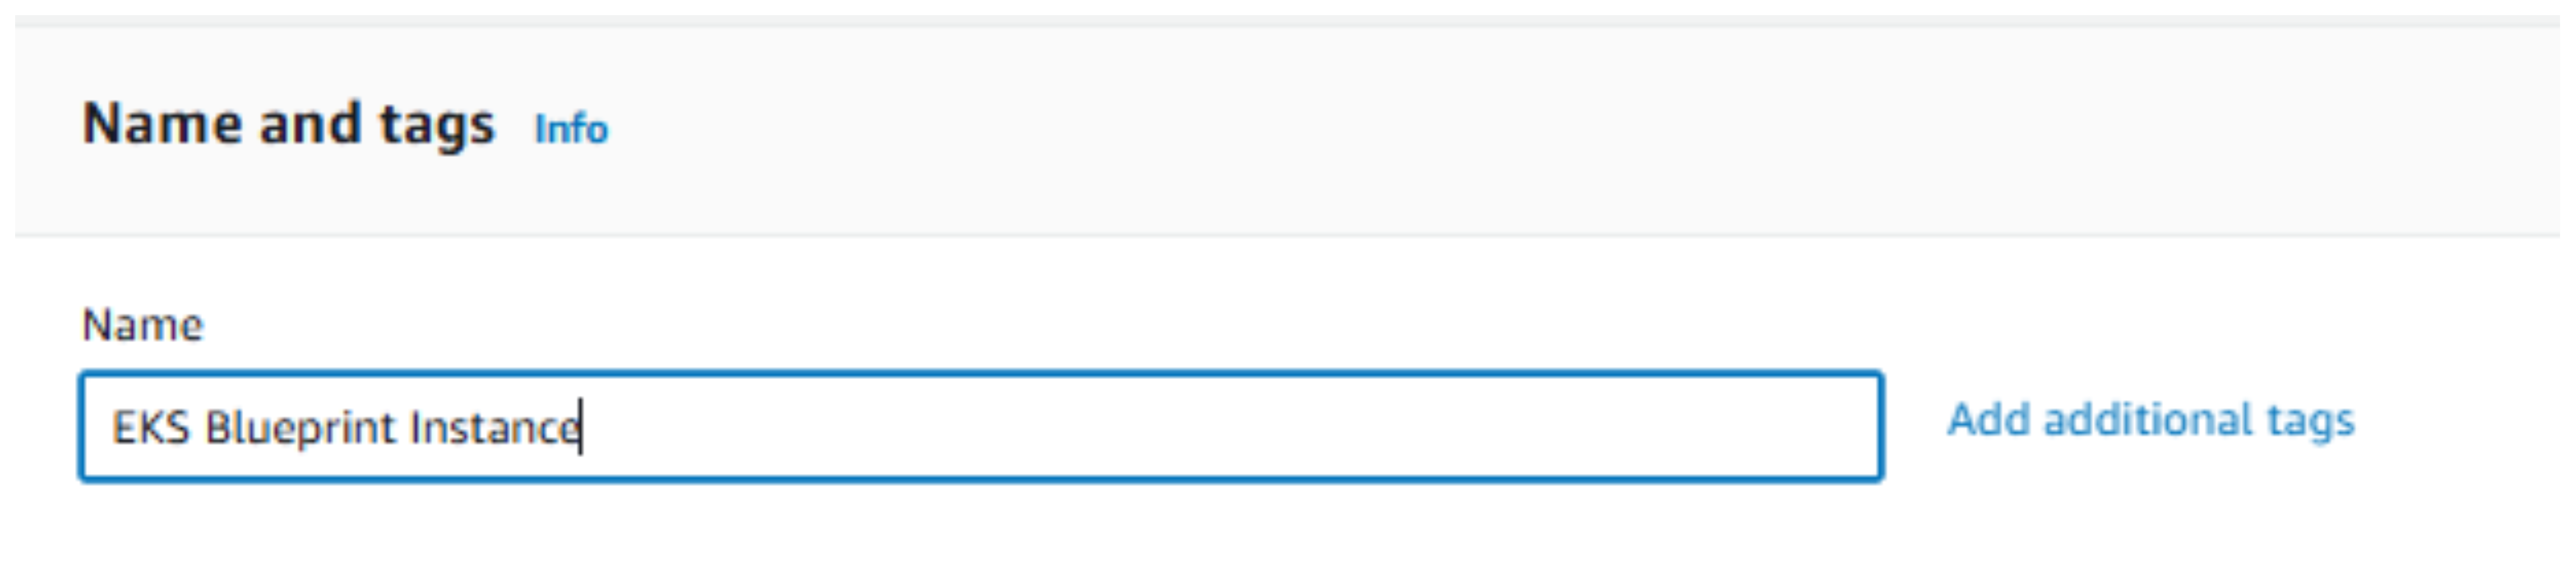
- Launch an Instance:
- In the Name and tags section, enter EKS Blueprint Instance.
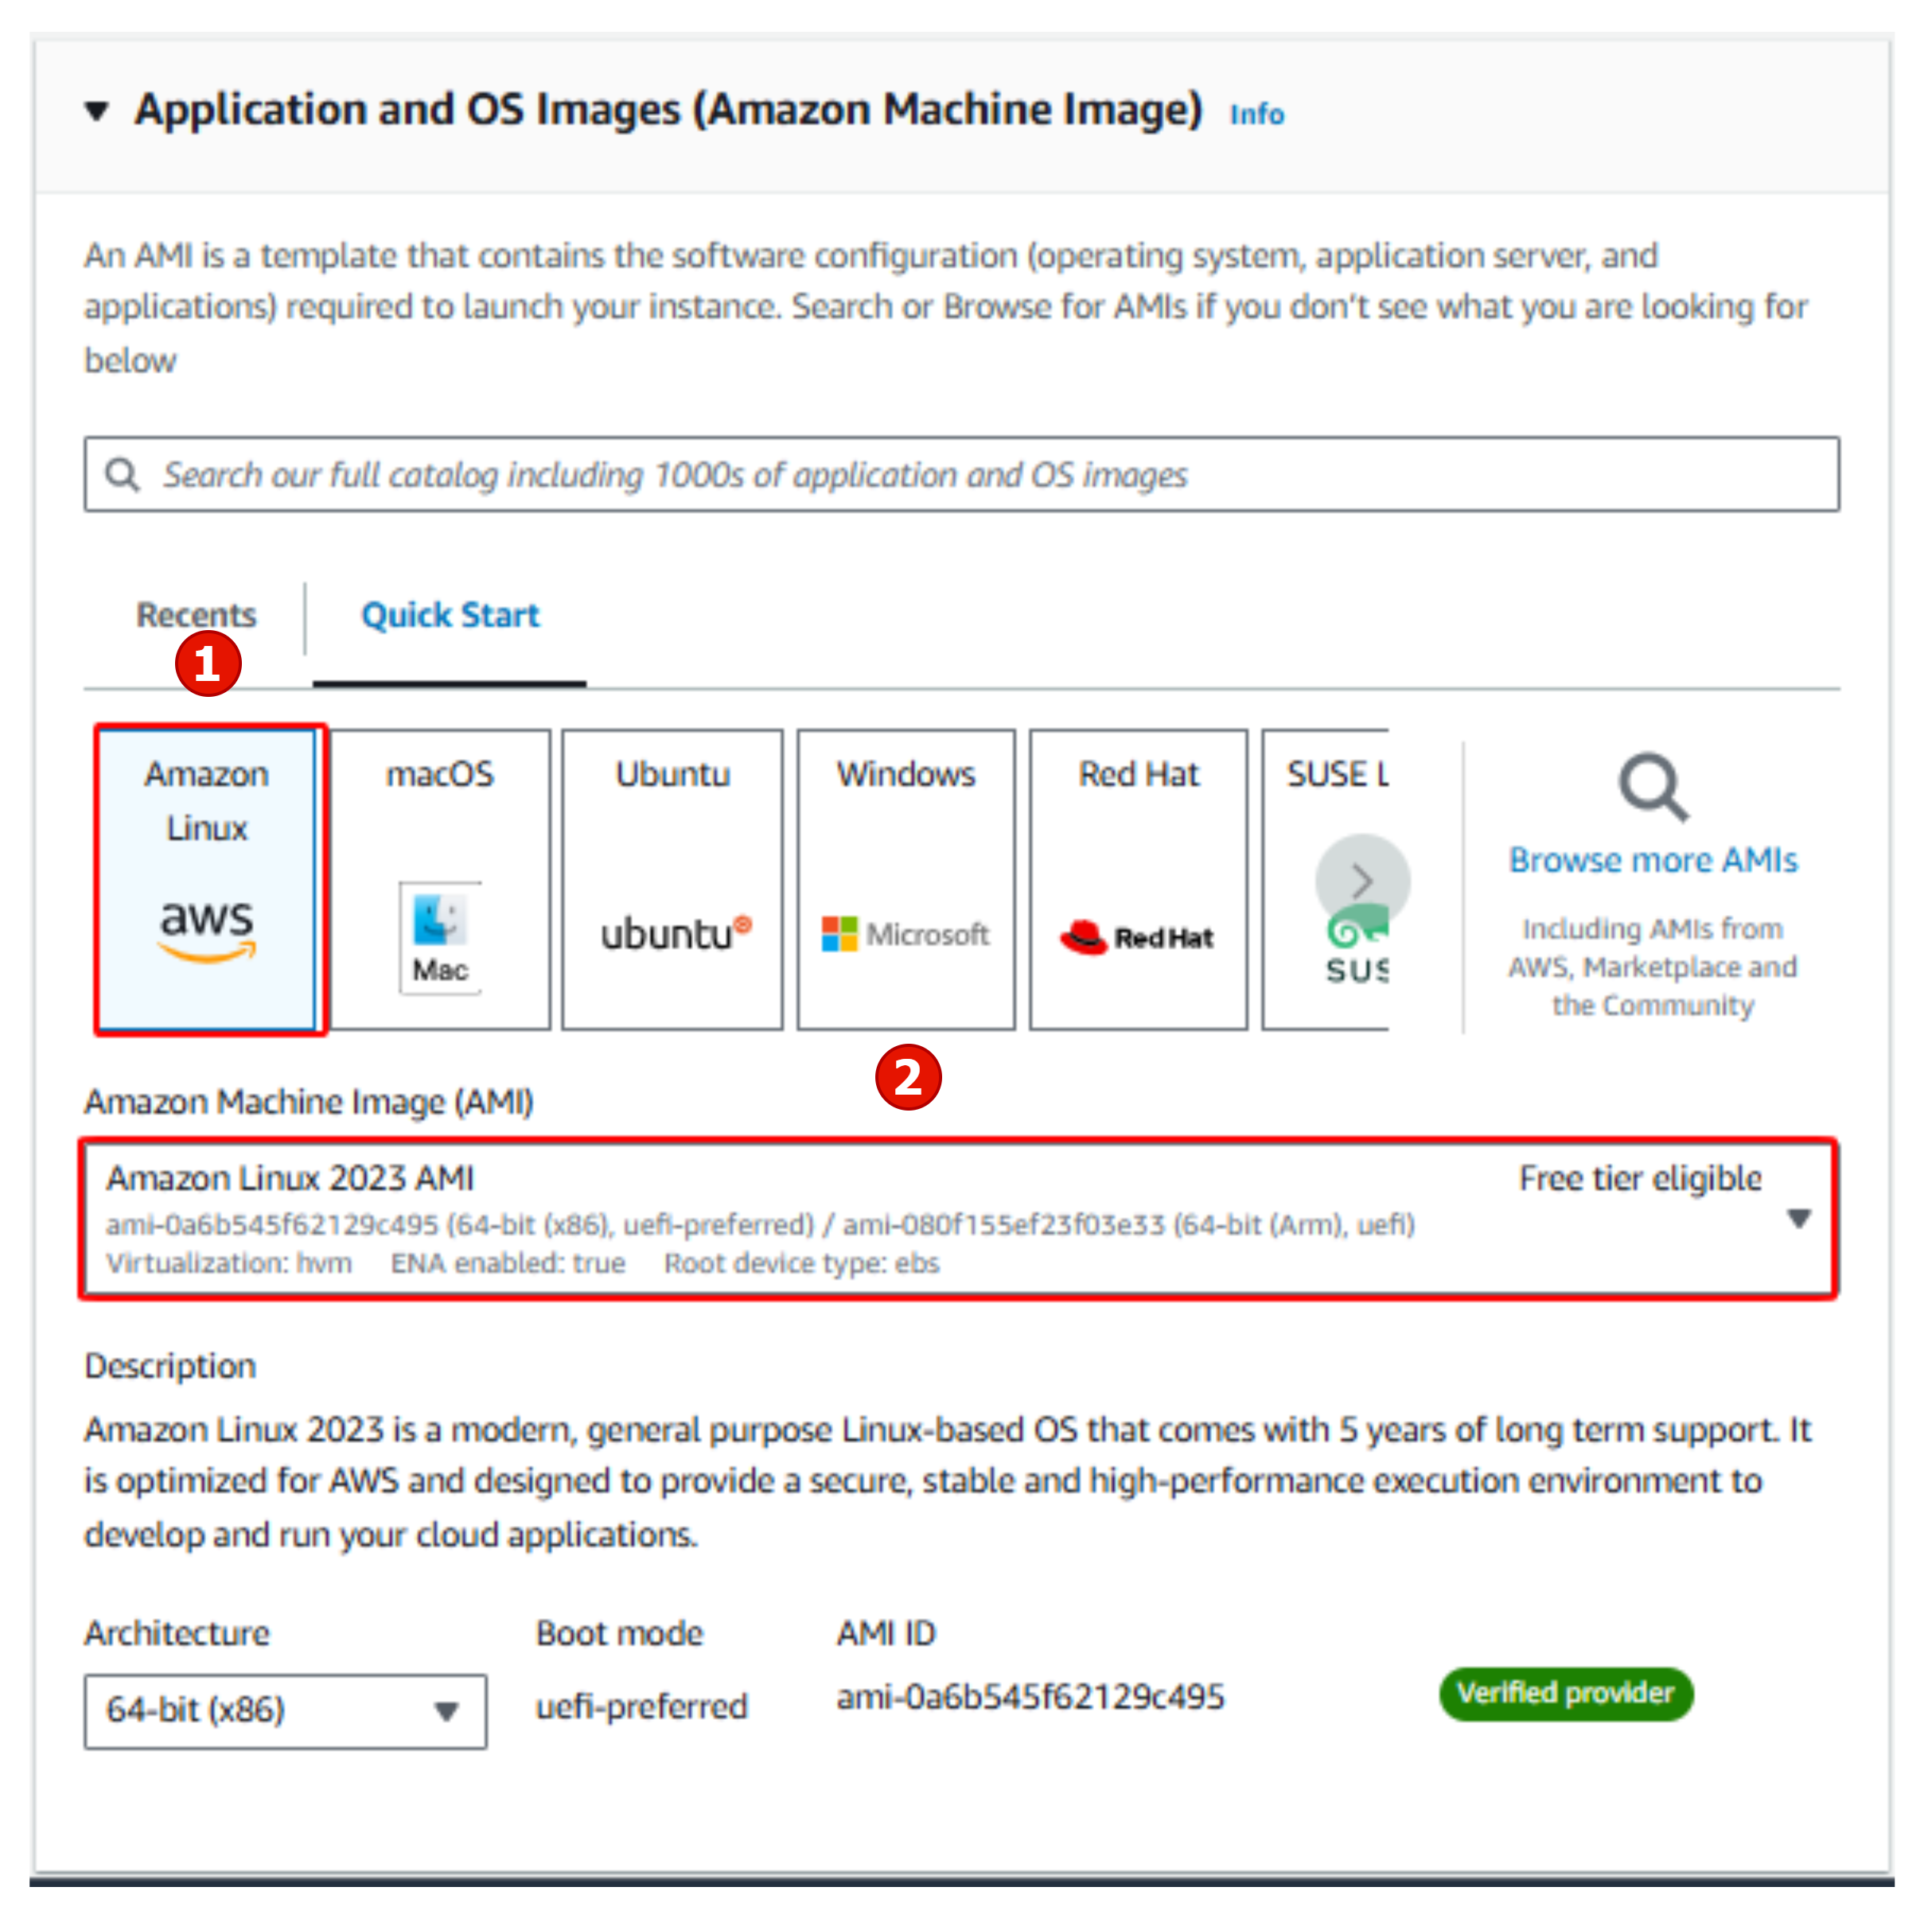
- Select AMI:
- In the Application and OS Images (Amazon Machine Image) section, choose Amazon Linux 2023 AMI.
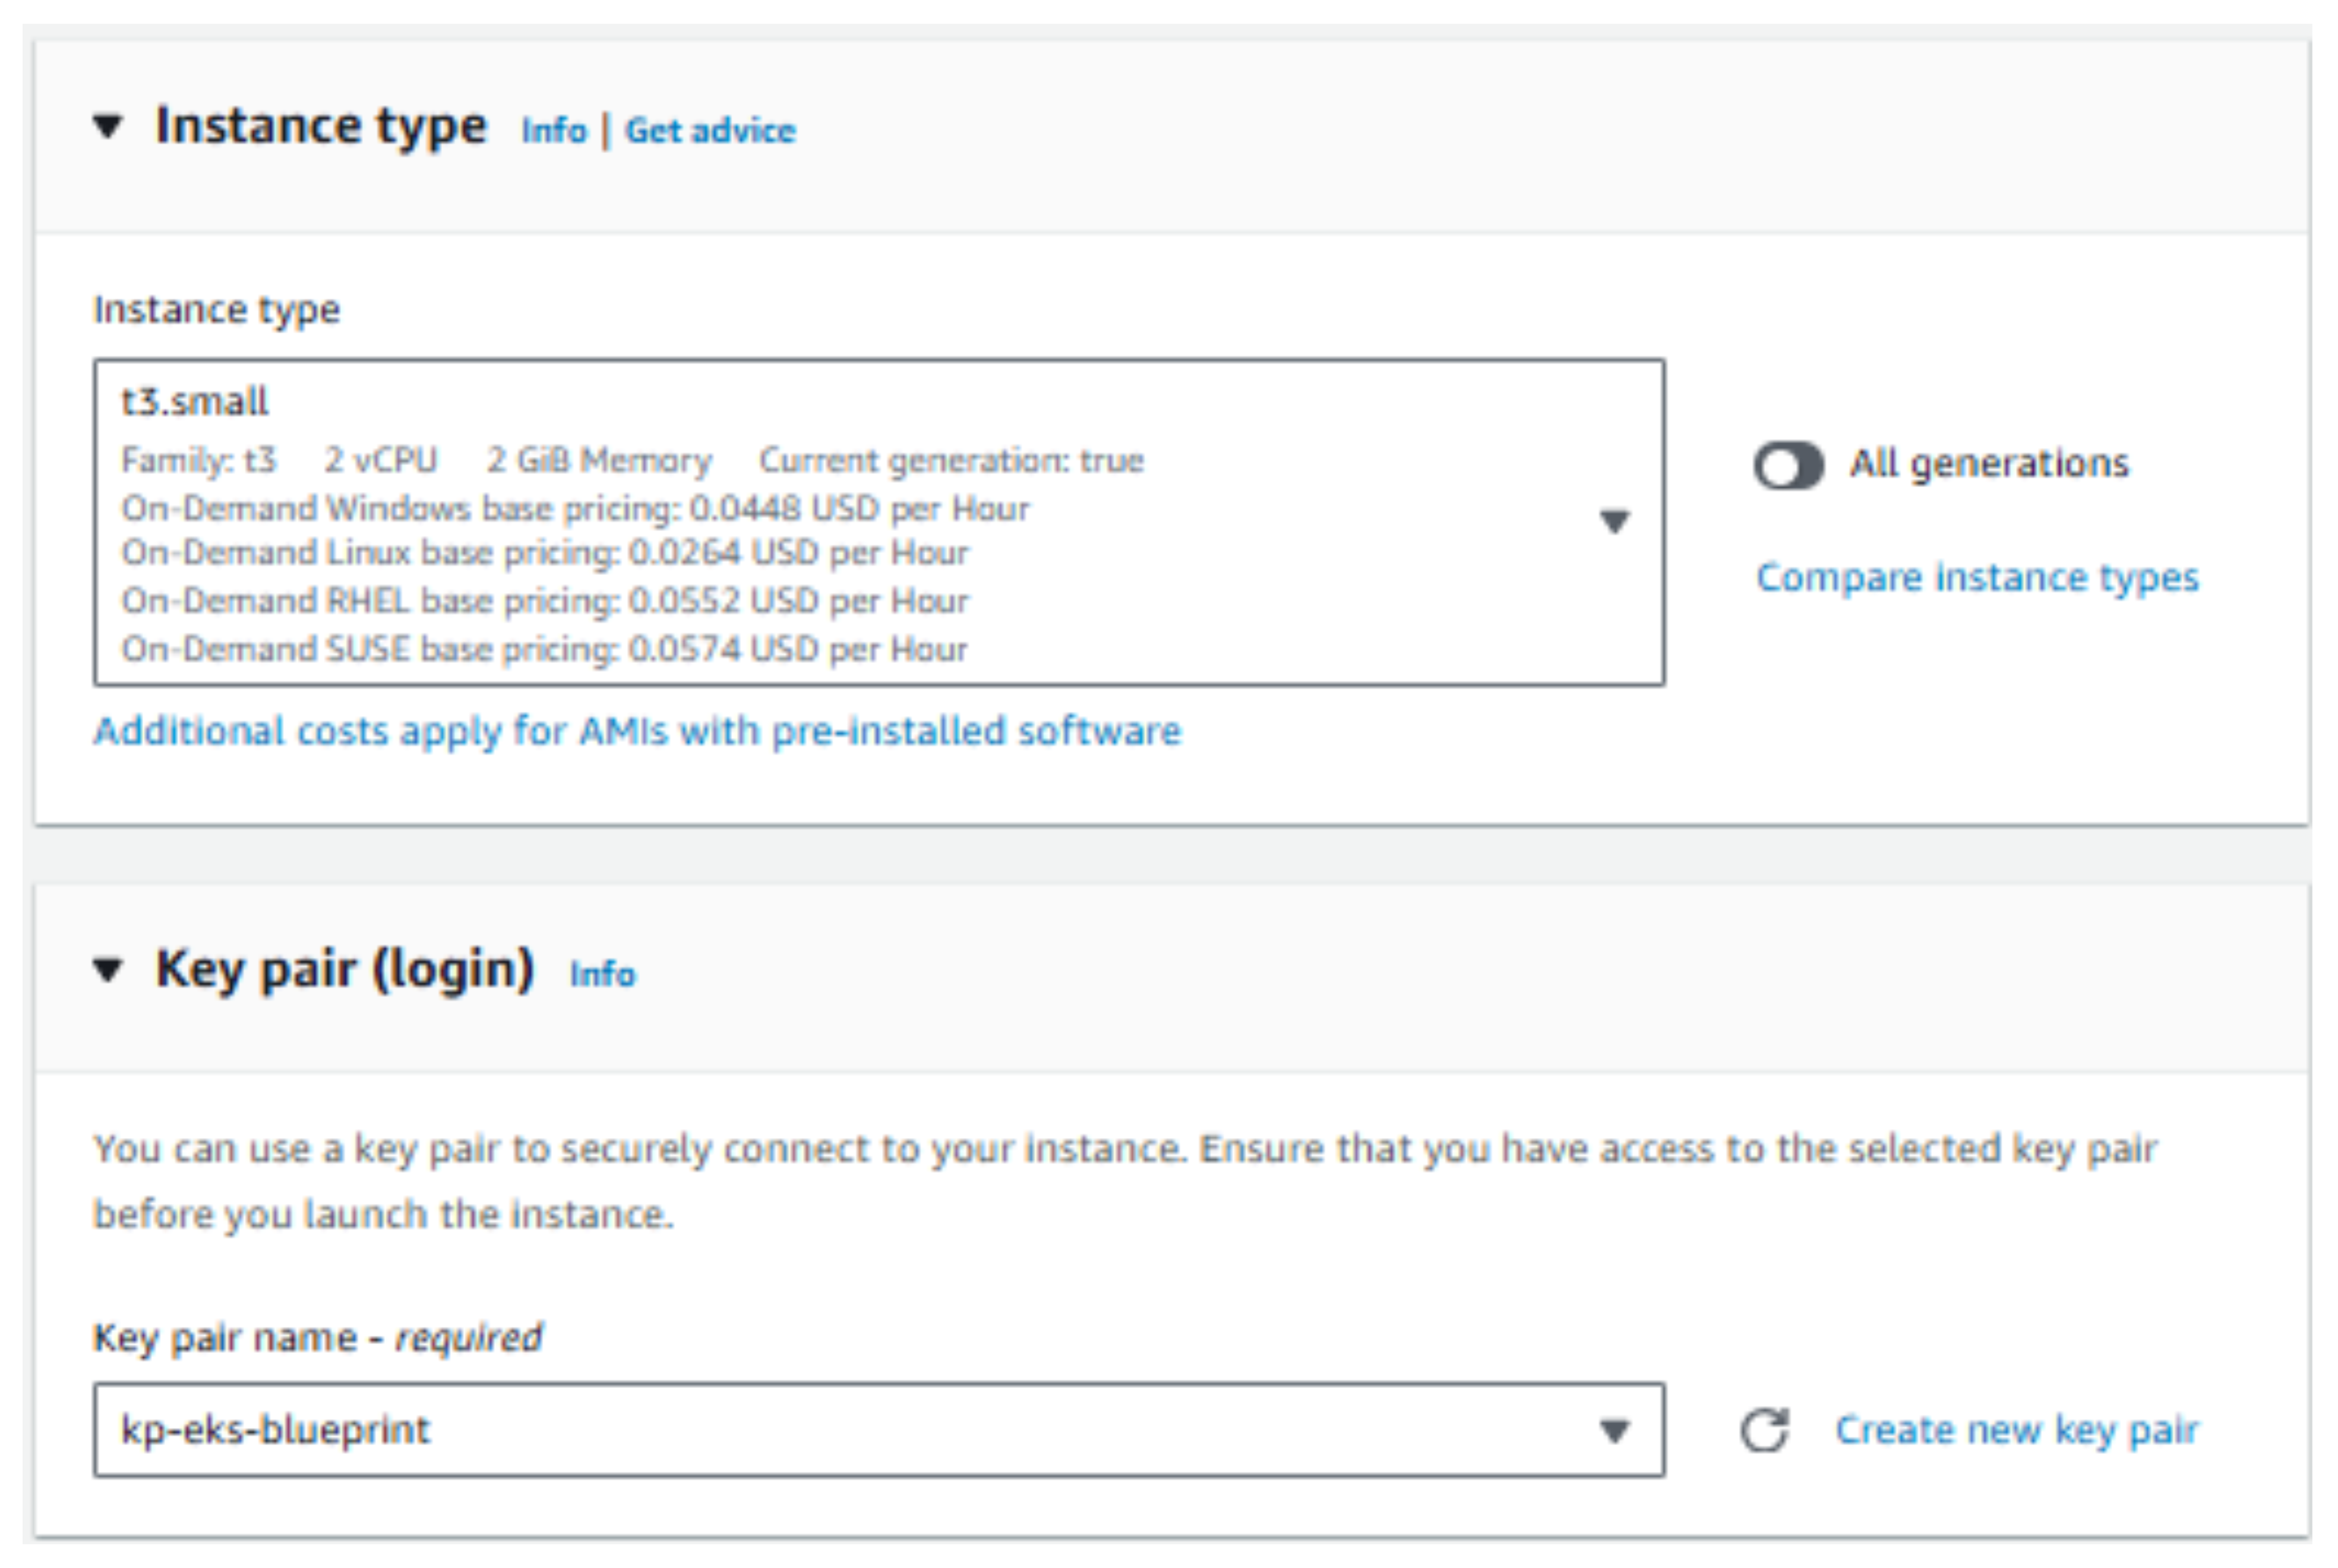
- Instance Type and Key Pair:
- Choose t3.small.
- Create a key pair and name it kp-eks-blueprint.
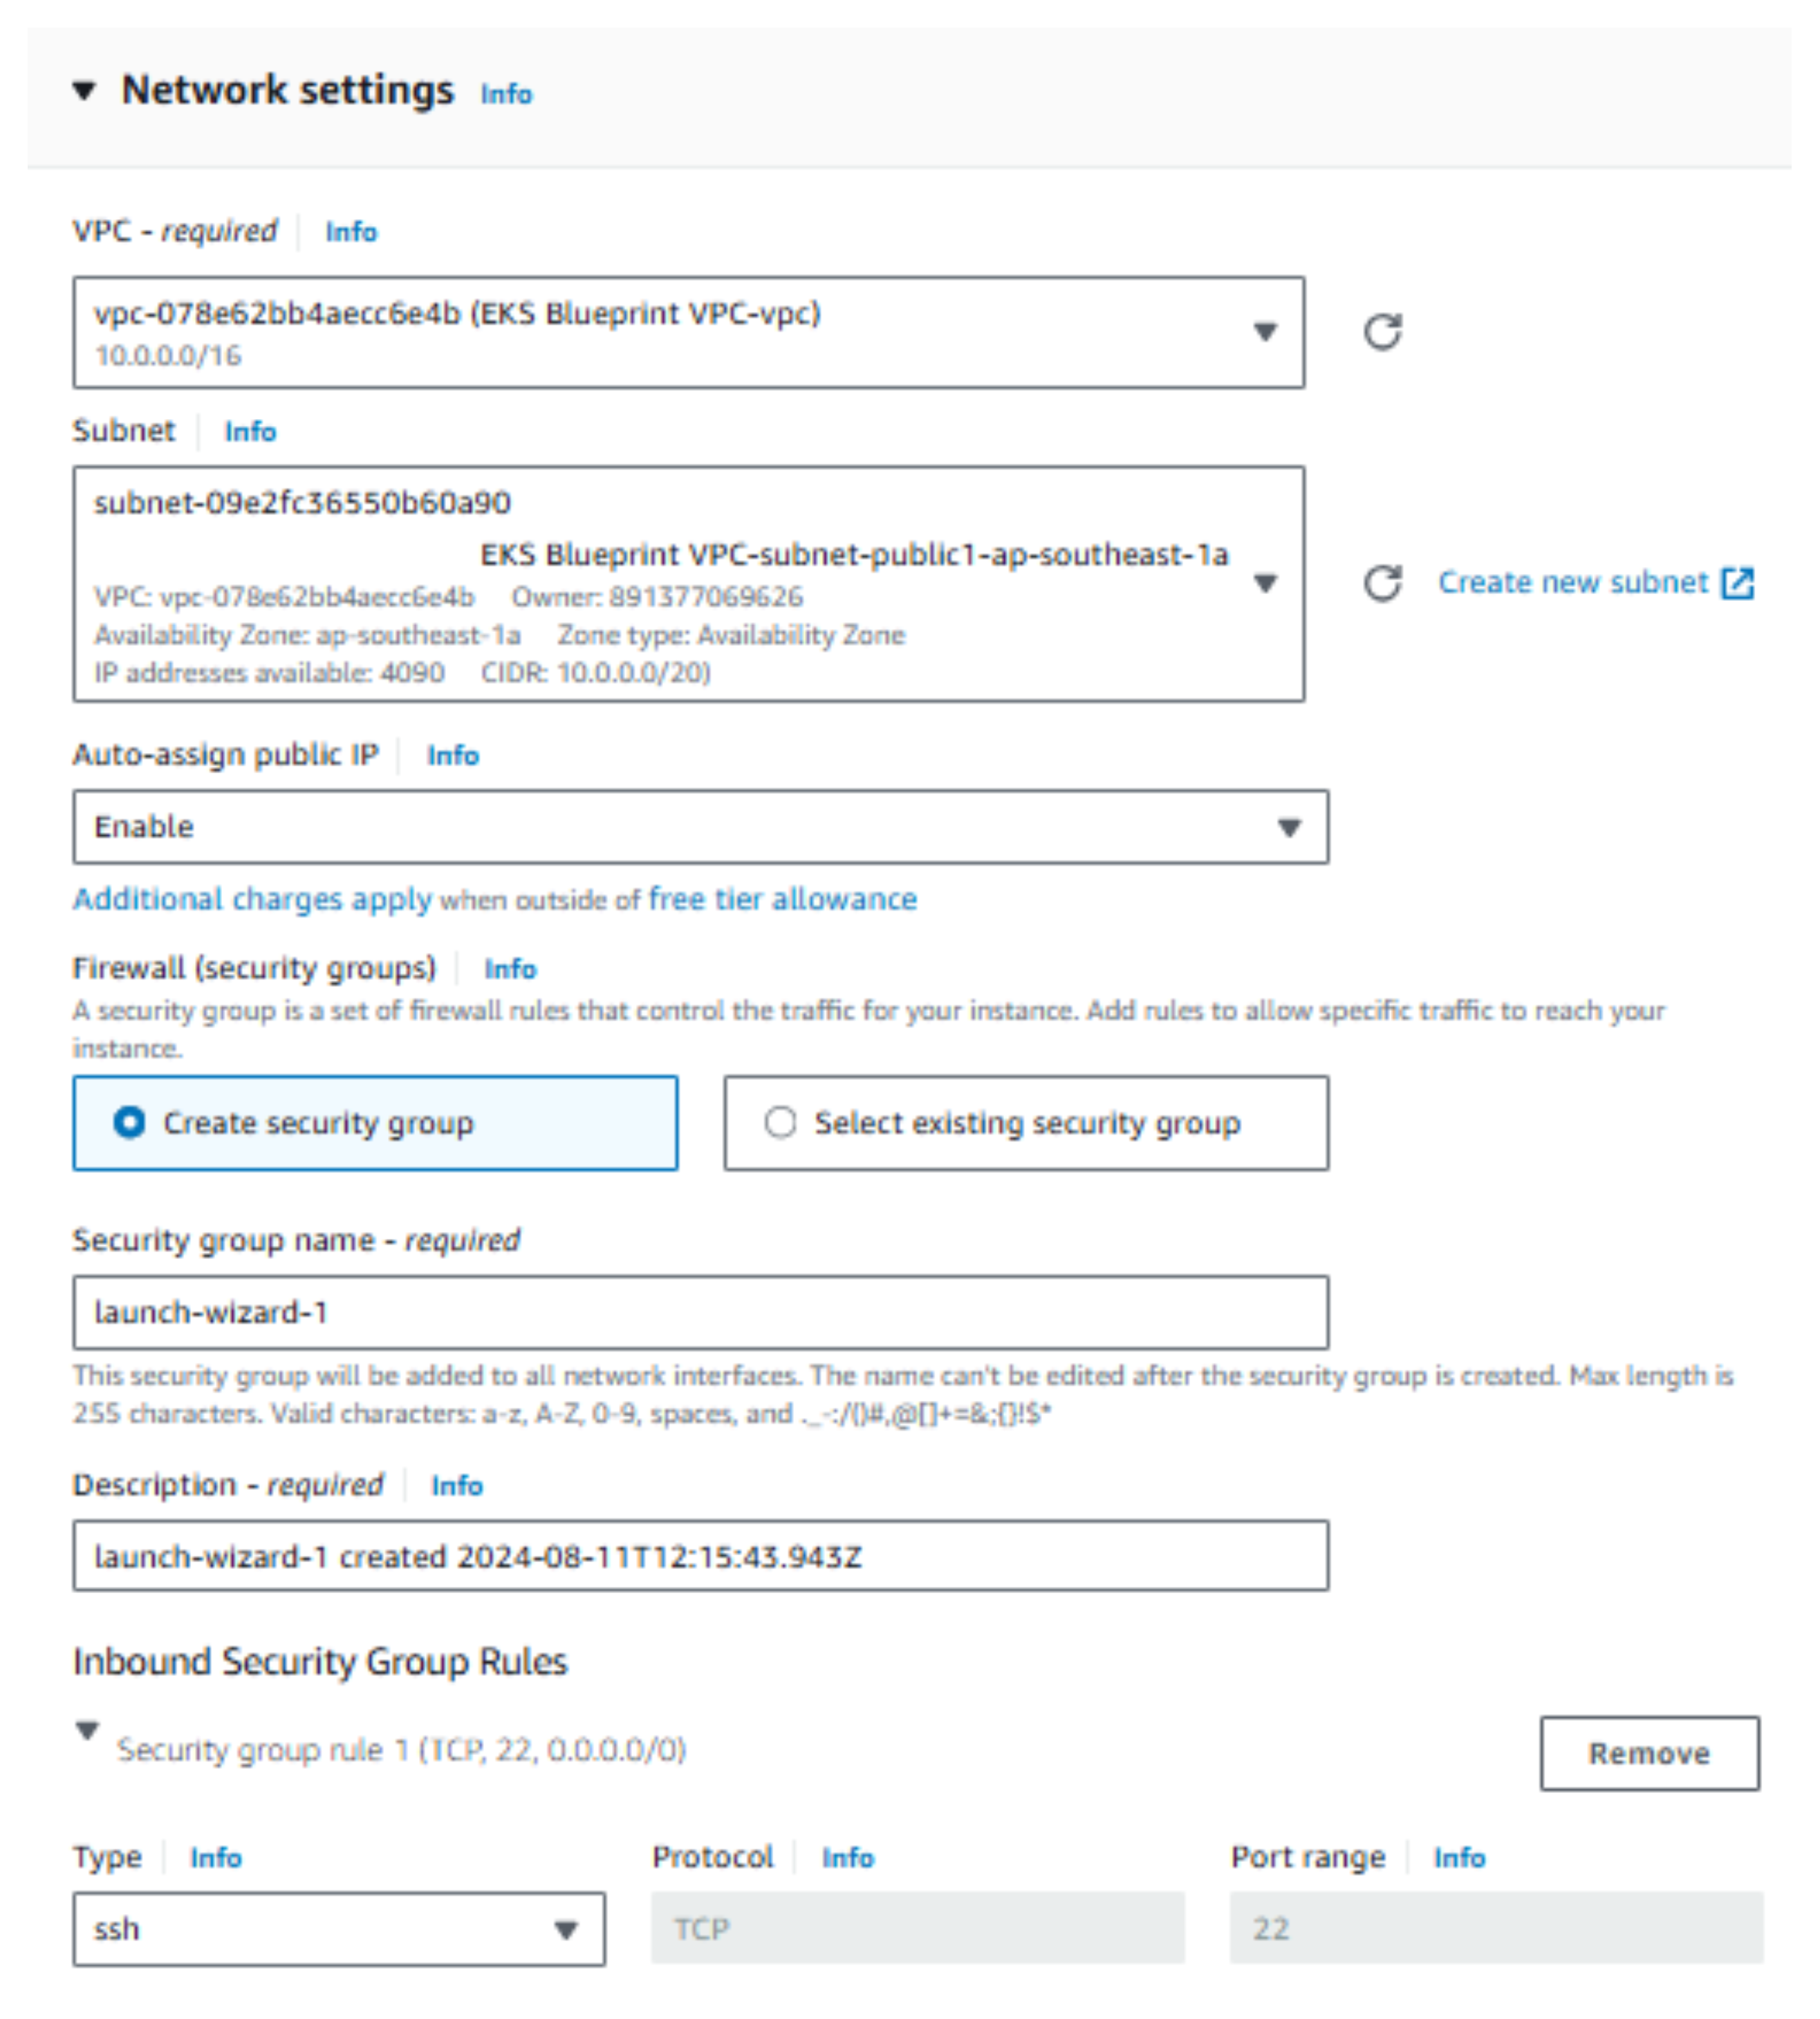
- Network Settings:
- Select the VPC you just created.
- Choose public-subnet-1.
- Enable Auto-assign public IP.
- Create a Security Group.
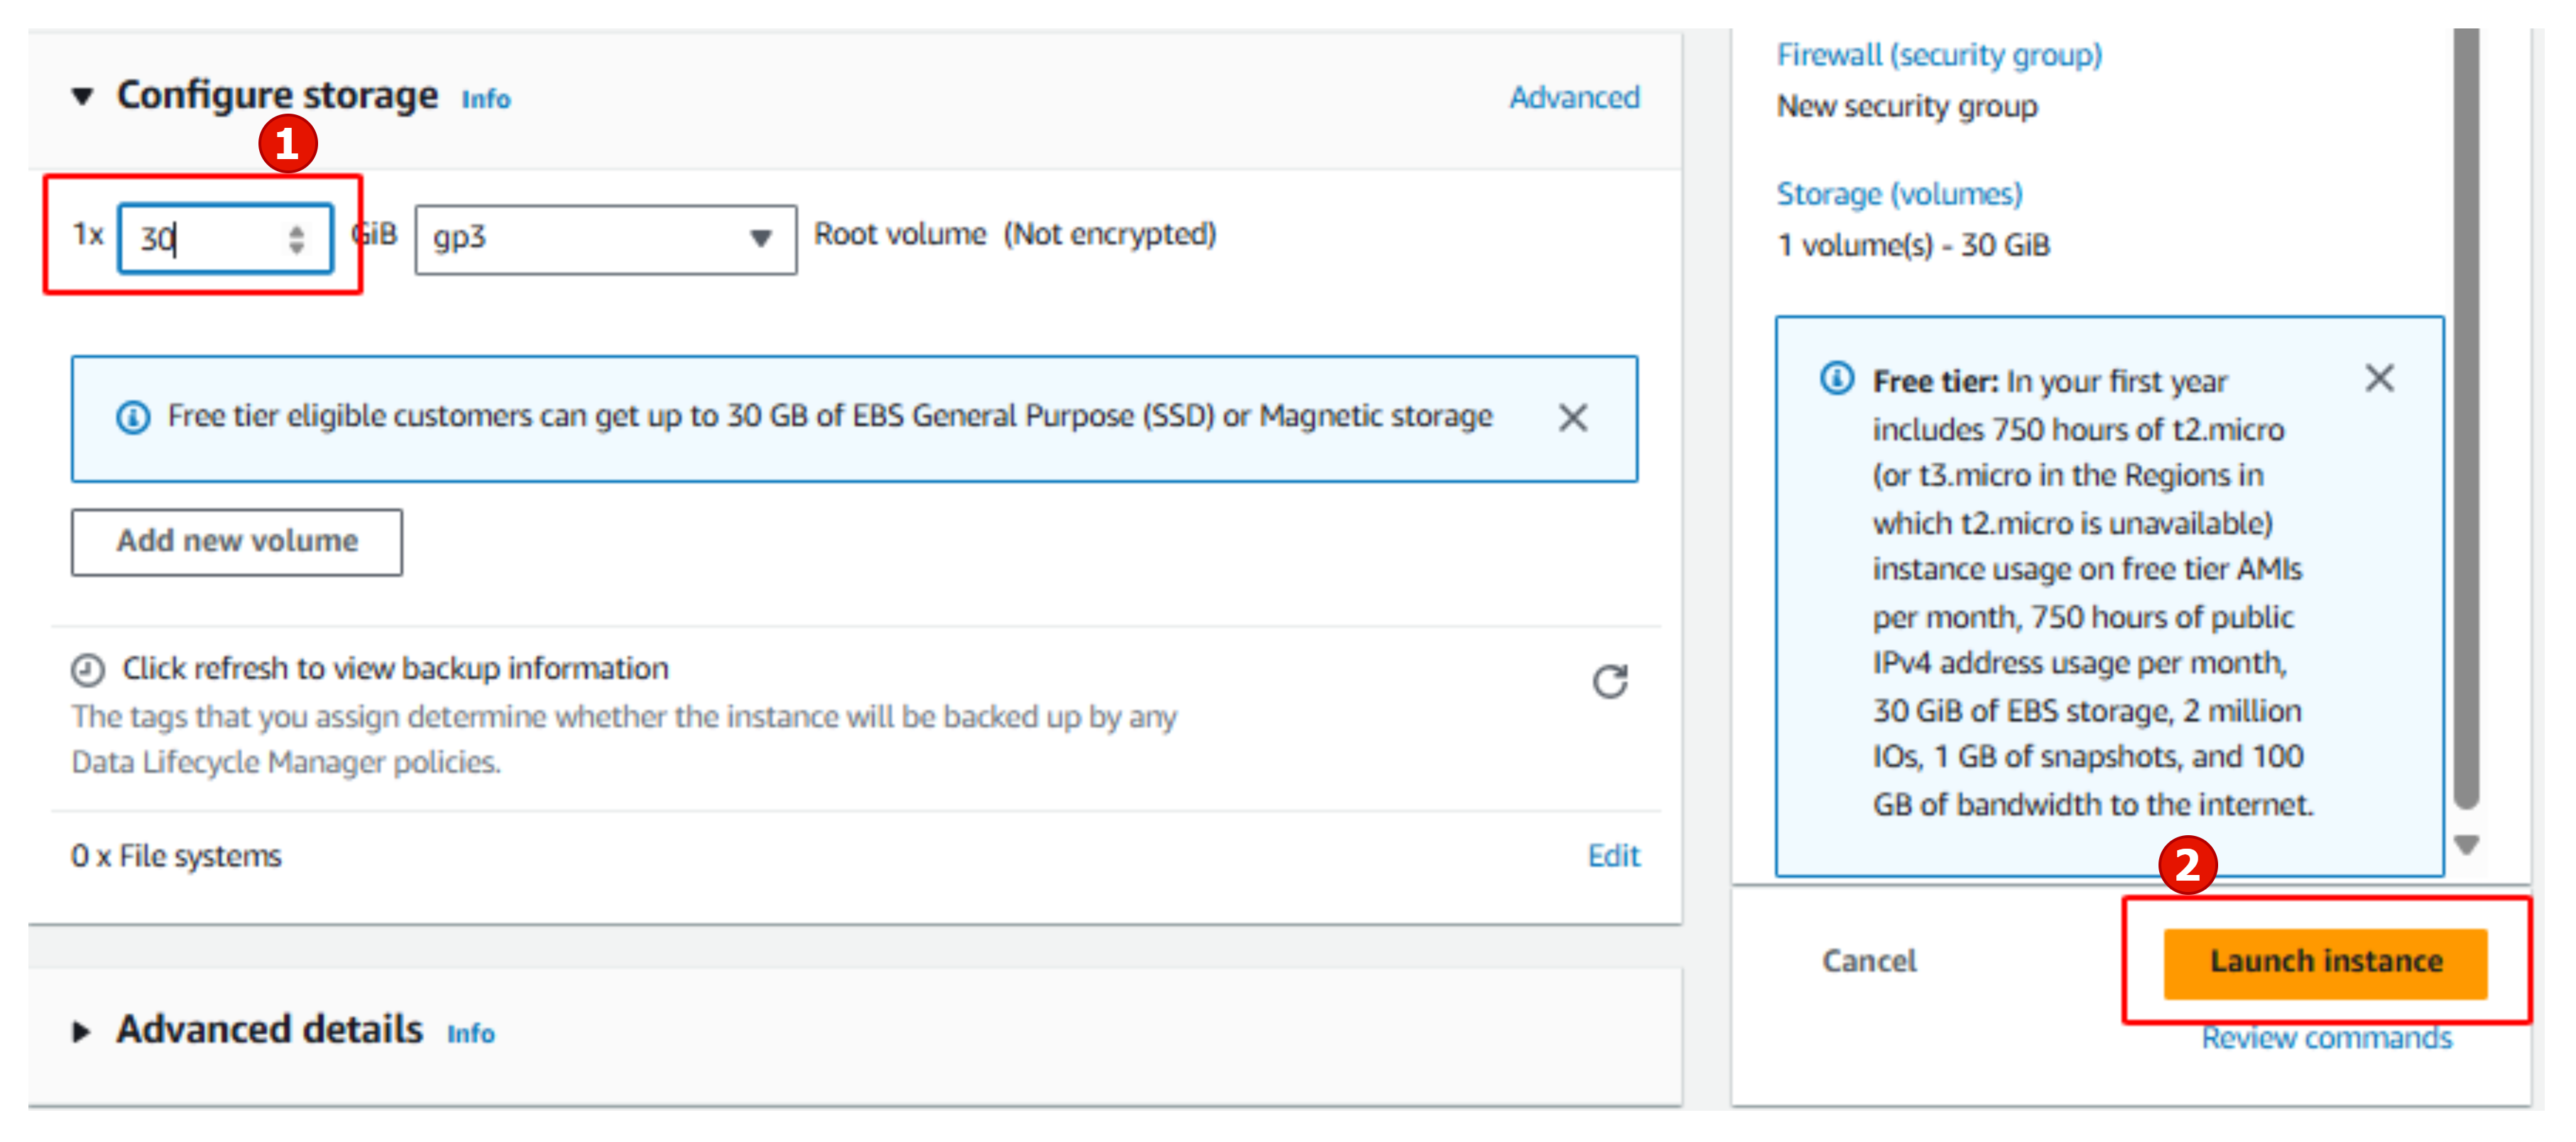
- Configure Storage:
- Change the storage size to 30GB and click Launch Instance.
- Completion:
- You have successfully created an EC2 Instance.