Create Application Load Balancer
Create Application Load Balancer
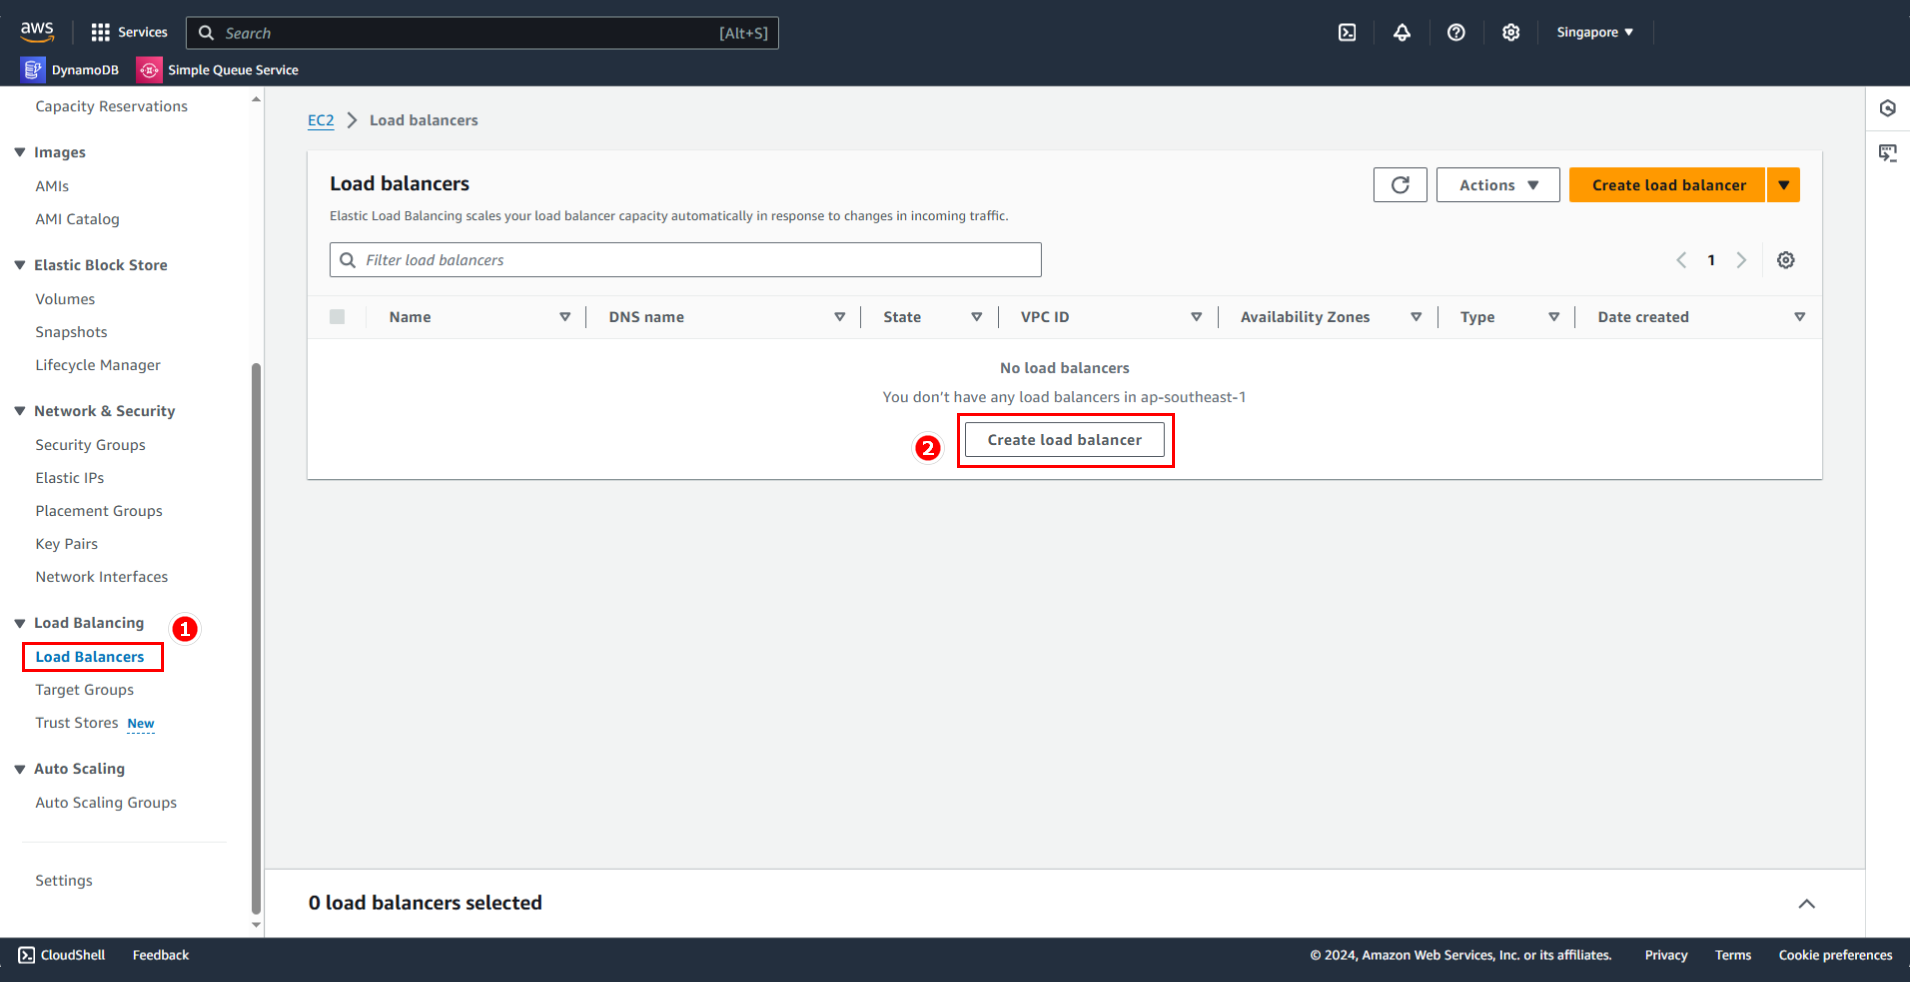
Still in this interface:
- Select Load balancers
- Click Create load balancer
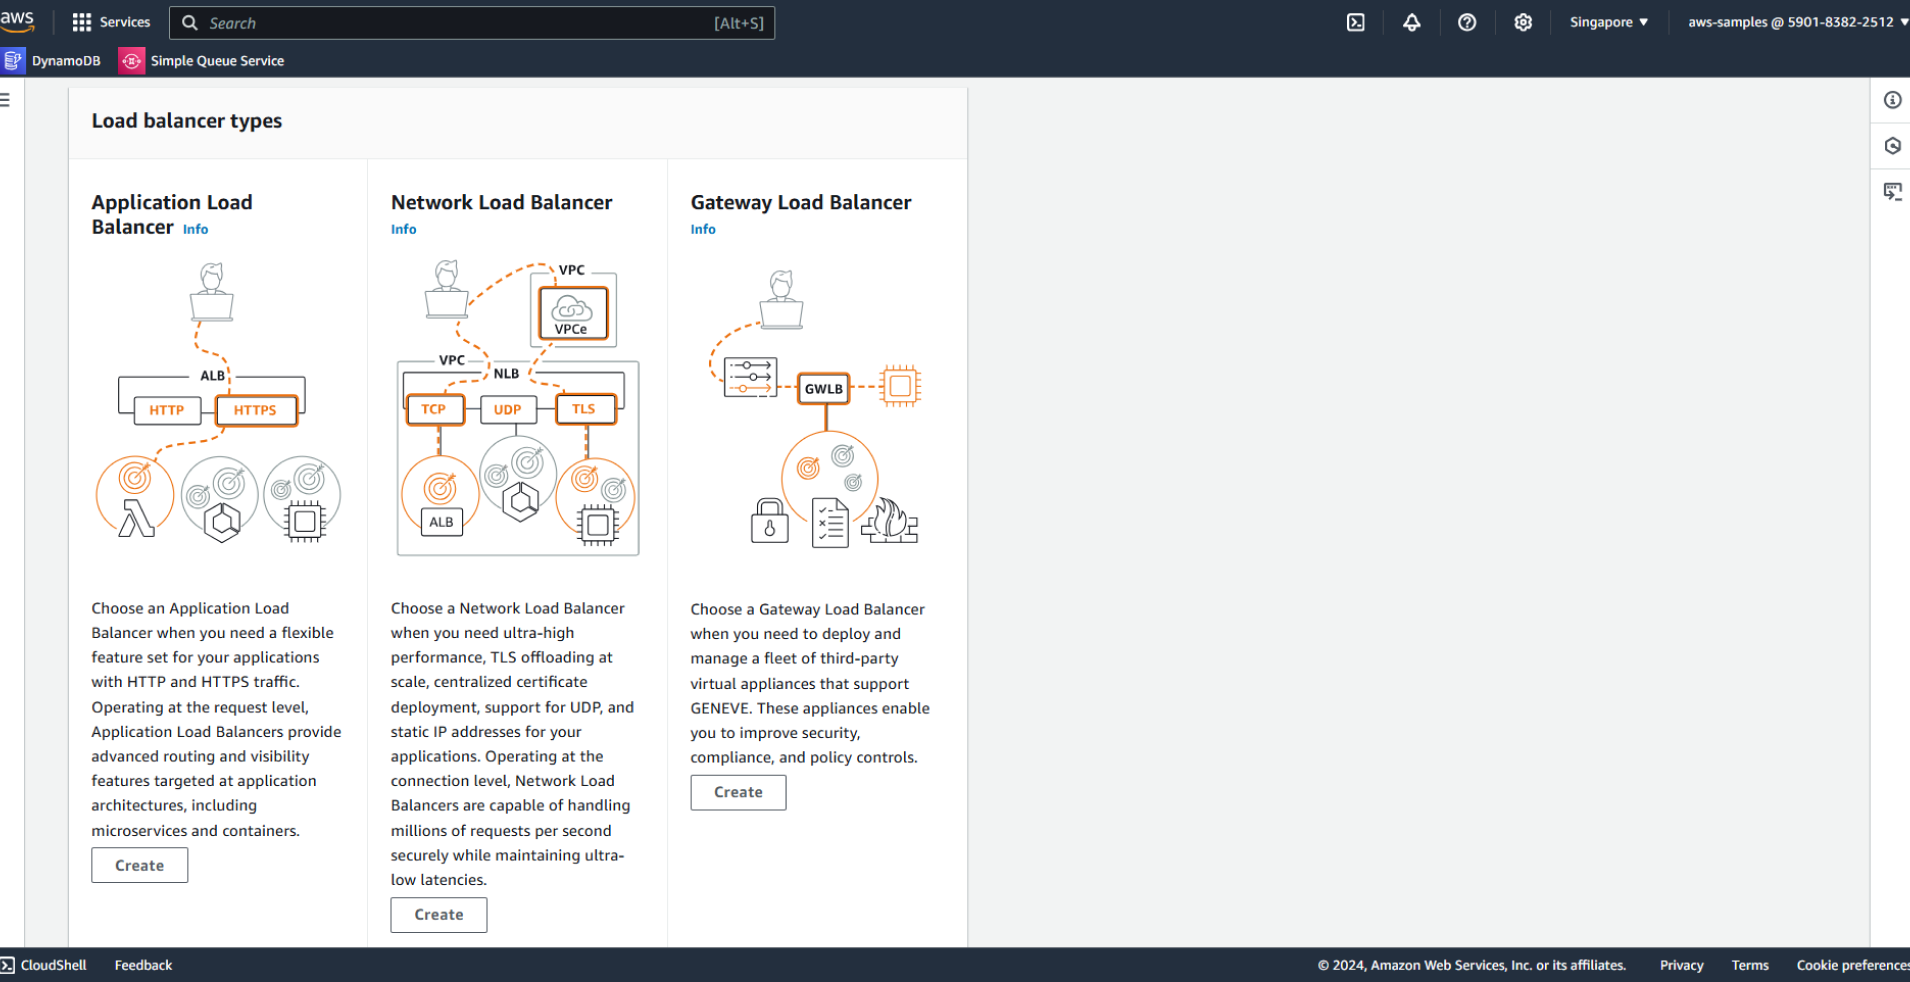
For Load balancer type, select Application Load Balancer and click Create
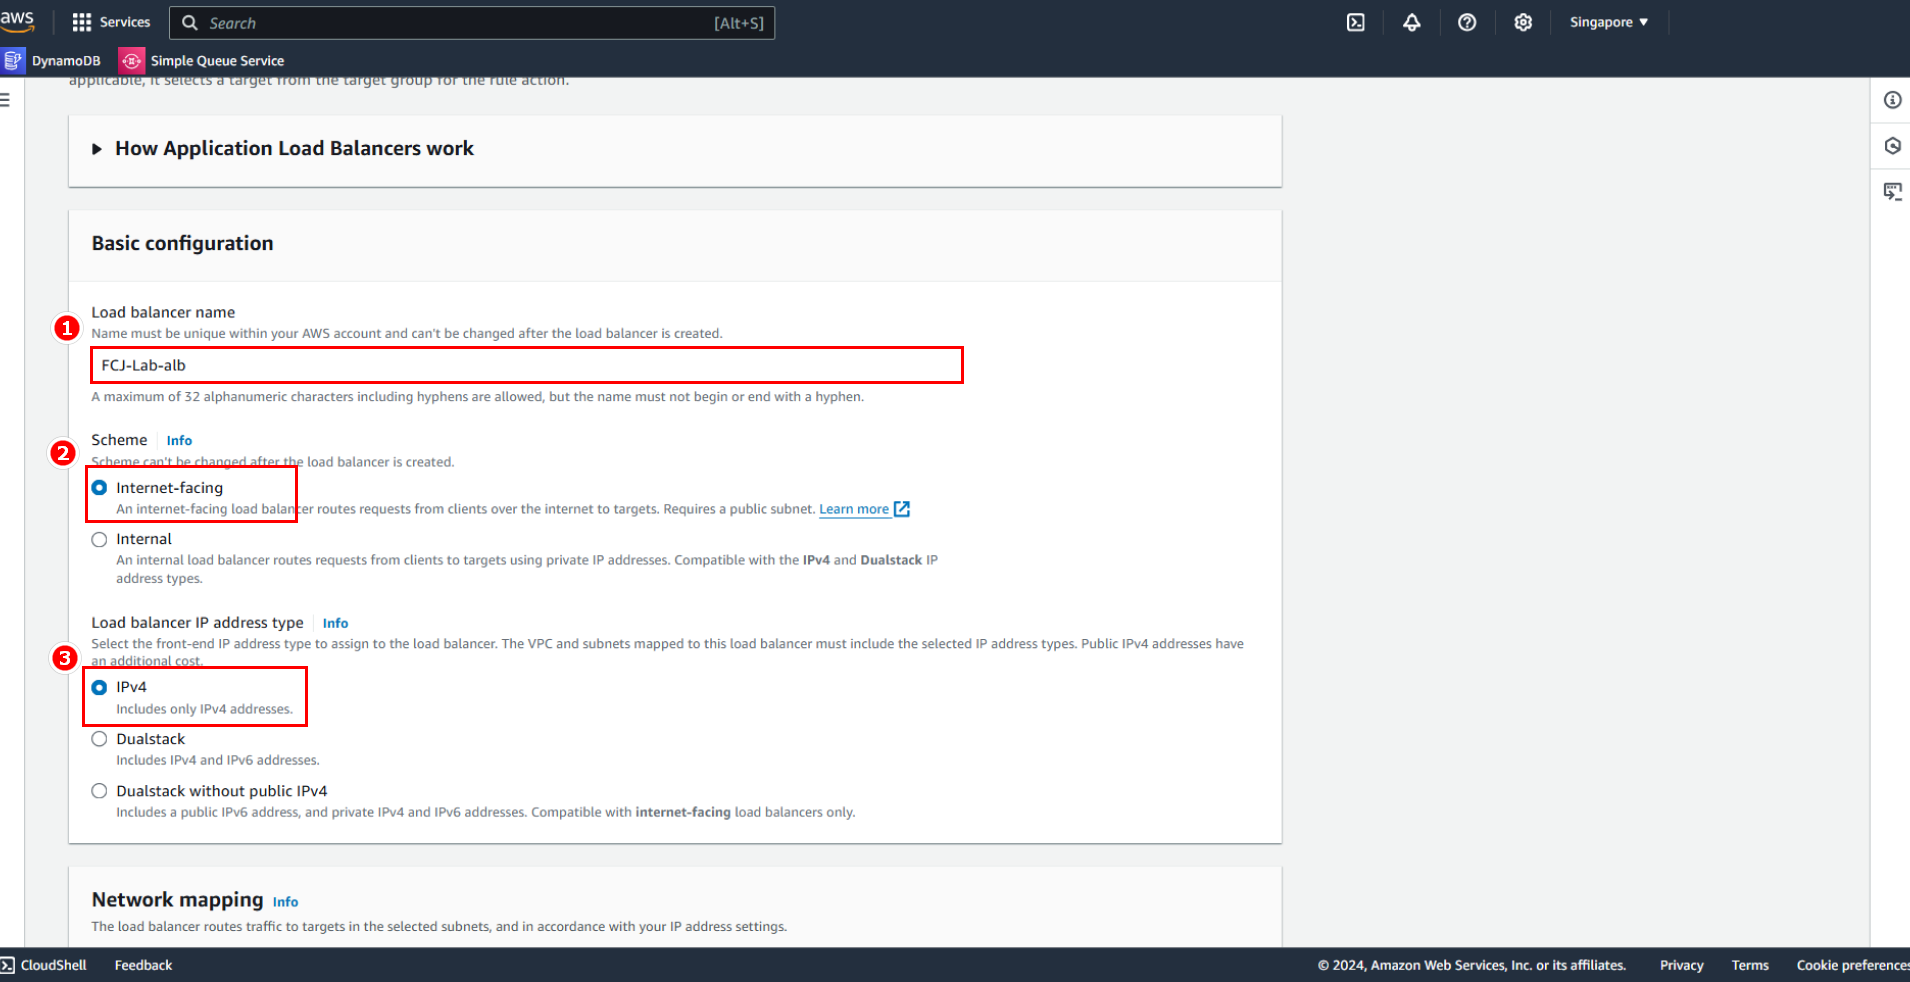
In the Basic configuration section:
- Name:
FCJ-Lab-alb - Scheme: select Internet-facing
- Load balancer IP address type: IPv4
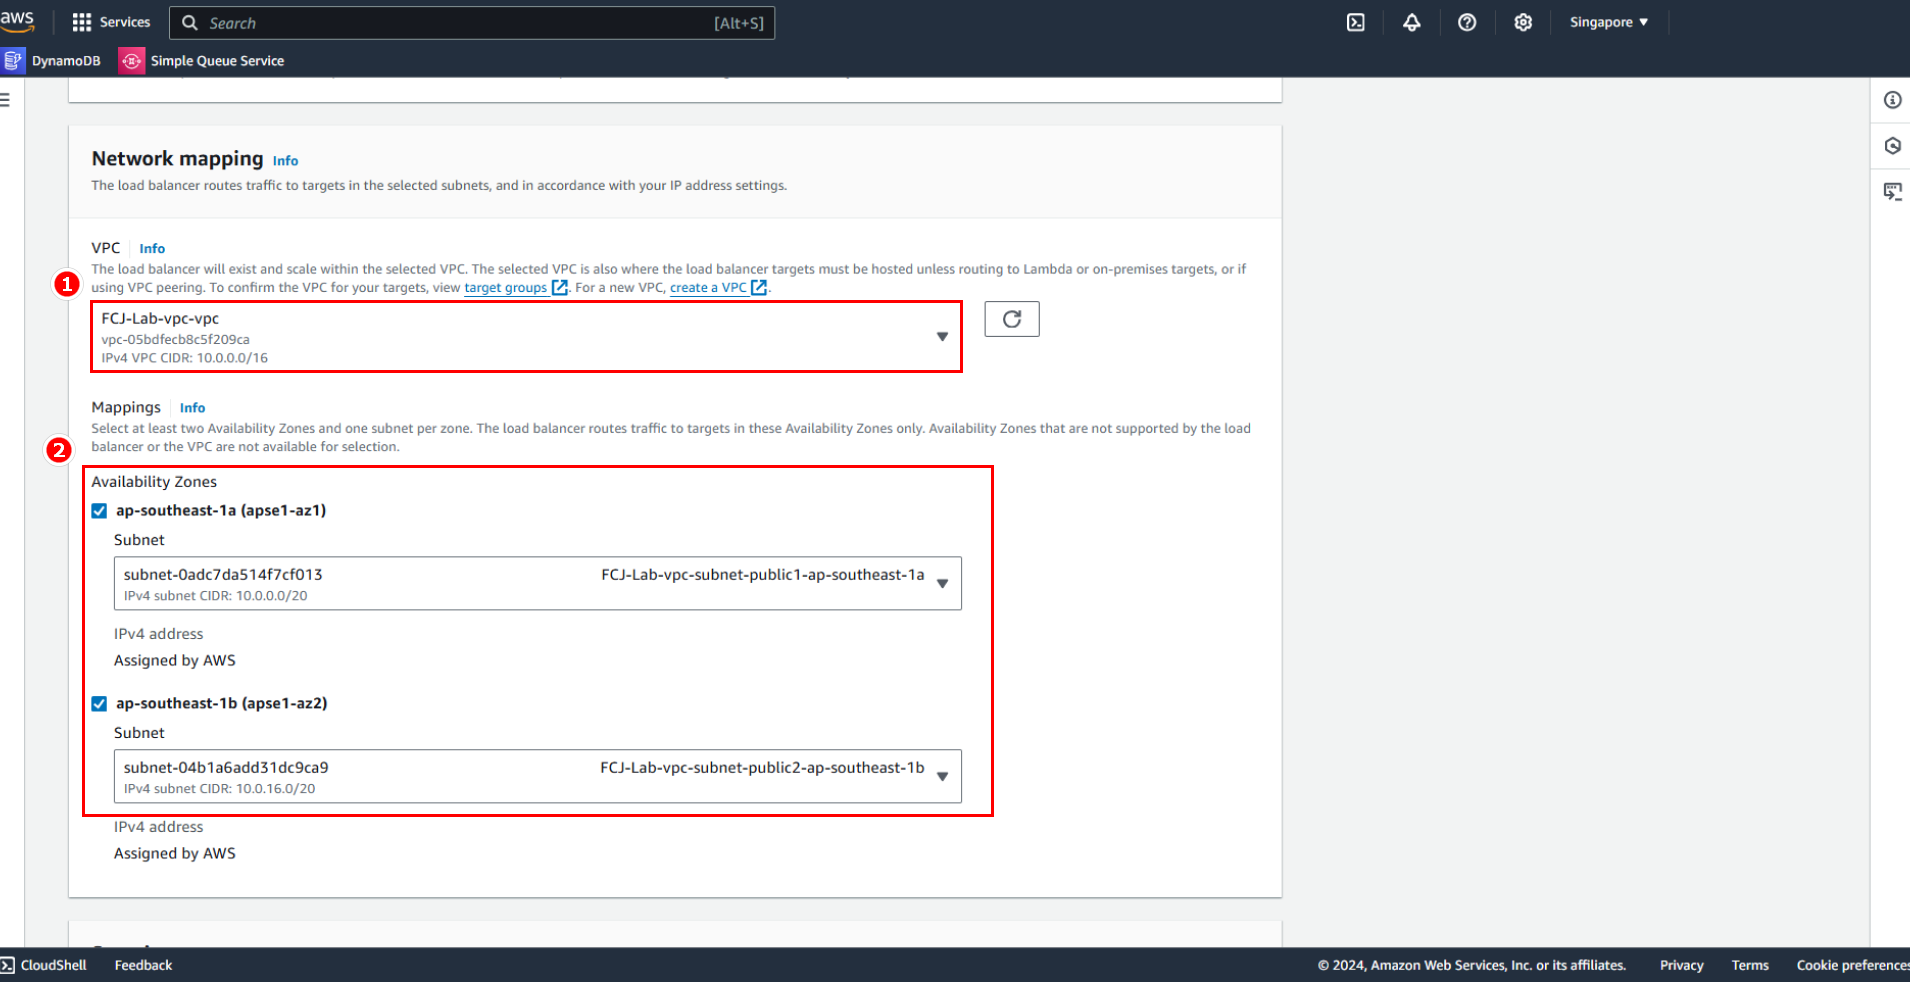
In the Network Mapping section:
- VPC: select the VPC that we created earlier
- Availability Zones
- Select 2 AZs, and for each AZ, select the Public subnets.
Next:
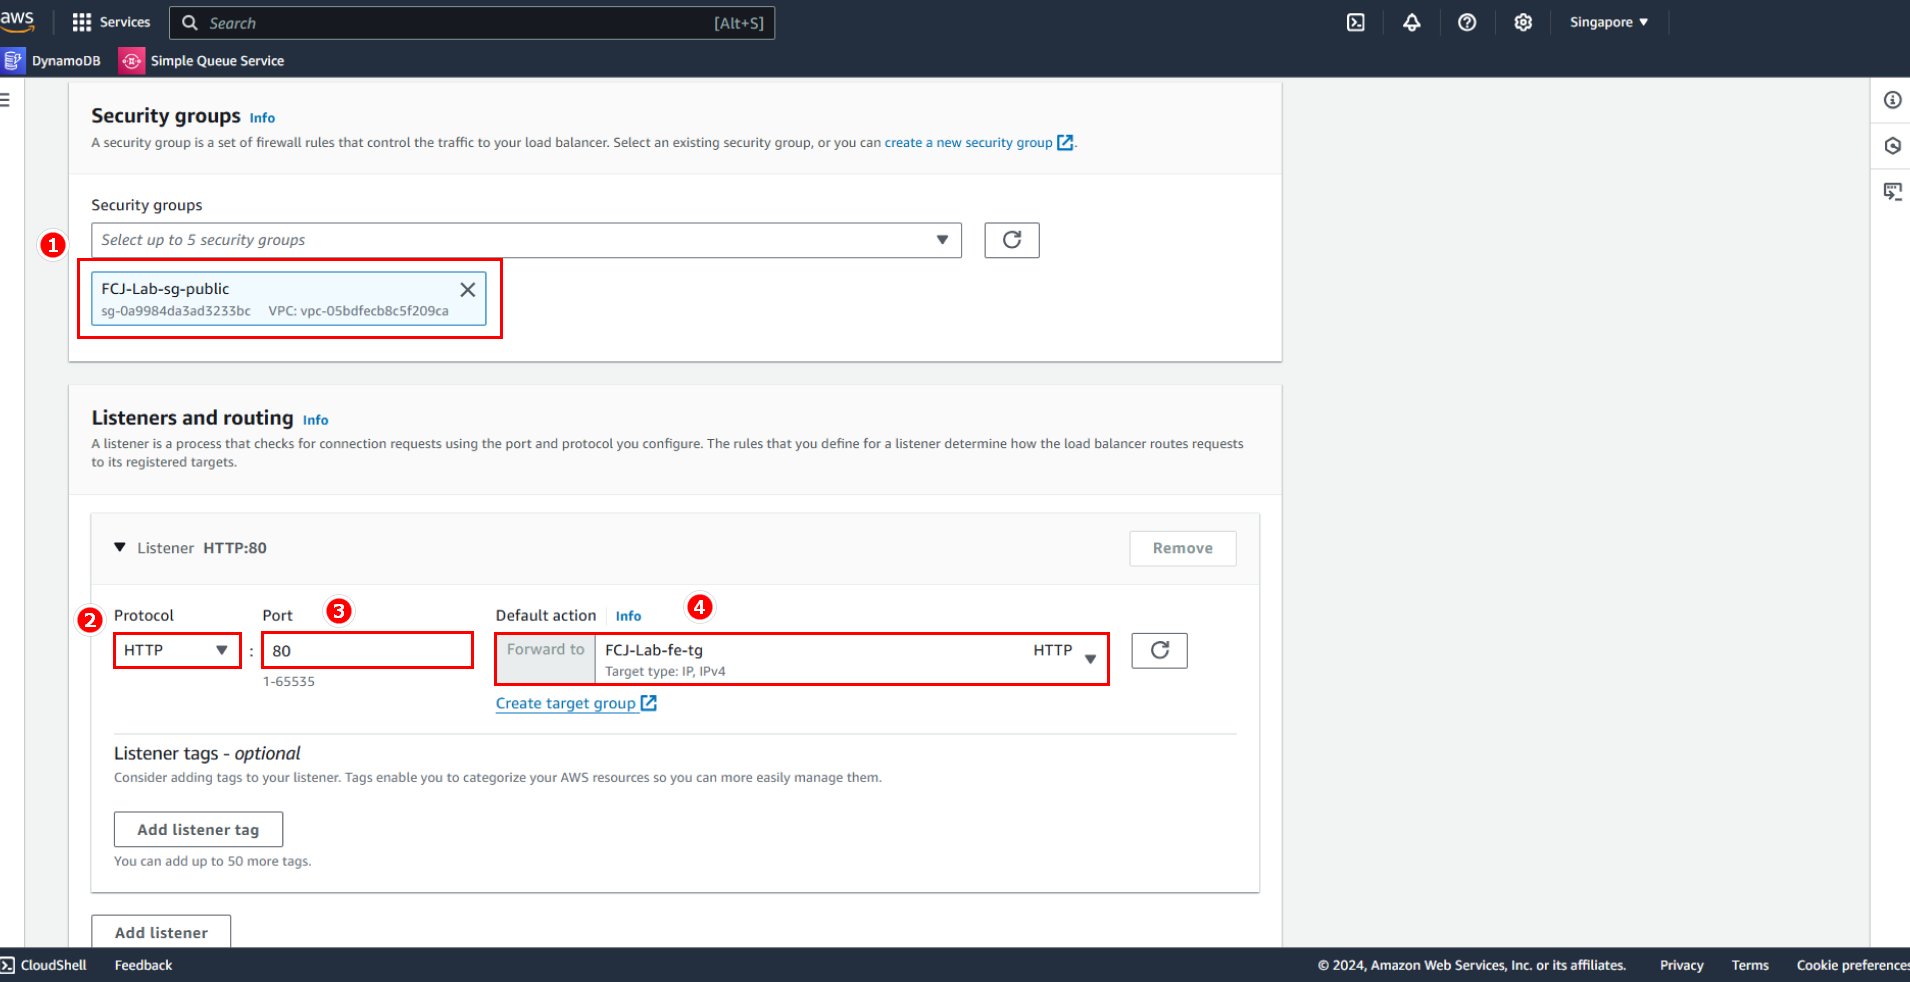
- In the Security group section, select the SG (Security Group) that we created earlier.
- In Listeners and routing:
- Protocol : Port: HTTP : 80
- Target group: select FCJ-Lab-fe-tg
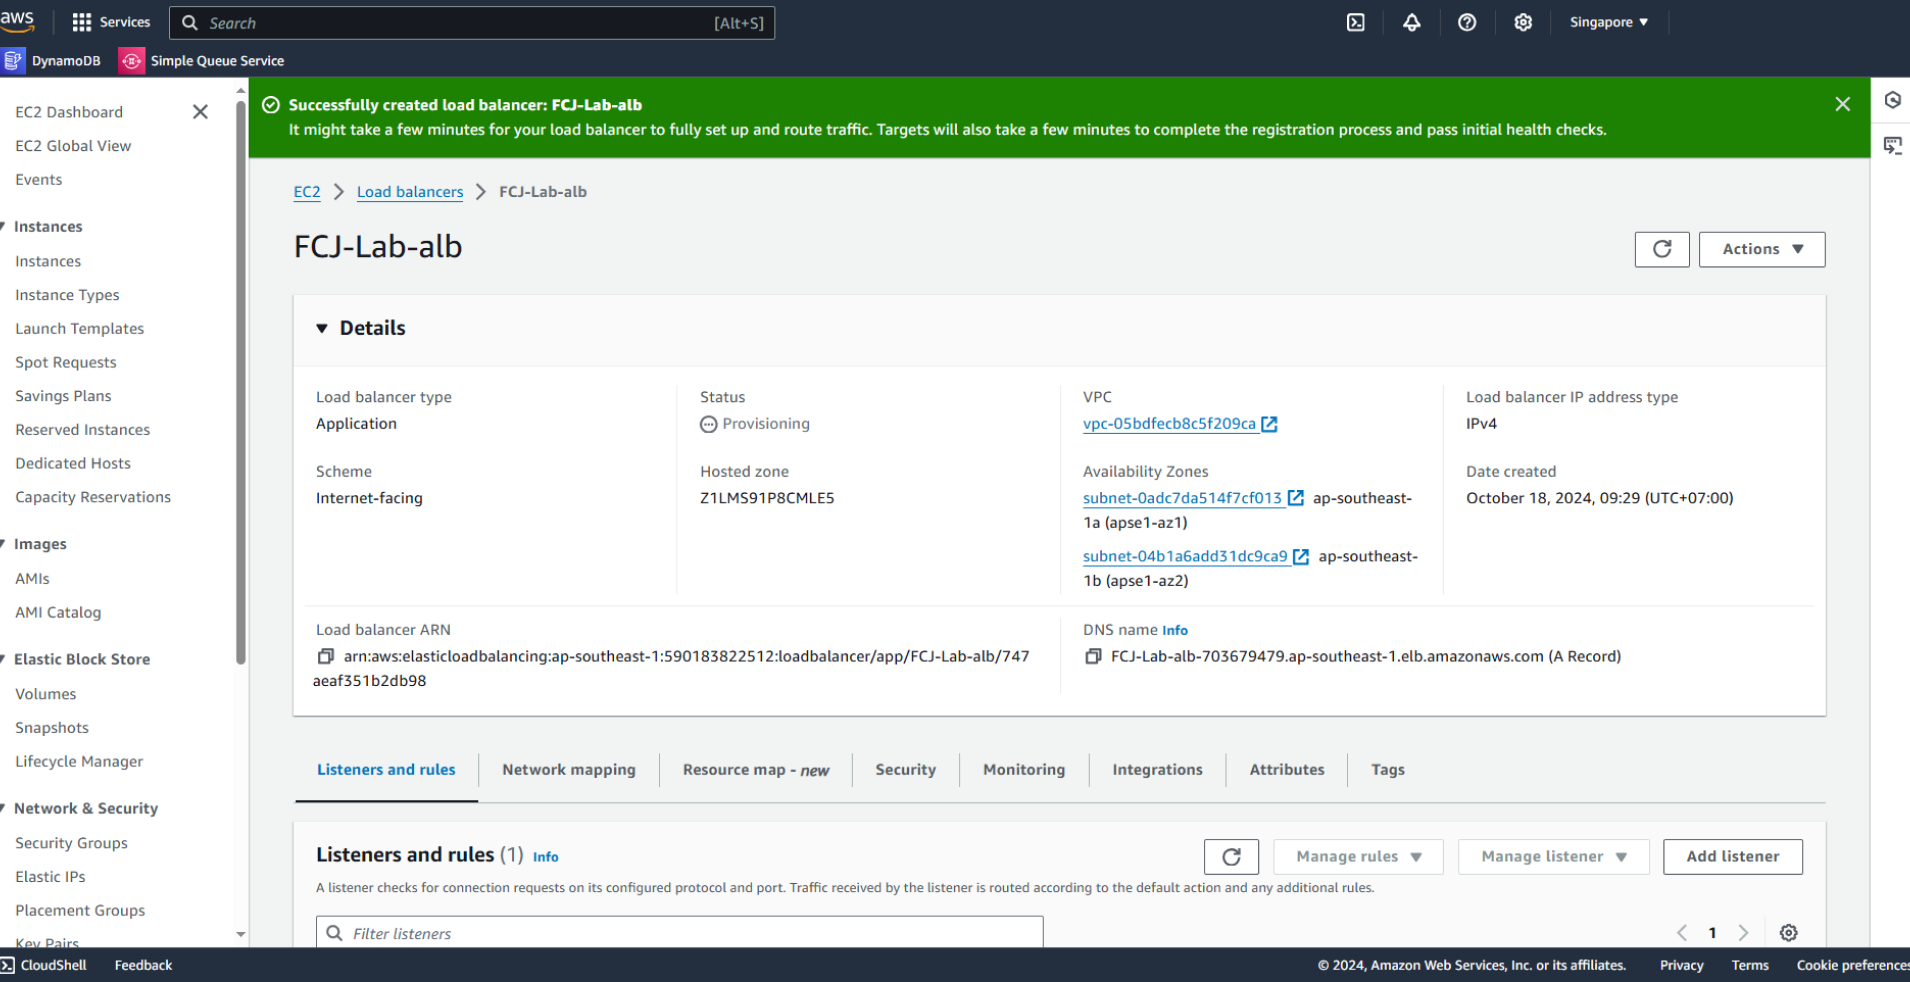
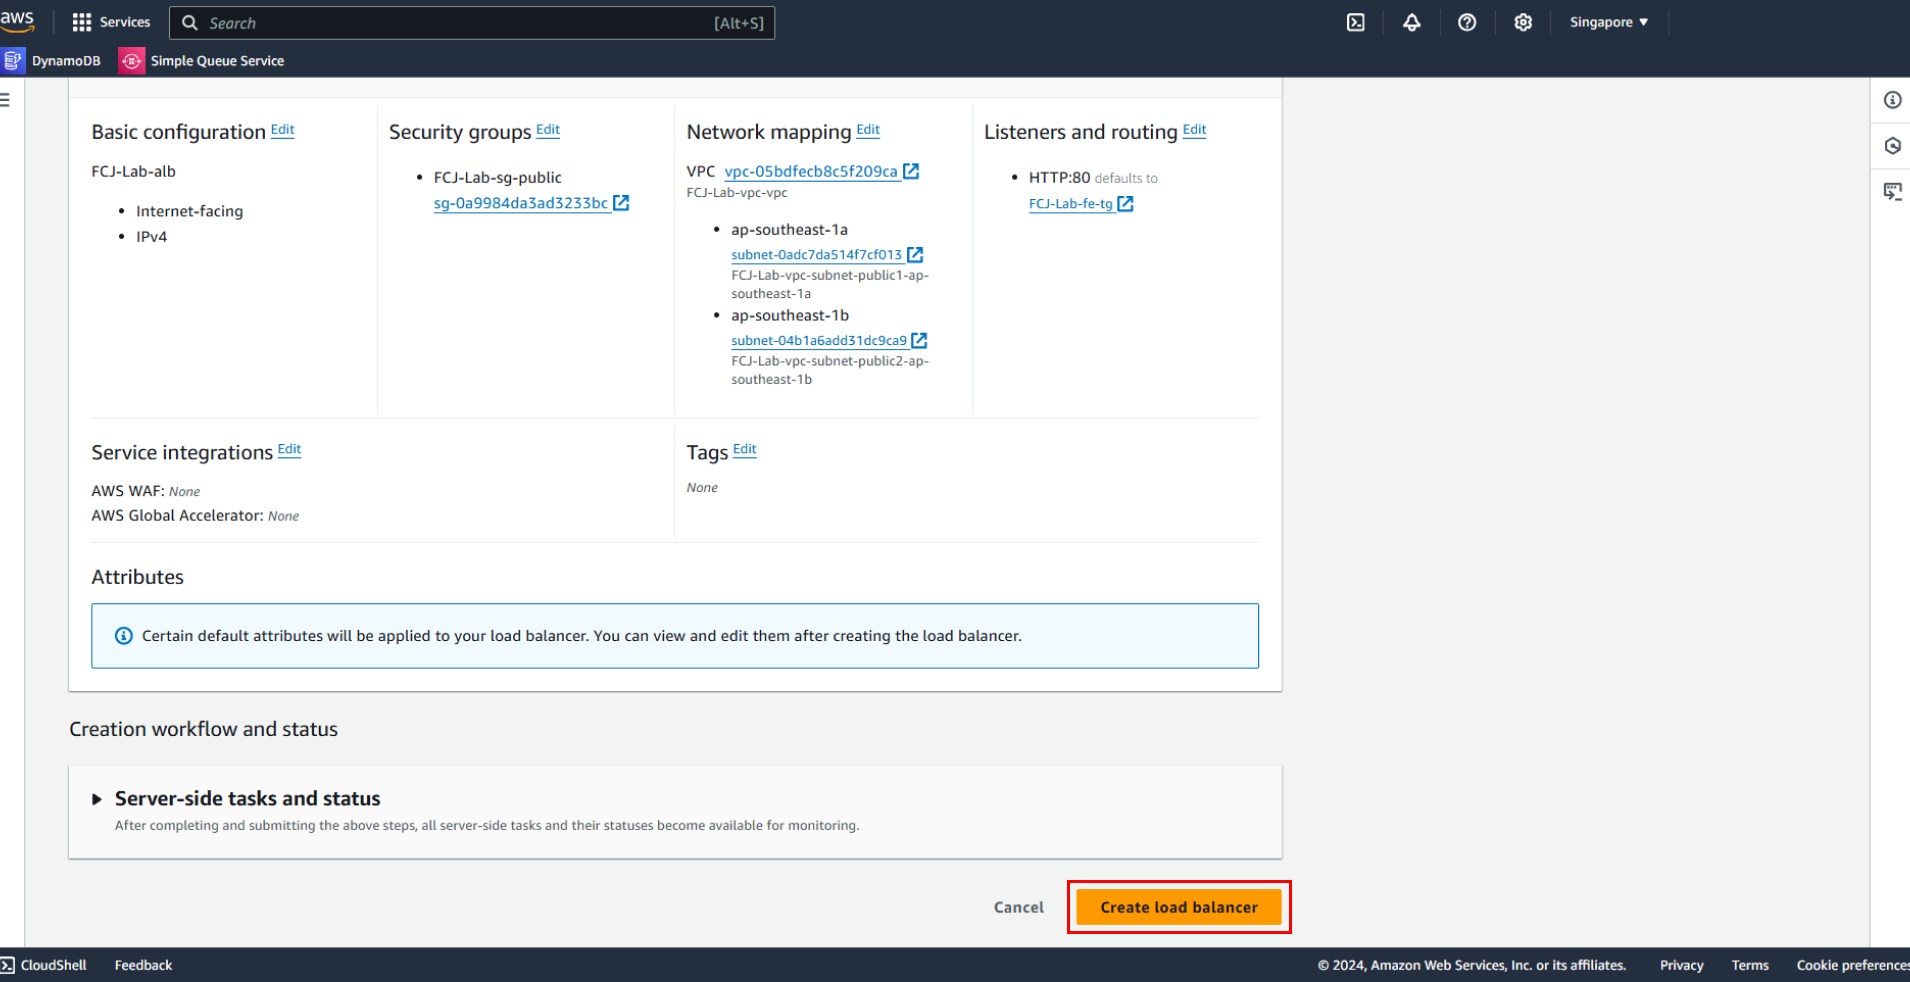
Review the information before creating.
Result: