Deploy Application
In the previous section, 2 Deploy on Local, we manually deployed the following:
- Database Server
- Web Server
- End User Application
As mentioned before, there were several limitations in this approach. Now, we’ll deploy the infrastructure on the cloud using Docker, eliminating the need to download and install everything manually. If you’re familiar with Docker basics (especially networking), this part will not be too challenging.
In the earlier 4 Configure RDS step, we already configured the Database Server using Amazon RDS, so we no longer need to worry much about maintenance, access security, or data safety. Now, in this cloud deployment, we’ll focus on deploying the remaining applications using Docker Images.
Next, we’ll deploy using Docker Compose so you can see the difference between deploying on Local, deploying with Docker Images on the Cloud, and deploying with Docker Compose on the Cloud.
In the 2 Deploy on Local section, you can consider this as deploying in a development environment, but now we’ll deploy in a production or testing environment.
Deploy the Web Server
Go to the source code directory we cloned earlier, aws-fcj-container-app. Inside the backend folder, modify the contents of the .env file, specifically changing the DB_HOST variable.
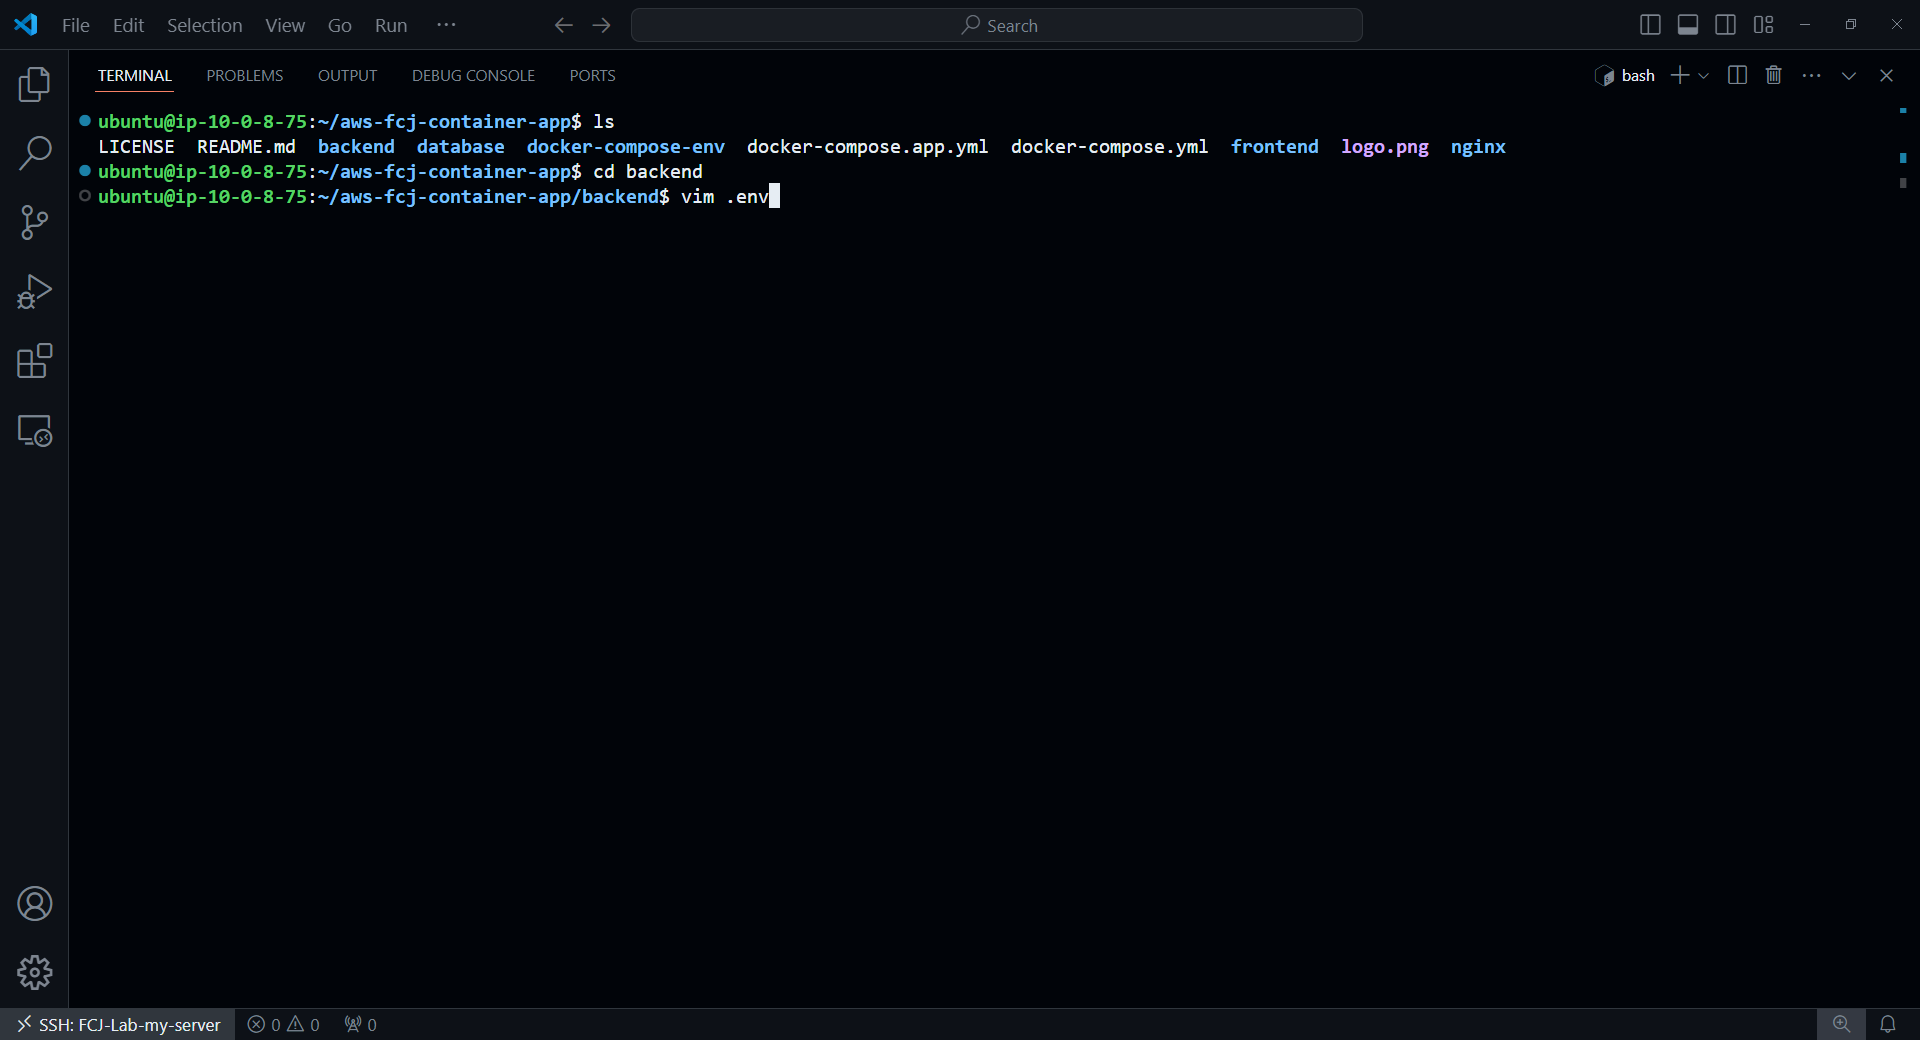
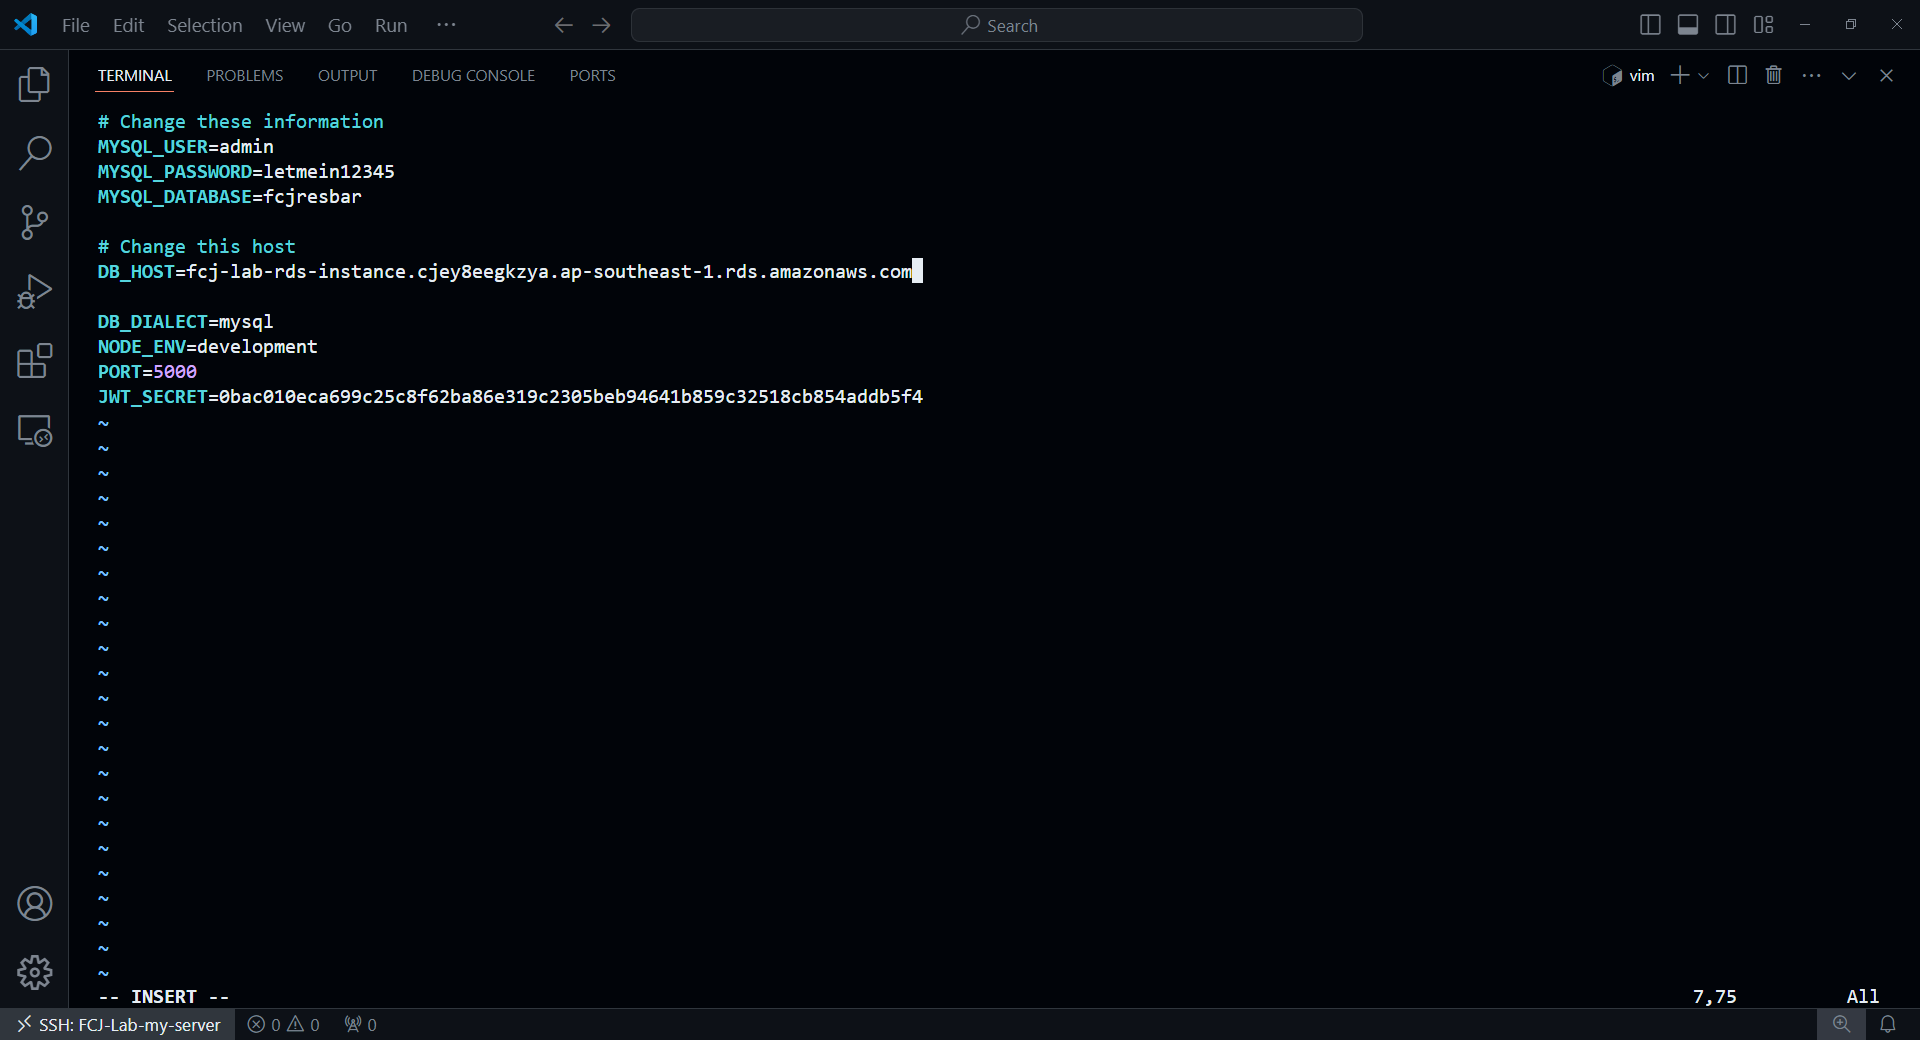
Now the web server is ready to run. Next, run the command below:
sudo docker build . -t backend-image
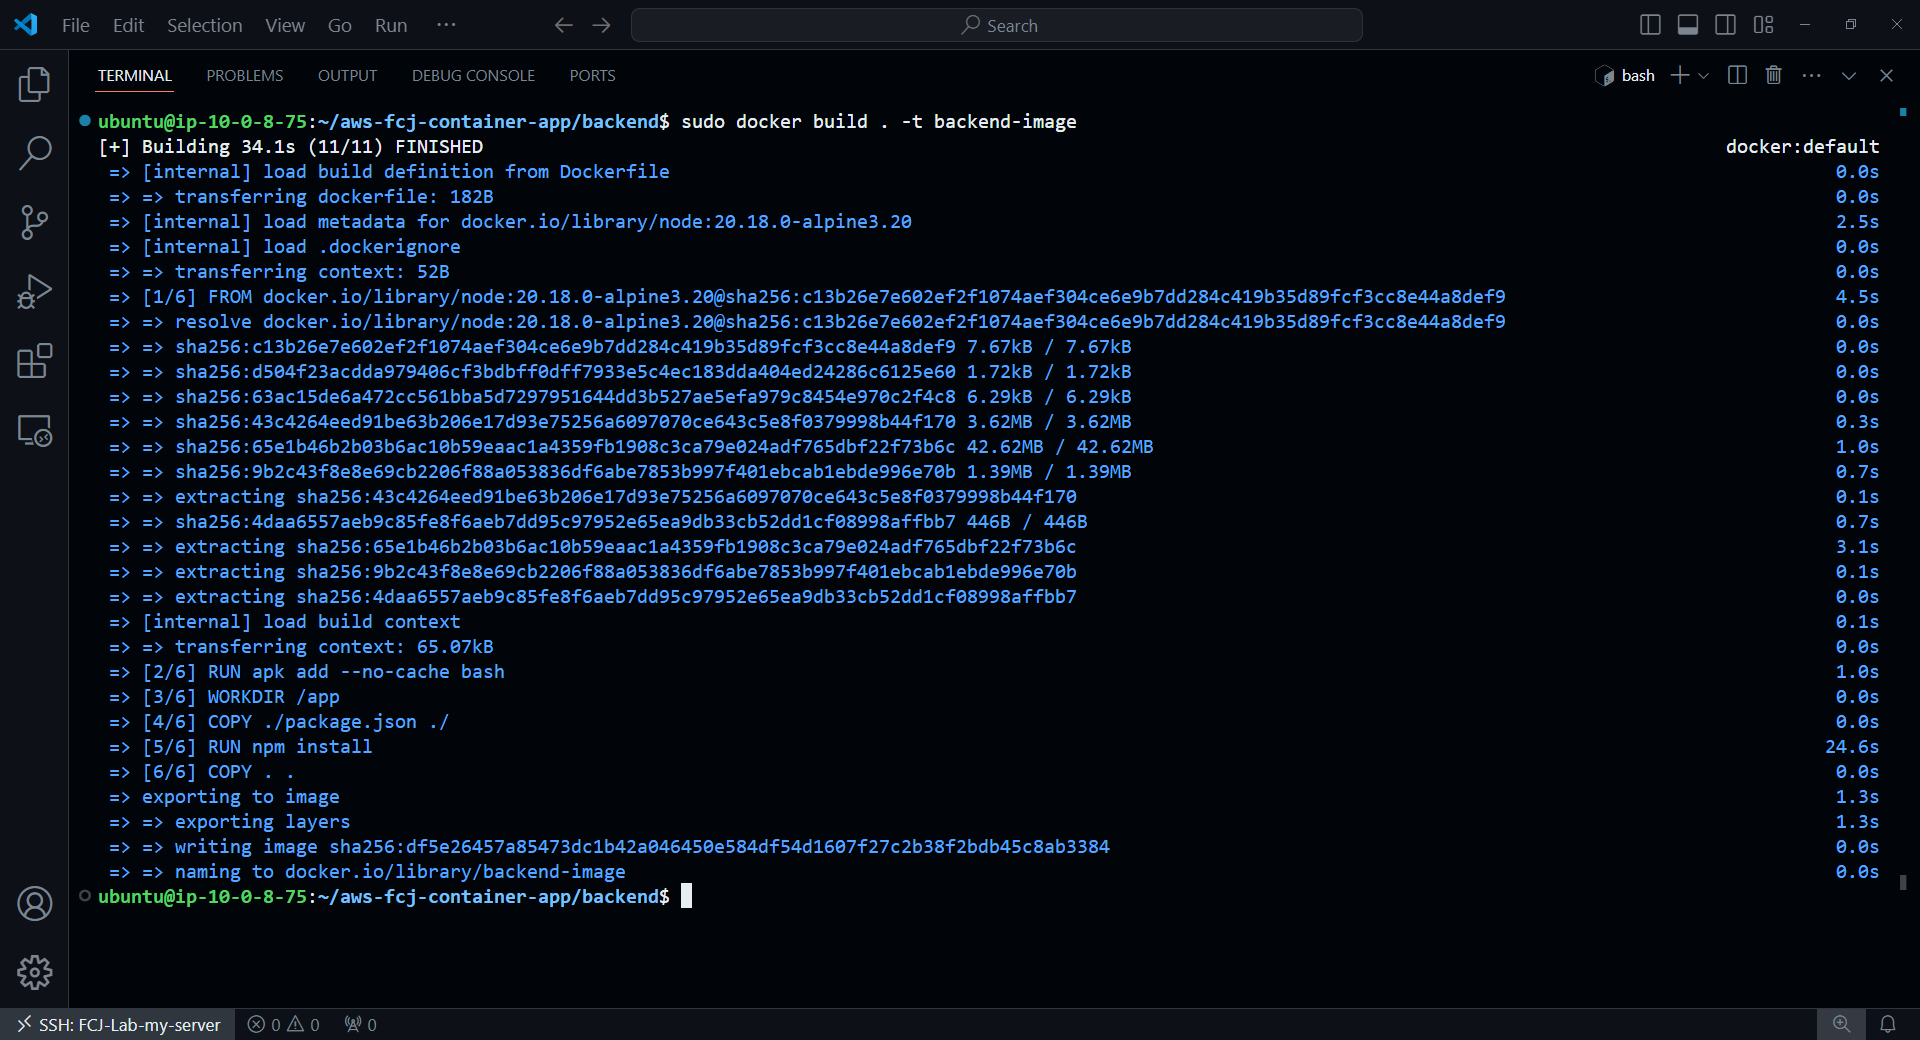
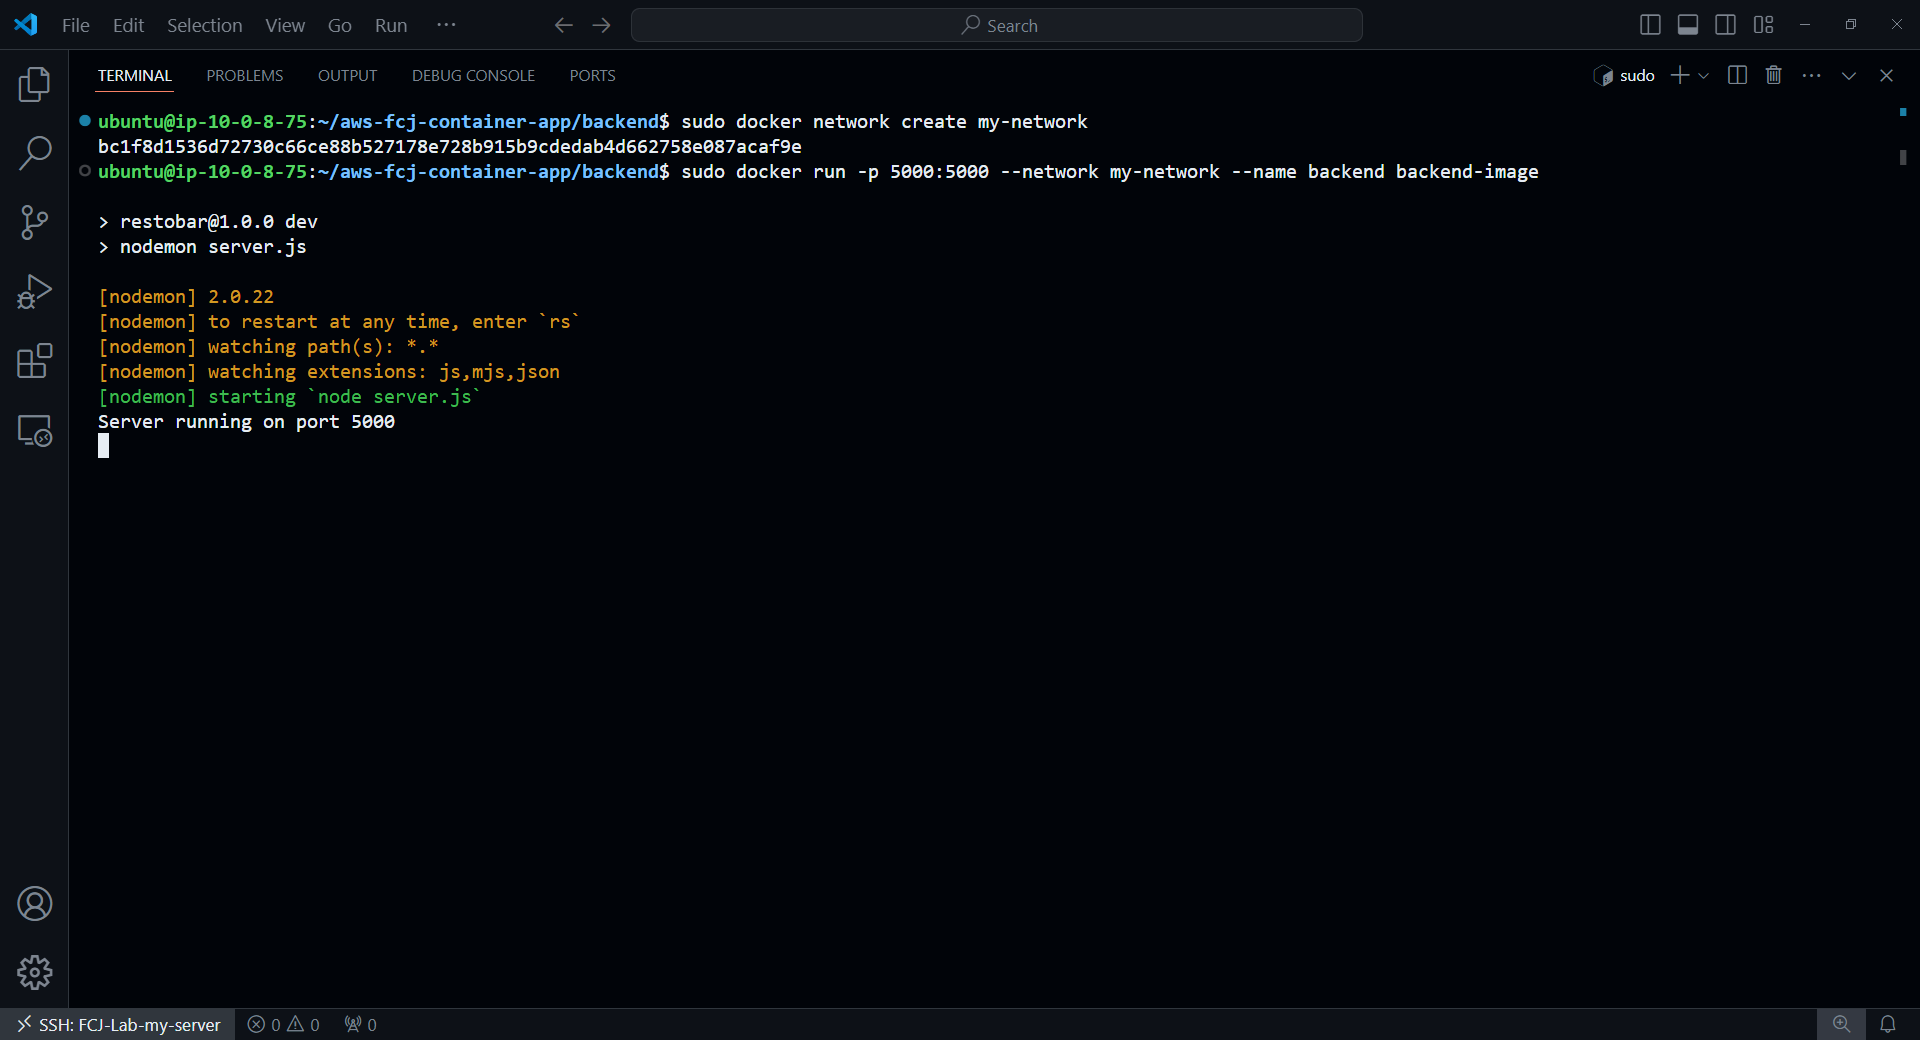
Before starting the web server container, we need to create a network for the containers to communicate with each other:
sudo docker network create my-network
Then, run the Docker container using the newly built Docker Image:
sudo docker run -p 5000:5000 --network my-network --name backend backend-image
Deploy the Application
Now, open a new SSH session to follow the same steps, but this time, we’ll deploy the Application.

cdinto thefrontendfolder.- Run the command below:
sudo docker build . -t frontend-image
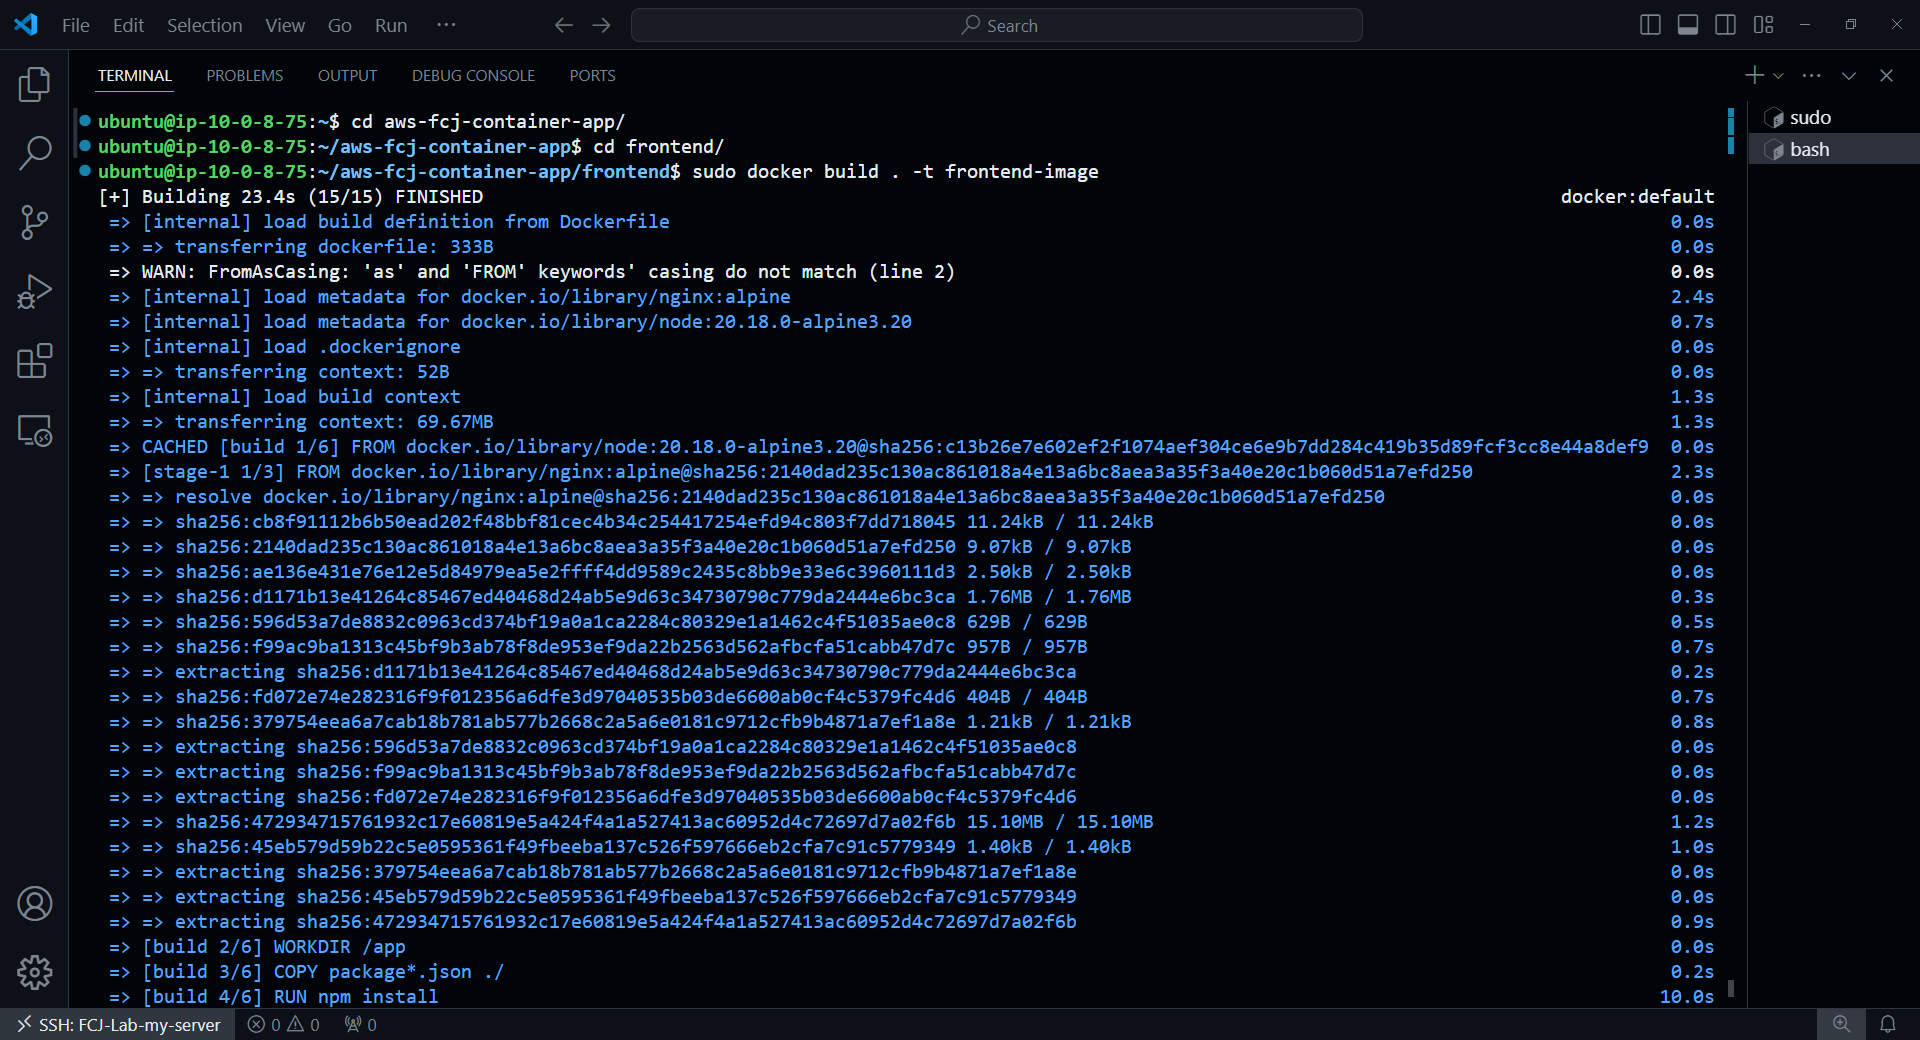
Then, run the Docker container using the newly created Docker Image:
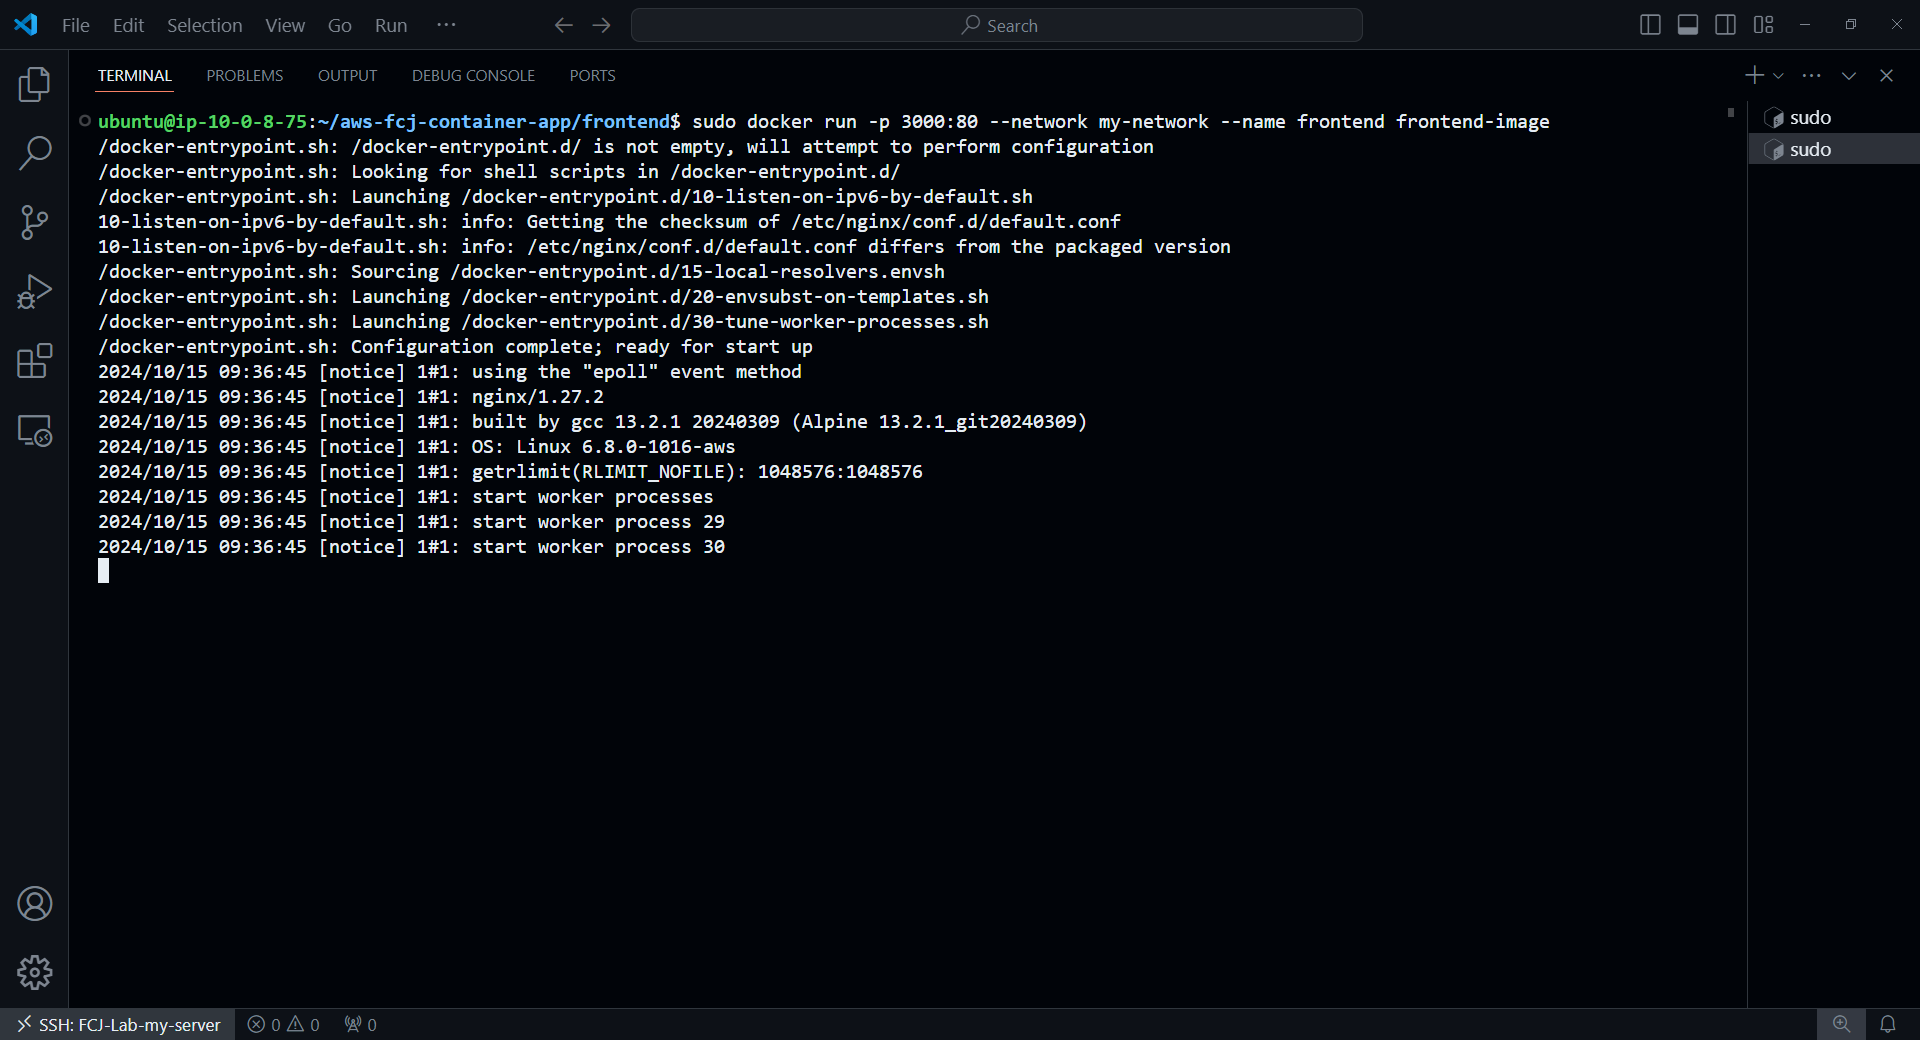
sudo docker run -p 3000:80 --network my-network --name frontend frontend-image
