EC2 Instance Configuration
Configuring the EC2 Instance
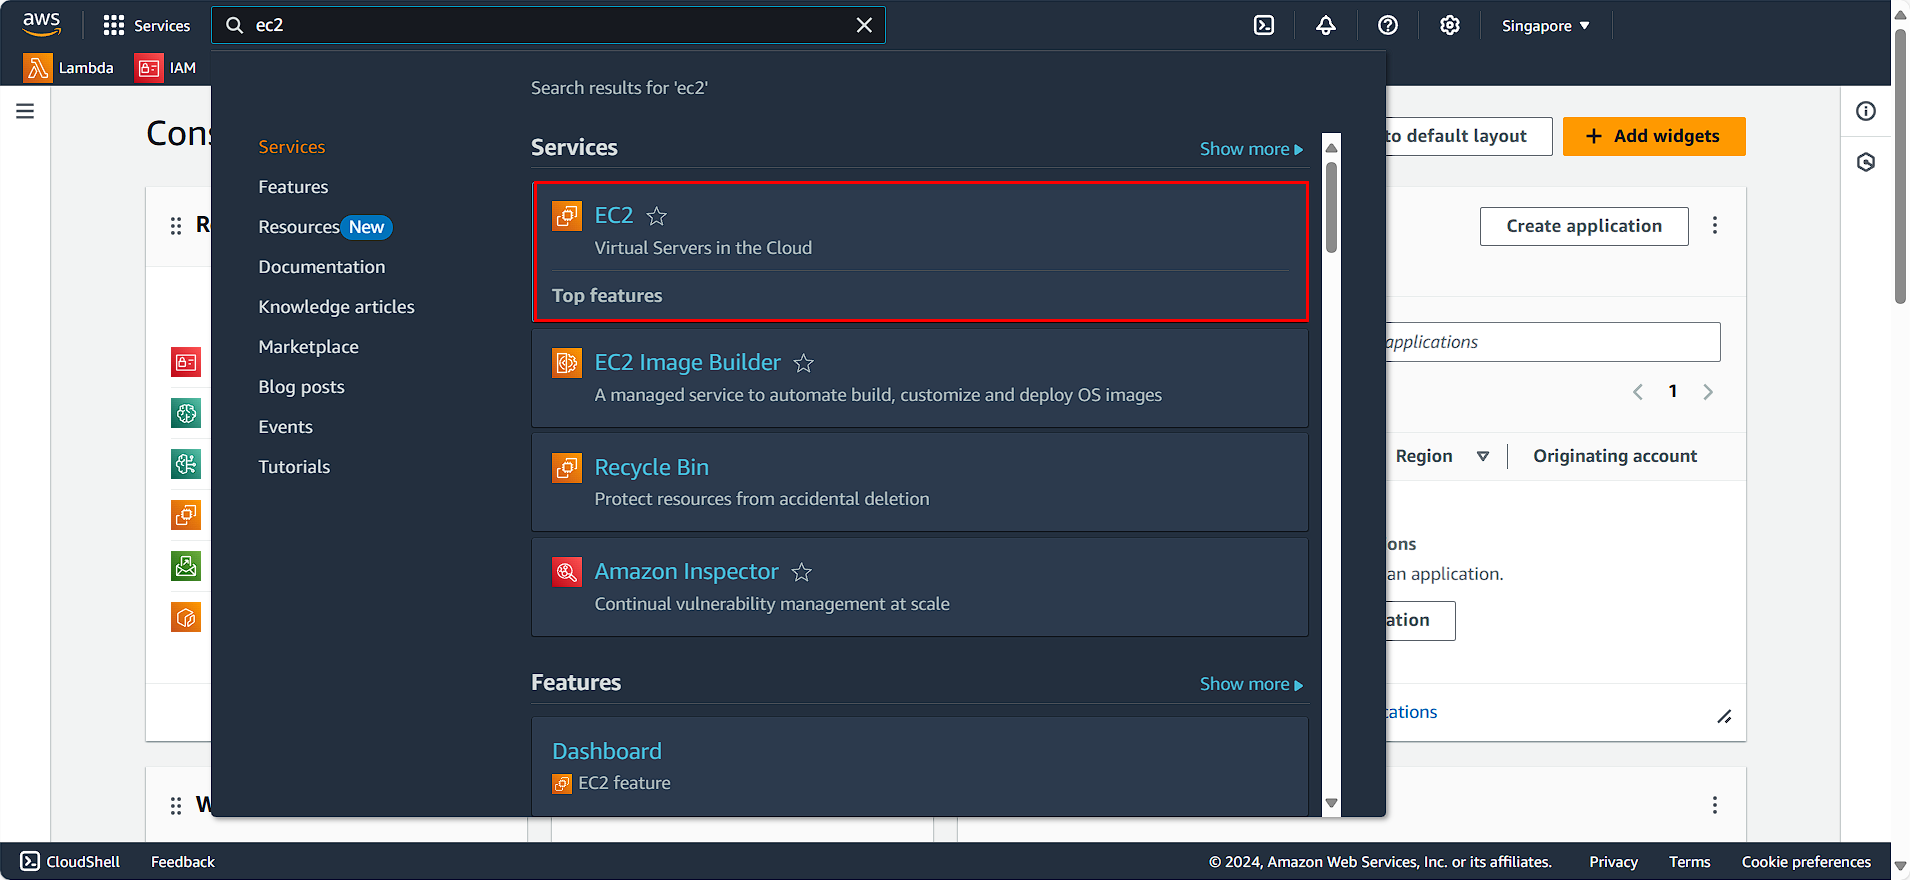
In the AWS Console:
- Search for and select EC2
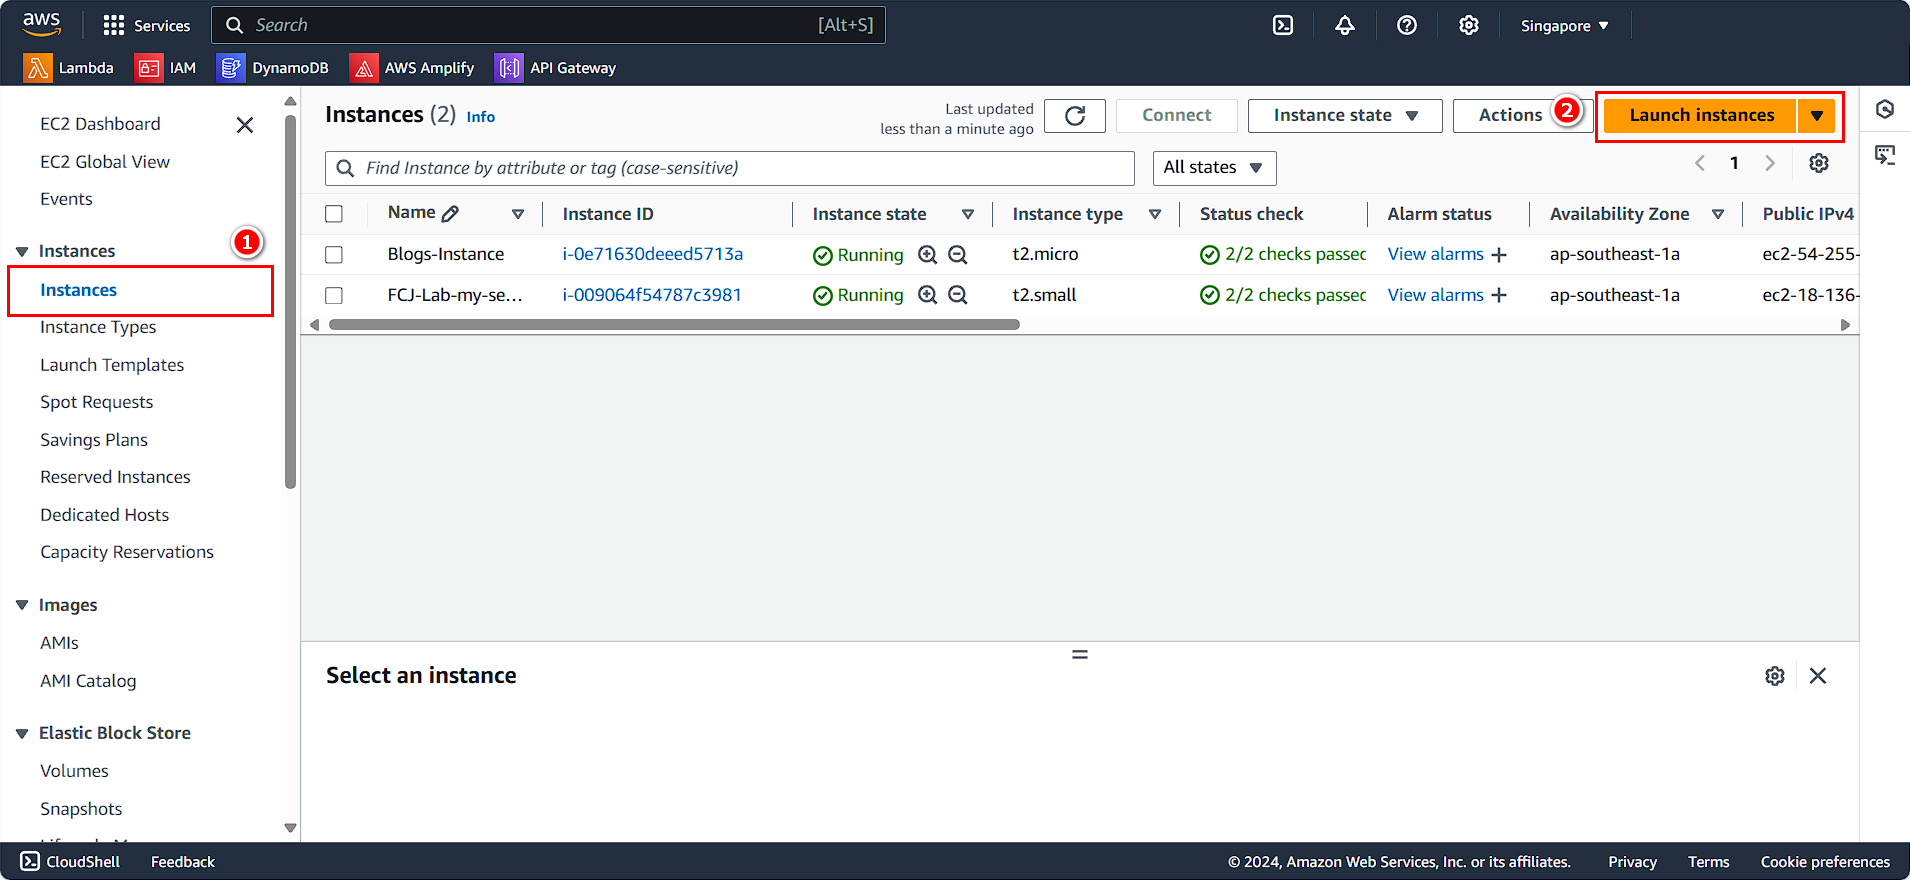
In the EC2 management interface:
- Select Instances
- Click on Launch Instances
- Name it
FCJ-Lab-my-server
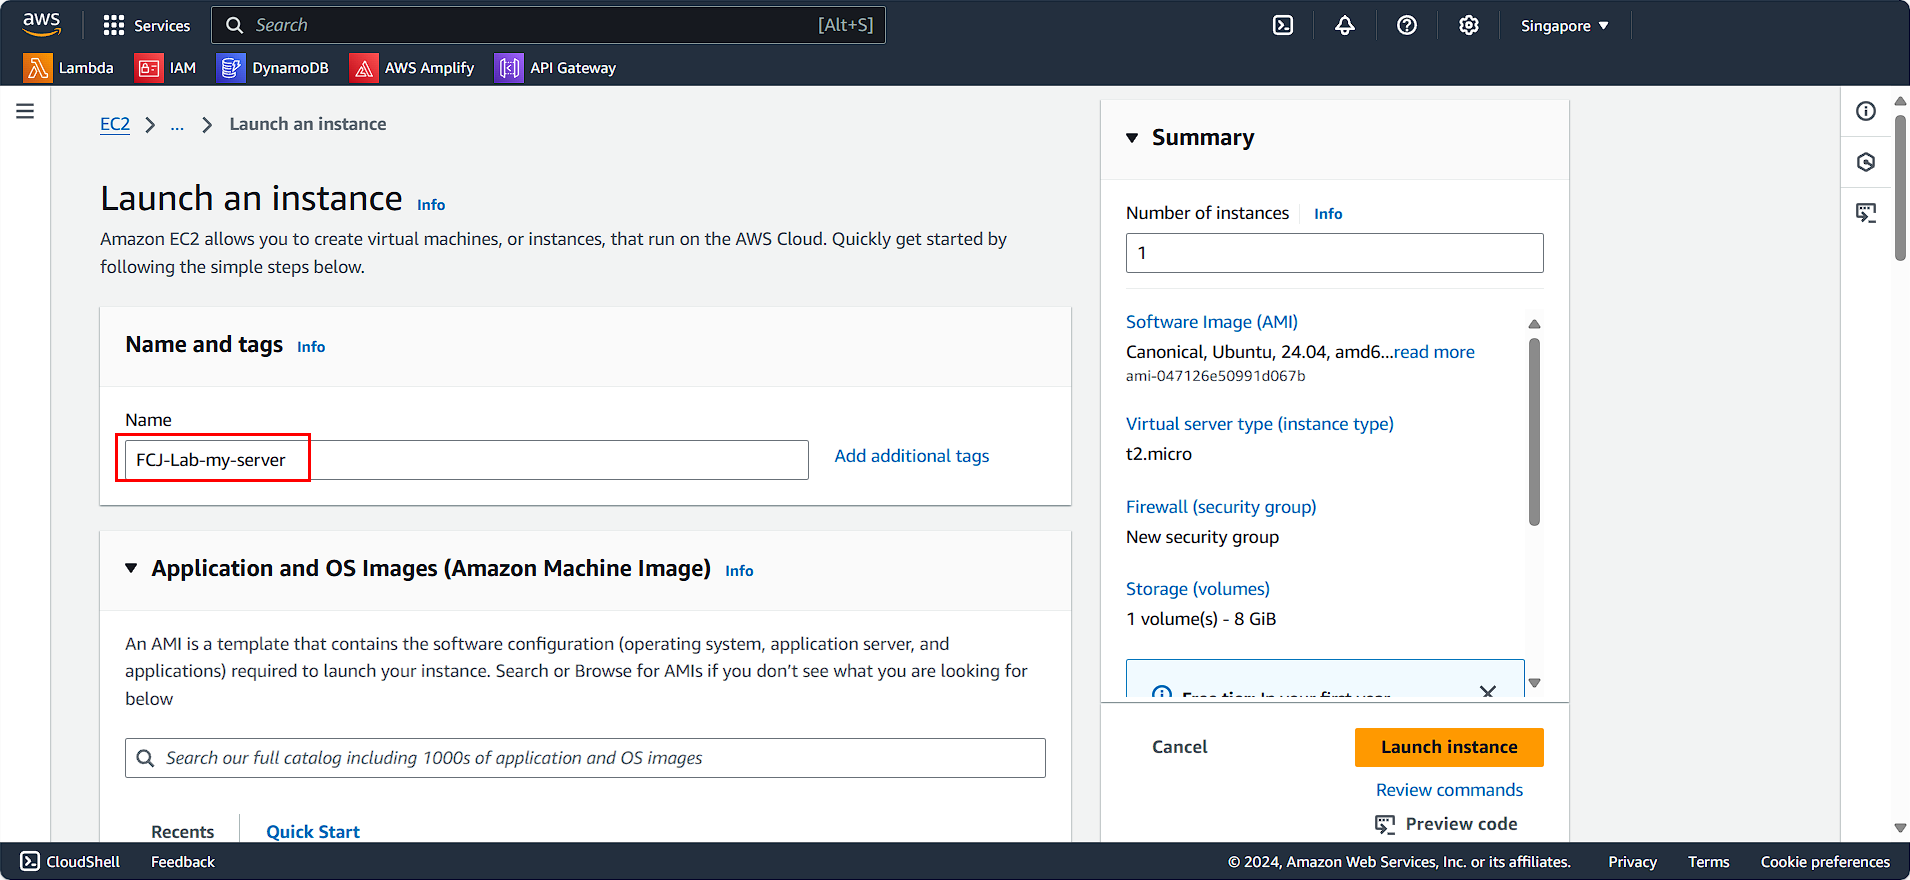
- Choose the operating system Ubuntu
- Amazon Machine Image (AMI) Ubuntu Server 24.04

- Instance type t3.medium
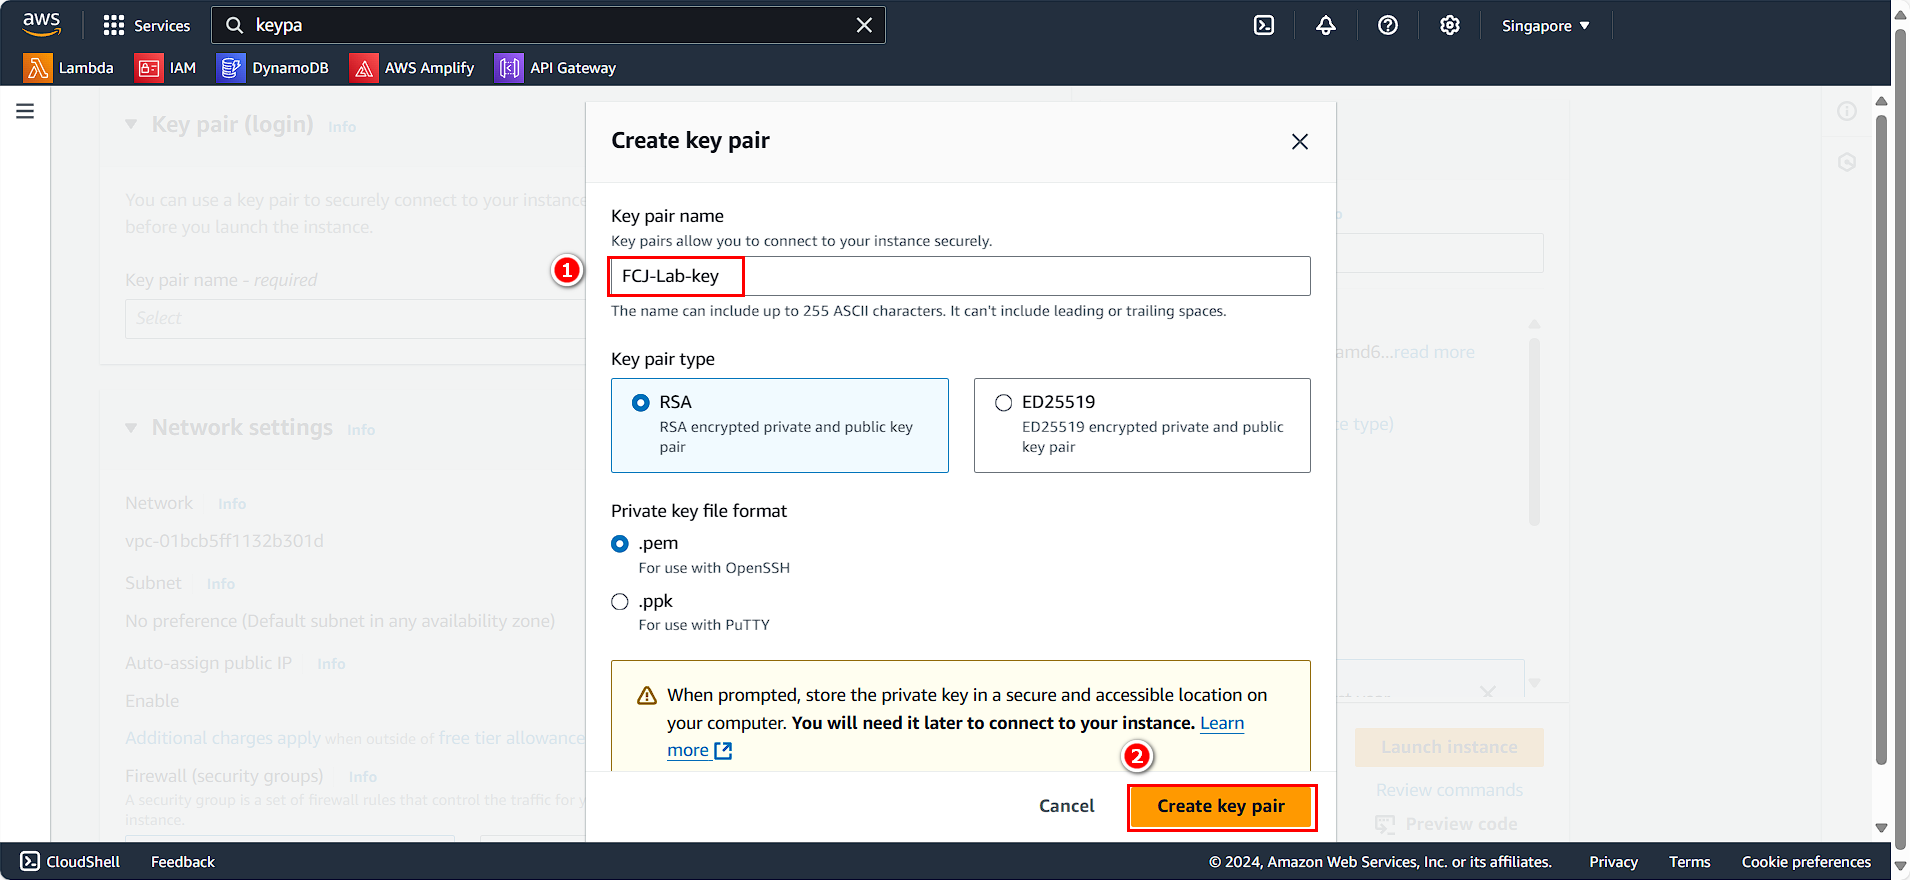
- Select Create new key pair
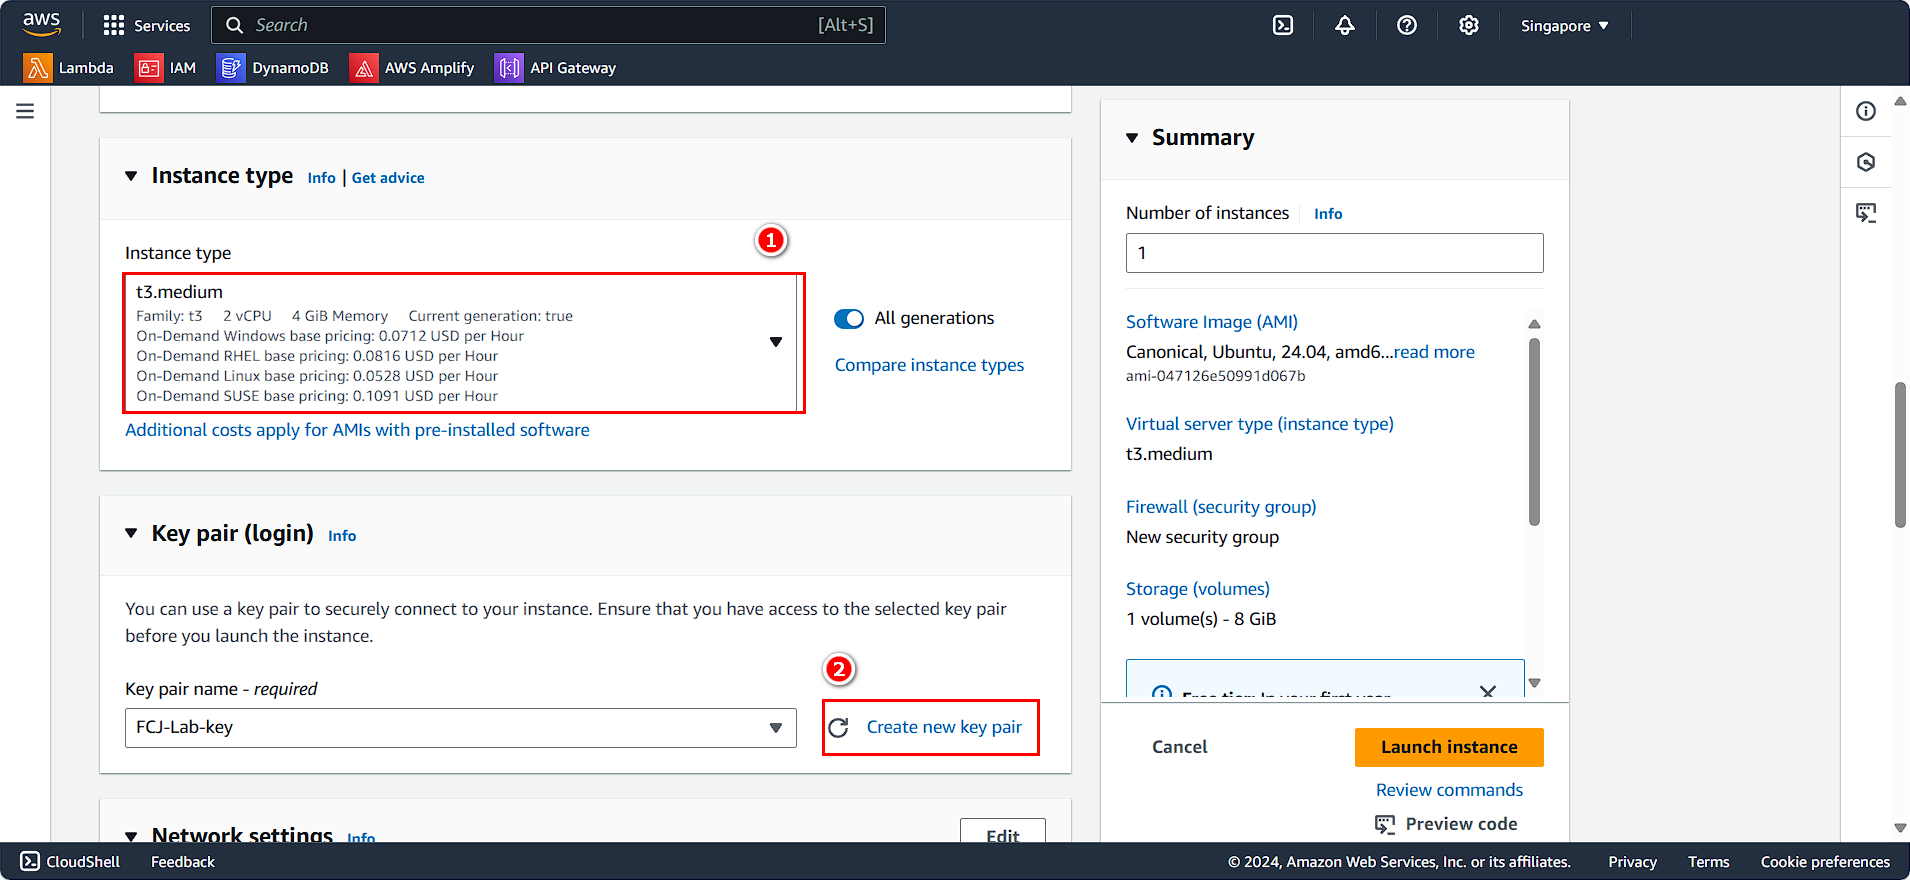
- Key pair name
FCJ-Lab-key - Select Create key pair
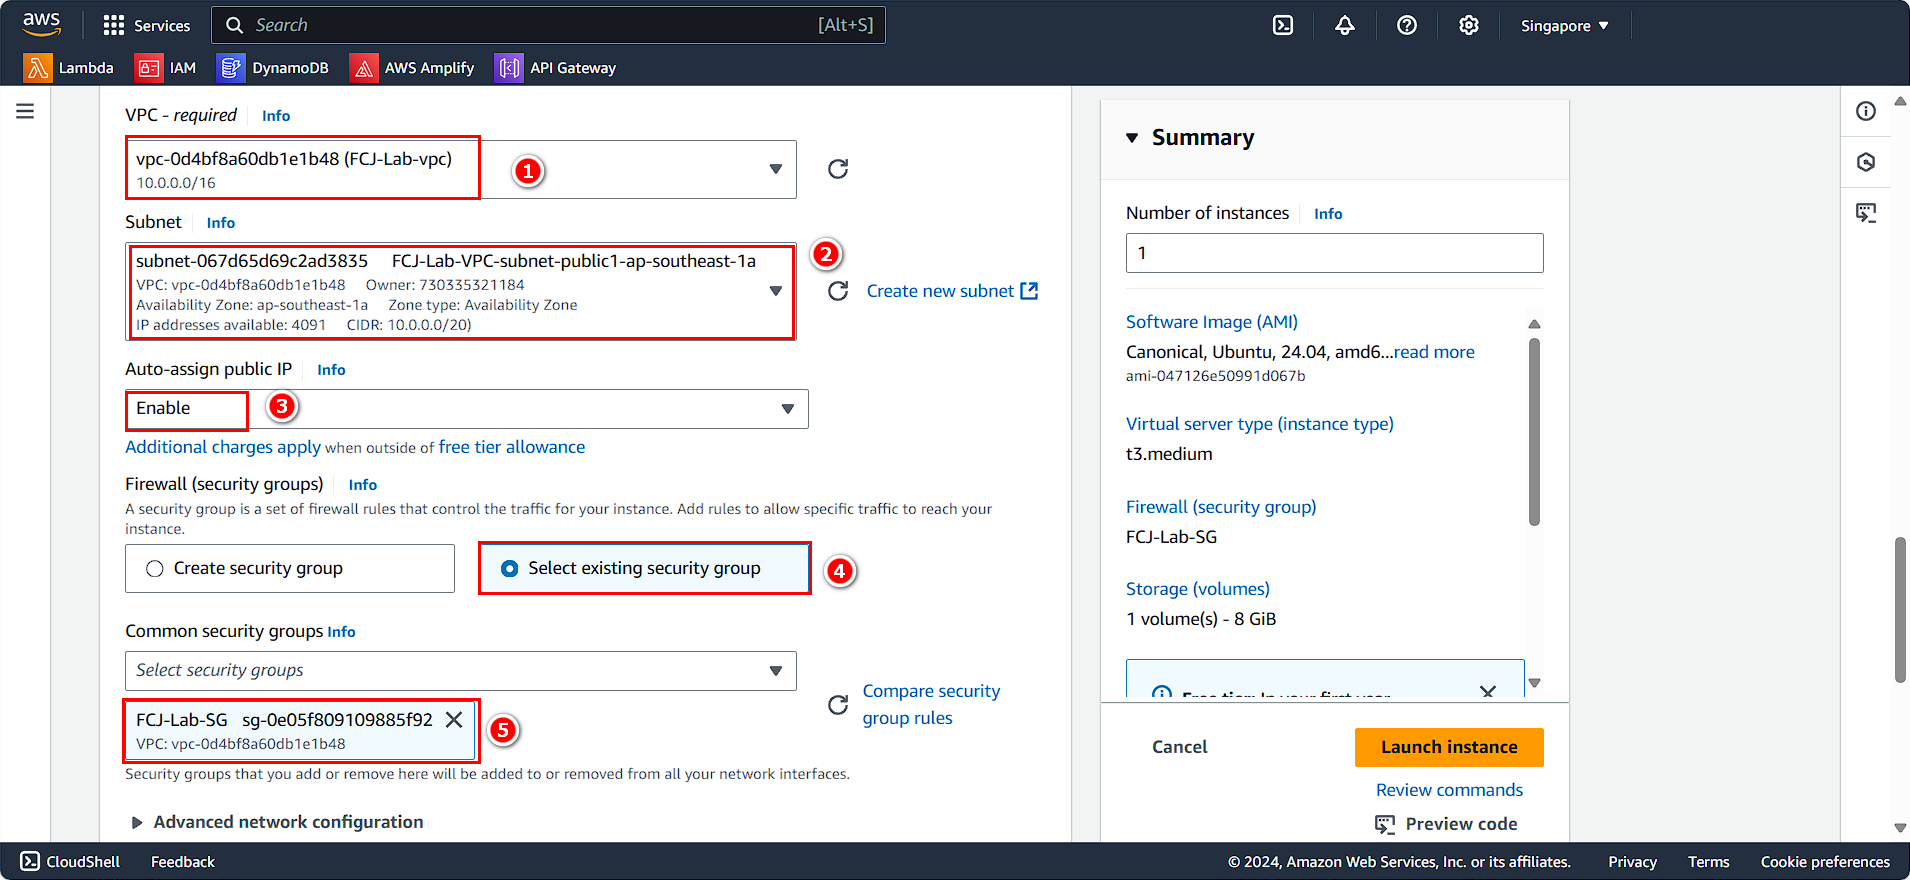
Scroll down to the security configuration section:
- VPC FCJ-Lab-vpc
- Choose public subnet
- Auto-assign public IP Enable
- Select Select existing security group
- Choose FCJ-Lab-SG
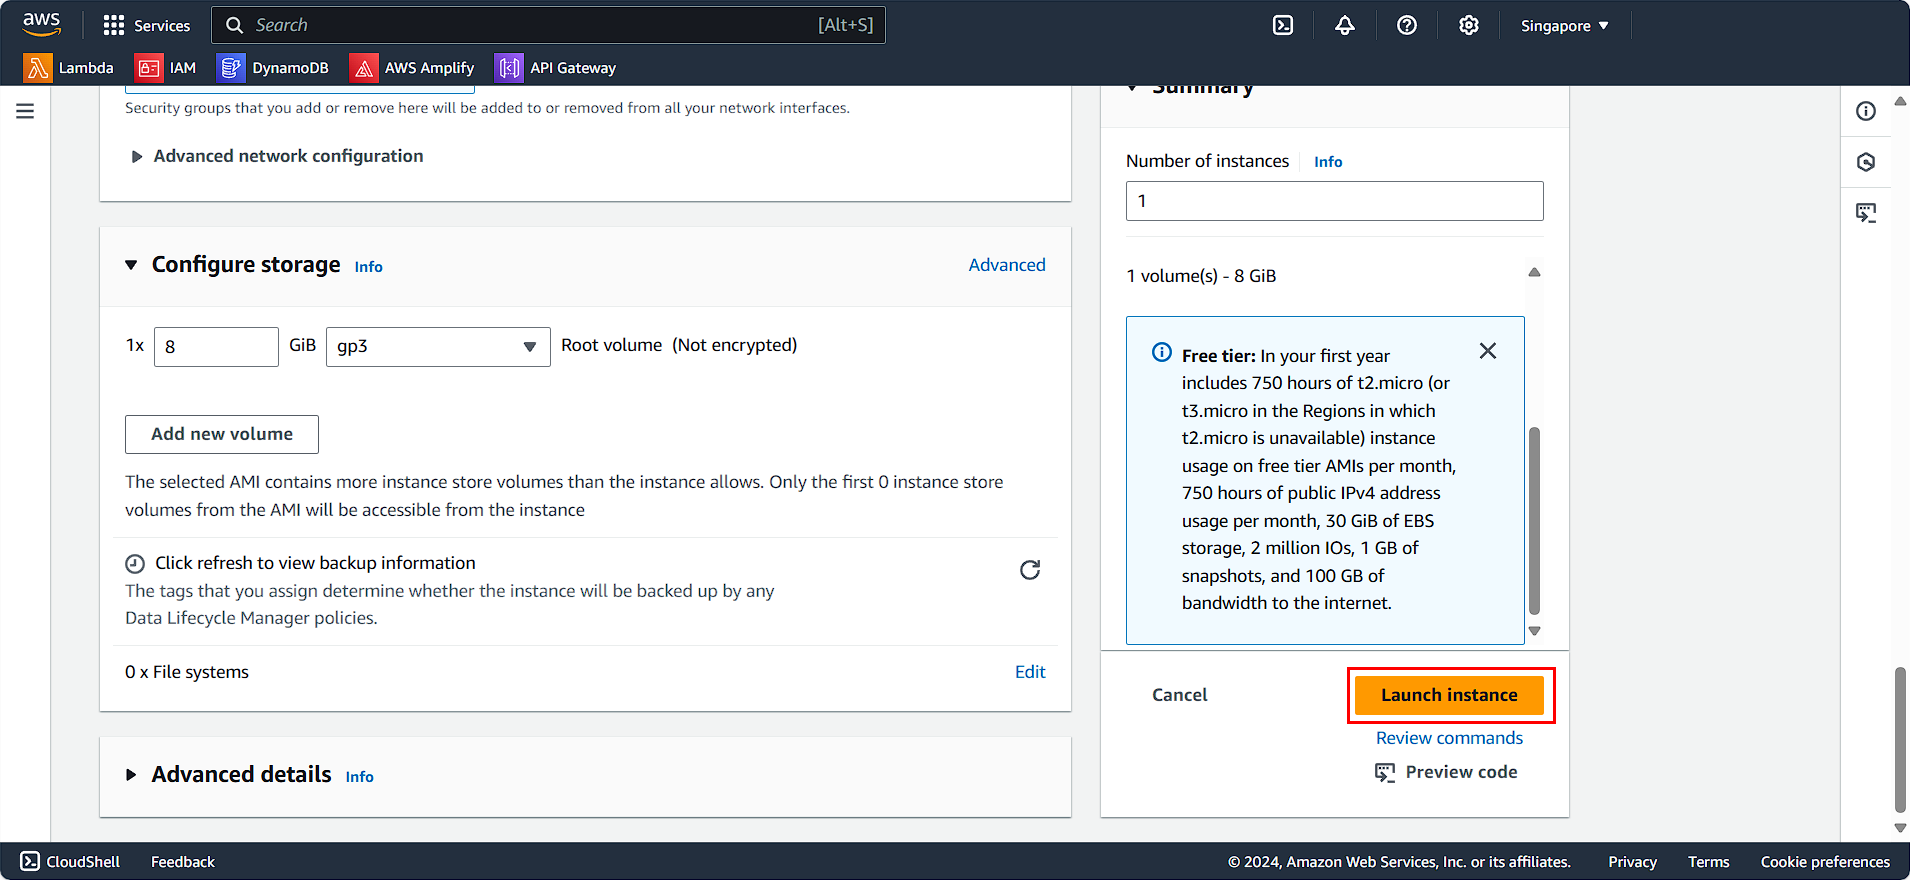
- Select Launch Template
Attach ECR Role to EC2
In the EC2 instance management interface:
- Select EC2 FCJ-Lab-vpc
- Choose Action
- Select Security
- Click on Modify IAM role
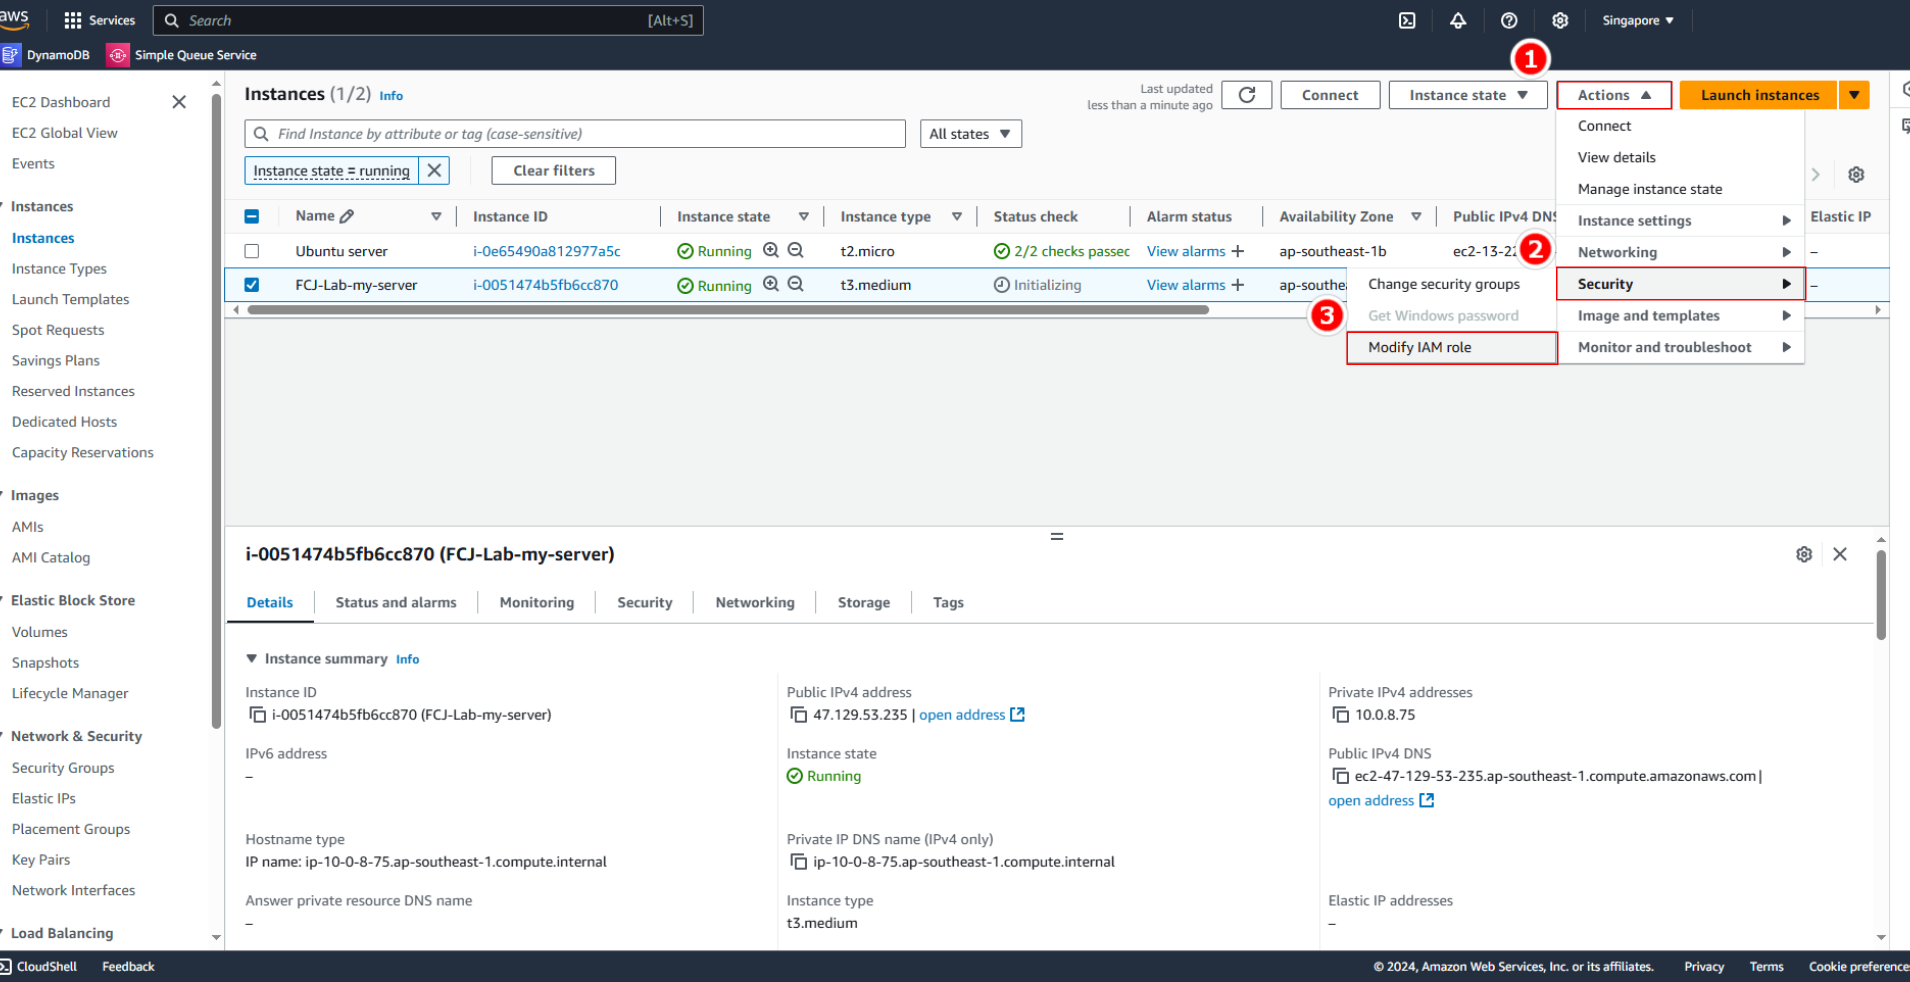
- Select the Role CustomeRWECRRole
- Click on Update IAM role
