Deploy Application
To complete this part, you must have Git installed beforehand.
Download Source Code
First,
- Create a folder with any name (I’ll call it
workspace). - Right-click and select Open in Terminal.
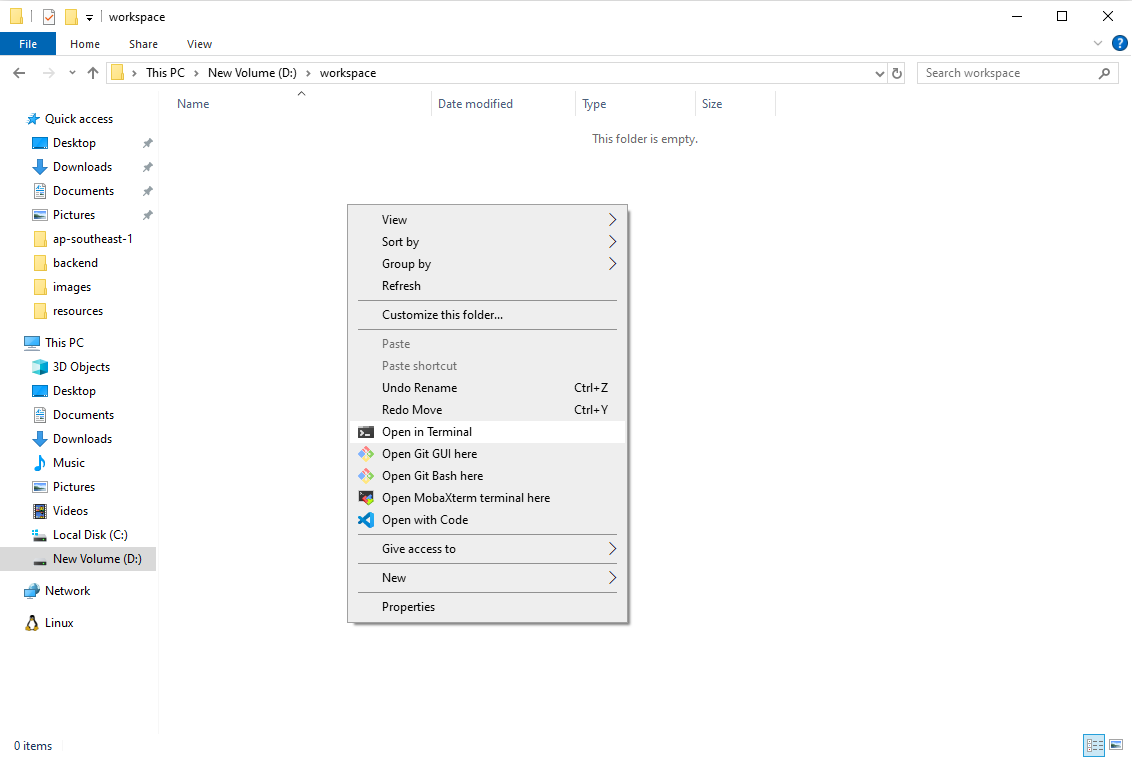
Clone the application’s source code from GitHub to your machine.
git clone https://github.com/AWS-First-Cloud-Journey/aws-fcj-container-app.git
INSERT IMAGE HERE
And here is the result:
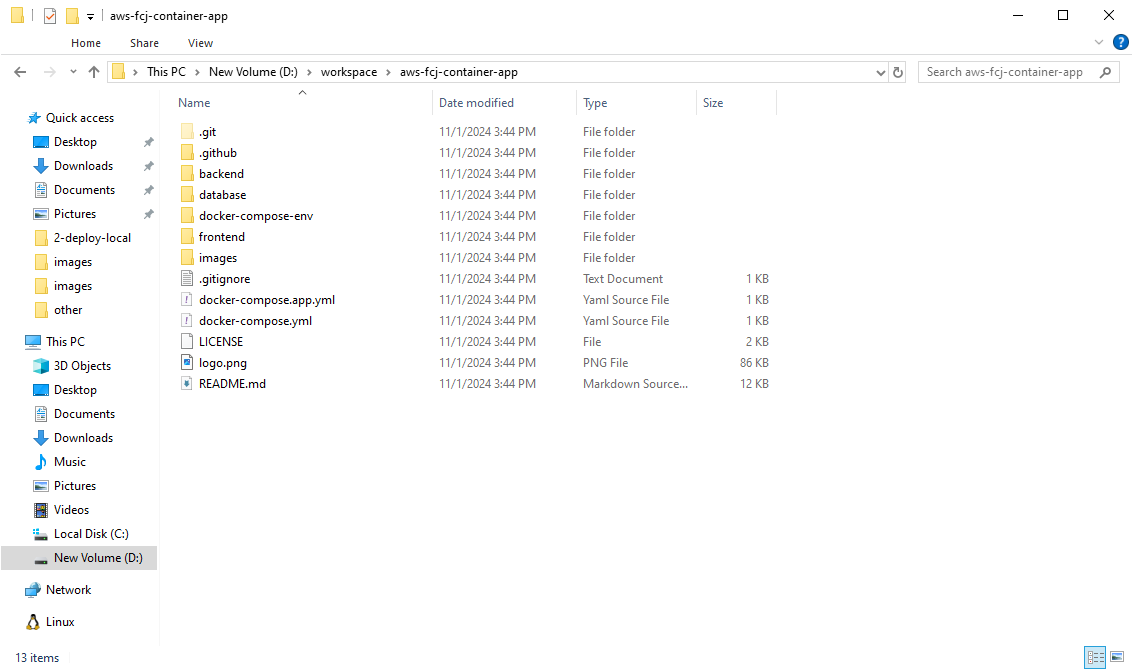
Add Data
To add data:
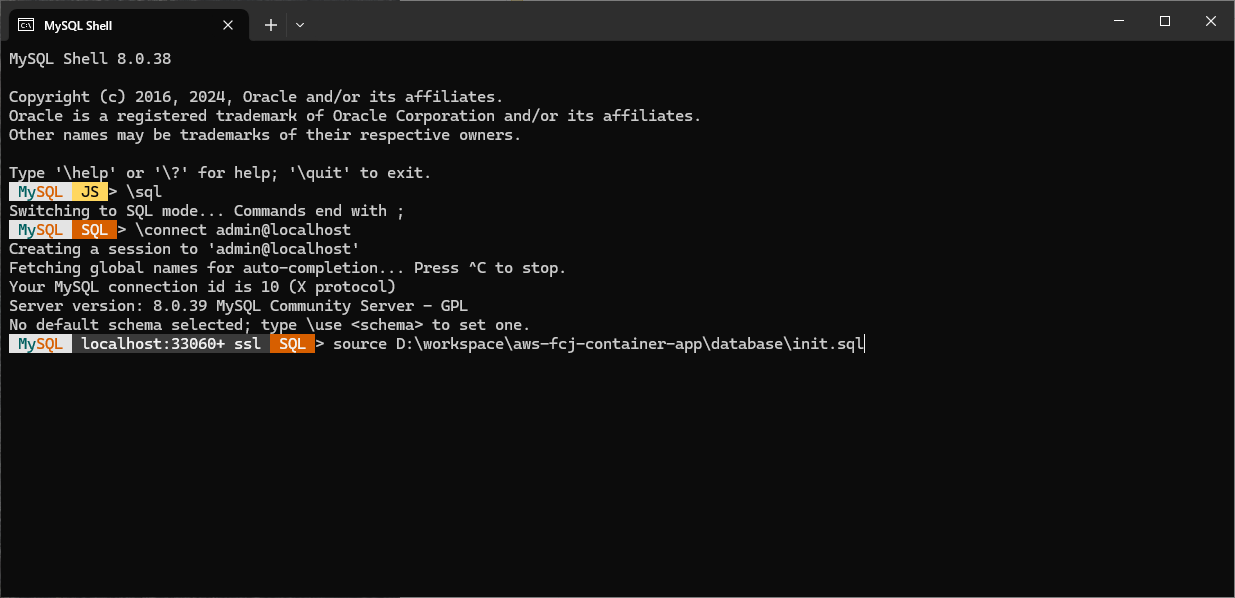
- Go to the
databasefolder inside the source code folder you downloaded. - Copy the path from the Browse bar in Windows.
- Paste the path into MySQL Shell, adding the script name (
init.sql) to the pasted string.

Use MySQL Shell to connect to MySQL Server. The connection steps are similar to the previous section. In the project folder, you’ll notice a database folder containing SQL scripts to create the database, tables, constraints, and add data. In this step, we’ll use the source command to run the script.
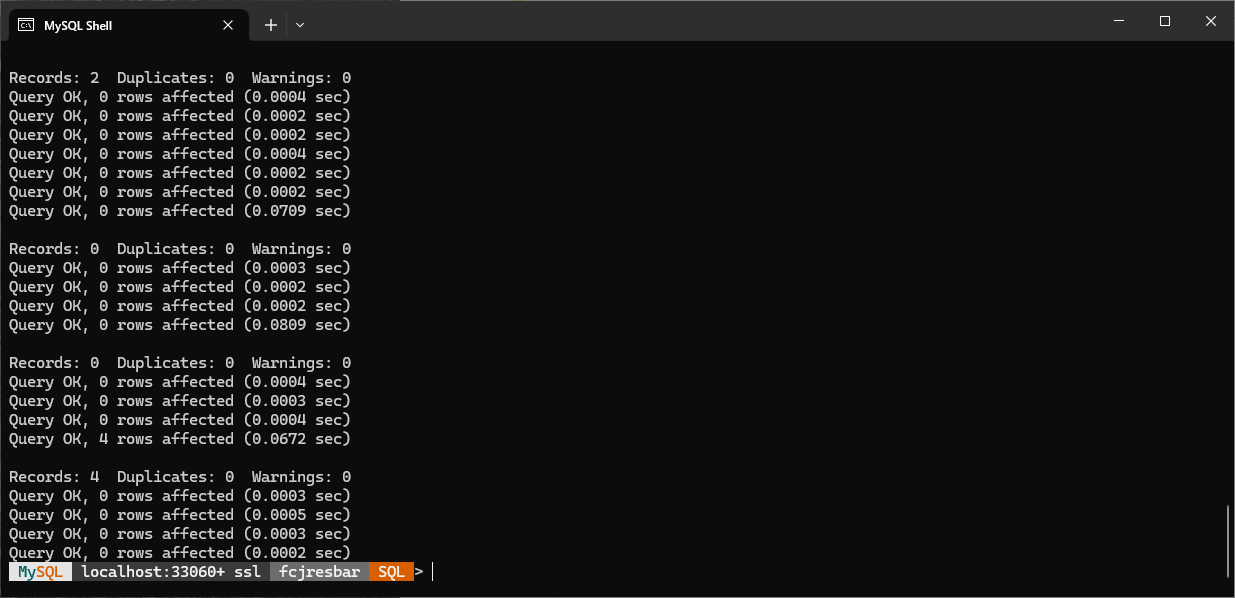
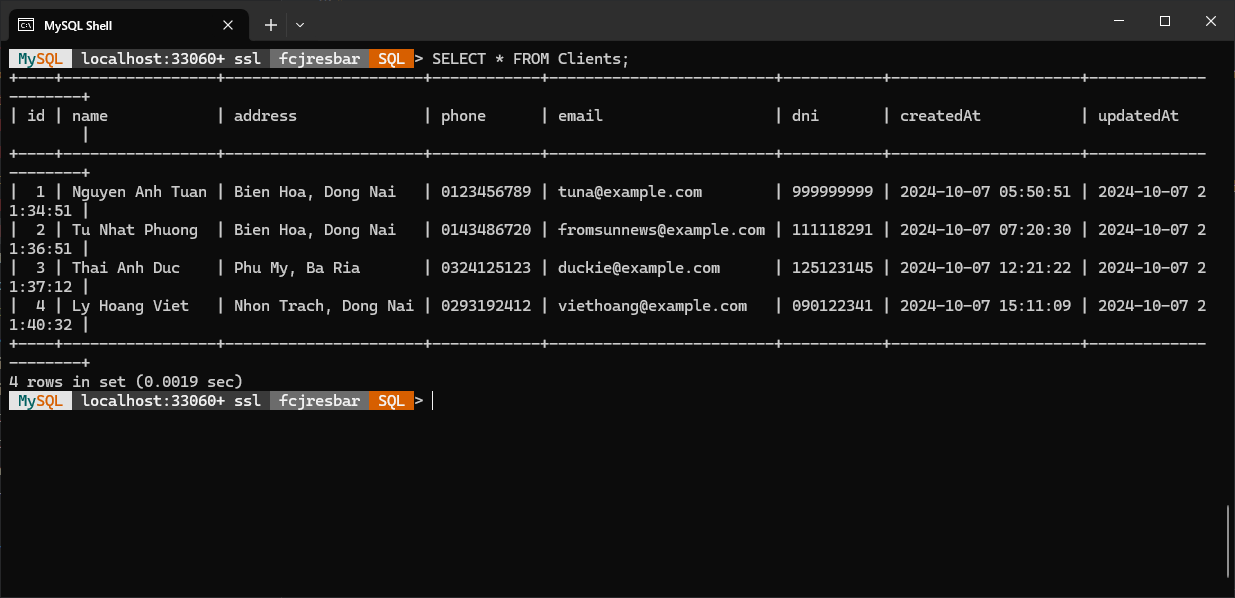
Run some queries to verify:
SELECT * FROM Clients;
Deploy Web Server
After the data is successfully added, we will start the Web Server. First,
- Go into the
backendfolder and modify the contents of the.envfile.
# Change information
## Thay đổi các thông tin sau phù hợp với cấu hình
## Modify these variables to fit with the configuration
## for applications
MYSQL_USER=admin
MYSQL_PASSWORD=letmein12345
MYSQL_DATABASE=fcjresbar

# Don't modify this host
DB_HOST=localhost

DB_DIALECT=mysql
NODE_ENV=development
PORT=5000
JWT_SECRET=0bac010eca699c25c8f62ba86e319c2305beb94641b859c32518cb854addb5f4
- Then open the Terminal in this folder.
- Proceed to install the NPM packages to run the server.
npm install
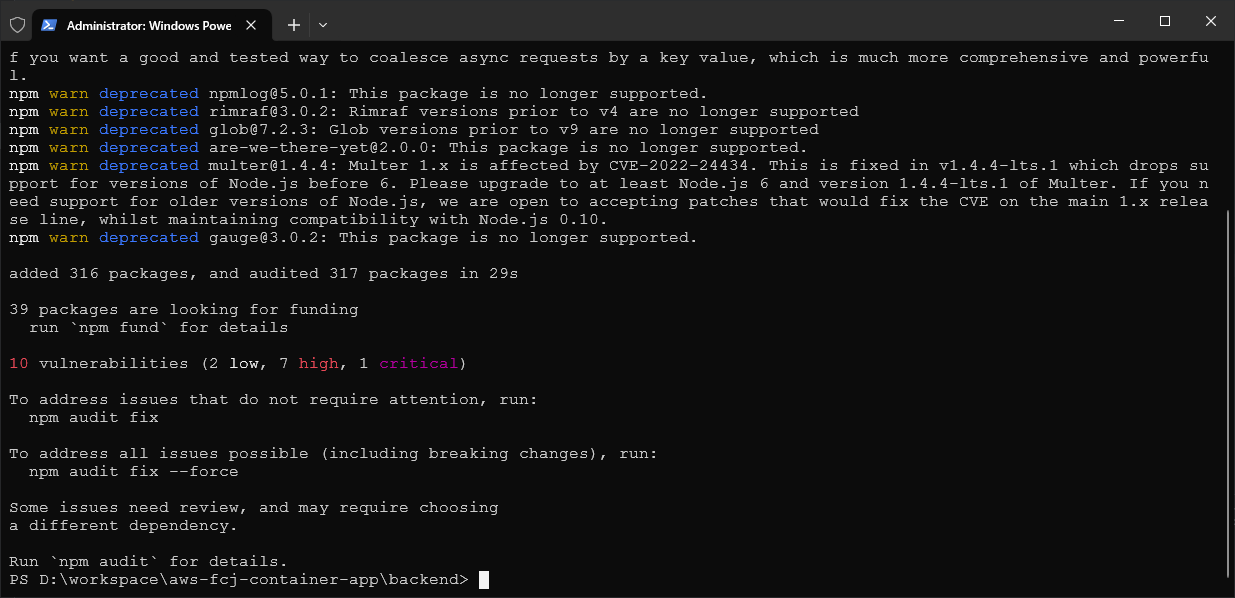
Next, start the server:
npm run dev
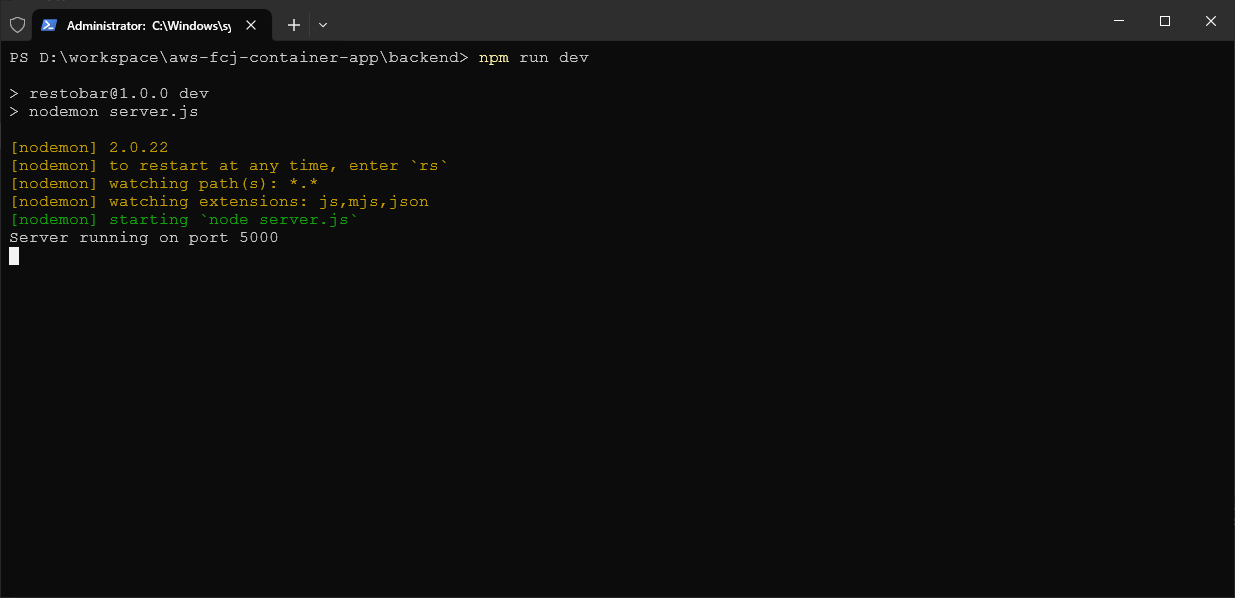
And the Web Server has successfully started.
Deploy Client Application
Next, I’ll deploy the client application:
- Go to the
frontendfolder. - Open the Terminal and install the NPM packages.
npm install
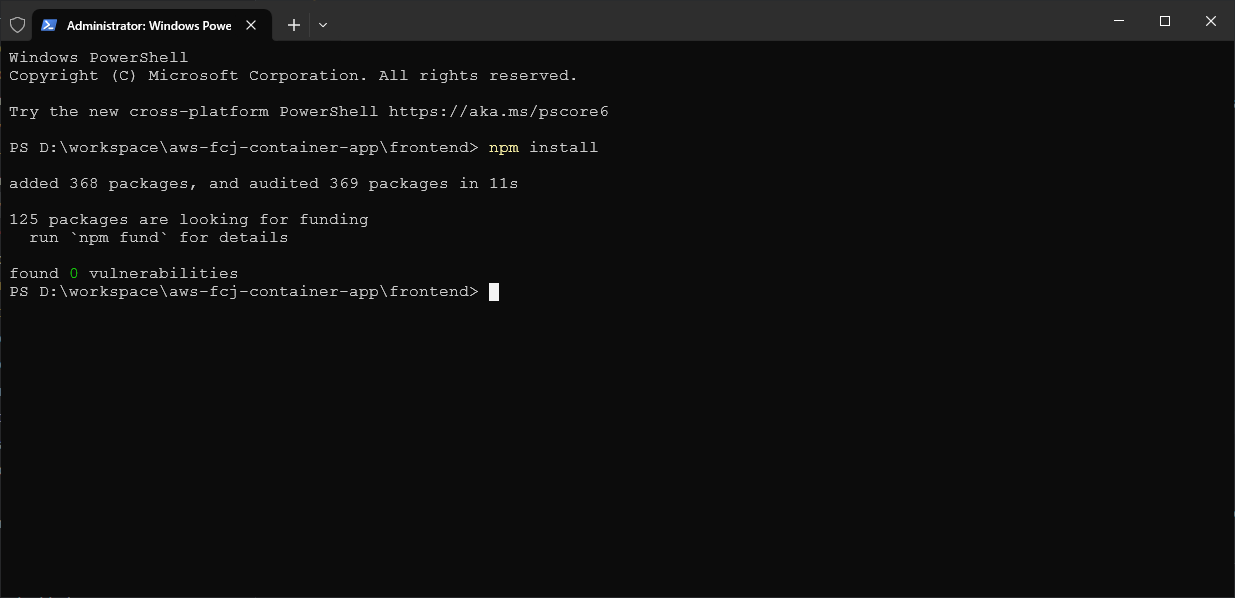
Before running the application, I need to update the content in the vite.config.js file, as shown in the sample configuration below:
/// <reference types="vite/client" />

import { defineConfig } from "vite";
import react from "@vitejs/plugin-react";

// https://vitejs.dev/config/
export default defineConfig({
  plugins: [react()],
  server: {
    proxy: {
      "/api": {
        // API Endpoint of Web Server
        target: "http://localhost:5000/api",
        changeOrigin: true,
        rewrite: (path) => path.replace(/^\/api/, ""),
      },
    },
  },
});
The above configuration sets up a proxy for Vite, meaning that when a request URL contains /api, it will be replaced by the target string.
Run the application:
npm run dev
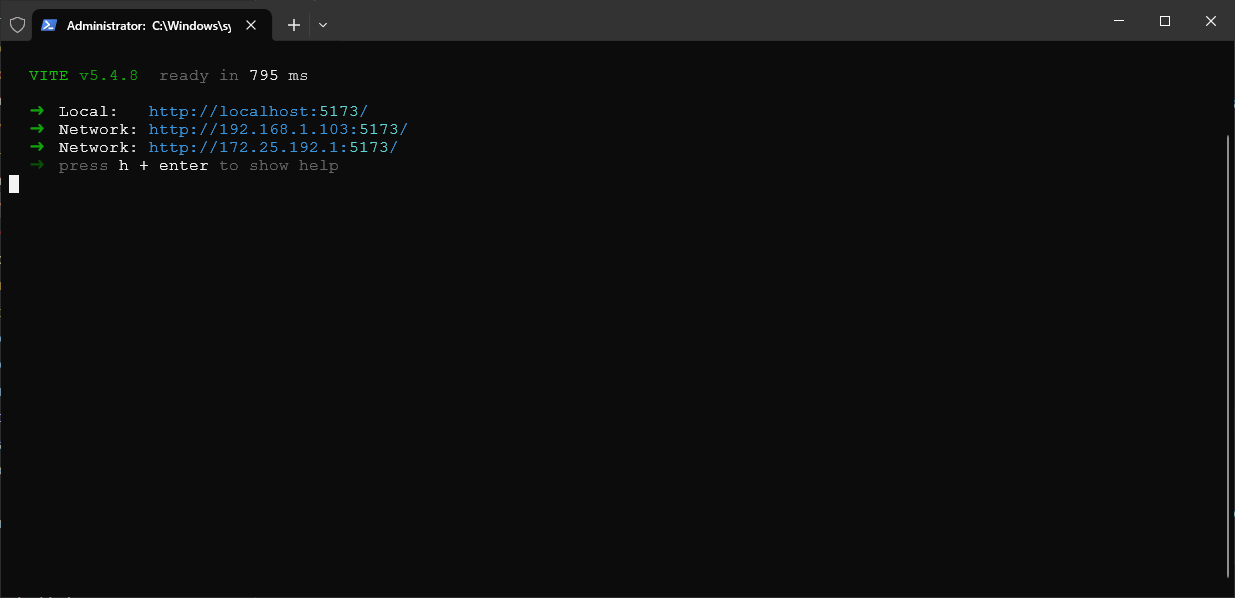
After this section, we’ll check the deployment results.
Conclusion
From the deployment steps from the beginning of the Local Deployment section to this point, we can draw some conclusions:
- Manual deployment is exhausting, requiring a lot of installations. In the next section, we will use Linux and Docker to deploy the entire application.
- If the application is developed and deployed on Windows, switching to other platforms may be difficult.
- If we deploy this application to a real environment with this strategy and architecture, the system won’t be highly reliable.
- It doesn’t ensure the “environment” for the applications. When deploying this way, the applications share the same resources, and with other software on the machine. Sometimes errors from other software or applications may affect our system.