Prepare metric for Predictive scaling
Preparing Data for Predictive Scaling
Since Predictive Scaling requires more than 2 days’ worth of data to make predictions for the following days, and we don’t have this data available, we will need to simulate such an environment.
Preparation Steps
First, create a new folder named metric-preparation and navigate into this directory.
mkdir metric-preparation && cd metric-preparation
Then, download the script to prepare the data.
curl -o prepare-metric-data.sh https://raw.githubusercontent.com/awslabs/ec2-spot-workshops/master/workshops/efficient-and-resilient-ec2-auto-scaling/prepare-metric-data.sh
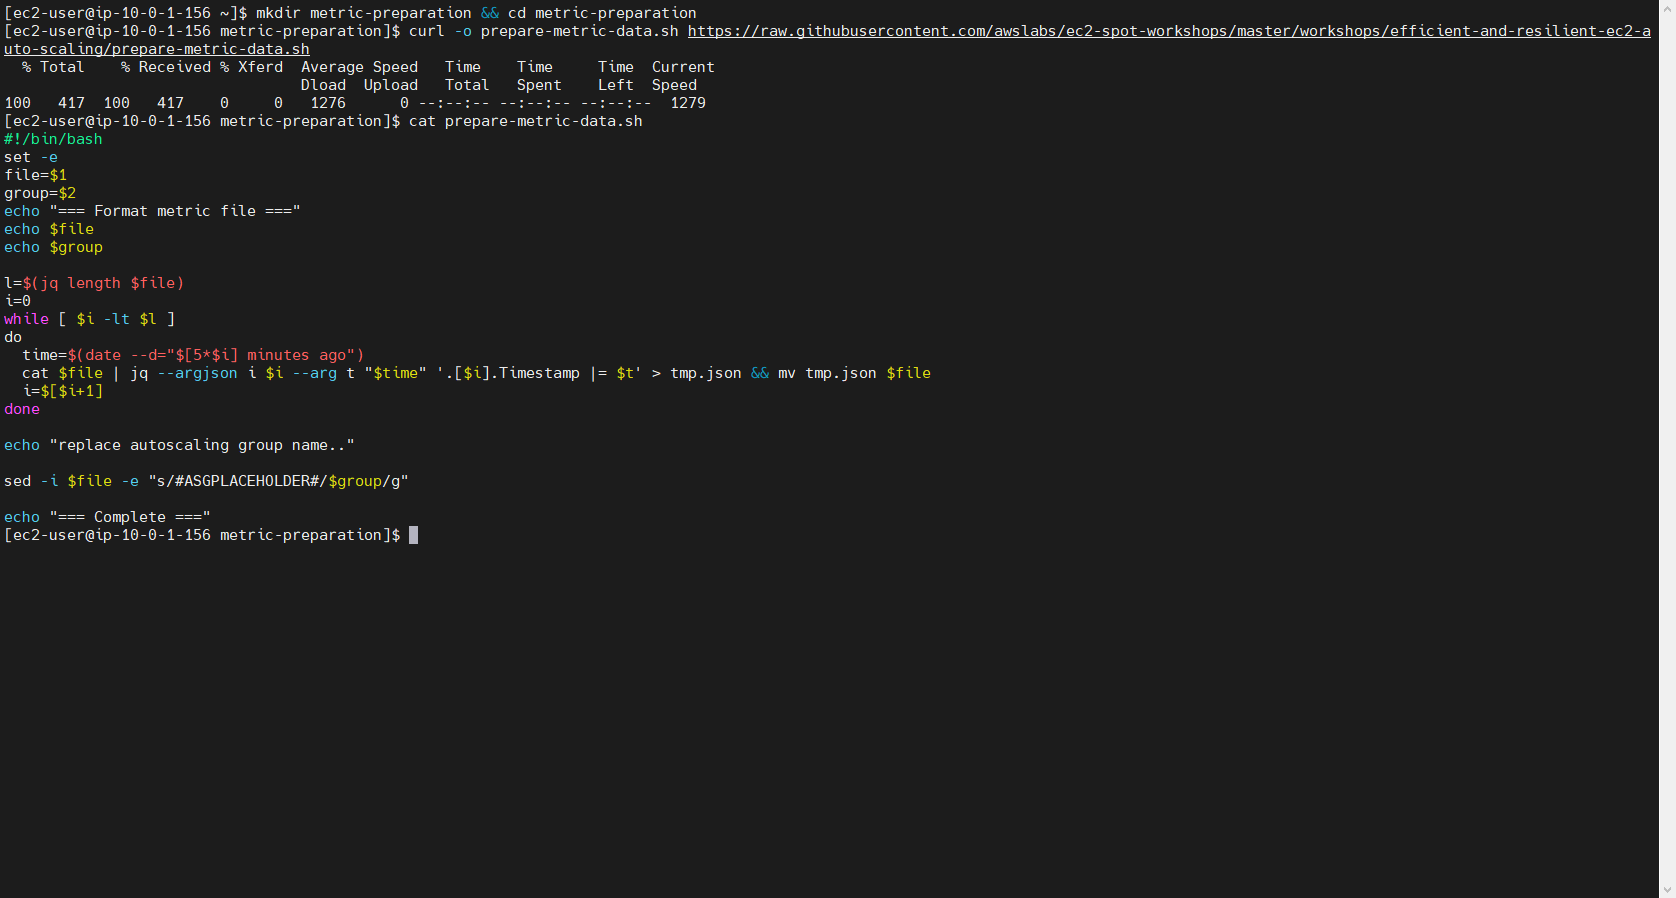
After downloading, modify the script slightly.
vim prepare-metric-data.sh
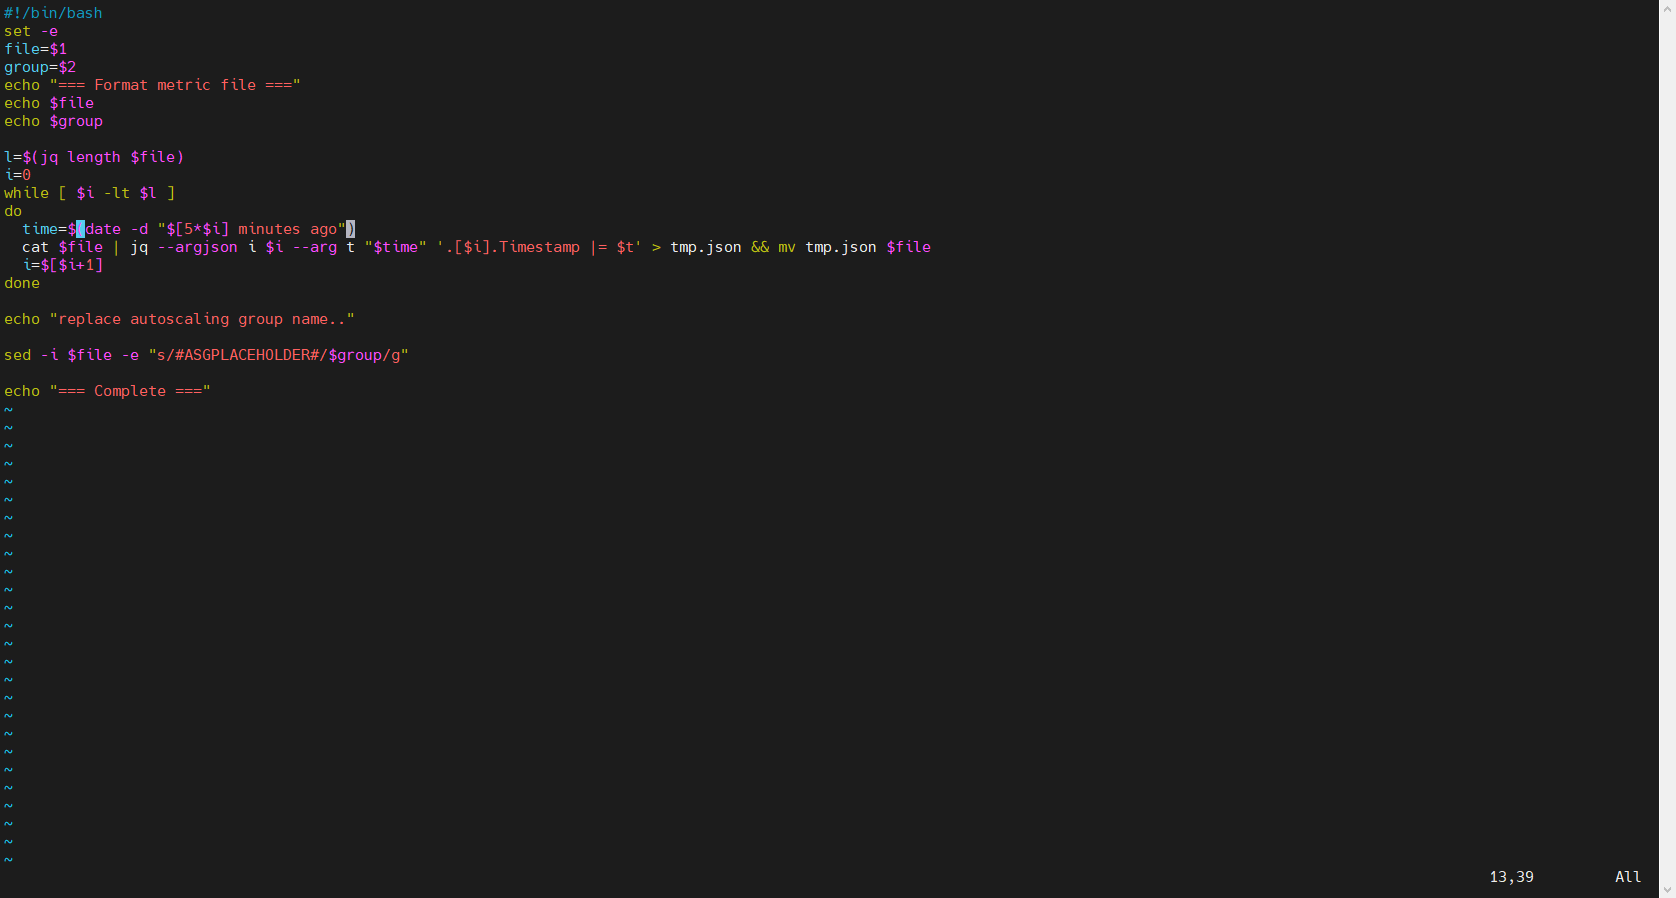
Once the script is edited, proceed to download the raw data, which is why we need to prepare this data processing script first. Start with metrics for the instances.
curl -o metric-cpu.json https://raw.githubusercontent.com/awslabs/ec2-spot-workshops/master/workshops/efficient-and-resilient-ec2-auto-scaling/metric-cpu.json
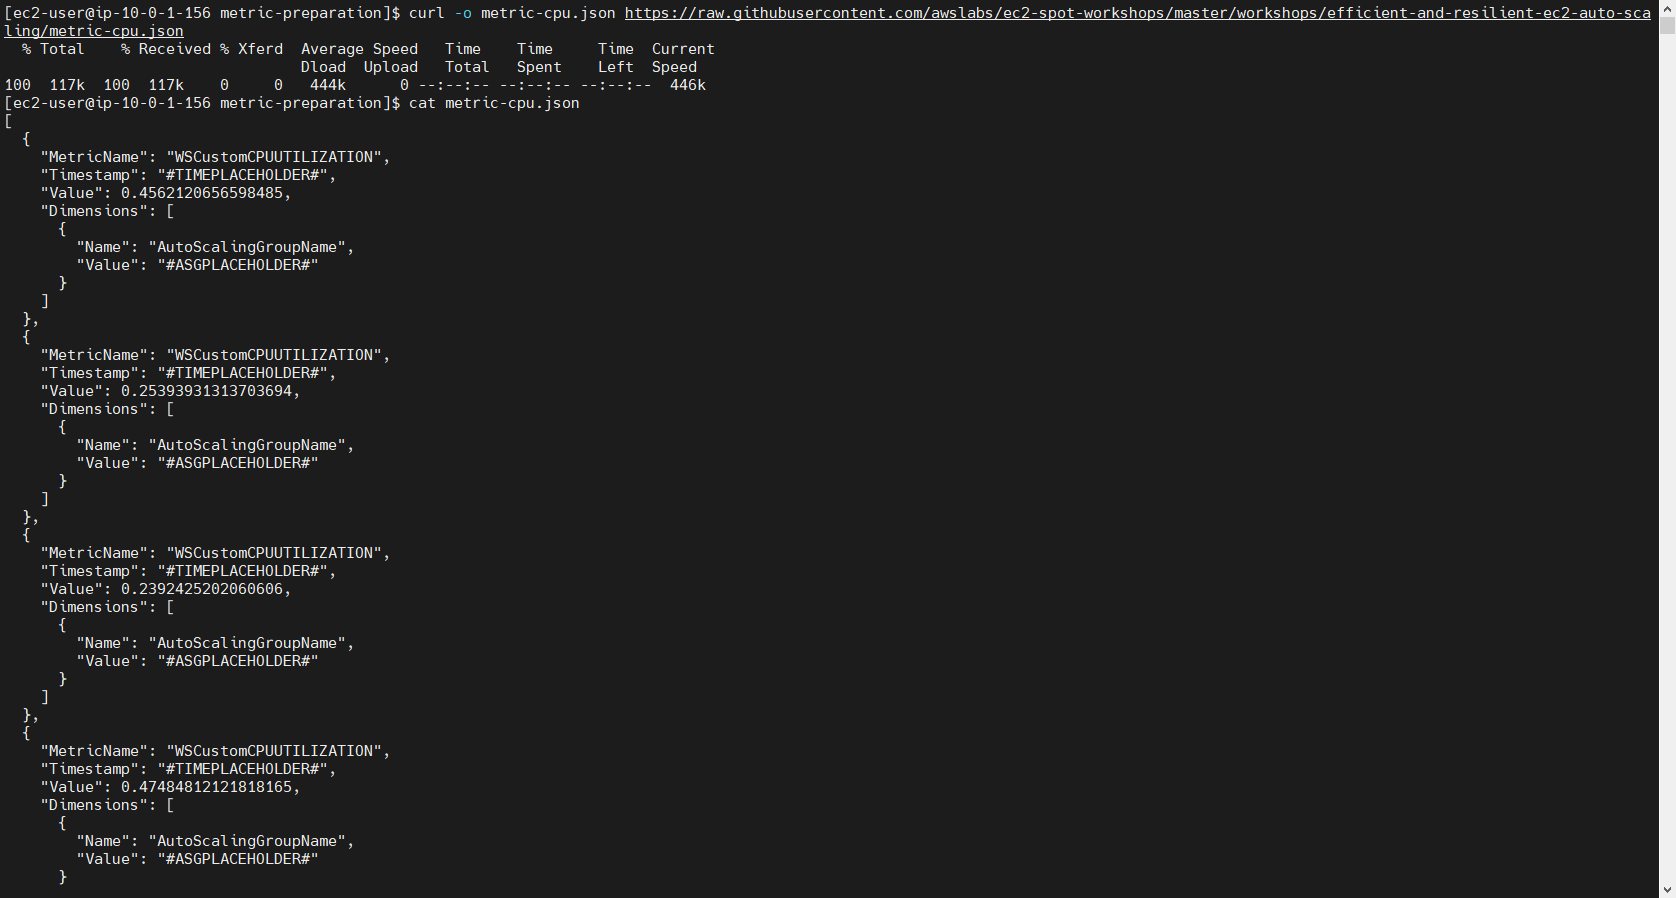
Next, download the data for CPU.
curl -o metric-cpu.json https://raw.githubusercontent.com/awslabs/ec2-spot-workshops/master/workshops/efficient-and-resilient-ec2-auto-scaling/metric-cpu.json
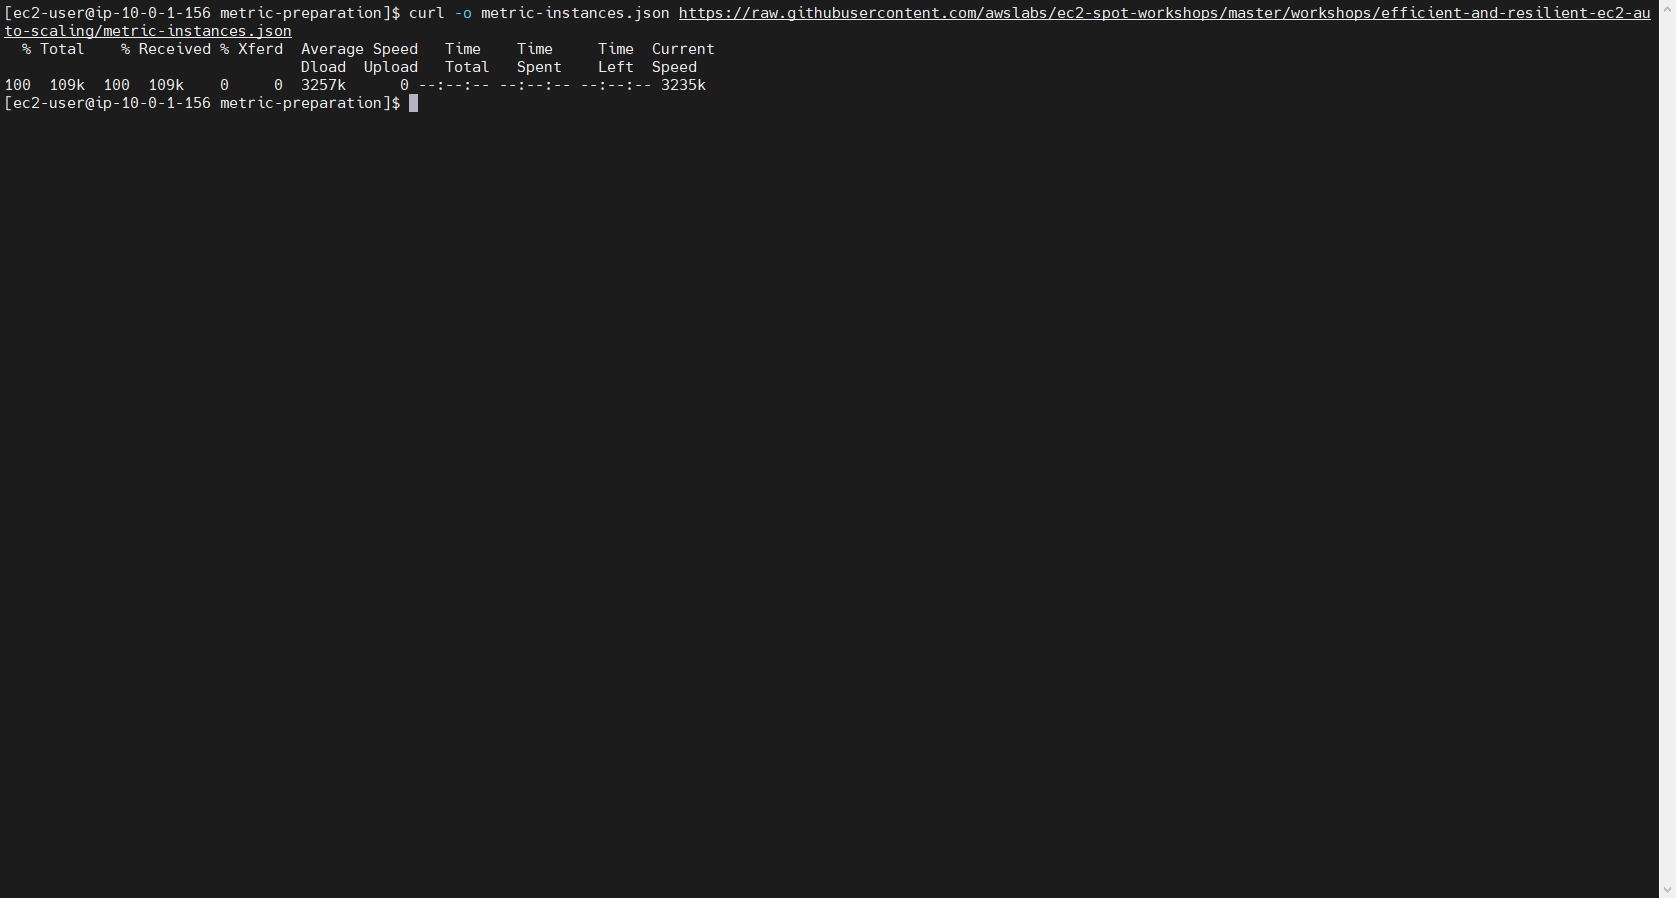
Edit the two types of data one by one, starting with CPU.
bash prepare-metric-data.sh metric-cpu.json FCJ-Management-ASG && cat metric-cpu.json
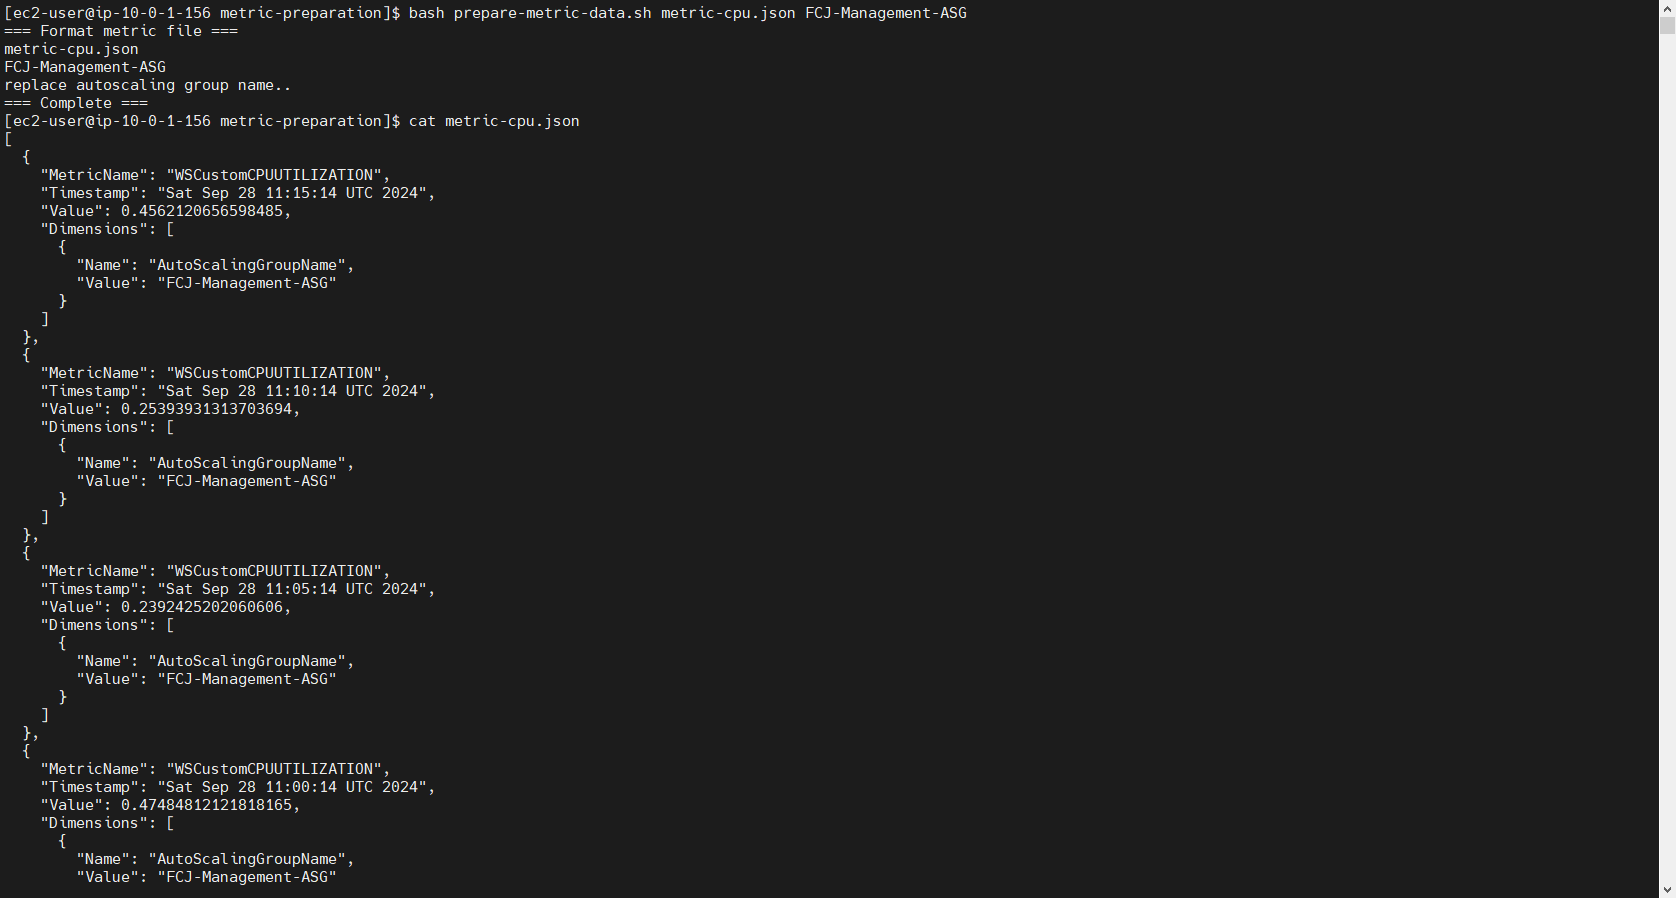
Then proceed with the instance data.
bash prepare-metric-data.sh metric-instances.json FCJ-Management-ASG && cat metric-instances.json
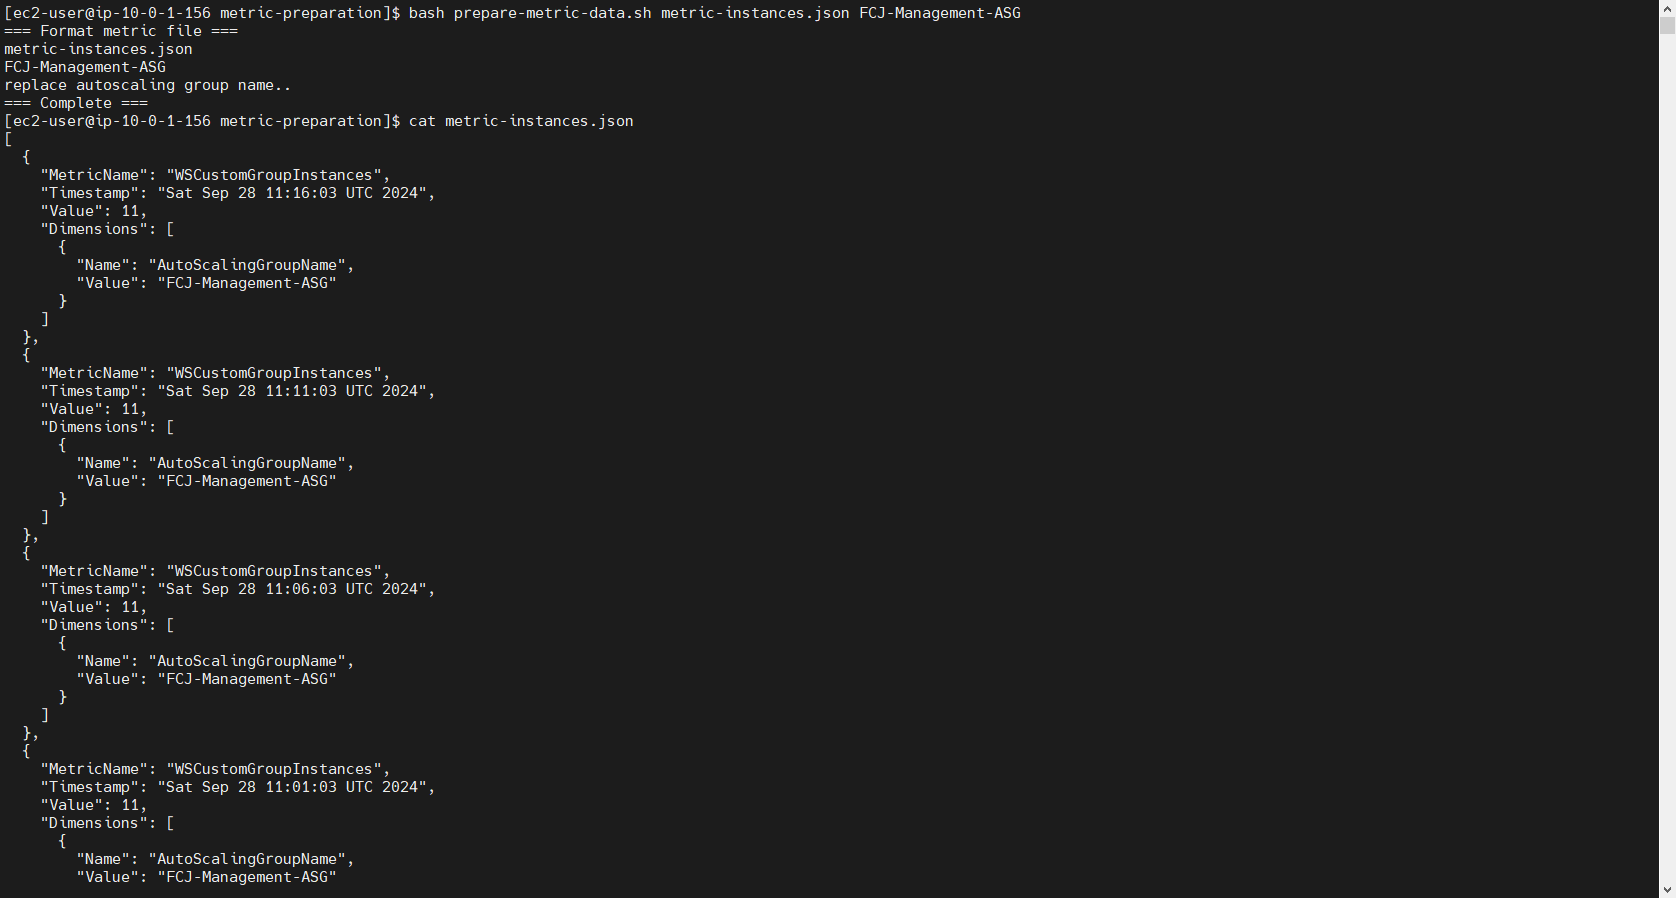
The parameter FCJ-Management-ASG that appears in the two commands above is the name of the Auto Scaling Group that we will create later. Therefore, you need to create an ASG with the same name afterward, or you should change it to a different name now.
Upload Data to CloudWatch
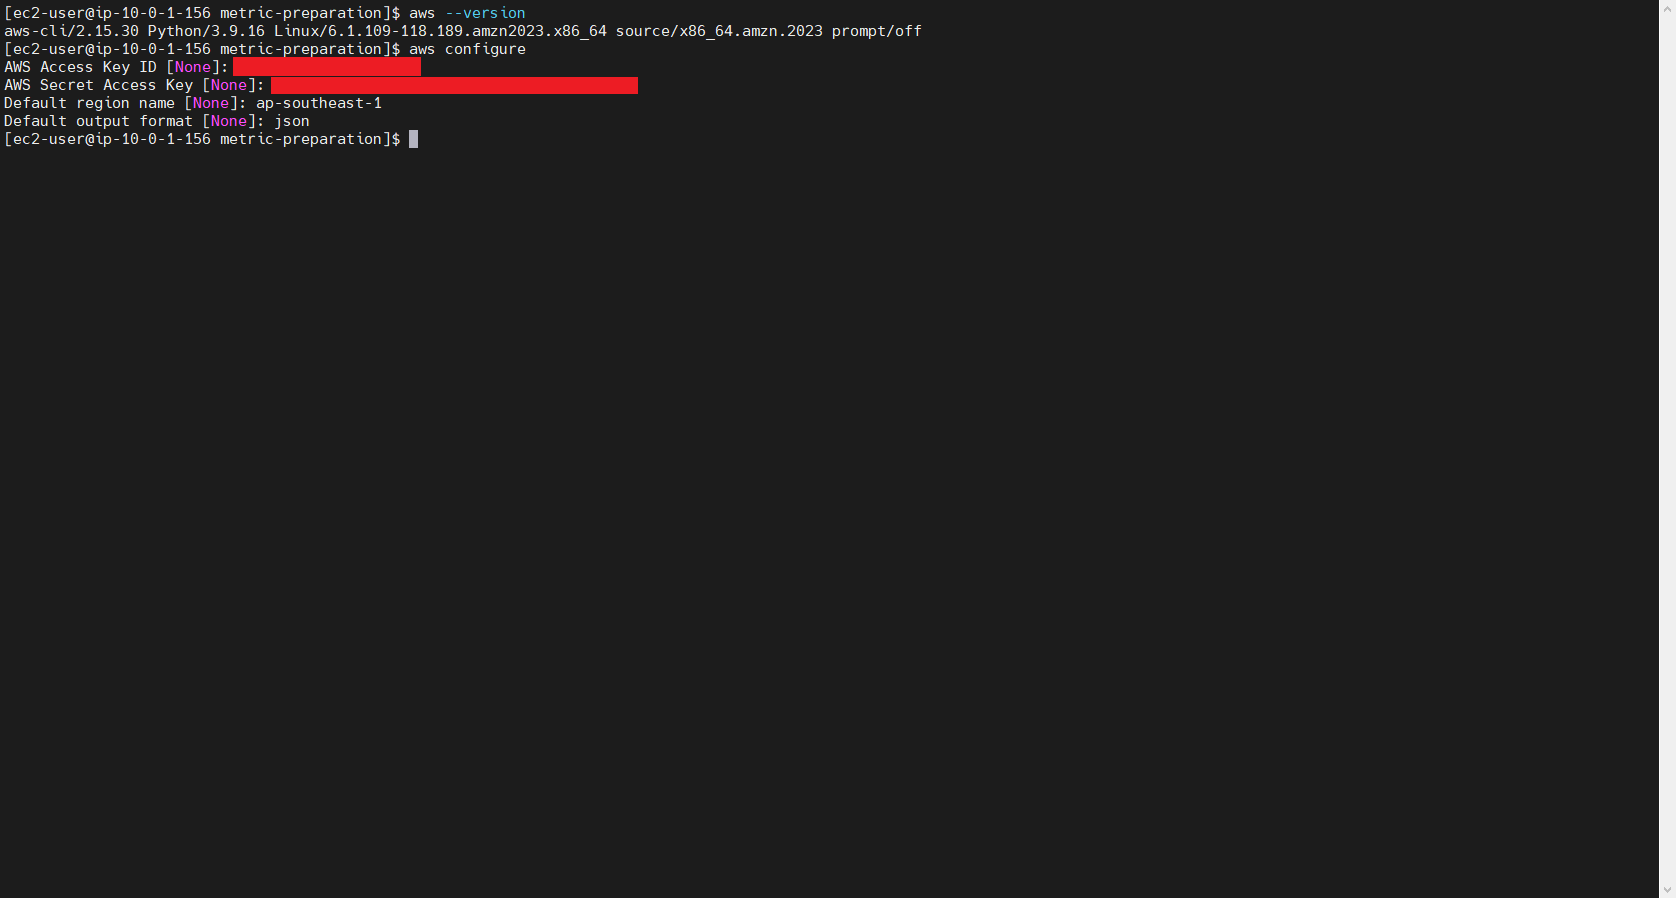
In Amazon Linux 2023, if you are using the correct AMI, AWS CLI is pre-installed. At this point, you only need to configure the credentials. Remember that you must have an IAM User with sufficient permissions to upload data to CloudWatch or at least enough to complete this workshop.
Go to the IAM page, open the IAM User details, and get the Access Key Id and Secret Access Key. If you don’t have one, create a new one.
aws configure
And configure the credentials.
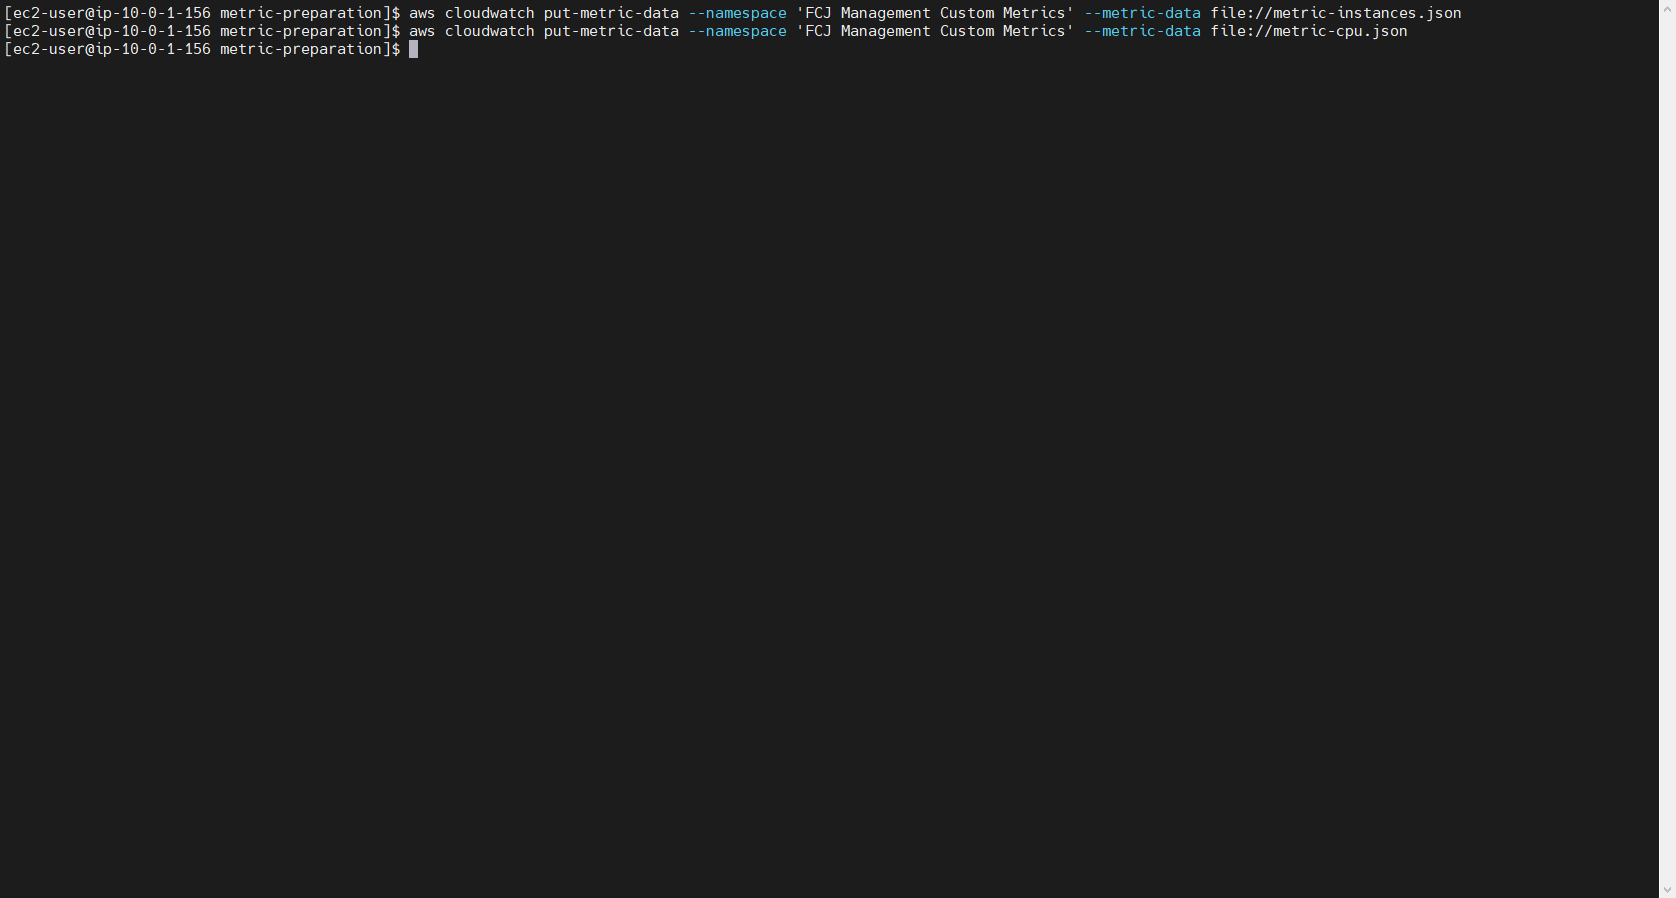
After that, upload the two data files we prepared earlier to CloudWatch.
aws cloudwatch put-metric-data --namespace 'FCJ Management Custom Metrics' --metric-data file://metric-cpu.json
aws cloudwatch put-metric-data --namespace 'FCJ Management Custom Metrics' --metric-data file://metric-instances.json
Verification
Finally, we will check the results in CloudWatch.
- Search for CloudWatch
- Click to enter the CloudWatch Console.
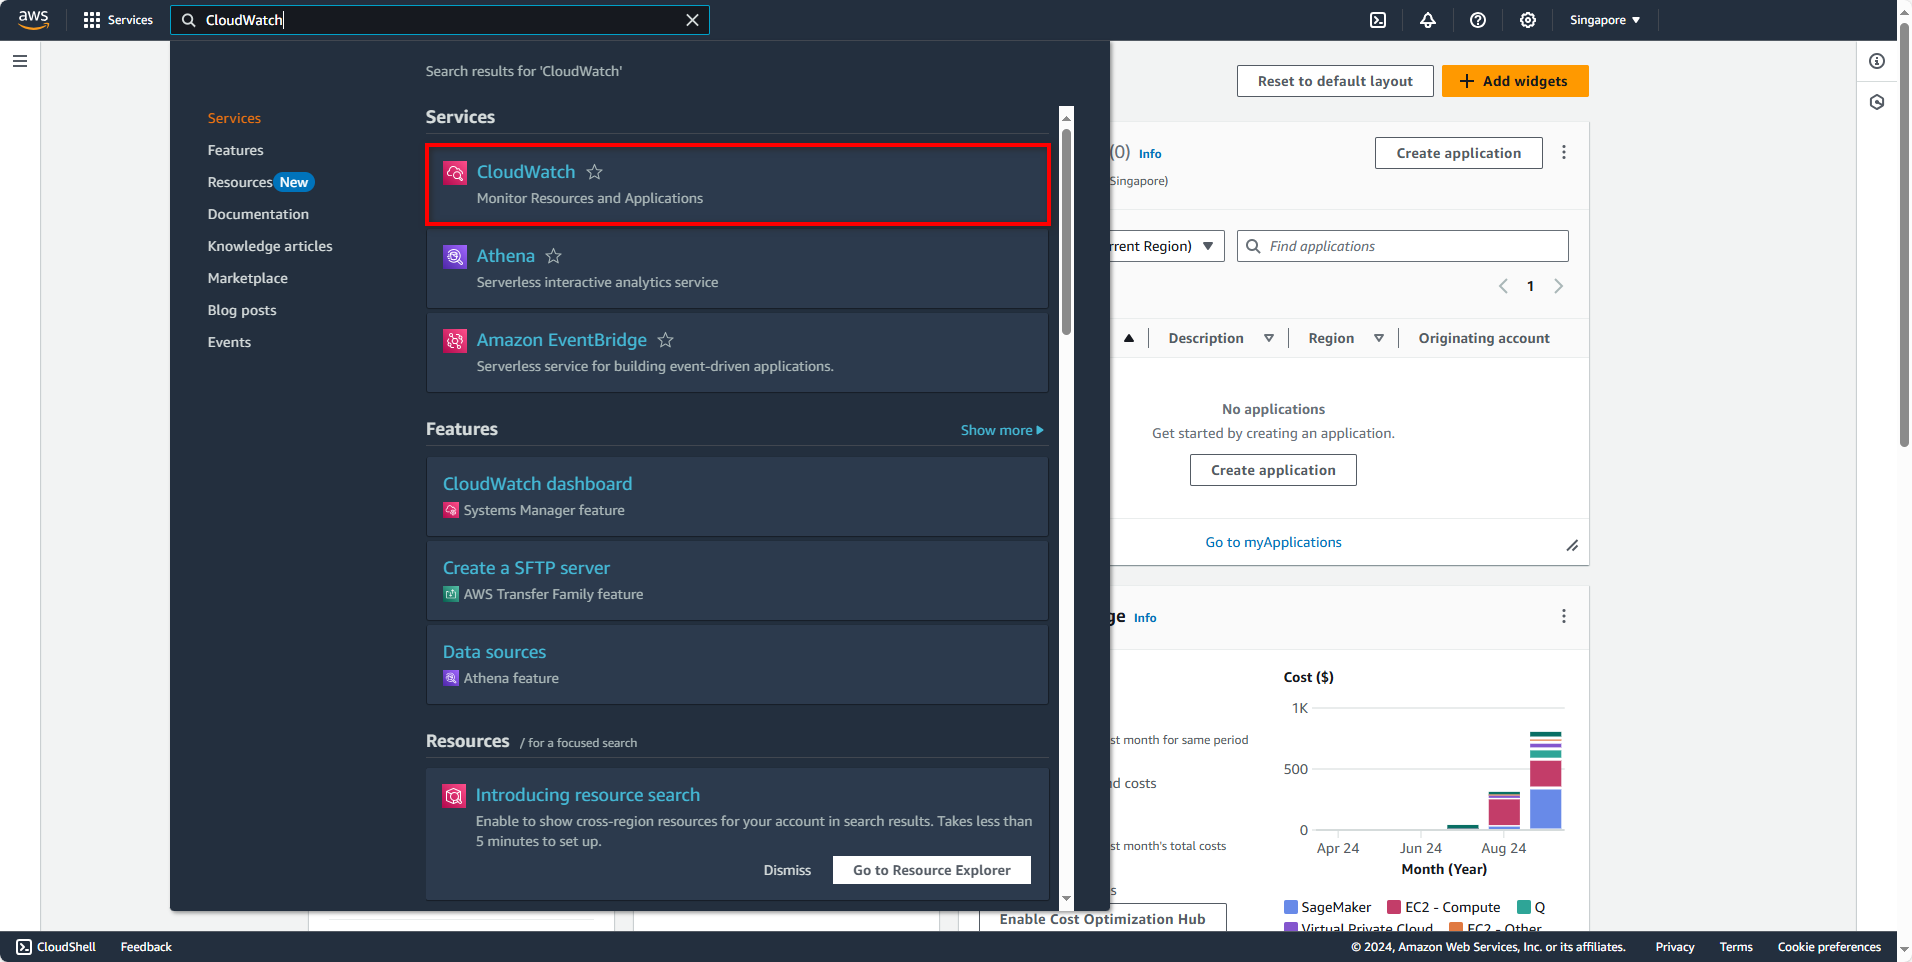
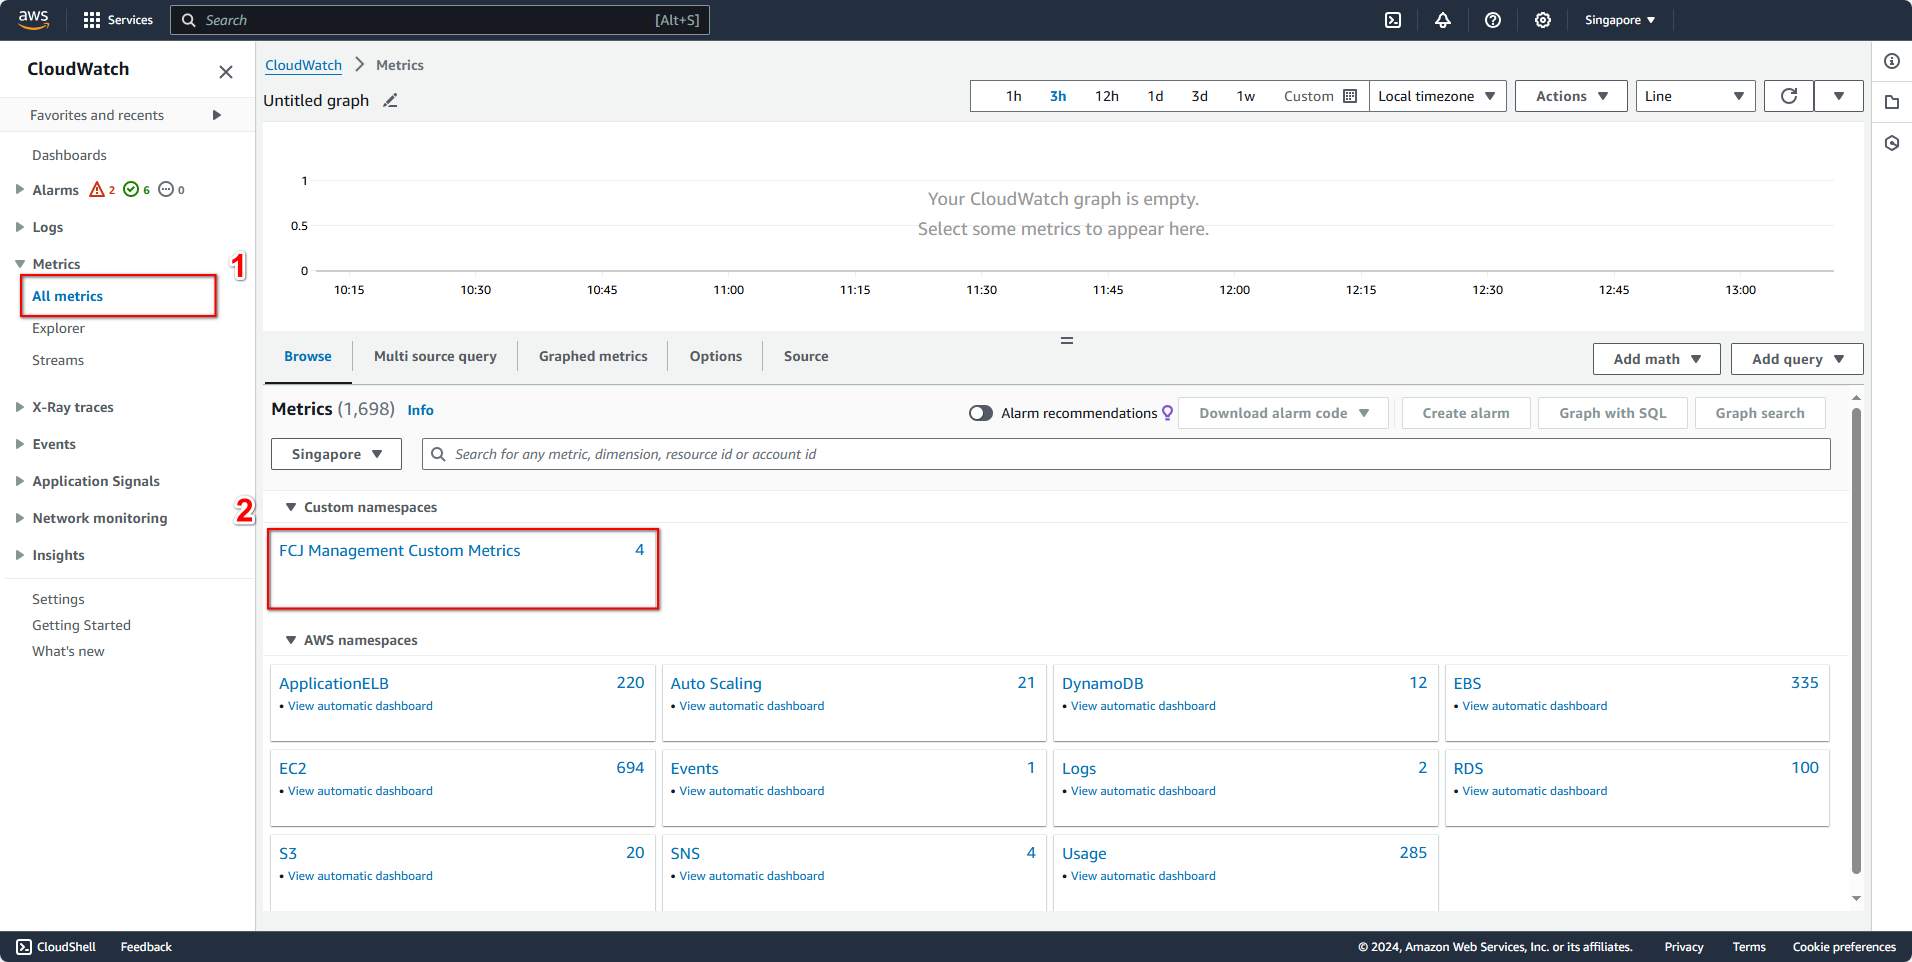
In the CloudWatch Console:
- Select All metrics
- Choose FCJ Management Custom Metrics
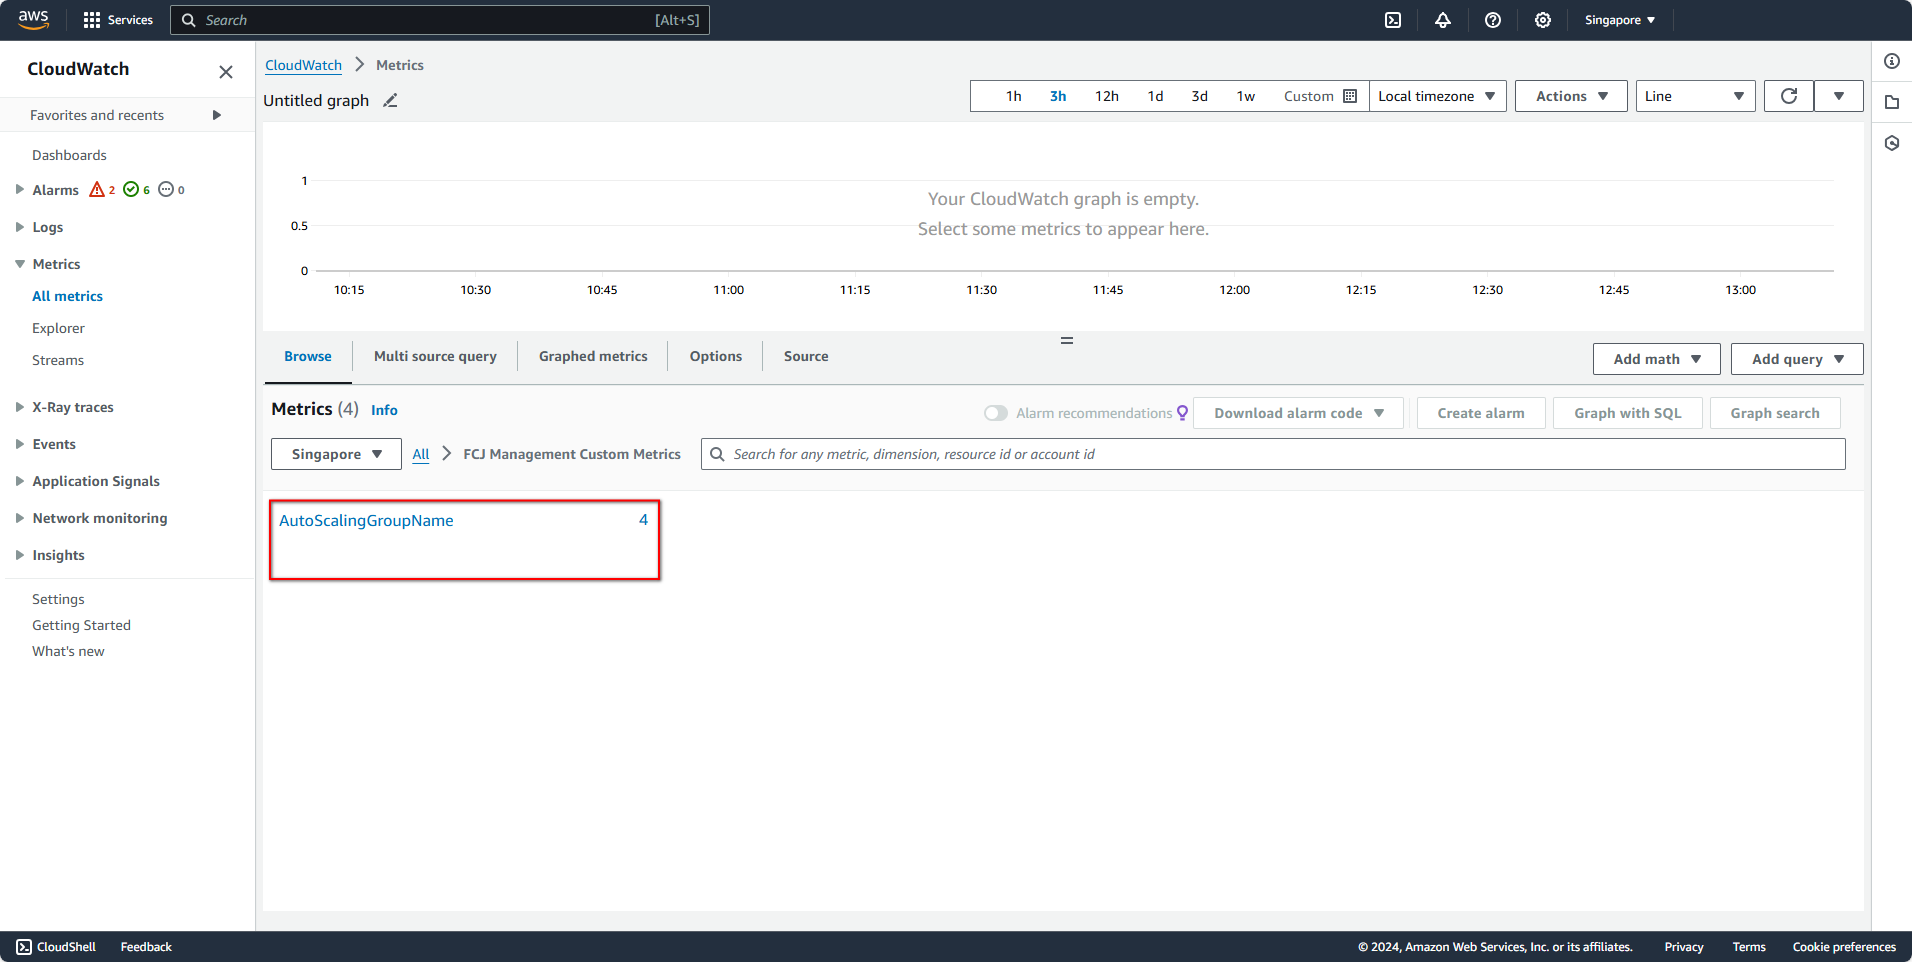
Next, select AutoScalingGroupName.
Then, select the two parameters as shown in the image, and wait for some time to receive the results.
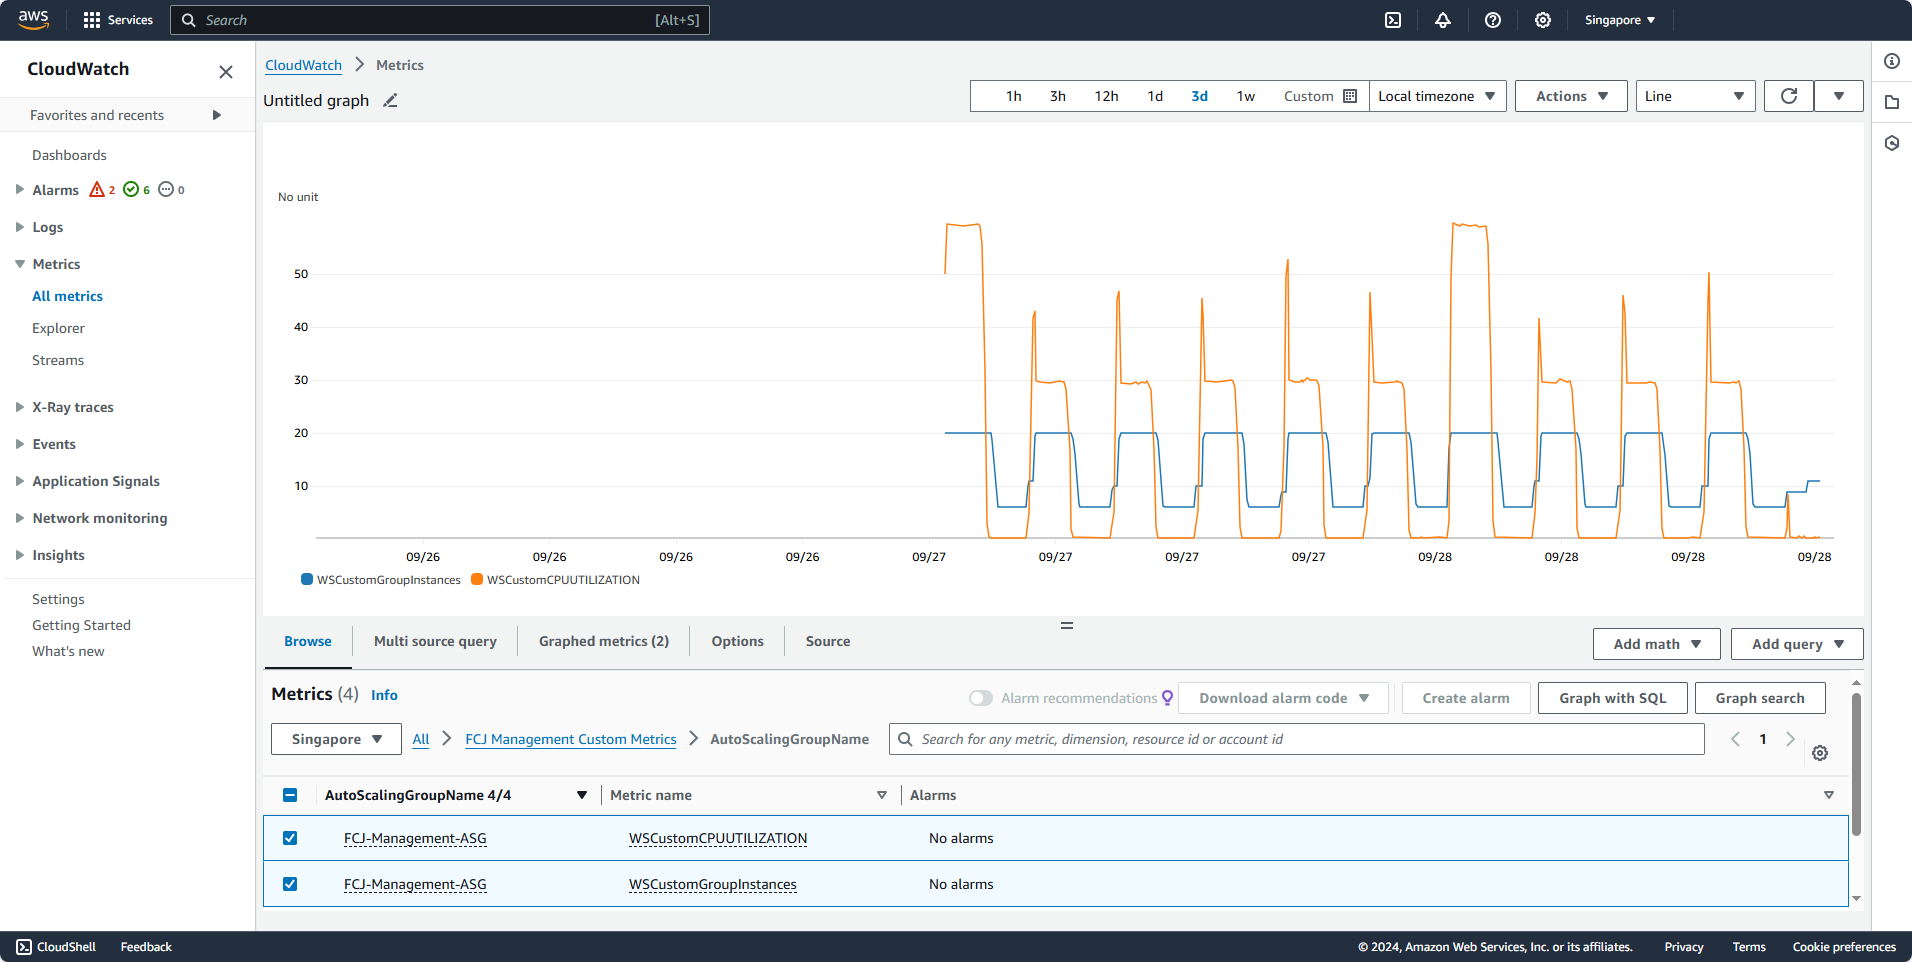
We will have to wait about 30 minutes or longer for CloudWatch to process the data. Instead of waiting, we can proceed with the next sections.